This article is about my experiments in modifying an existing 110 cartridge to take commercially available 16mm film.
To start with, I’d like to acknowledge the support that Lomography gives to the analogue community, and specifically those of us who still shoot the 110 format. Their contribution is much appreciated. However, it has to be said that:
- It is not good to be reliant on a single supplier
- Loading your own is cheaper in the long run and offers the possibility of variety and experimentation
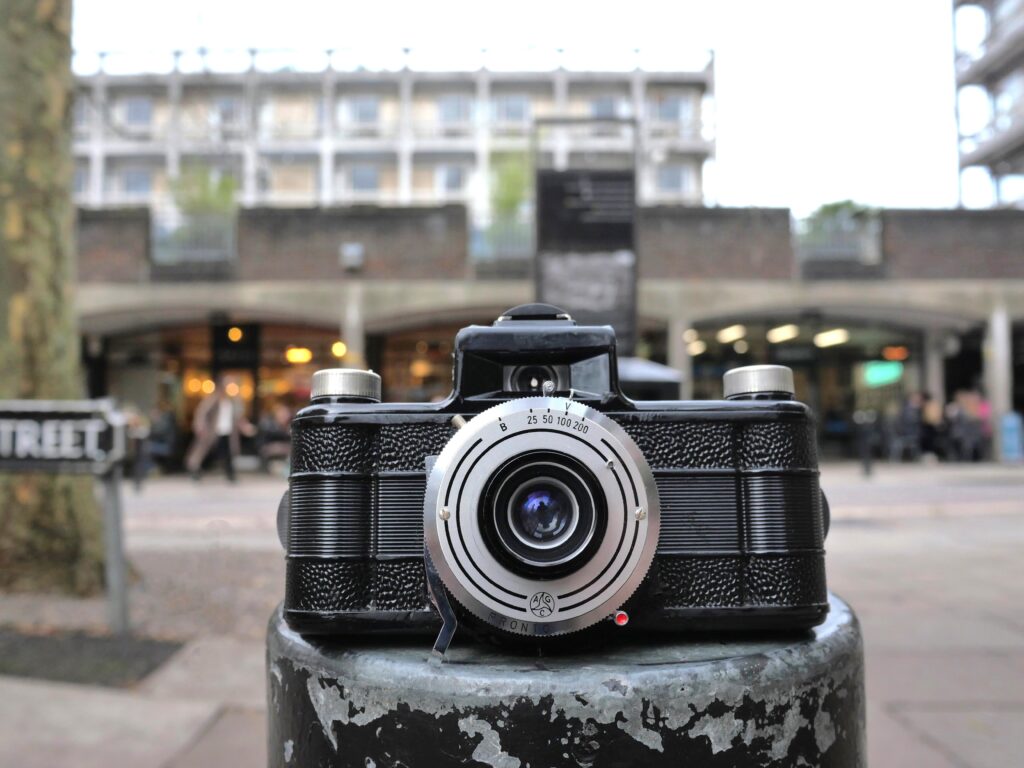
- As Tony Warren has pointed out, Some 110 cameras may be able to project a larger image onto un-masked 16mm film. The Pentax Auto 110 that I’ve been using produces a 14×20 frame, while the 110 standard frame size is 13×17.
Hence, this article is investigating re-loading existing cartridges if commercial ones stop being available, or if the film you are interested in shooting is not currently available in 110 format.
The issues
Film handling on 110 cameras
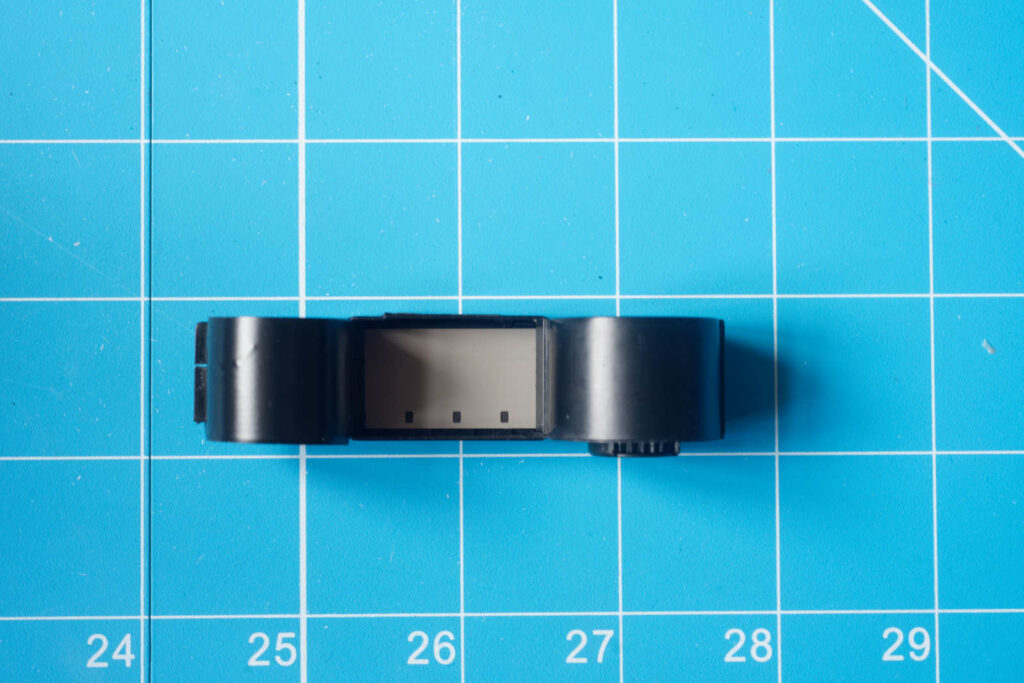
Wind-on and positioning of film with production 110 film is critical – the film is pre-exposed with a frame mask and exposure numbers. The film must stop precisely at the right place in order to get proper registration.
110 cameras tend to achieve this by having a small catch that gets trapped by the single perforation per frame of 110 film as the film passes the gate. When the catch is trapped the camera either stops winding on or otherwise disengages the wheel that pulls the film. On taking a shot the catch is retracted and returns to a position where it is held down by an unperforated bit of film, ready to be freed to lift again once the next perforation comes along.
Perforations…
Commercial 110 film has one perforation every 25mm. The problem is that 16mm cine film has too many perforations. ‘Double 8′ (16mm film that gets split to produce two 8mm strips) has a perforation every 4mm, while ’16mm cine’ has them every 8mm. This means that 16mm film will stop twice before it gets to where it should be. This can be catered for by taking two blank shots with the lens covered but is a less-than-ideal solution. If you are using cine stock or cut down film, you don’t need to worry about keeping alignment with pre-exposed masks or frame numbers. You just need to be confident that the film has wound on sufficiently to avoid overlapping frames.
One method that can work when using cine film is to tape down the catch, which then just allows continuous winding. It does mean you either need to have a backing paper on the 16mm film to judge when you have wound on enough or to know how many wind-ons are required to move the film on sufficiently to clear the previous frame.
Also, bear in mind that the perforations on 16mm cine film are likely to intrude into your frame. Unperfortated microfilm is available in 16mm (at quite reasonable prices) but as it tends to be rated quite slow you might need to push it and experiment on processing times. Another alternative is to cut down your own unperforated strips from 135 or 120 film. If you use unperforated film (or if you glory in perforations and load single perf film perforations uppermost) you won’t need to tape down the catch in the cameras.
Not all cameras may be reload-friendly
Unfortunately, pull-push film advance models (such as the Agfamatics, Lomomatics and the Rollei A110), will wind every time they do an open/close cycle. Fine if you are closing and opening to wind on and cock the shutter, but not if you are closing the camera to store it. With these push-pull models, you might be inclined to stick to commercial cartridges, but for other camera models, such as the Pentax Auto 110, Canon 110FD or Minox 110S, loading your own may well be a viable prospect.
Competing strategies
Considering the re-load of 110 cartridges, two main options occur to me:
- Recreate the original setup, re-using the 110 backing paper, but using it to pull the 16mm film. This has the advantage of using the format as it was intended. It allows you to see how far through the film you are, but it limits you to 24 exposures.
- Use a strip of backing paper, or pre-fogged and developed (and therefore light-proof) stuck into the back of the cartridge to exclude light, reduce risk of abrasion on the side of the cartridge and recreate the right spacing from the back of the cartridge. Then run a strip of bare film without backing through the camera. This is non-standard but allows a longer length of film to be spooled. It is relatively easy to roll a length of film of over 1m in comparison to the normal 24-exposure (80cm-ish) length.
The second method will give you more exposures on a roll but leaves you unaware of how far through you are, or even if you have already drawn all the film into the exposed film chamber (uncertainty is an unwelcome companion). One way to tackle this is to tape over a fold at the end of the film so that the doubled-over film end will not leave the unexposed film chamber. When the film stops winding, you know you have reached the end of the roll.
The standard cartridge
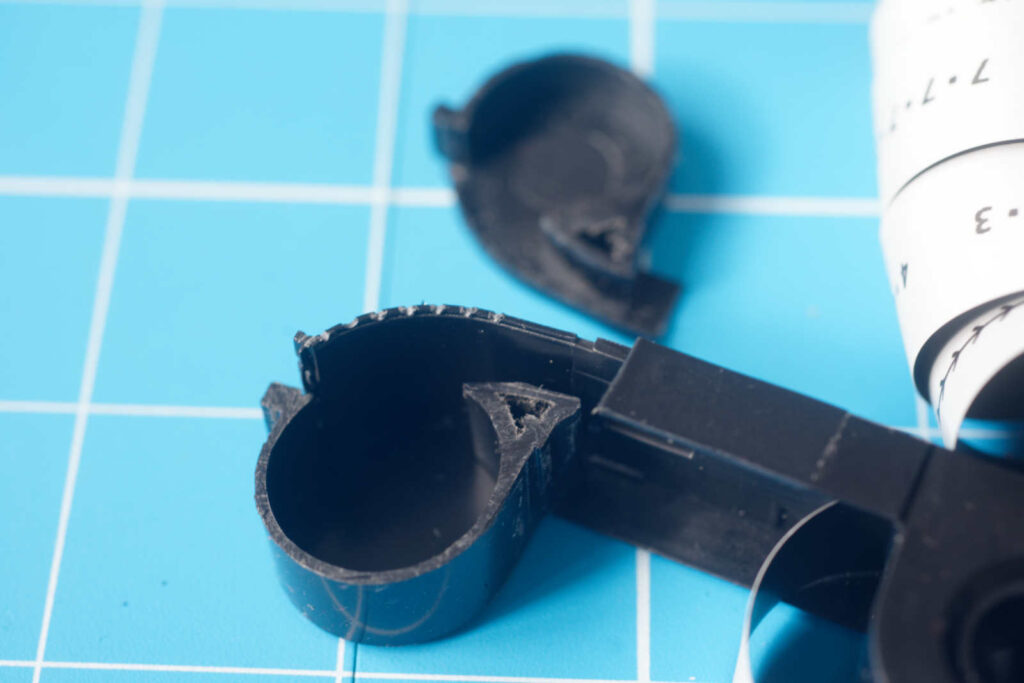
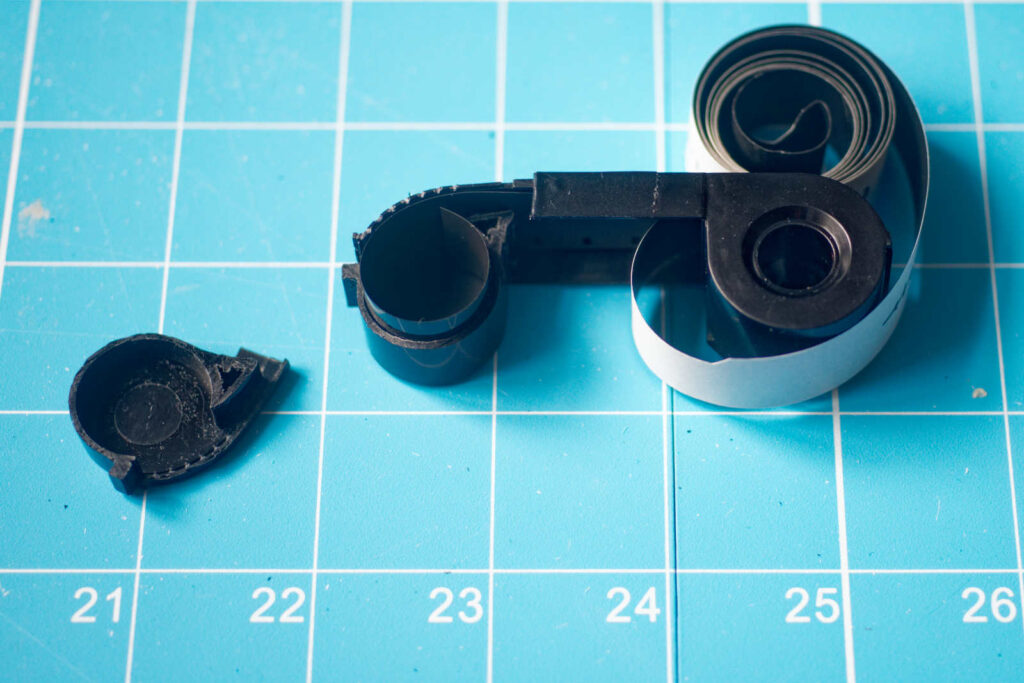
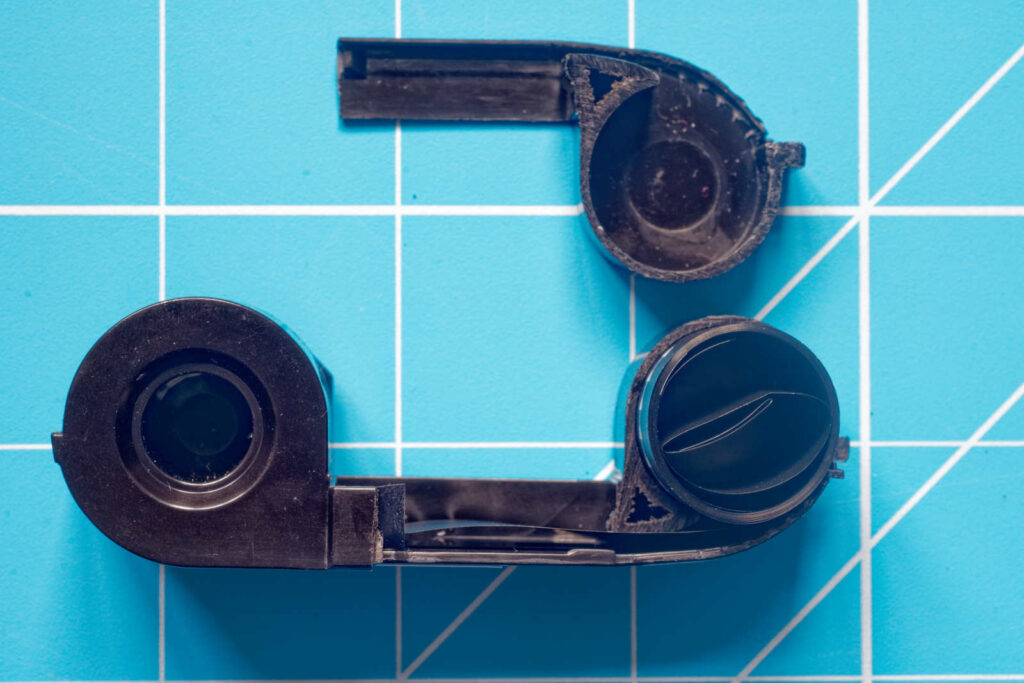
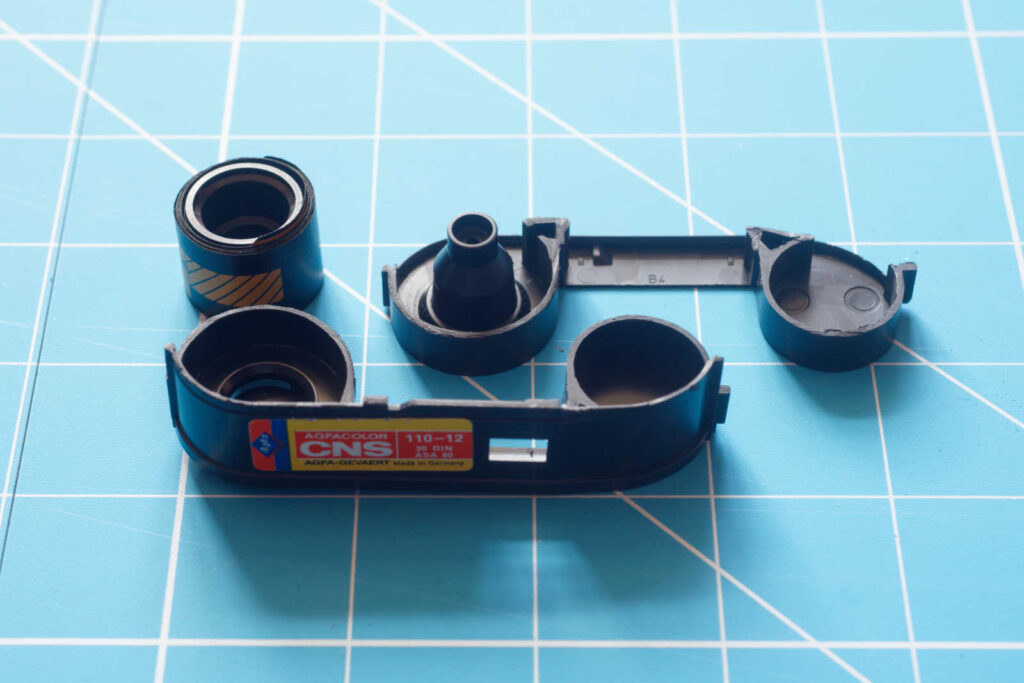
A normal 110 cartridge comes apart in three pieces:
- the rear bridge between the film chambers and the bottoms of the chambers,
- the top of the bridge and the top and fronts of the film chambers, and
- the take-up spool that pulls the film into the exposed chamber (the only moving bit).
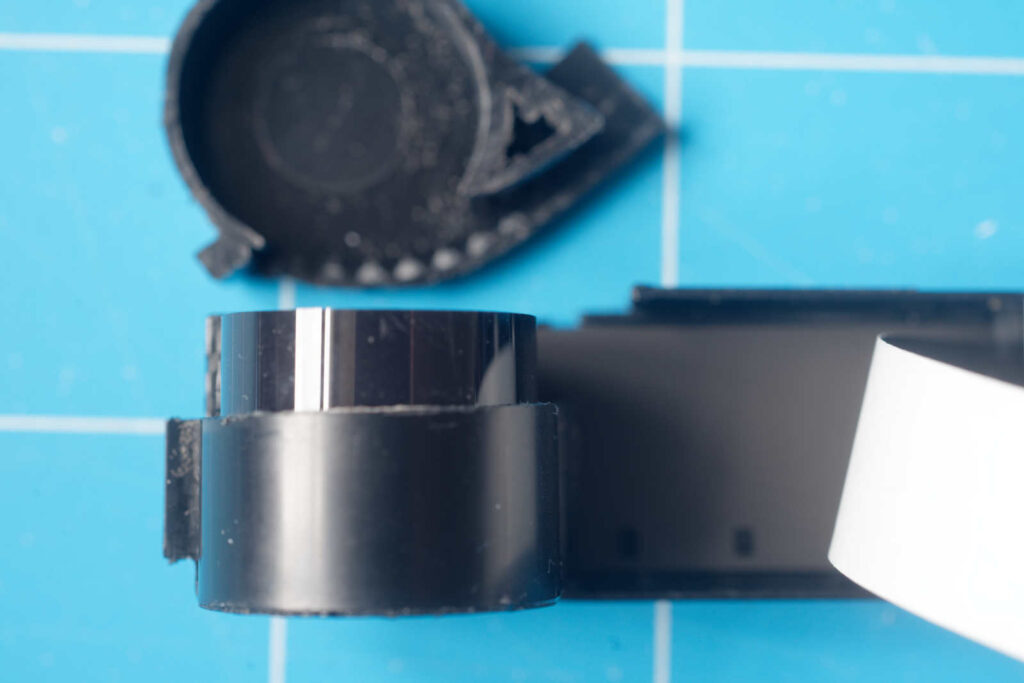
Using a sharp knife and a bit of patience, it is very possible to separate the individual bits of the cartridge, and then reassemble them with film inside using a dark bag. The light seals around the top edge and sides of the cartridge have overlaps and are quite good, but the ones at the bottom of the film chambers have no overlap. Although the film is protected to some extent by the backing paper, the edge of the film, near that vulnerable bottom seam may get exposed to light leaks.
The 110 cartridge is renowned for not having a pressure plate, but it has to be said that it seems to get by without one – even with cameras that have fast lenses the depth of focus seem to work fine. It is notable that there appears to be little standardization in thickness of backing paper used. The Fukkatsu backing paper is just under half the thickness of a strip of 16mm film. The Lomography backing paper is just slightly thinner (5/1000ths of an inch) than 16mm cine film. The key distance optically is from the lens to the film emulsion. As far as I can figure, lens-to-emulsion should not be affected by anything that is behind the film. Doubtless, time (and experiment) will tell!
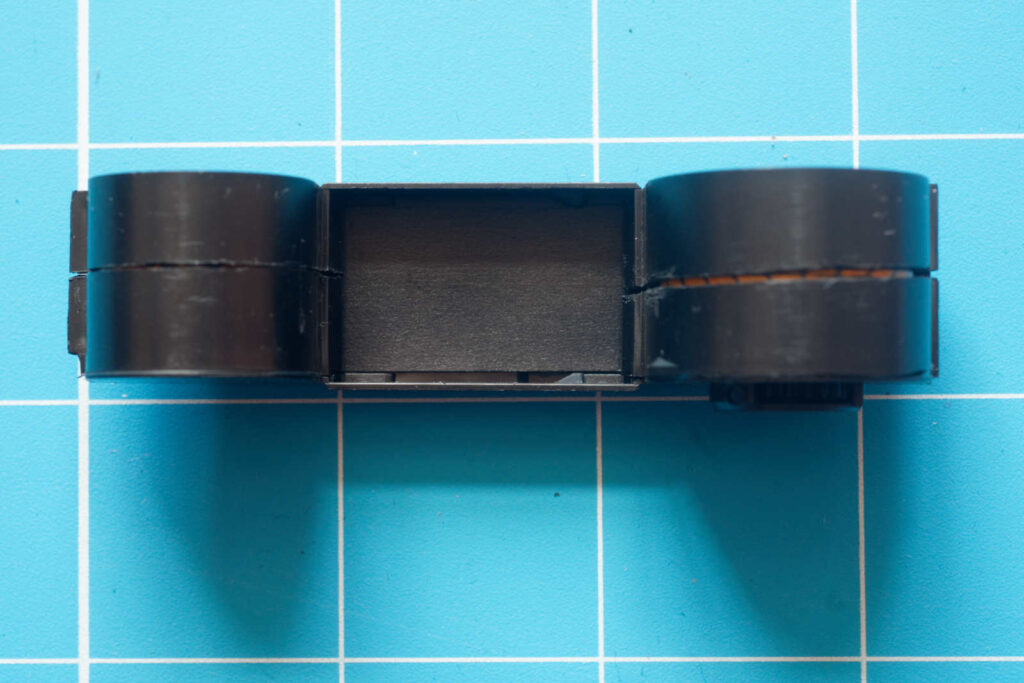
Improving the cartridge
What I’d like to do is to leave the exposed film chamber ‘factory sealed’ and connect the end of the film to an exposed length of leader which can then draw the film into the chamber as the camera winds on.
On the unexposed chamber side, I’m aiming to seal the bottom join with glue and create another seam higher up with the same sort of light trap as you get in the old subminiature 16mm cartridges from Rada, Mamiya, and Minolta.
To find out how practical this idea is, I worked on a prototype for each of the options outlined above.
Mark 1 – Longer length film with no exposure count

In this case, I left the end of the film protruding from the unexposed chamber once I was happy that the roll was safely inside. I attached the end of the exposed film to the cut-off paper leader with double-sided tape in daylight. I then wound the excess into the other chamber by turning the toothed wheel.
With hindsight, I should have cut the top bridge over towards the exposed chamber rather than the unexposed one, as it would have made threading the film through the gate slightly easier in the dark bag.
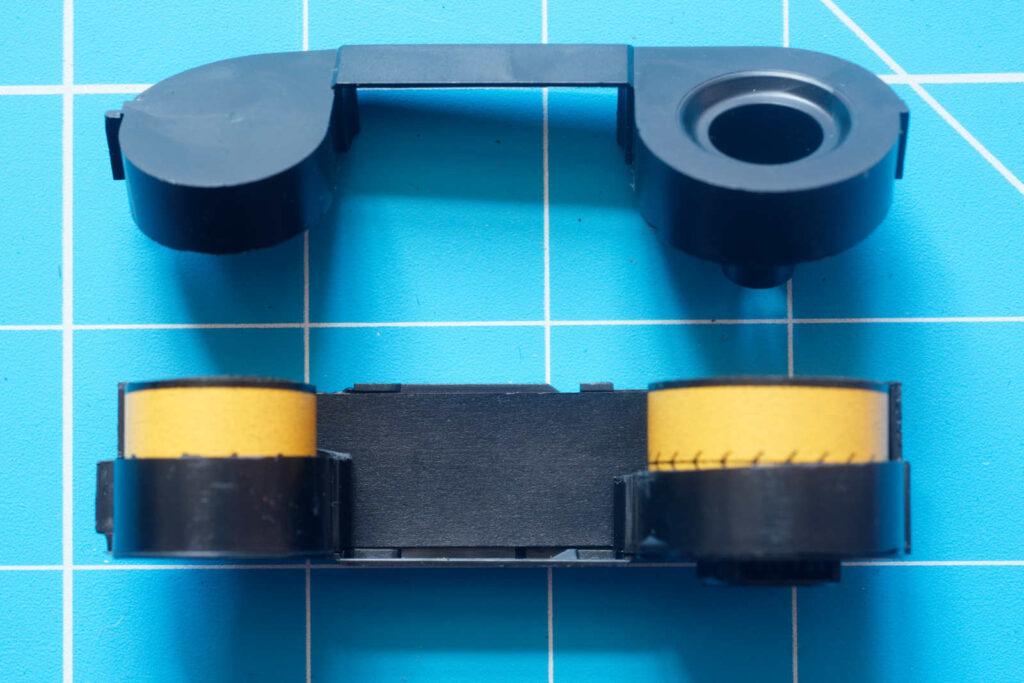
Mark 2 – with backing paper (as Kodak intended)
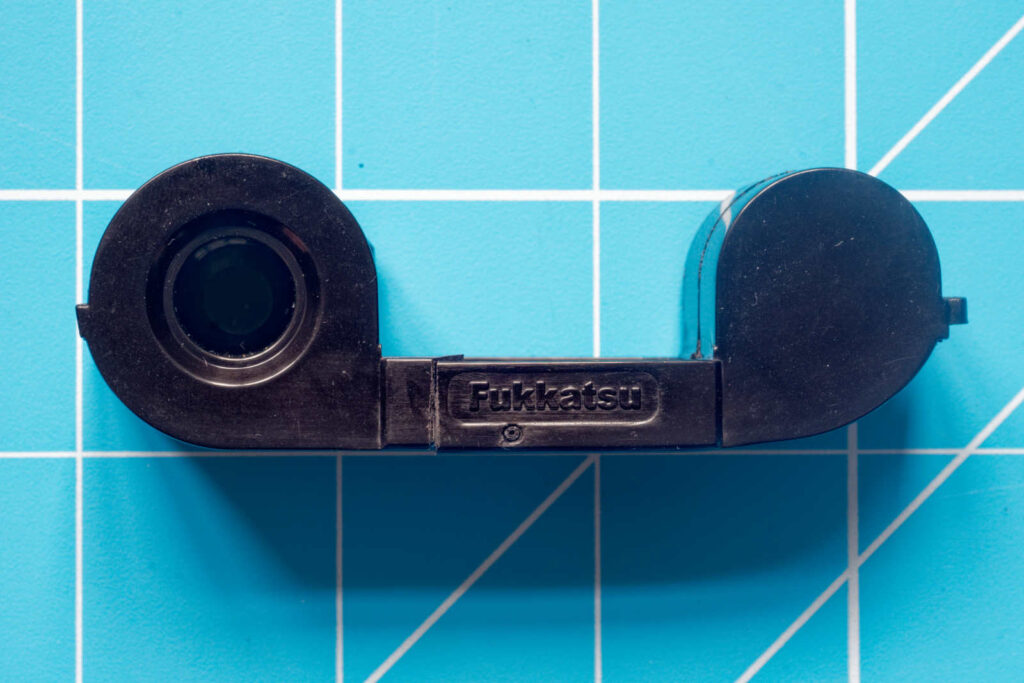
For my second stab, I used an old Fukkatsu cartridge. Fukkatsu had a go at supplying the 110 market with film something like 12 years ago. Production was quite short. The film all expired back in 2018, but some cartridges are still available and work very well.
I decided that I’d prepare this cartridge to use the backing paper and show the frame numbers. Following on from what I’d learned from preparing the Lomography cartridge, I cut the bridge more towards the exposed chamber side of the cartridge. I cut the unexposed chamber side in the same way but didn’t need to line it as the backing paper meant that the film effectively supplied its own light trap.
Note that if you just rely on the pre-existing seam, you could get light leaks in at the bottom edge of the cartridge – and with backing paper, the edge of the film is the one bit that isn’t protected. As my revised join is part way up, the backing paper becomes an effective light seal by itself.
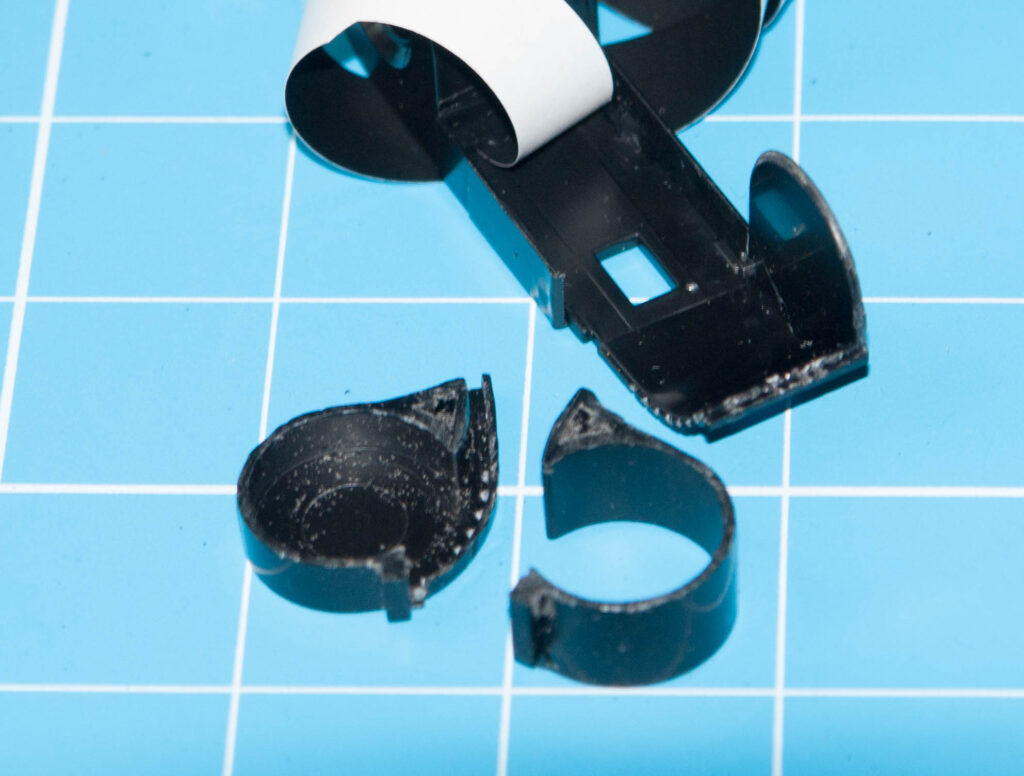
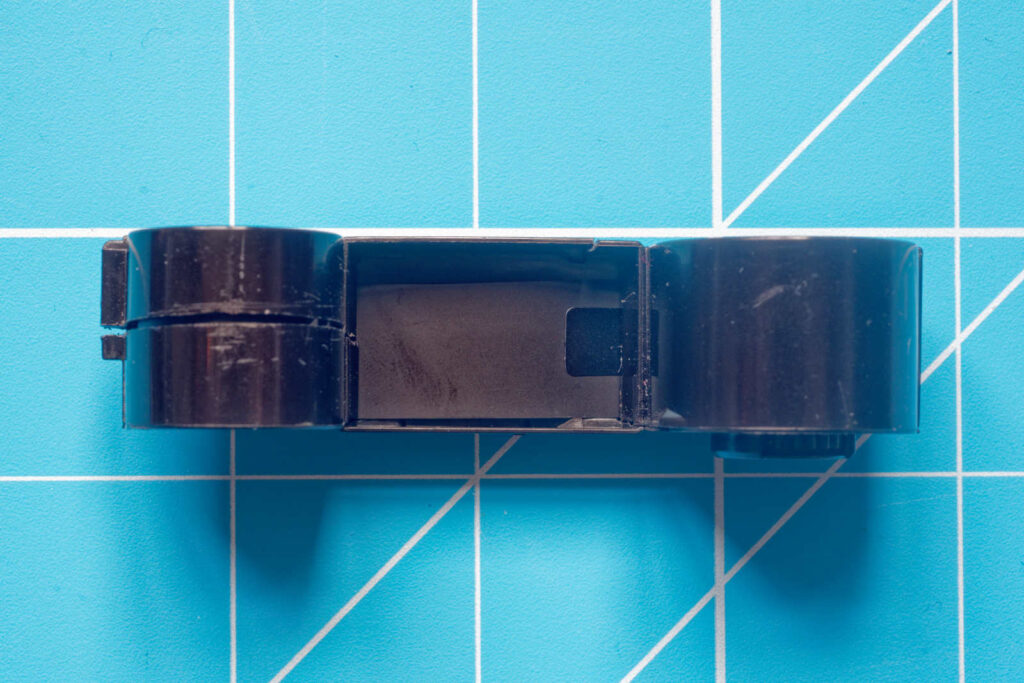
Mark 3 – Taking the top off
Given that the backing paper gives you a light-tight seal even with a visible gap in the cartridge, the next step that suggested itself was to make the entire top of the cartridge into a ‘lid’. I salvaged an old Agfa CNS 12-exposure cartridge and set about it with the razor saw.
The film
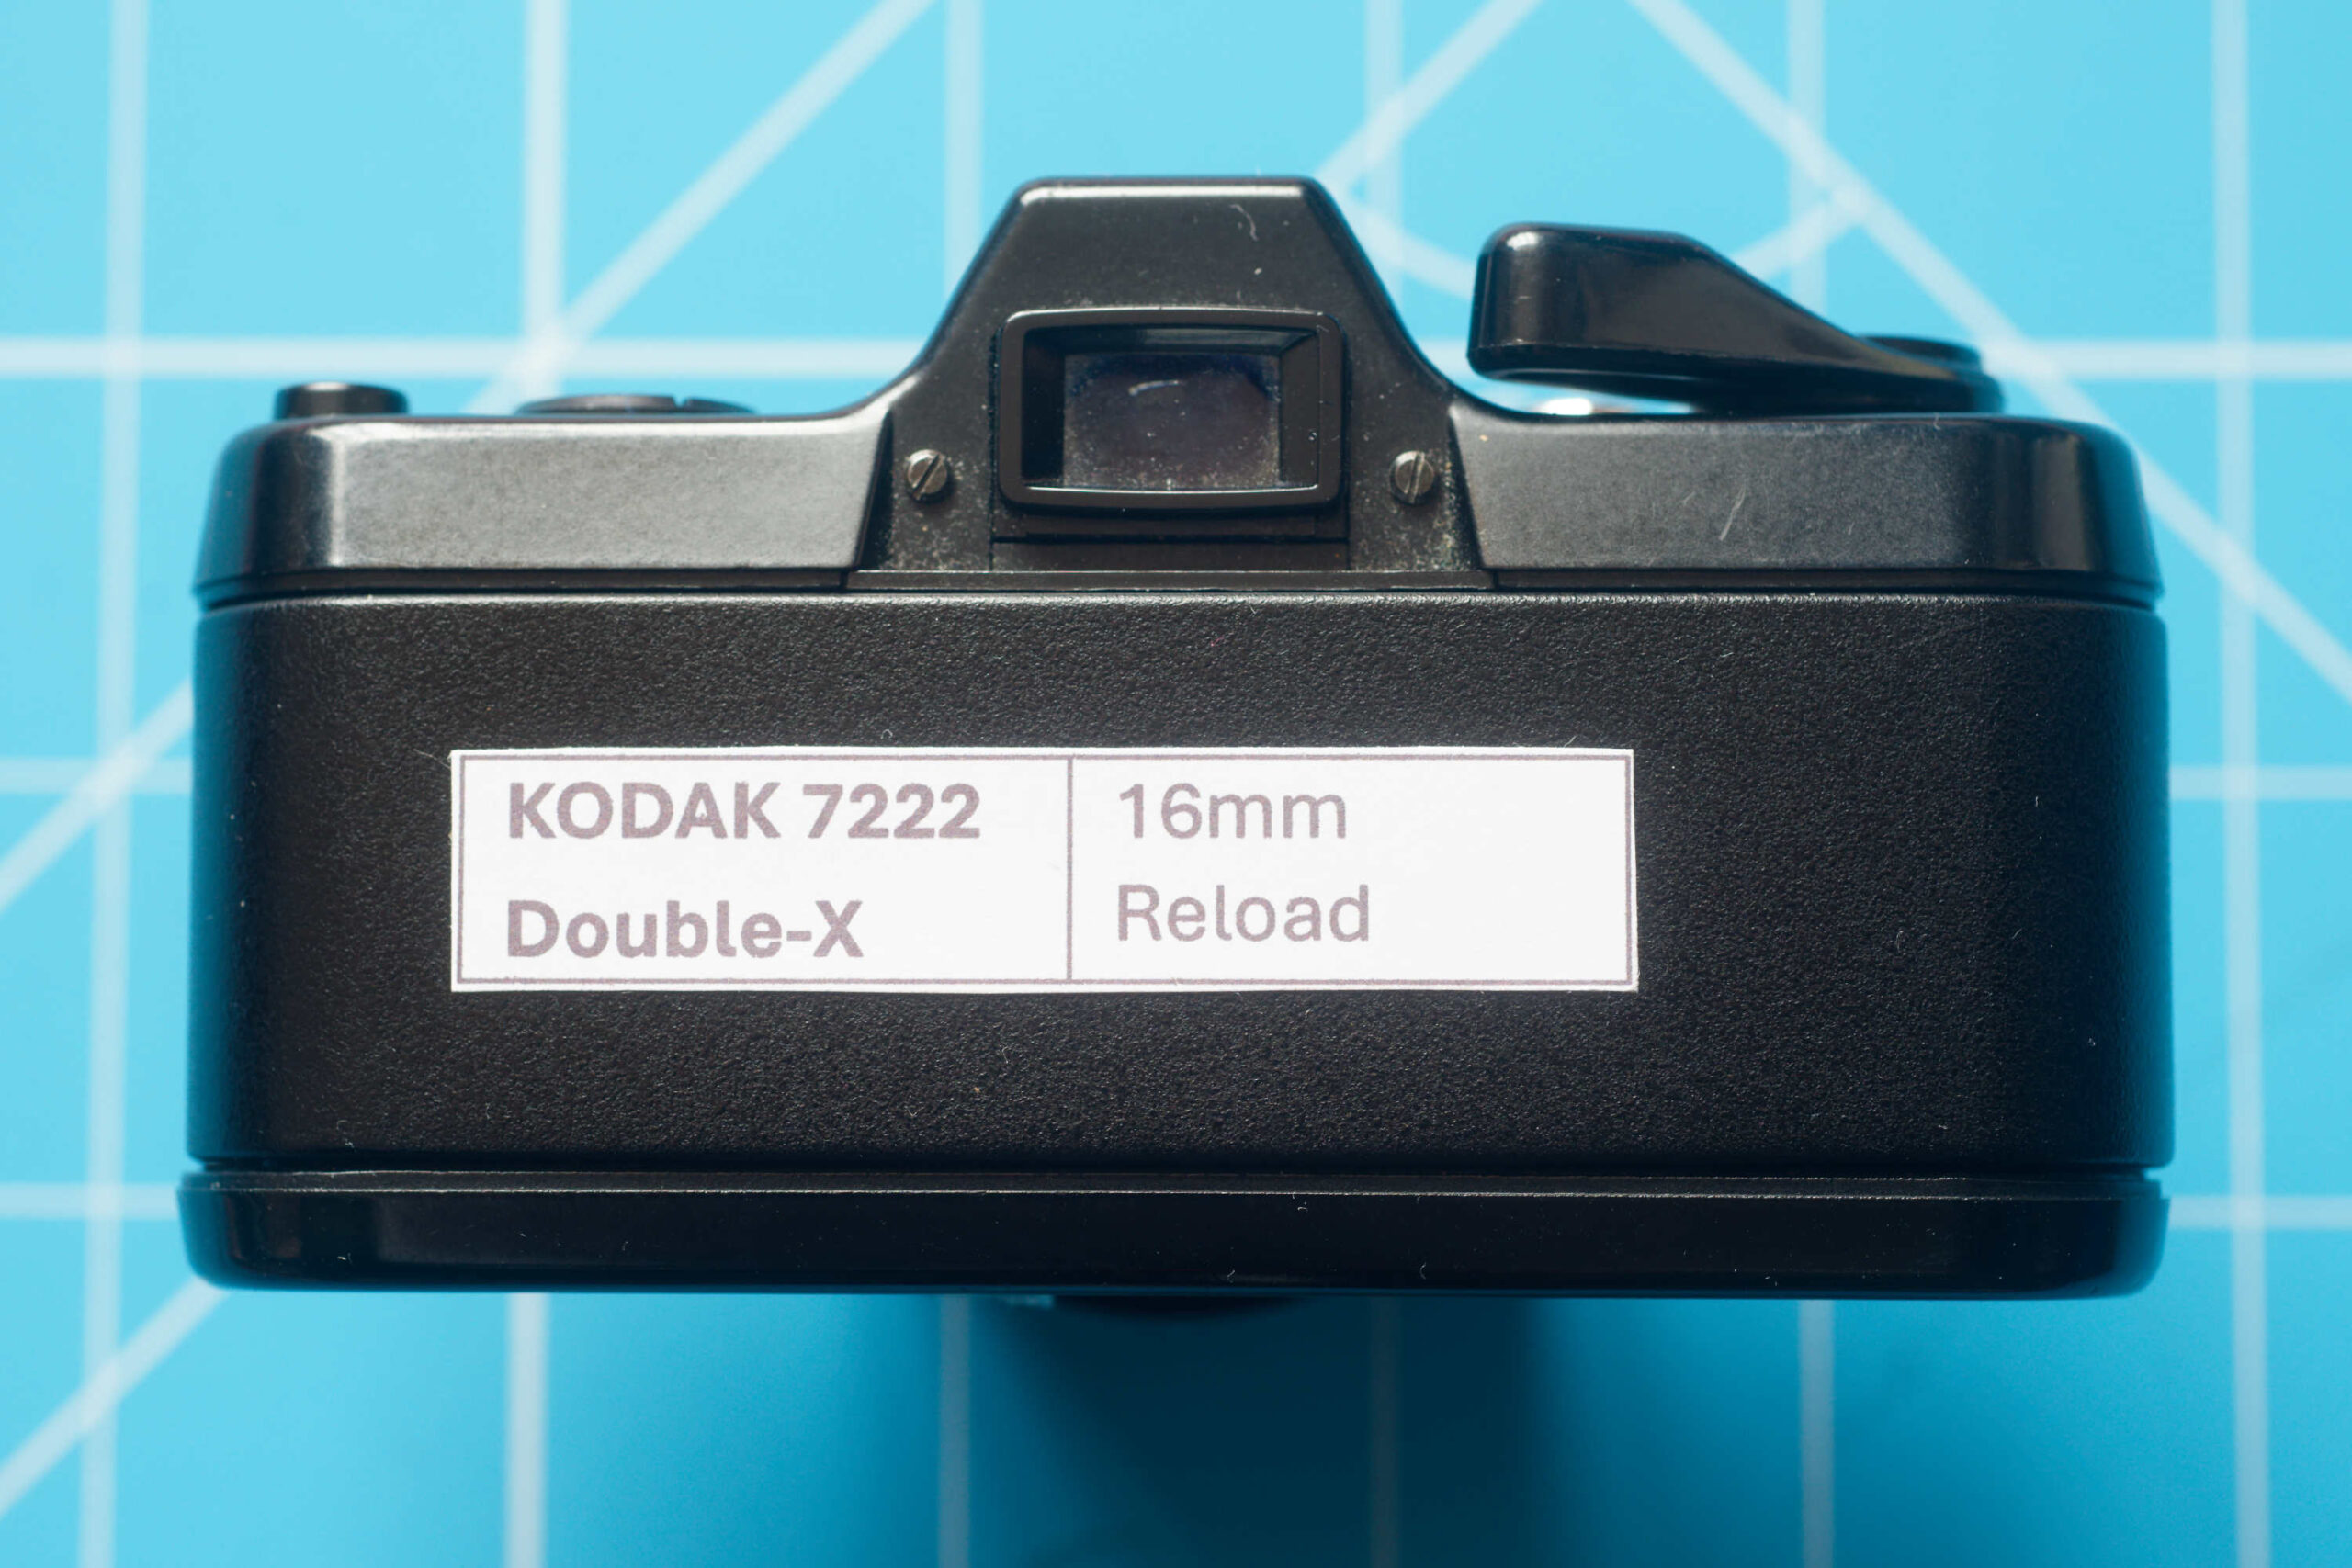
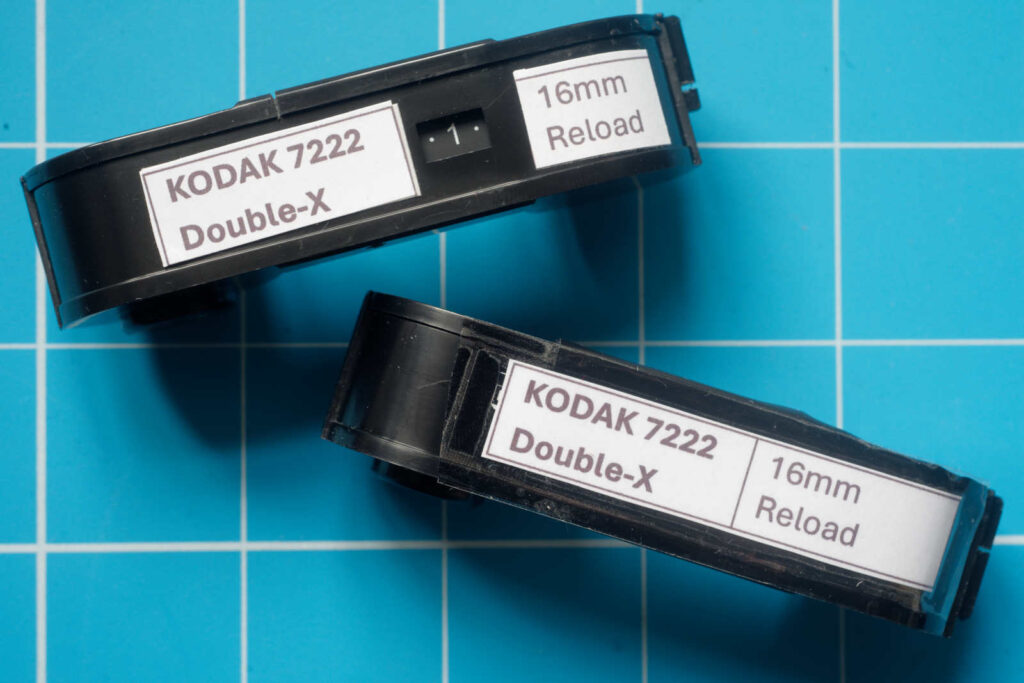
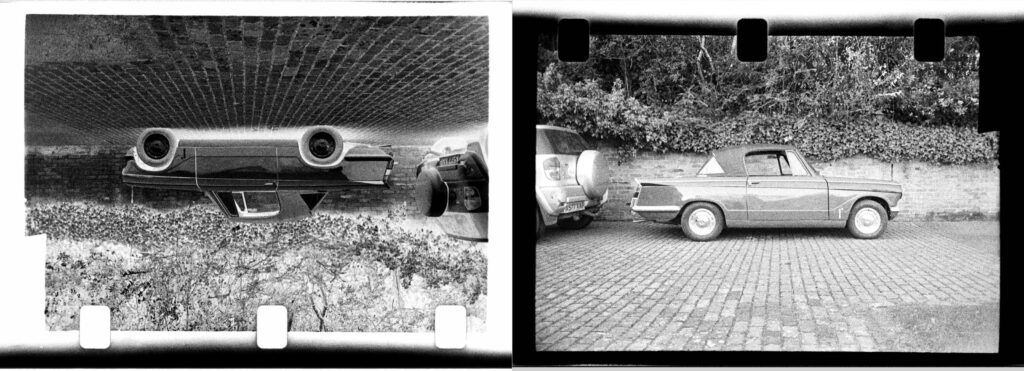
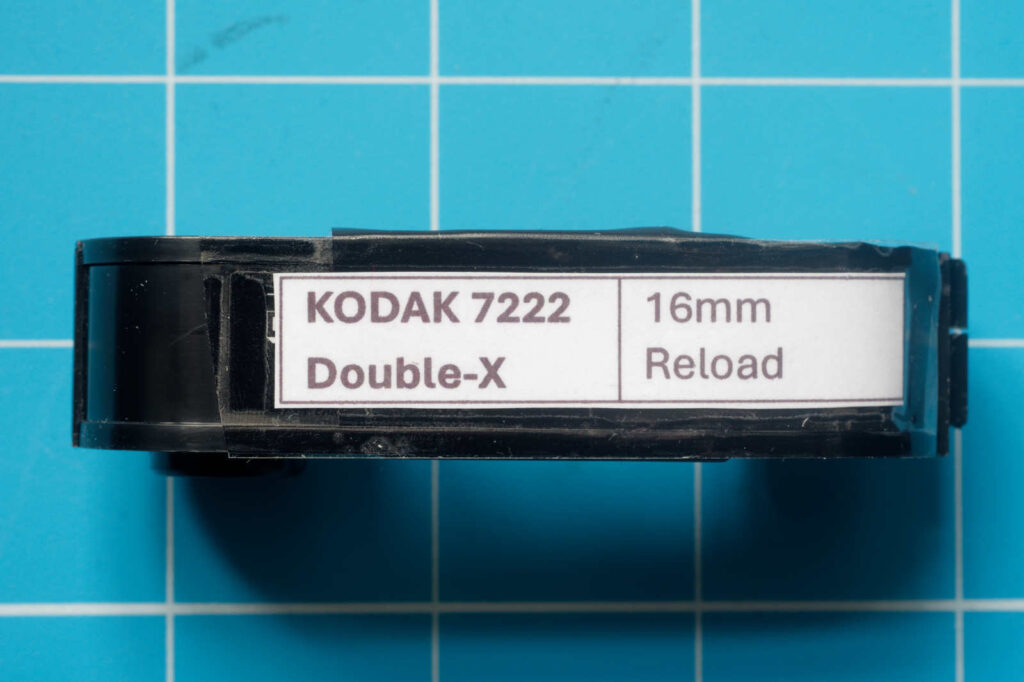
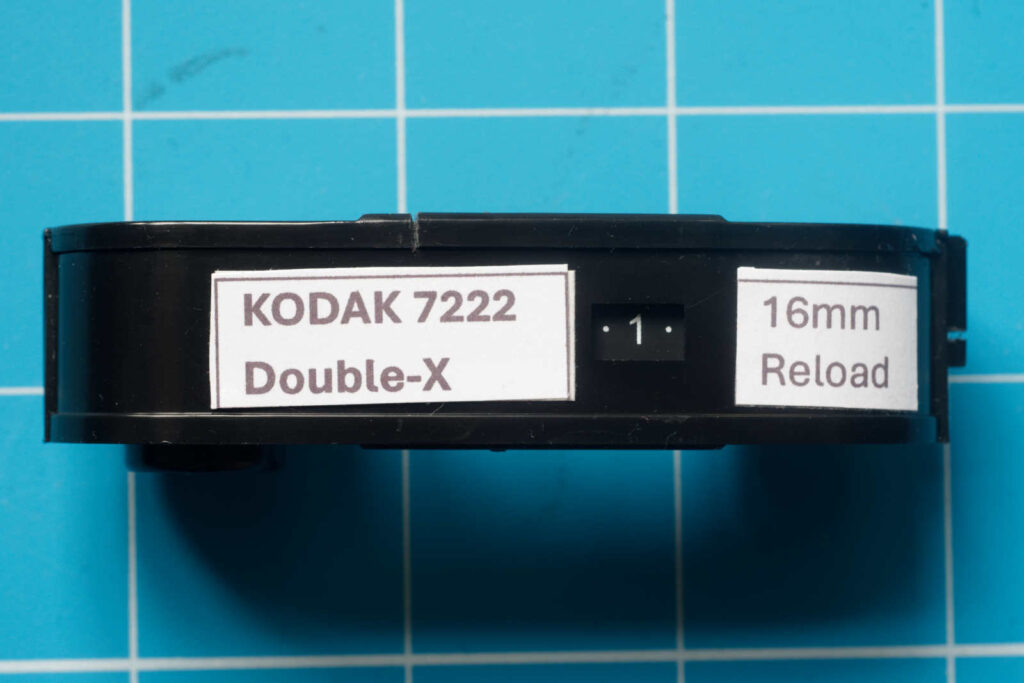
I’m using a standard Kodak 7222 Double-X 16mm negative film. This is ‘single perf’ which can be seen from the following shots. I picked up my Double-X for experimentation at a reasonable price at an auction site a while back. The film is available commercially in the UK for about £55 for the 100 ft roll. Double-X is nominally rated at ISO 250, so should push or pull to ISO 100 or 400 relatively easily. I was pleasantly surprised that my film development App had Double-X listed. Consider how you feel about visible perforations before opting for Double-X or microfilm or cutting down larger format films.
Results
So, first off, it turns out that exposed and developed film isn’t quite as light-proof as I’d hoped. Using my Mk1 cartridge, the first five exposures showed a characteristic stripe down the middle of the film, in just about the position that I’d positioned the seam. However, the next 38 exposures off the roll, showed no light leaks (so I got 43 exposures from the roll in total). Rather than using exposed film, I should maybe have used a strip of backing paper.


The Pentax with reloaded cartridges
The Pentax Auto 110 works well with reloaded cartridges, although you do need to work out a discipline on winding on. Two strokes of the wind-on lever gets a reasonable distance and the gap gets bigger as the film progresses. I found myself leaving the film unwound after an exposure. No threat of double exposures as the shutter isn’t cocked until the film is wound on. I would tend to try to shoot, and if it wouldn’t, I’d wind on and shoot. Those of us who try this sort of ‘analogue hack’ are fairly used to accepting such compromises.
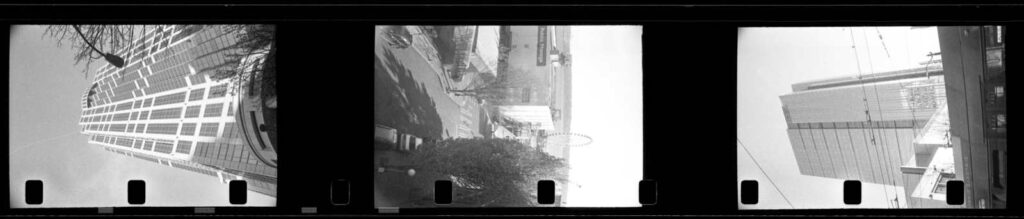
Pictures
Mk1 cartridge, (no backing paper)
As the re-used Orca cartridge was tabbed for low speed, I pulled the processing for Double-X by 1⅓ stops.
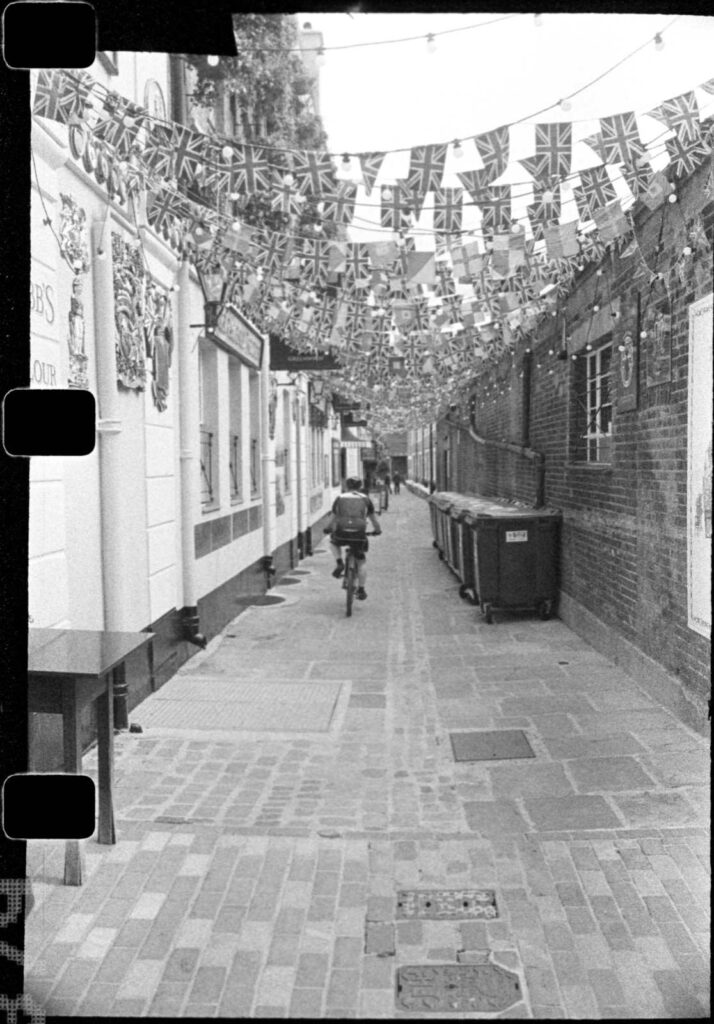
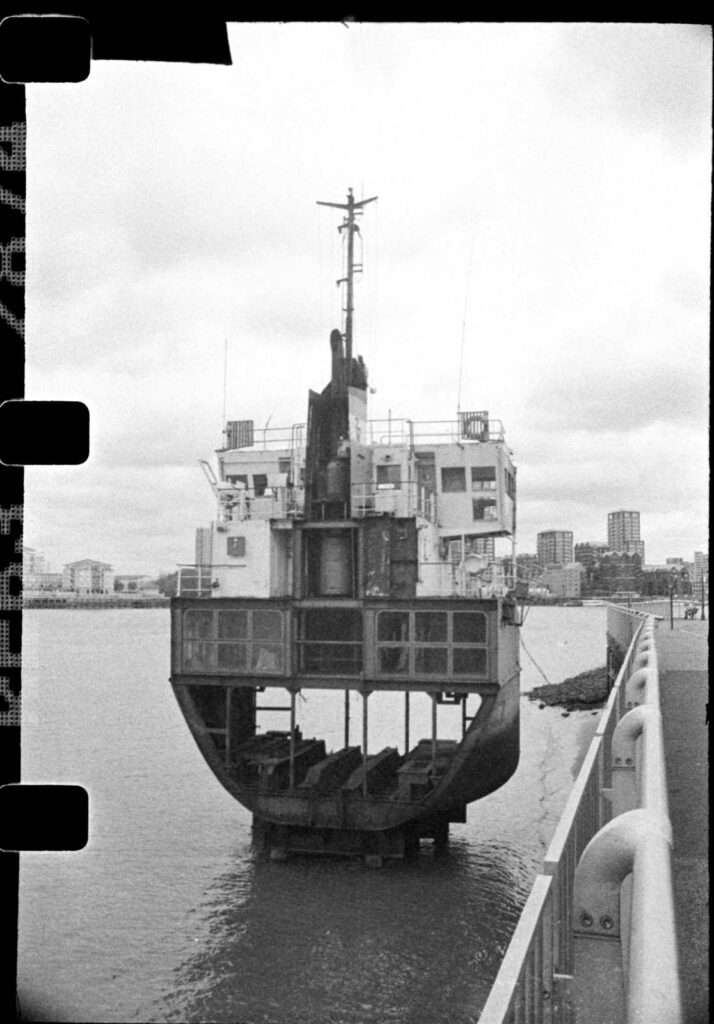
Mk2 cartridge (sealed exposed film chamber, with backing paper, perforations loaded uppermost)
As the Fukkatsu cartridge has a high-speed cut-out and the Pentax Auto 110 has a sensor, I developed this batch of film at ISO 250, which is box speed for Double-X.

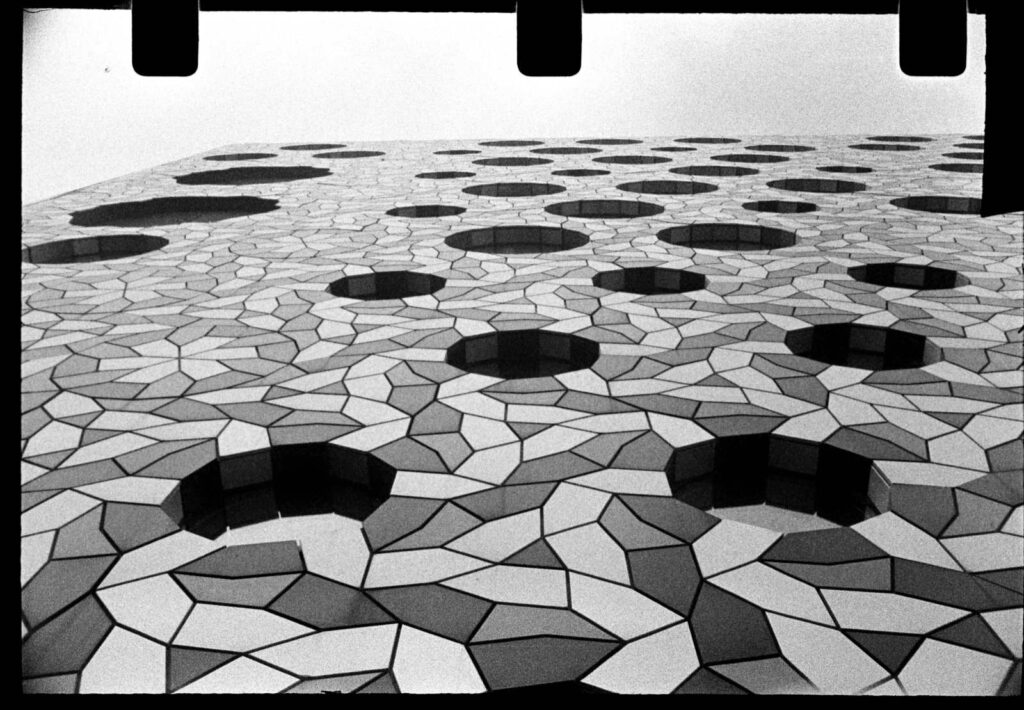
Mk3 cartridge (both chambers open, with backing paper, perforations loaded uppermost)
As the re-used Agfa cartridge was tabbed for low speed, I pulled the processing by 1⅓ stops.
Conclusions
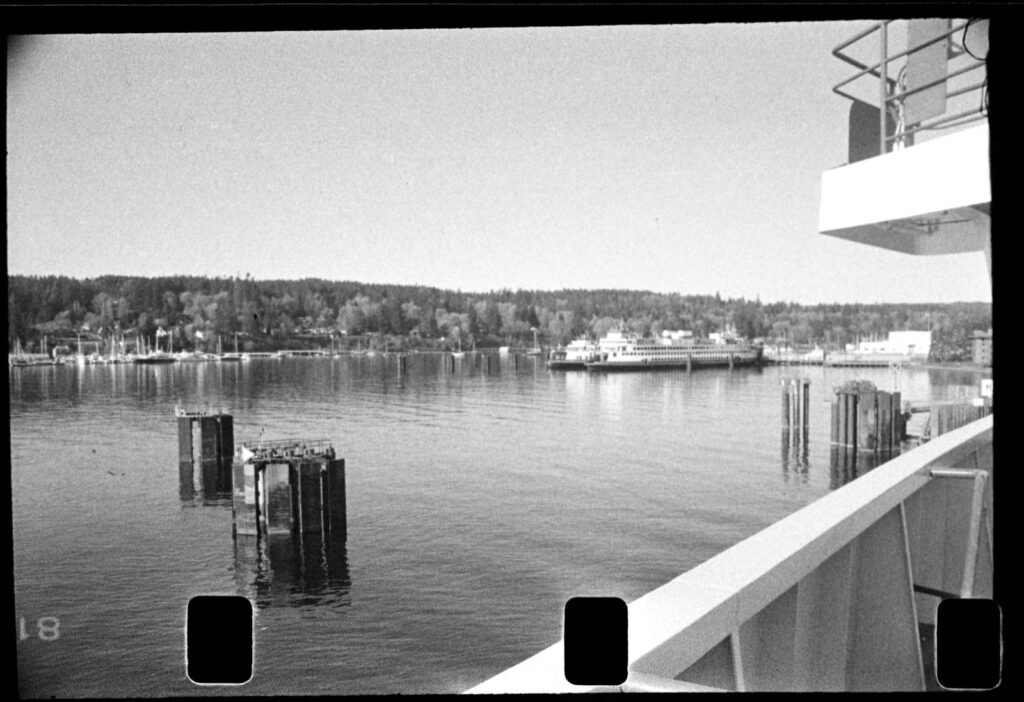
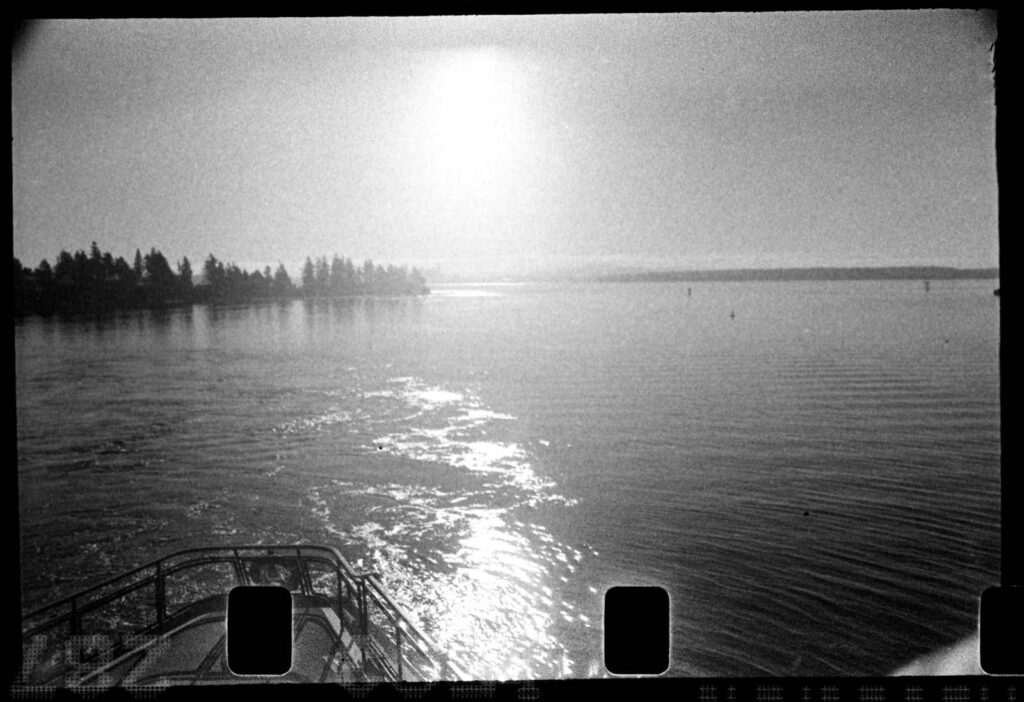
On the whole, quite successful. All variants were suitably light-tight (or could be made to be). The Mk2 and Mk3 cartridges even survived two trips through airport scanners on the way to Seattle and back.
If you have experience using re-loaded 110 cartridges, or if you are inspired to try your own ‘analogue hack’, please let us know how you got on.
Share this post:


Comments
Joshua Alcock on Perfecting the 110 re-load
Comment posted: 20/06/2024
I'd love a bulk roll of 110....
Comment posted: 20/06/2024
okto on Perfecting the 110 re-load
Comment posted: 20/06/2024
Not sure where you got the idea that they’re different.
Comment posted: 20/06/2024
Dana Brigham on Perfecting the 110 re-load
Comment posted: 20/06/2024
Comment posted: 20/06/2024
Tony Warren on Perfecting the 110 re-load
Comment posted: 20/06/2024
My slitter mentioned has saved me quite a bit on film and I can recommend it. A 120 film is about the same price as a 24 exposure 35mm and supplies three lengths of 16mm. The length gives 18 or 19 exposures per film.
All in all, sub-min is a very engrossing and satisfying branch of this activity of ours. I nearly said 'hobby' but I think it is more important to us than that.
Thanks Bob.
Comment posted: 20/06/2024
Comment posted: 20/06/2024
Alexander Seidler on Perfecting the 110 re-load
Comment posted: 21/06/2024
Comment posted: 21/06/2024
Michael Zwicky-Ross on Perfecting the 110 re-load
Comment posted: 21/06/2024
Comment posted: 21/06/2024