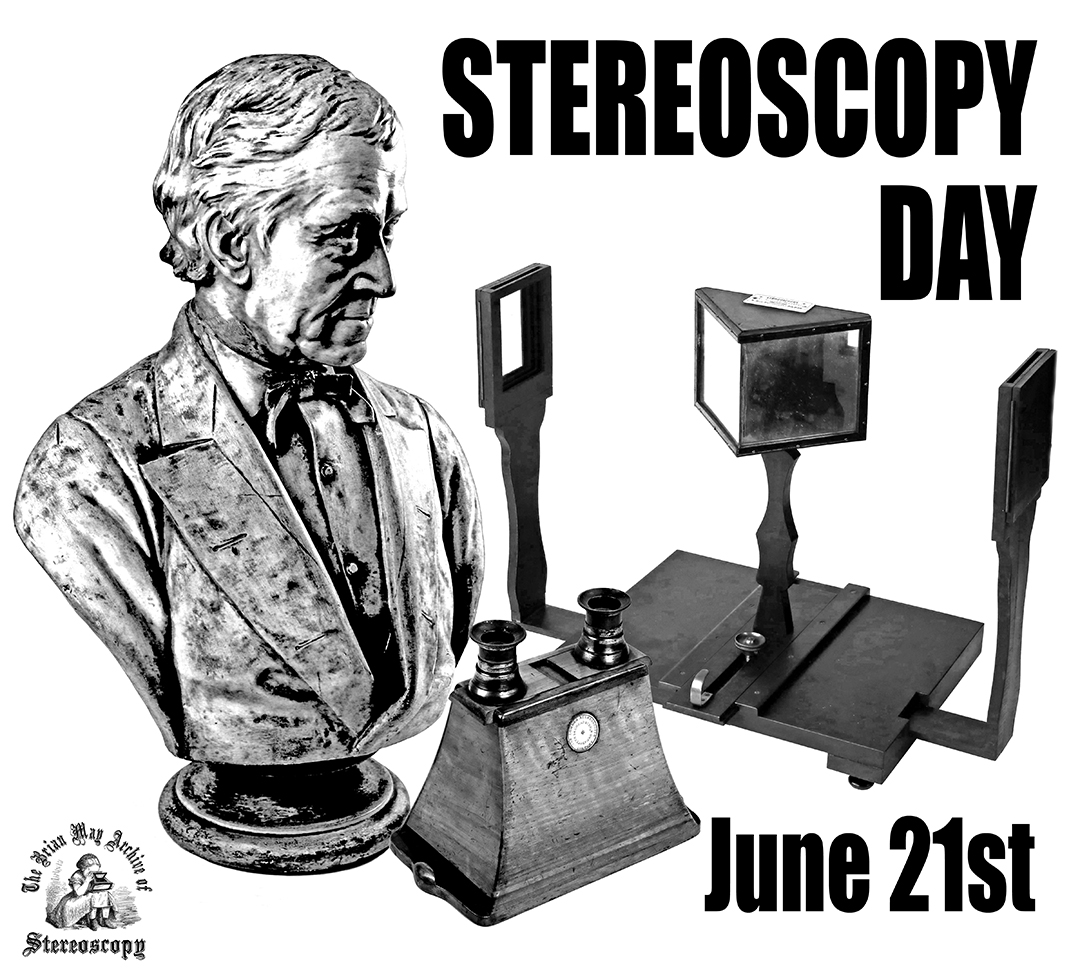
Today, June 21st 2024, is the 3rd International Stereoscopy Day, 186 years since inventor Sir Charles Wheatstone first presented his mirror stereoscope and theory of binocular vision to the world. To celebrate, I’d thought I’d invite everyone to try and take their own stereoscopic 3-D photos with almost any camera by giving a brief overview tutorial.
What is a Stereoscopic 3-D Photo?
With binocular vision, each eye sees the world from a slightly different perspective due to the distance between them. If you hold your hand in front you, and close each eye separately, you’ll see the shift in perspective of your hand, and the difference in the visible background behind it. The brain analyses the subtle differences from each eye’s input, interprets them in terms of depth, and combines them into one 3-D image. Stereoscopic 3-D photos are based on this same principle, recreating what your eyes are doing. I’ve previously written an introduction to stereoscopy and several of its applications here.
There are different techniques available to capture stereoscopic 3-D photos, relying on a left-hand image and a right-hand image taken from two slightly different perspectives, so you can present each photo to each eye separately and see the 3-D image. If you cannot see in 3-D, which is not uncommon, you can also present the two images by quickly switching between them, almost like a flipbook, as a way of perceiving the differences in depth between them.
Single-Lens Camera 3-D Photos
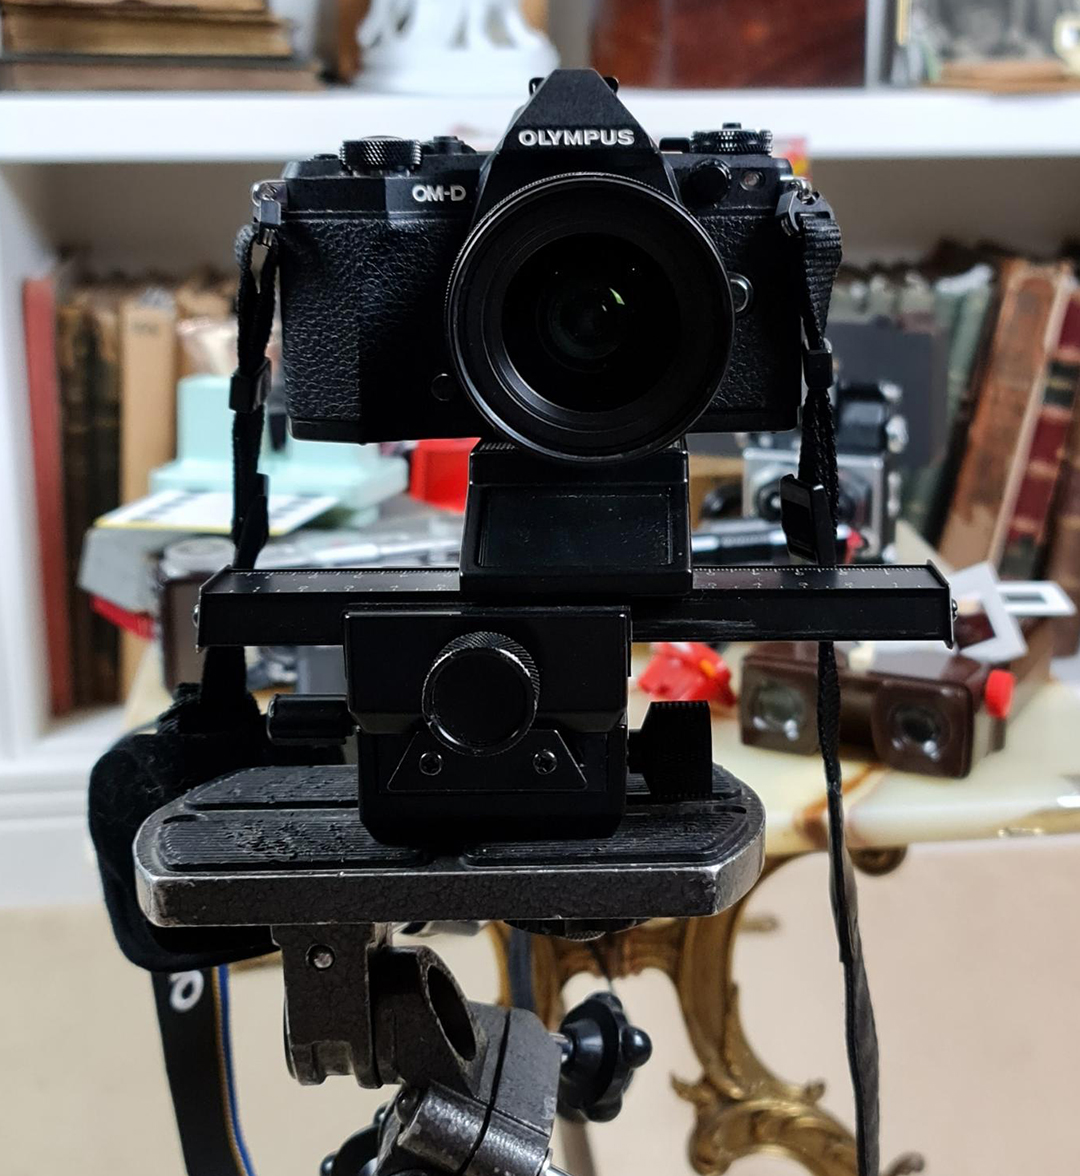
If you have a single-lens camera, such as your phone, a DSLR, or a 120 camera, you can take a left-hand image, move the camera to the right, and take a right-hand image. You can find a full tutorial here.
There are a few tips to help take good quality 3-D photos from sequential images:
• Check your subject: Make sure the scene has different layers of depth, try to keep it in the centre, and check for anything that is in front of it which may disturb the 3-D effect.
• Try to make the 3-D depth comfortable: A general guide is to slide the camera from left to right 1/30th of the distance it is from the subject. Move it too little, and there won’t be much depth, move it too much, and the depth can be too much, exaggerating and distorting the subject, or the brain not being able to fuse the images. (I personally tend to exaggerate though!)
• Try and use a large depth of field, so all the different layers of depth are in focus.
• Keep the camera level for both shots.
• Try to make sure there isn’t movement between photos: if you’re taking a portrait, ask the model to hold still. If you’re on a busy street, the movement behind might be distracting and affect the fusing of the photos.
• Keep the camera settings the same for both shots.
Explanations with examples for each tip can be found here. You can also read about Sroyon’s own first experiences with taking sequential 3-D photos here.
Mirror attachments are available for single-lens cameras, often called beam-splitters, which will allow you to take the left and right photos simultaneously. They were usually made for specific film and digital cameras, so it’s worth checking which they fit before purchasing. You can also still find some being made for mobile phones. They work by splitting a single photo frame into two halves using mirrors. I personally have had mixed results, including from the quality of the images, the depth, and the tendency of the mirrors to cause distracting reflections.
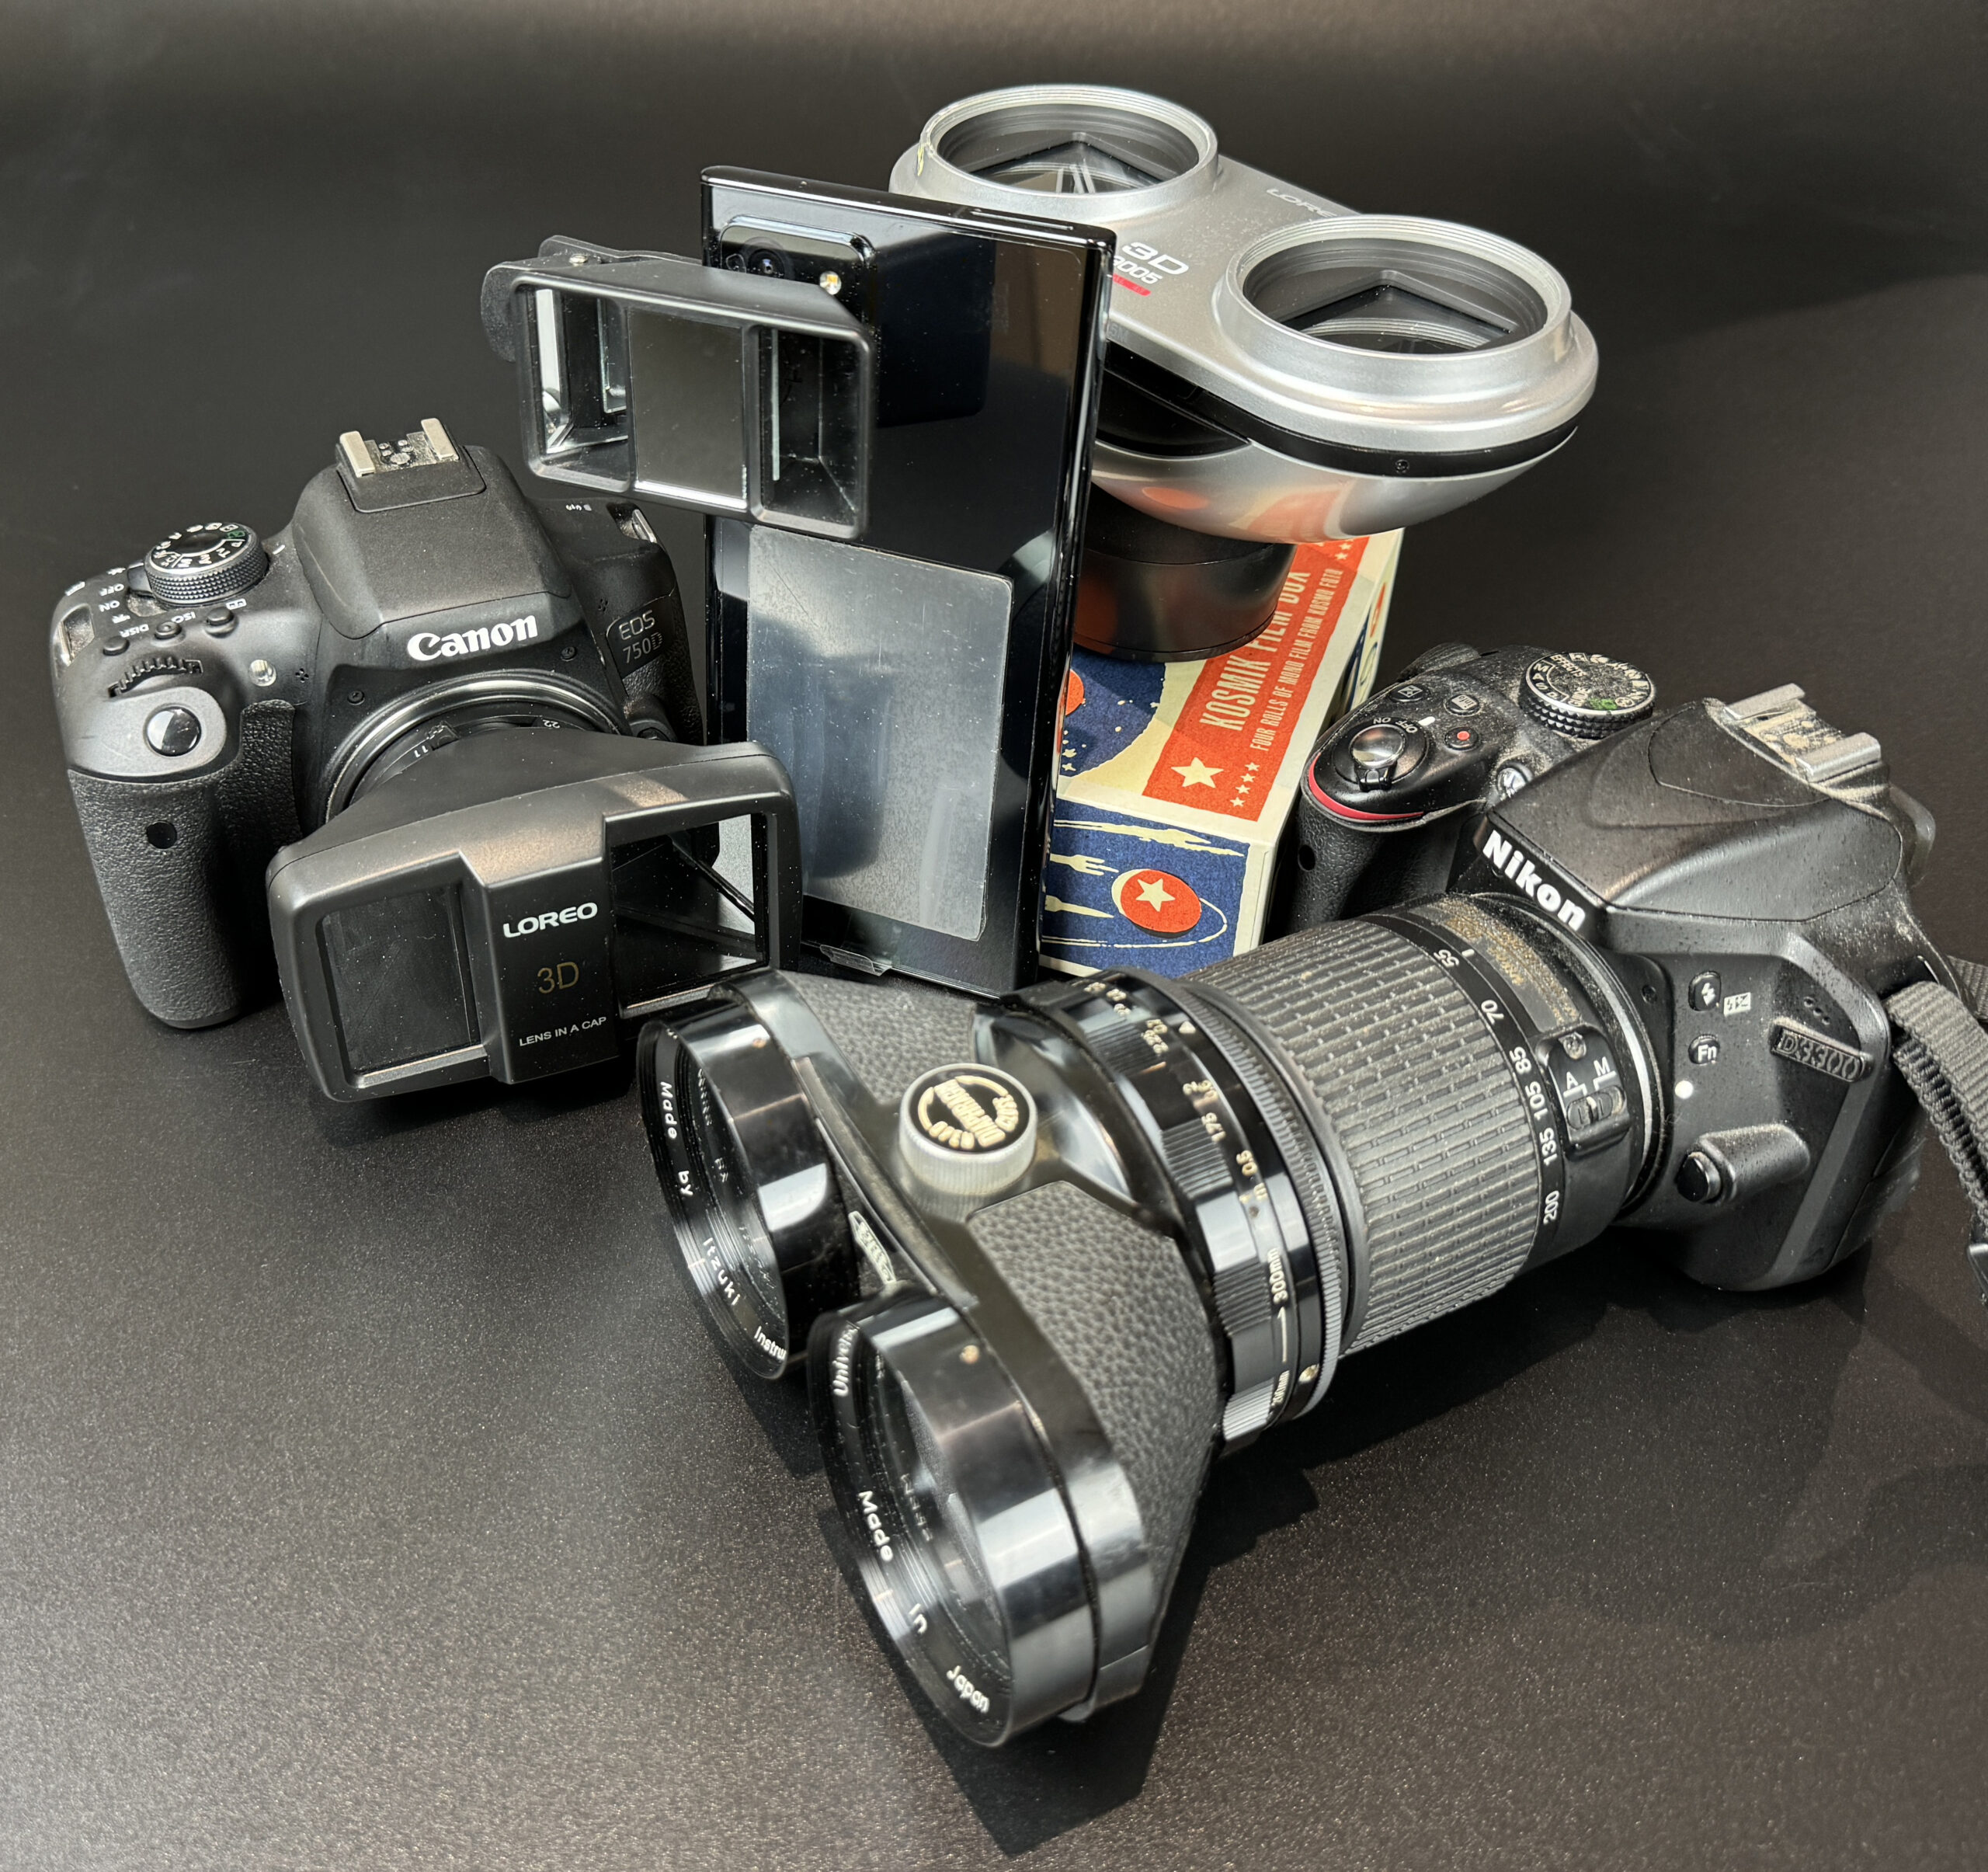
I’m going to cheat a little and mention a very recent development, which is the ability of the iPhone 15 Pros to be used as stereoscopic video and still cameras via their Spatial Video capture. A step-by-step guide can be found here.
Twin-Lens Camera 3-D Photos
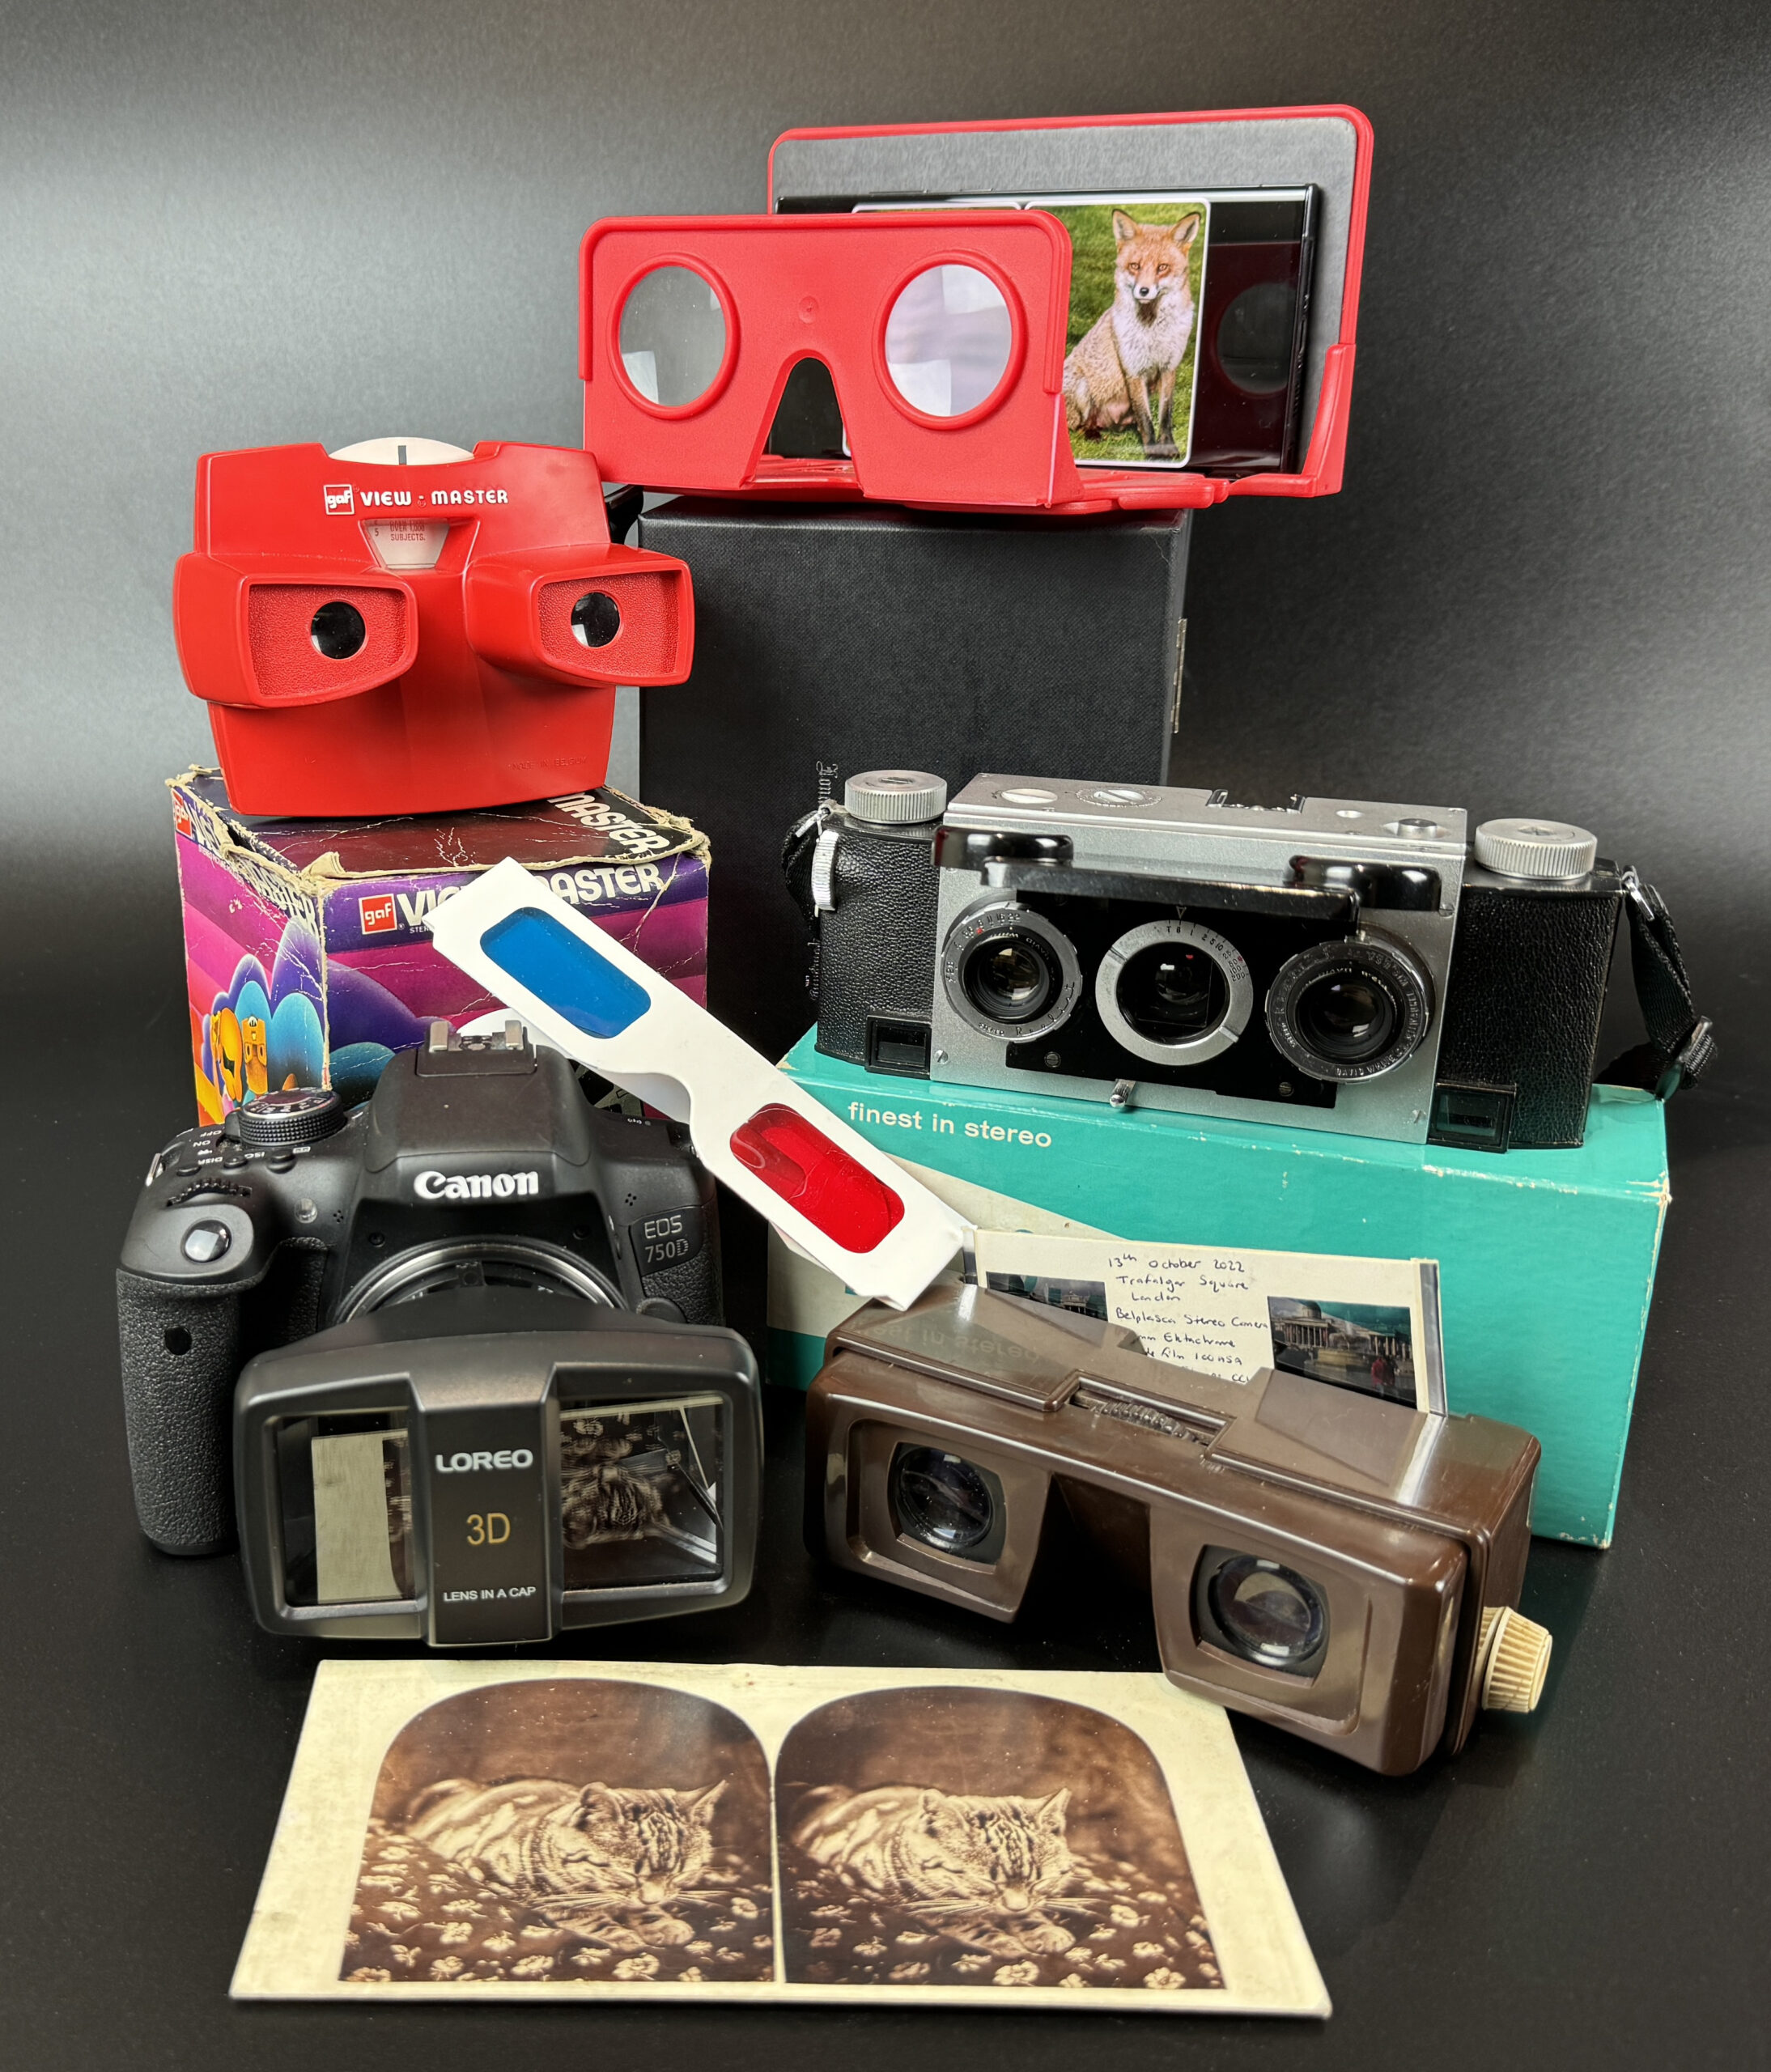
Whilst you don’t need to purchase a special camera to make 3-D photos, twin-lens, or binocular, stereoscopic cameras are available in both digital and analogue forms. Some are also still being manufactured today, albeit not with a great amount of choice. These binocular cameras have a fixed distance between their two lenses, which fire simultaneously, allowing for instantaneous stereoscopic photography.
The fixed separation between the lenses means you need to be a certain distance away from the subject for a good 3-D effect; if you’re strict with the 1/30th rule, which is a general rule of thumb for good 3-D depth, a lens separation of 7cm, for example, would work best with a distance of 2.1m from the subject. However, this is down to personal preference for the end result, and also how you intend to share the images. If you’re enlarging them through projection, then exaggerated depth may cause a headache as your brain finds it difficult to fuse them, and the 1/30th rule is a useful guide to help. If you’re sharing them as ‘standard format’ stereocards (see below for more details), then you don’t need to be so strict as they’re easier for your brain to fuse.
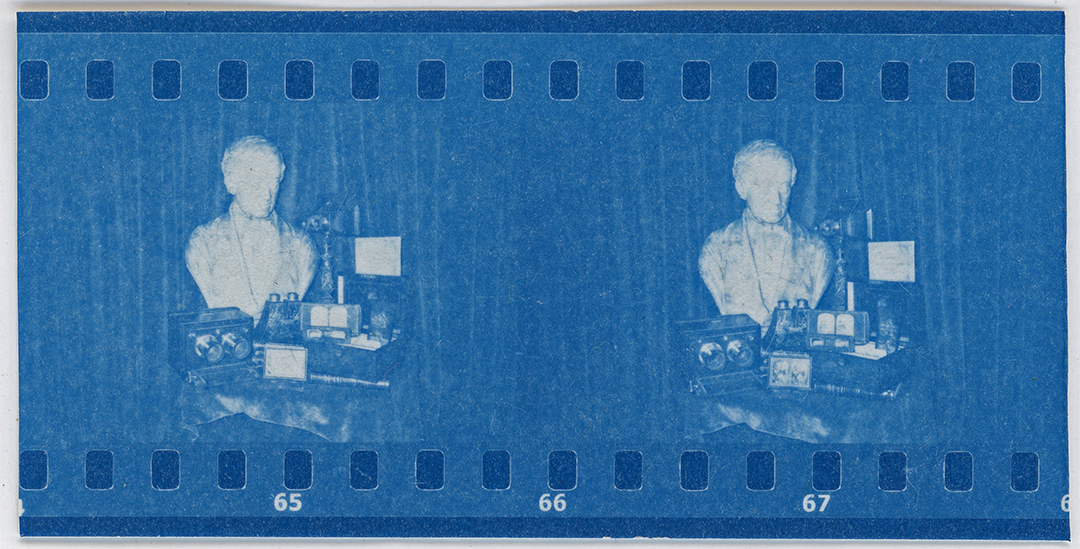
There was a real boom of stereoscopic film cameras in the 1950s, and you can still easily find them second-hand today, with differing prices. The most popular was the 35mm Stereo Realist camera, and one of my personal favourite 35mms is the Iloca Stereograms (also called the Stereo Rapid), which is so much easier to wind on, and produces great results.
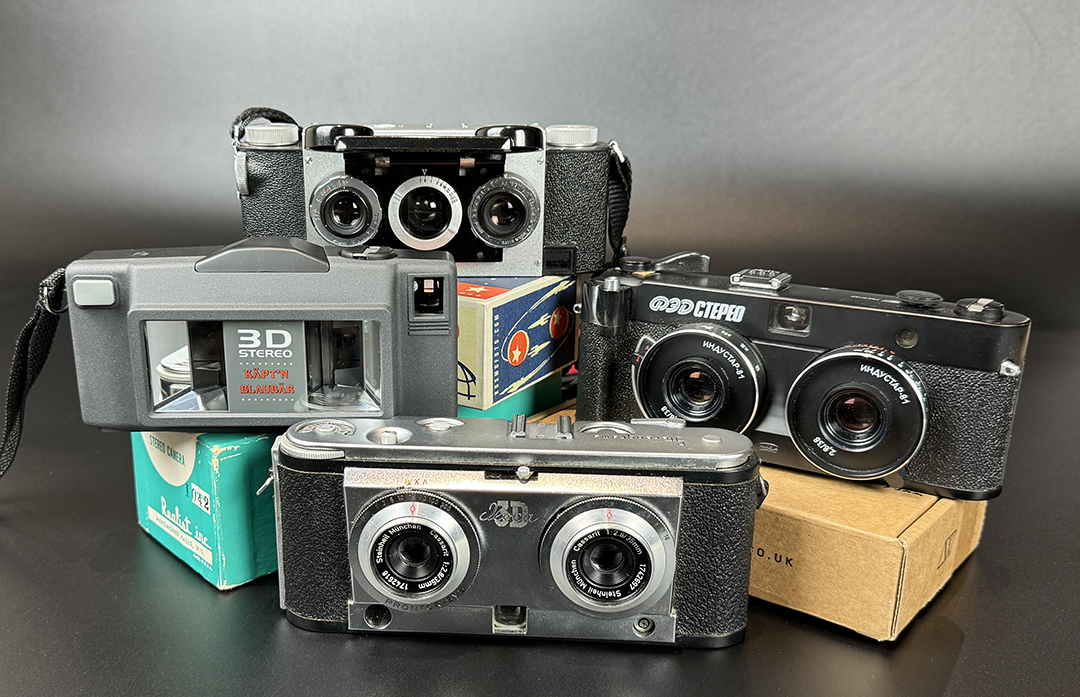
One of the most readily available second-hand 120 stereo cameras is the Sputnik, which, whilst being quite primitive, can produce great results, but can suffer from light-leaks due to its Bakelite casing. Currently still being manufactured is the Minuta Stereo Pinhole camera (which can also be adapted to 35mm), which is on-trend as stereoscopic pinhole photography has recently been covered by Sroyon at 35mmc and Nick at Pinholica.

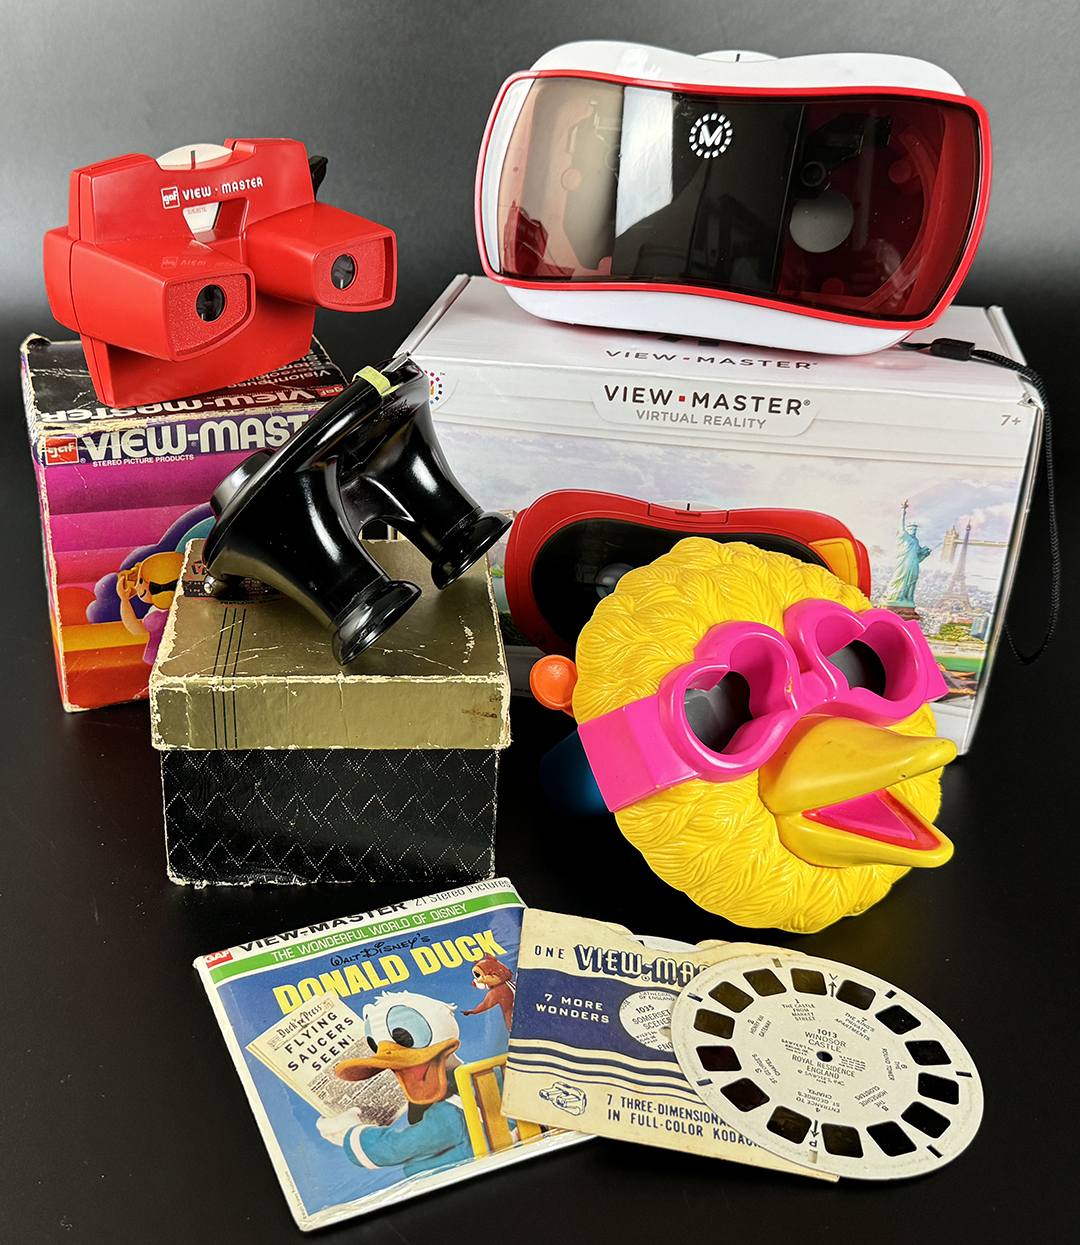
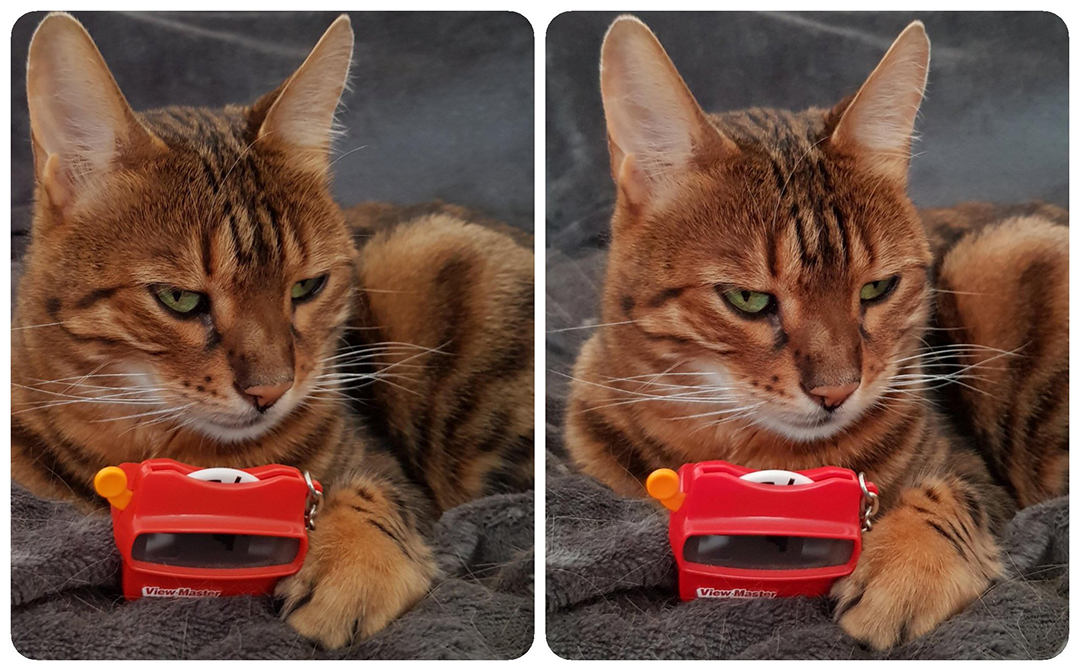
Around 2009, there was a surge in popularity of stereoscopic photography with the release of the 3-D Avatar film, which brought with it some great digital stereo cameras. The FujiFilm FinePix Real 3D W1 and W3s had twin lenses and lenticular screens, allowing you to see the images in 3-D immediately without glasses. You can still find these second-hand, and they hold their value well, reflecting their continued popularity. Currently available is the Kandao QooCam EGO digital stereo camera, which has a clip-on viewer, similar to the View-Master, which also allows images and videos to be seen immediately in 3-D. Acer are releasing a new stereoscopic camera later this year, the SpatialLabs Eyes.

I’ve shared quite a few examples of different stereoscopic/single lens cameras and the resulting photos from them here.
How to See, Present and Share 3-D Photos
Taking 3-D photos, perhaps surprisingly, is often the quick and easy part; it can, however, be a faff sharing your images in 3-D and is unfortunately the bit which puts most people off. First, let’s look at how to view the images in 3-D.
I mentioned before, you present each image to each eye separately, and the brain fuses them into a single 3-D image. How you present them to each eye can be down to personal preference, as well as how and if you want to share them more widely.

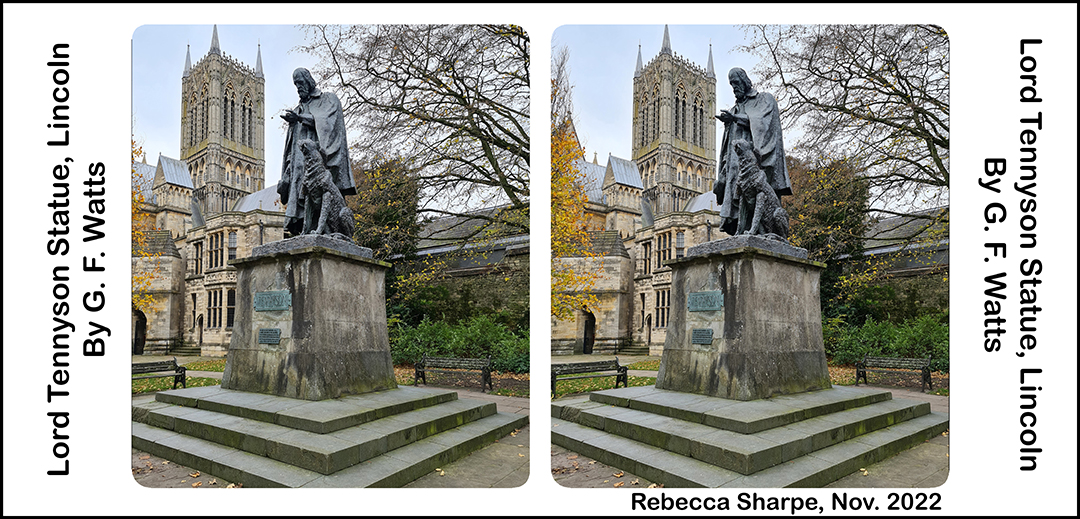
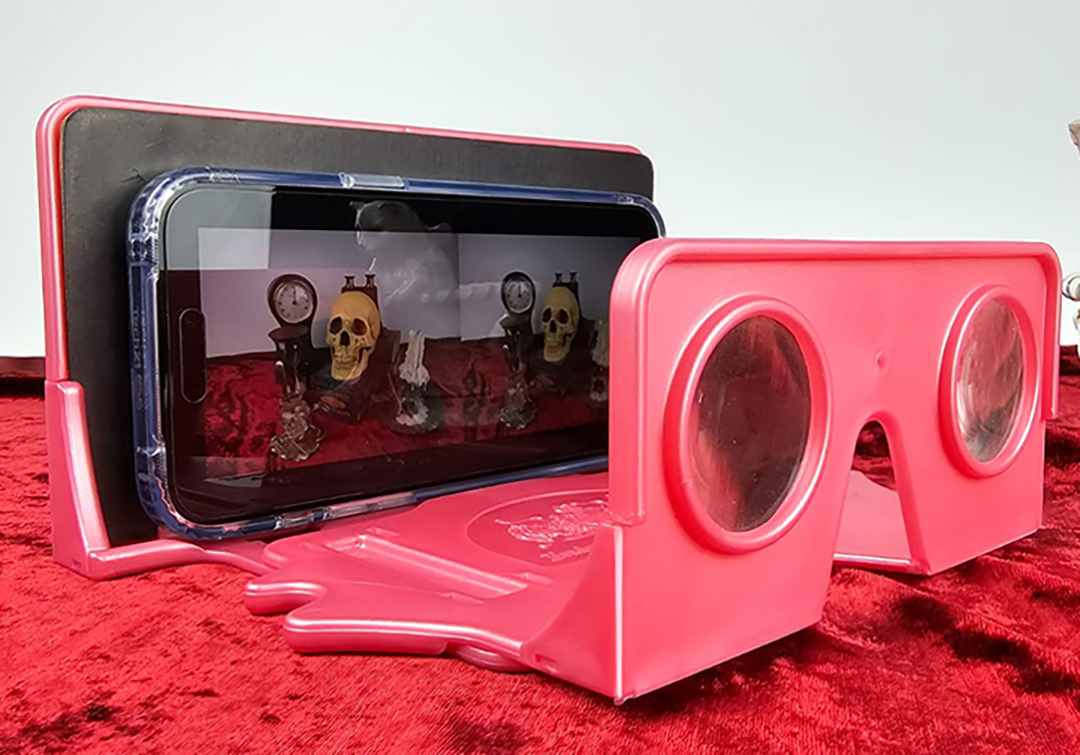
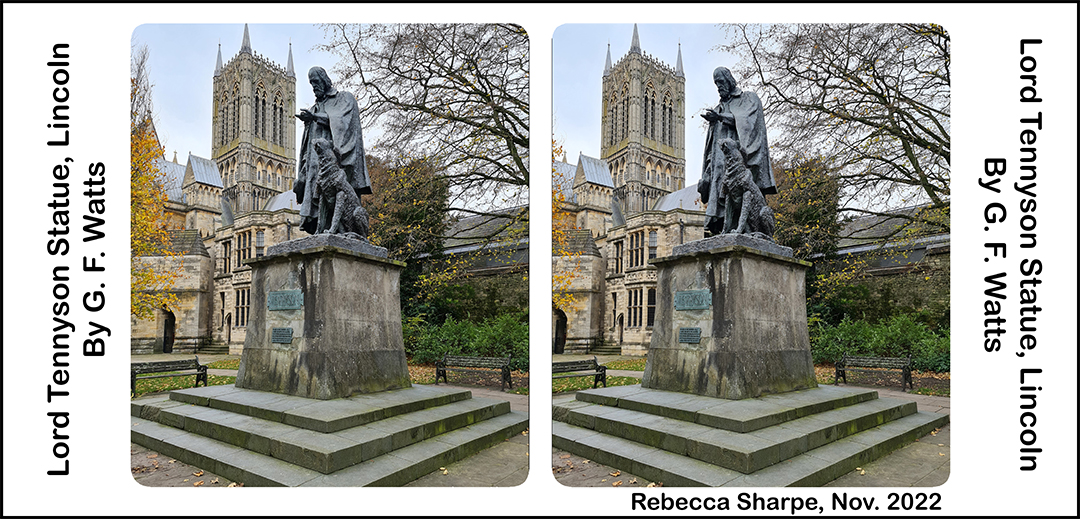
The most common format for 3-D photographs, especially ones from the 19th Century, is as parallel-view side-by-side images. In plain terms, the left eye image is on the left, and the right eye image is on the right. You can try to learn to free-view the images, similar to how ‘Magic Eye’ images were viewed in the 1990s, which this guide might help with. You can also use a viewer to help, such as the London Stereoscopic Company’s OWL viewers, or second-hand 19th Century stereoscopes. These viewers work with standard-format stereocards, which are 7 inches (17.78cm) wide and 3.5 inches (8.89cm) high, whilst the LSC’s OWL viewers can also be used with smartphones.
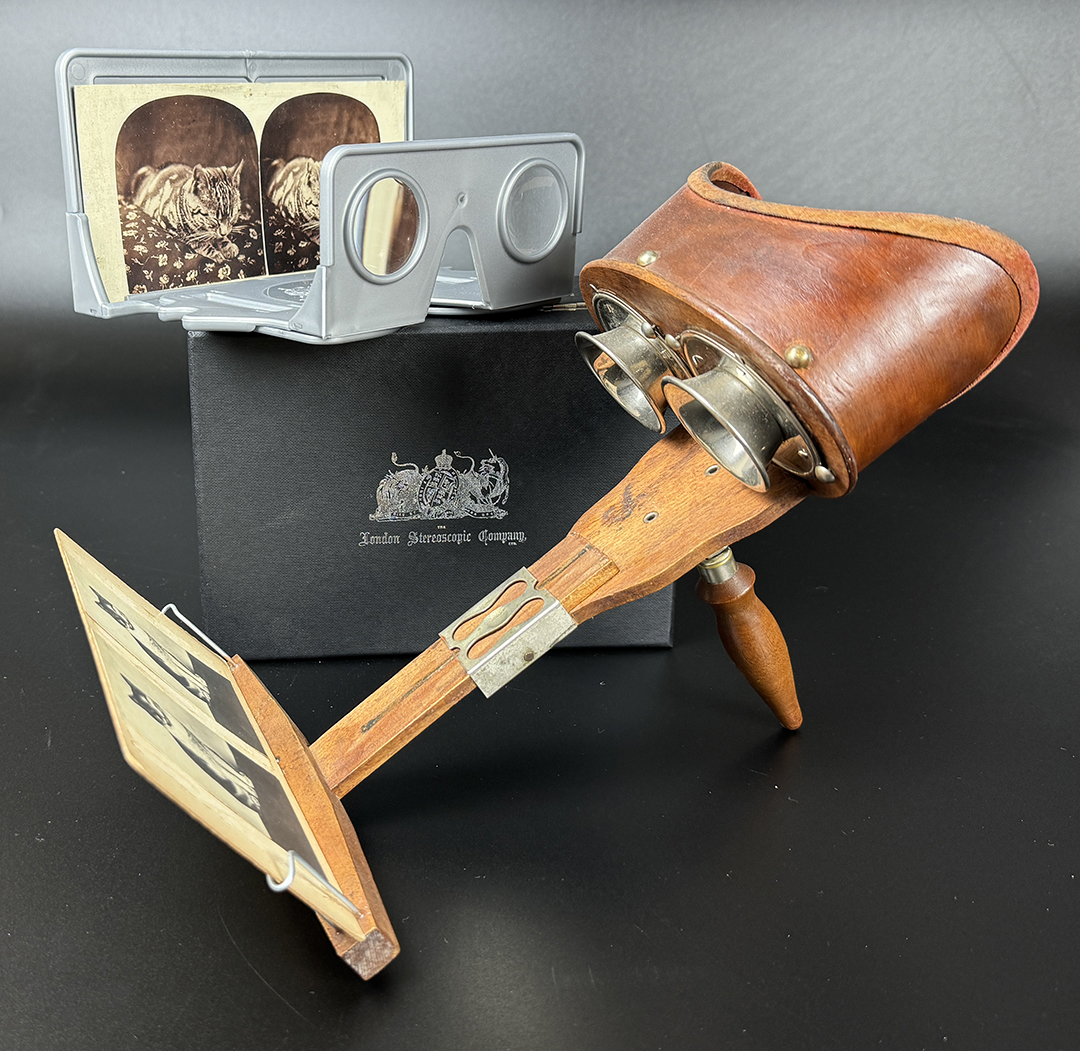
One of the most important considerations with standard-format parallel-view stereoscopic images is the average distance between the human eyes (pupillary distance), which is around 6.3cm, but this varies from person to person. Whilst the printed images can be slightly smaller than the distance between the eyes and still be viewable in 3-D, if you print them much larger, it becomes impossible for the eyes to diverge out to see them, let alone for the brain to fuse them. Keeping this in mind, each stereo half wants to be around 2.5 inches (6.5cm) wide, with a small gap in the middle, but even that is debatable and down to personal preference.
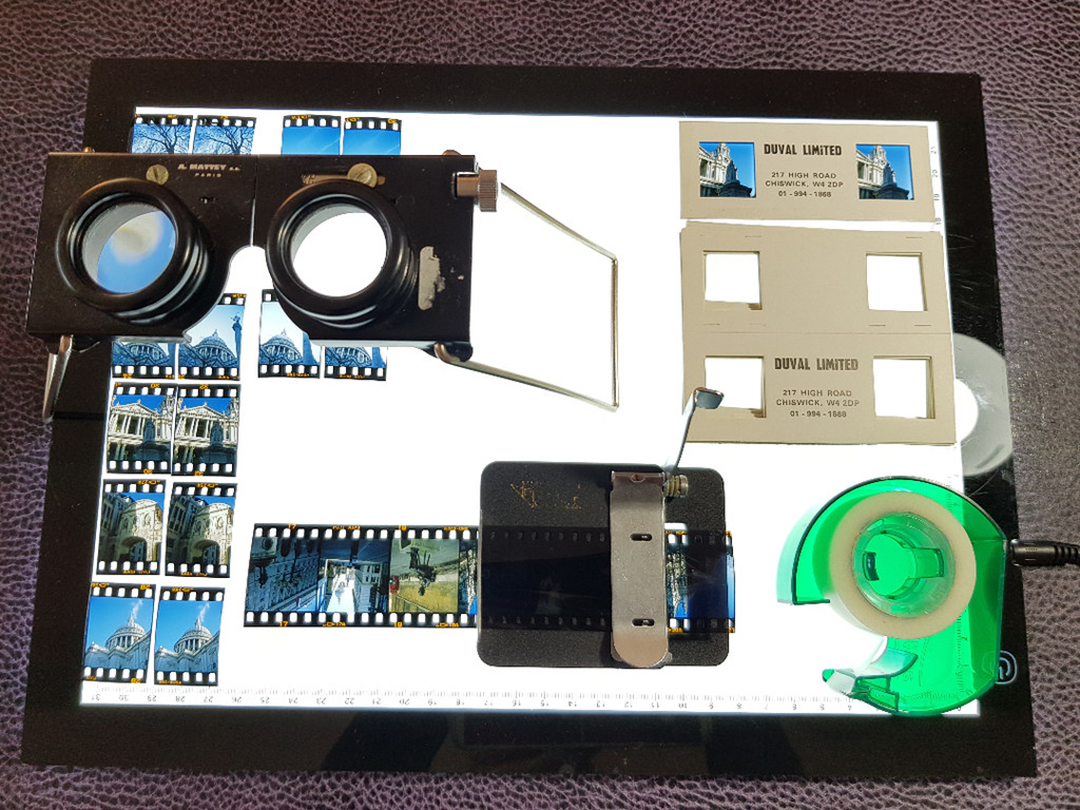
If you’re using slide film, special mounts and viewers can be purchased, depending on the size of the frames. You can find a guide in this post about getting started in stereoscopic film photography.
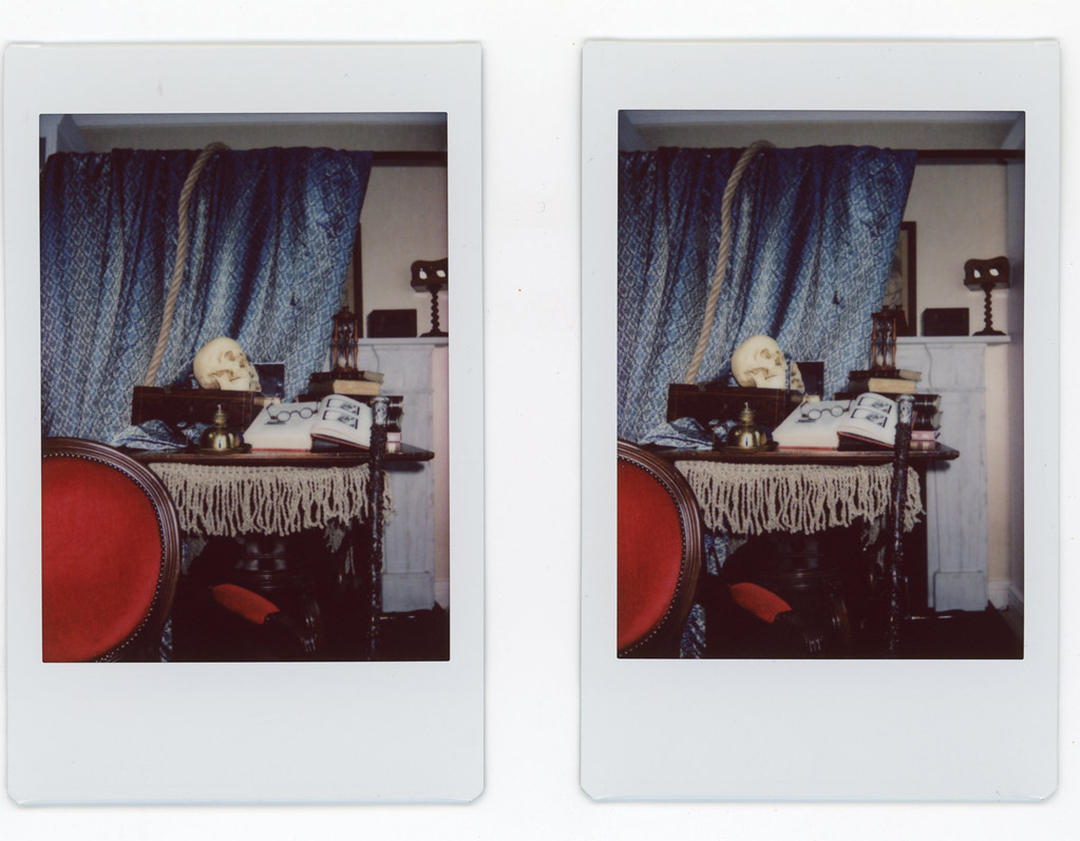
One of my favourite discoveries was using an Instax mini camera to take the left and right images for stereo photos, and finding the size of the prints is great to be able to put them side-by-side and see them in 3-D. I don’t own an Instax Square camera, but the prints look to be a good size to work with too.
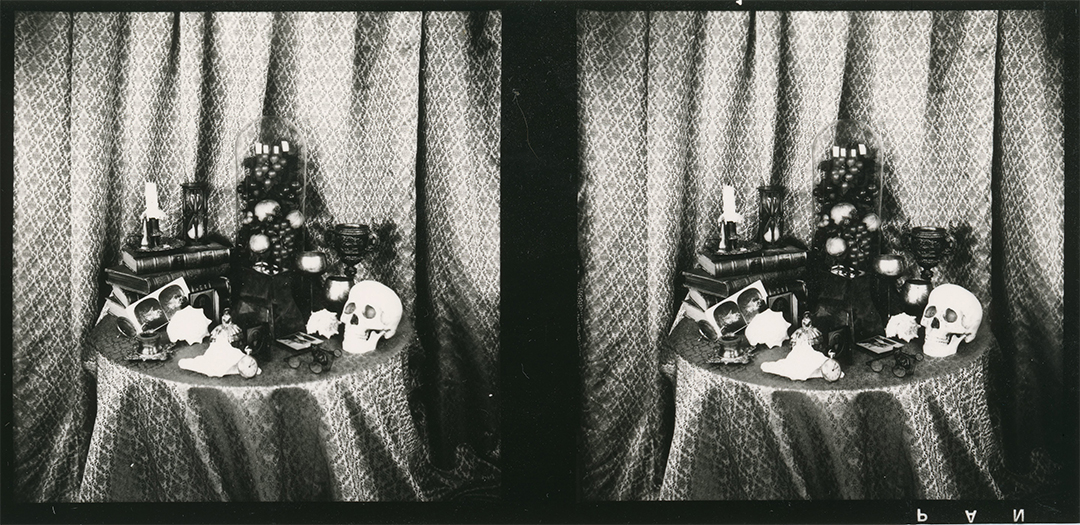
I’ve also made contact prints from 120 and full-frame 35mm negatives, which can be nice formats to view in 3-D. If it’s from a binocular camera, however, you just need to swap the images over if you’re using them in parallel-view. I’ve also made enlargements from negatives and trimmed them afterwards to the right format for viewing.

There are also special stereoscopes which make it possible to see larger-format parallel-view 3-D images, and they usually use prisms or mirrors. You can find some examples listed here.
Another method, which will allow for much larger images, is to make the 3-D photos into cross-view images. This is where the left-eye image is on the right, and the right-eye image is on the left, and the person viewing them goes cross-eyed to see them in 3-D. Some people find this easier than trying to free-view parallel 3-D images and it doesn’t require special glasses.
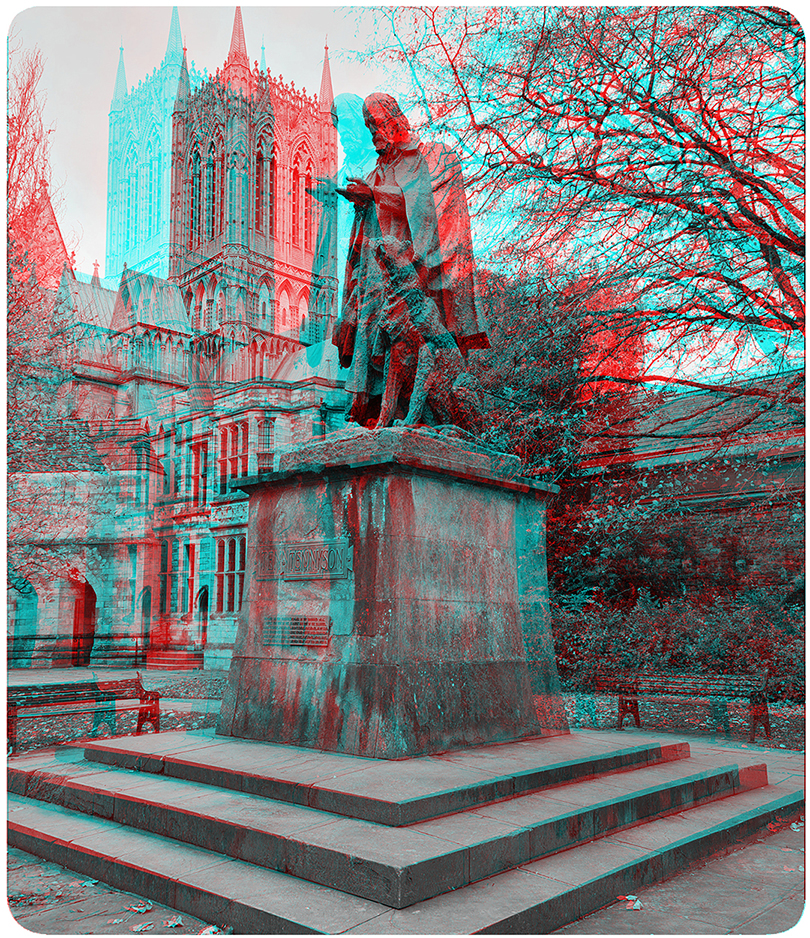
A different method to see 3-D images, which many people are familiar with thanks to comic books, Harry Potter and Dr. Who, is the anaglyph format. The images are filtered through red and cyan glasses, enabling them to be seen in 3-D. I’ve written a step-by-step tutorial for how to do this with Photoshop, and apps are available which can do this automatically, which I will mention below. This method also allows the images to be shared in any size, but a big drawback is the colour filtering distorts the original colours of the images; the glasses, however, look cool.
To create an animation, which will allow the images to be viewed with a 3-D-effect without relying on two eyes or glasses, a ‘wiggle GIF’ can be made. I’ve written a tutorial for Photoshop here, and I’ll also mention some apps which can do this automatically below.

On smartphones, whether the images were taken by the phone itself, or you’ve scanned and/or imported them into it, I highly recommend the inexpensive apps i3DSteroid for iPhones and 3DSteroid Pro for Android. They can automatically align the images, as well as offering manual adjustments. You can also choose the output format, such as parallel-view, cross-view, anaglyph or wiggle, allowing them to be viewed directly on your phone, with or without glasses, shared on social media, or exported for use elsewhere. I’ve written step-by-step guides for each of these apps, which can be found here for iPhones, and here for Android.
Specifically for the iPhone 15 Pros and their Spatial Video capture, I recommend the Spatialify app, which also offers different output formats.
For photos imported into Macs and PCs, I recommend the free software StereoPhoto Maker, which offers everything the smartphone apps do, and more. I’ve written a step-by-step guide to using it here.
I hope you’ve found this overview useful and feel capable of being able to take and view your own 3-D photos, regardless of which camera you have. I’d also love to see your results, which you’re encouraged to share on social media on Stereoscopy Day using the hashtag #stereoscopyday and please feel free to stop by the Stereoscopy Blog to say hello, give feedback or if you have any questions.
Happy #StereoscopyDay
Rebecca
Share this post:


Comments
Gaetano Aiello on How to Take a 3-D Photo with Almost Any Camera
Comment posted: 21/06/2024
Comment posted: 21/06/2024
Neal A Wellons on How to Take a 3-D Photo with Almost Any Camera
Comment posted: 21/06/2024
Thanks to this article, there likely will be many more stereo shooters. Great work.
Comment posted: 21/06/2024
Michael Zwicky-Ross on How to Take a 3-D Photo with Almost Any Camera
Comment posted: 21/06/2024
Comment posted: 21/06/2024
Nathan on How to Take a 3-D Photo with Almost Any Camera
Comment posted: 21/06/2024
Comment posted: 21/06/2024
Tony Warren on How to Take a 3-D Photo with Almost Any Camera
Comment posted: 22/06/2024
Comment posted: 22/06/2024
Comment posted: 22/06/2024
Jeffery Luhn on How to Take a 3-D Photo with Almost Any Camera
Comment posted: 23/06/2024
Ben on How to Take a 3-D Photo with Almost Any Camera
Comment posted: 23/06/2024
As as modern yet obsolete way of making stereo images, have you seen the defunct Red Hydrogen One? (https://en.wikipedia.org/wiki/Red_Hydrogen_One). It was a commercial flop and was on the market only a short time. They're still available at some auction sites. While vertical images are stored in a proprietary format, horizontals are simply two JPEGs mashed into one file. Except for anaglyphs, I haven't found a handy way to share stereoscopic images on-line.