The other weekend I decided it might be fun to attempt to entertain Connie my 8 year old daughter with some photography. I’ve given her a little point & shoot digital which she had been having some fun snapping with, so I thought I might show her the joys of the opposite end of the photography spectrum: shooting, developing and digitising large format film.
In fact, in the end, the whole process mostly highlighted to me a different way I could increase Connie’s interest in photography. But I shall come back to that at the end…
I quite regularly talk about how much I can’t be bothered to develop my own film. I really can’t, it’s a faff. But, I also quite enjoy shooting large format photography, and having someone else develop it is, I’d argue, even more of a faff. The result of this is that I rarely shoot it – and that’s despite owning no less than 4 large format cameras (longer story than is worth telling here).
In reality, every time I shoot some large format film – usually 4-6 frames of the stuff – I’m still in the realms of increasing the total amount I have shot by a fairly large proportion. But, as I say, despite my lack of experience – or perhaps because of it – I still find it an enjoyable process to dip into, so once in a while I find a way to make it work for me.
On this particular occasion, lockdown has been the inspiration. There’s only so many activities I can amuse myself and the kids with around the house, so I figured why not spend a day attempting some large format? The funny thing is, when I reflected on the previous images I’ve taken, I realised I had only ever undertaken the process entirely by myself once before – and that was when I decided it would be a good idea to invent pixl-latr. In fact, you can read about a little bit about the very first time I shot my Harman/Walker Titan pinhole camera here.
That was a little over 7 years ago now, and in the intervening years, I’m pretty certain that all of the times I’ve used a large format camera, it has been working with someone else who developed the film for me. Of course, it’s not that hard – not when you have the right kit and and basic knowhow…
So yeah, a few Sundays ago – in the midst of the strict lockdown, and after a little bit of a lockdown lie-in – I set about getting together all the stuff I needed. The week before I had been to the office to check the post (some people are still paying us by cheque…!), and collected the last few bits and bobs I needed. I’d also ordered some Ilford HP5+ and some Cinestill DF96 from Analogue Wonderland.
The Kit
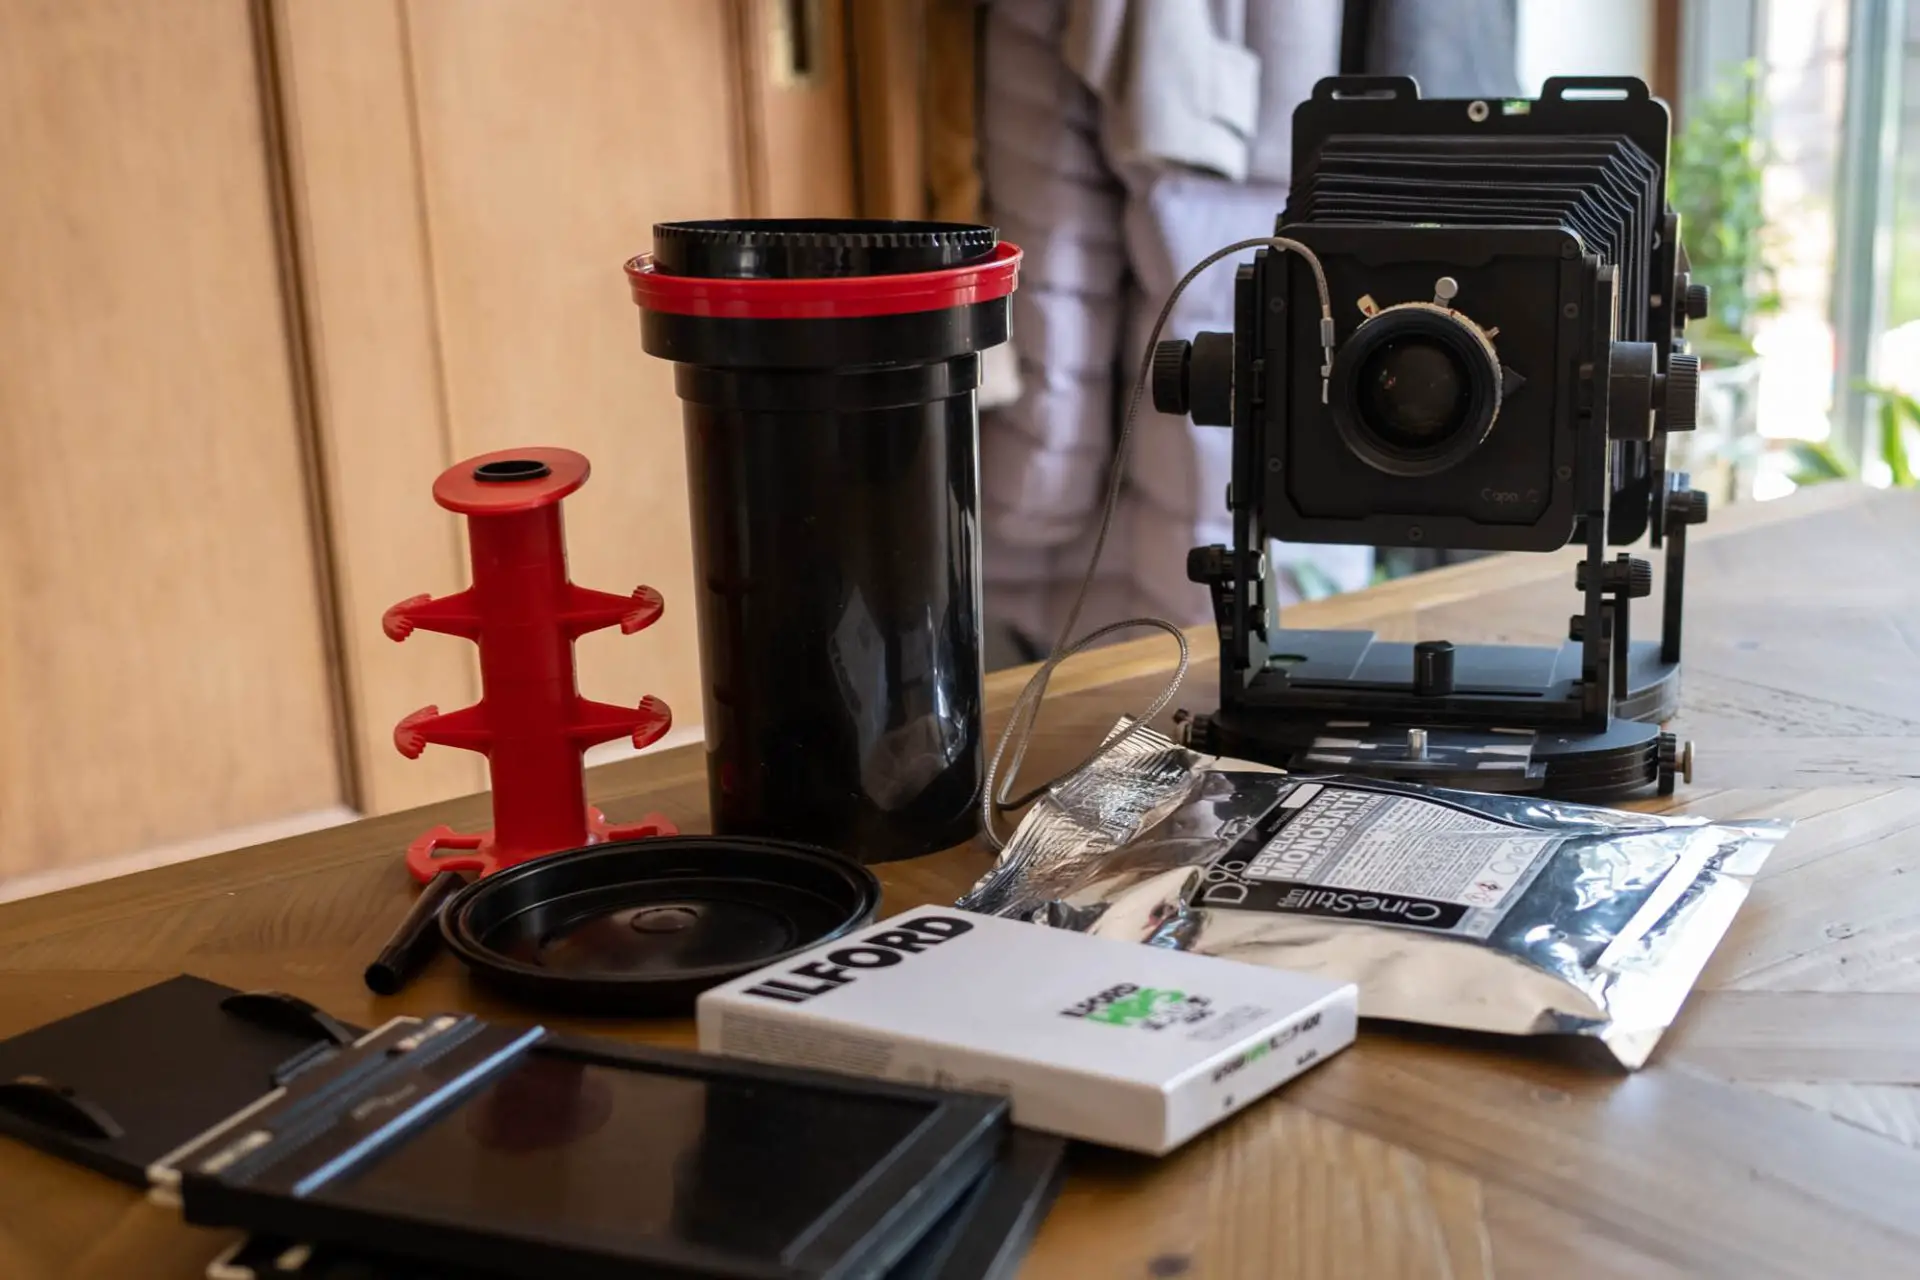
Now, I’m not normally the type to make lists of kit as part of my blog posts. But in the end it did surprise me a little bit the amount of stuff I needed.
Film – HP5+
Chemicals – Cinestill DF96 Monobath
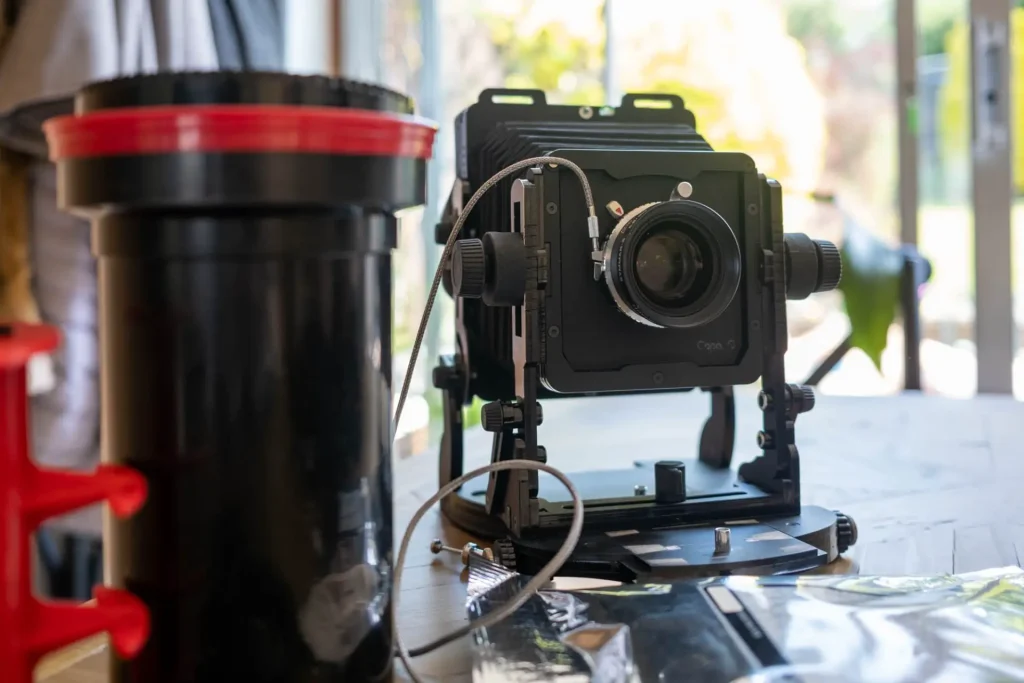
Large format camera – Chroma
Film holders – 2xDDS
Lens – Schneider Symar-S 150mm f/5.6
Loupe – plastic clear sided one with black tape wrapped around it
Dark Cloth – Hoodie (H&M)
Shutter release – generic
Light meter – Sunny 16/Lumu App
Tripod – 3 legged thing ‘Tony’
Changing bag – generic
Measuring jugs – generic / part of my blender
Dev tank – Paterson
Film holder – Mod54
Thermometer – My wife’s fish tank one (cleaned)
Copy stand – Kaiser
Mask – pixl-latr
Digital camera – Sony A7Riii
Lens – Nikon 90mm AF-D Macro (+adapter)
Should this be any surprise to a film photographer? No not really, but seeing just a portion of it all laid out on the dining room table through the eyes of a bewildered 8 year old really brought it all home. What a palaver just to take a couple of photos in the back garden!
Loading
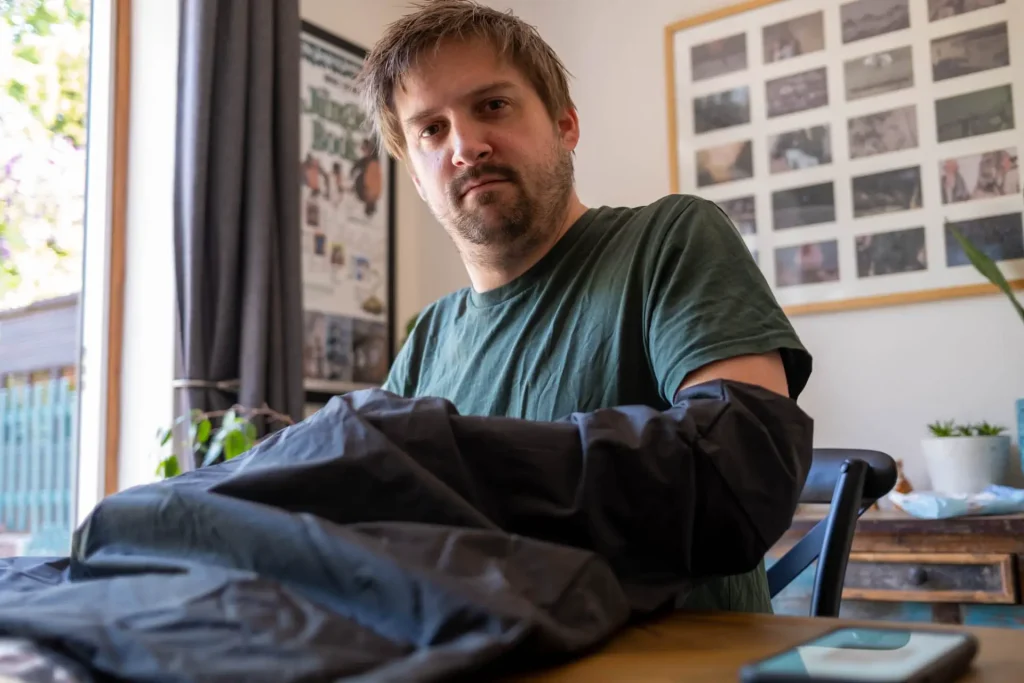
I only have two DDS for some reason. I had 3 (to match the 6 slots in the MOD54) at one point, but I’ve misplaced the other. I had to look up on the internet which way round the film goes into them too. In fact, I did know, but my memory decided to play funny buggers with me and convince me that I didn’t. Loading it in a small changing bag was as little fun as I remembered, but it went fairly smoothly in the end… though, it took a little bit too long to keep Connie amused. She was playing on her Nintendo Switch by the time I’d finished, despite my best efforts to educate her about what I was doing…
Shooting
With the film loaded, we went out into the garden, mounted the camera on the tripod and proceeded to frame a shot of the trees just as a trial run. This was probably bit that I felt the most need to be able to concentrate – unfortunately, the kids were doing their level best to distract me. Despite this, I did feel as though I had a pretty good handle on what I was doing with the camera, and quickly found myself comfortable focusing the camera with my little bodged loupe.
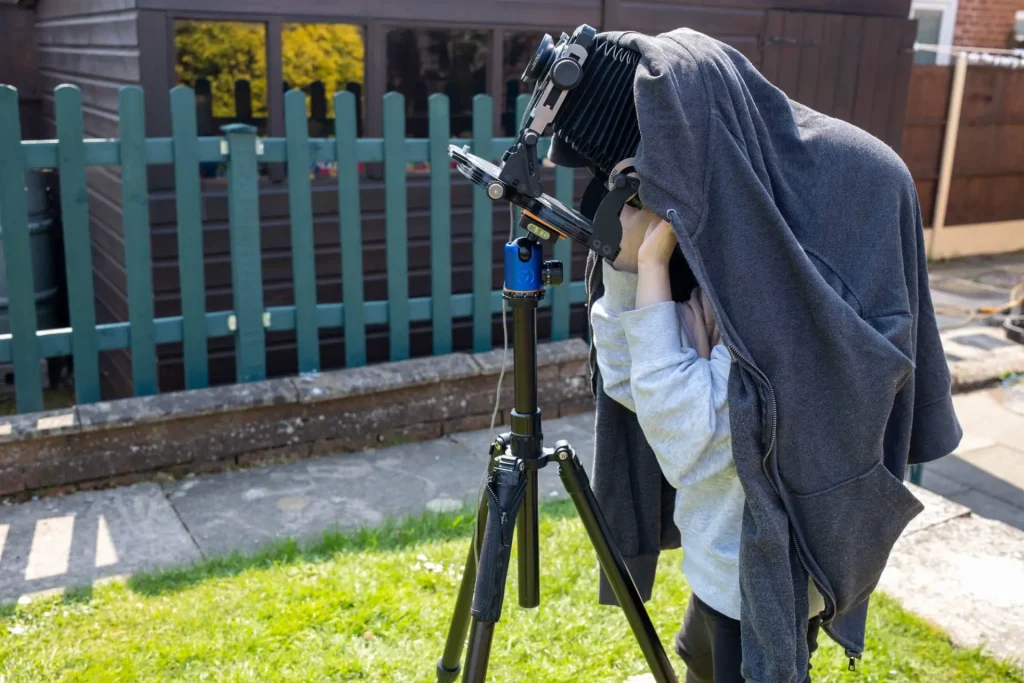
I gave Connie a quick tour of the camera, but her mostly blank expression reminded just how far away she was from even understanding the very basics. Still, she was quite intrigued by the idea of having to climb under my hoodie to see the big picture on the back of the camera.
I took the first shot and everything felt like it had gone fine, so then decided to attempt to cajole the kids into having their photo taken. After a bit of a fight me and Connie managed to get Norah to pose for a shot, but right at the last second she moved. I took another.
With just one frame left, I wanted Connie to to have the experience of actually pressing the shutter button. So we got the camera set up ready for her to take a photo of me and Norah. She inspected the focus herself and confirmed that we were in focus. I then loaded the camera for her and she did the honours. She managed to pull the camera down a bit at the back a bit which meant the framing wasn’t quite as it was before – but still, the shot of me and Norah below remains Connie’s first large format photo!
Developing
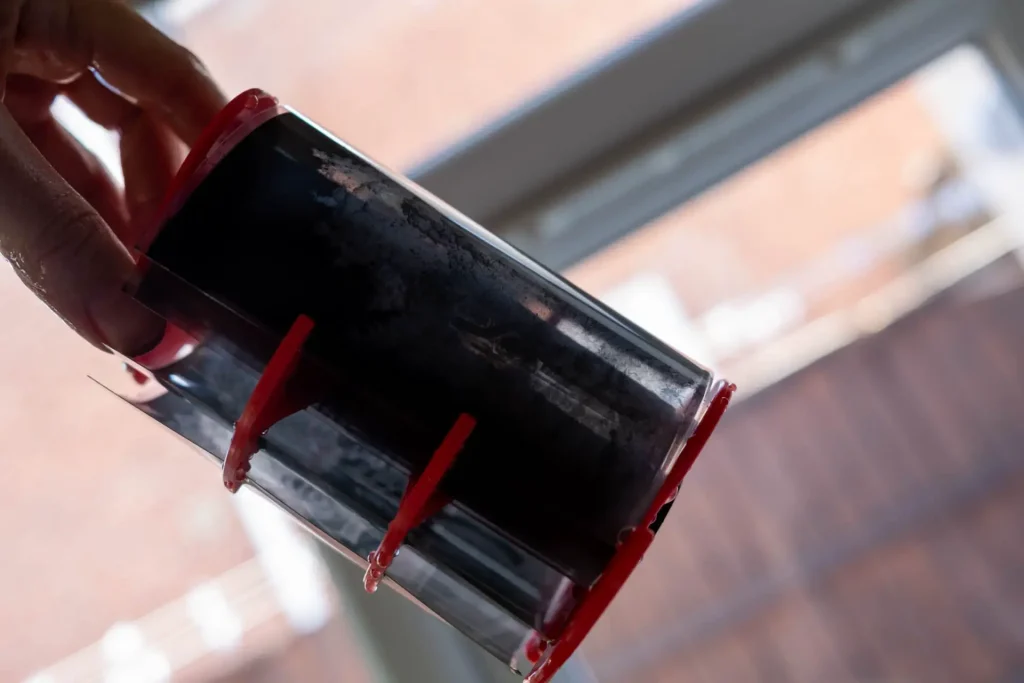
Next was the developing stage. I actually expected this to be a lot more difficult than it was. It took me a little while to get the film into the MOD54 – but half way through I realised this was actually the first time I’d used this version of it. Last time I used one, it was a bright pink laser cut acrylic version I bought at Focus on Imaging – it’s been a while since he moved on from that design!
As for the actual developing, I’ve not developed my own film in ages, and have never used a monobath – so I did enter the process with a little trepidation. I’m actually not all that short of home developing experience, and never found the process particularly difficult to get some sort of result, but found myself quite uneasy – especially as I was trying to entertain the kids at the same time. In the end, it went very smoothly indeed. Warm some water, mix in chemicals until dissolved, pour into dev tank, agitate appropriately based on water temperature for given period of time, then rinse. It’s almost too simple.
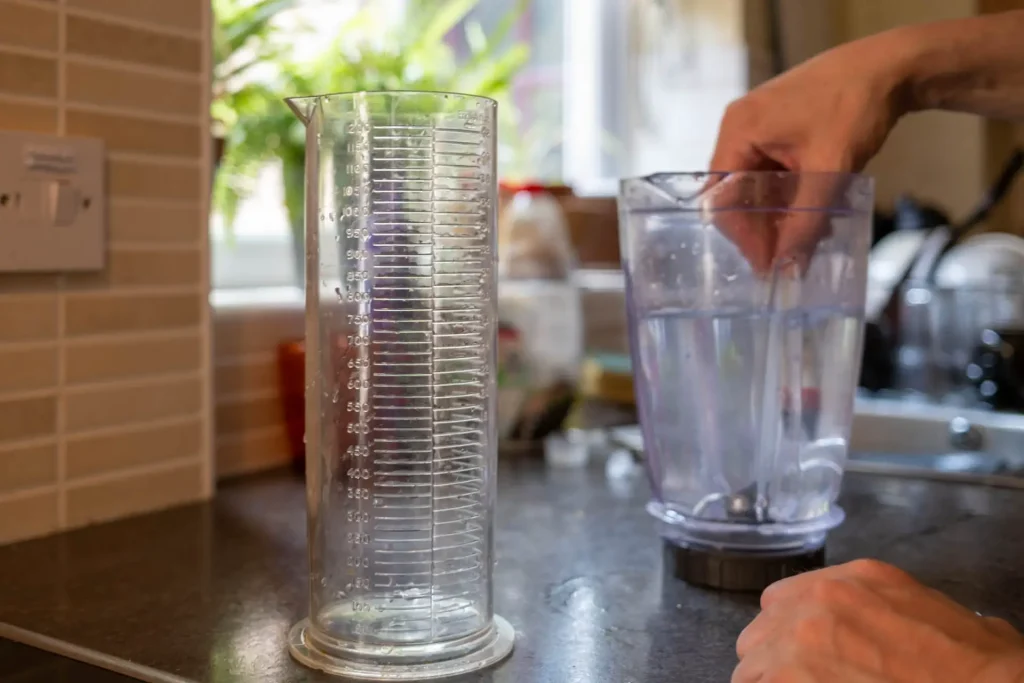
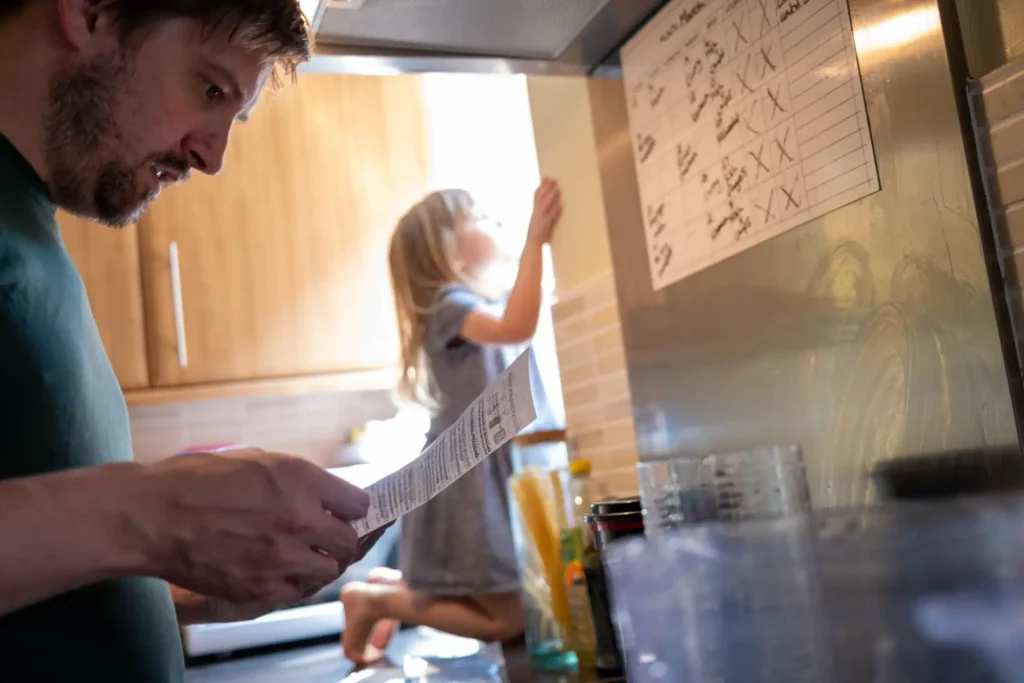
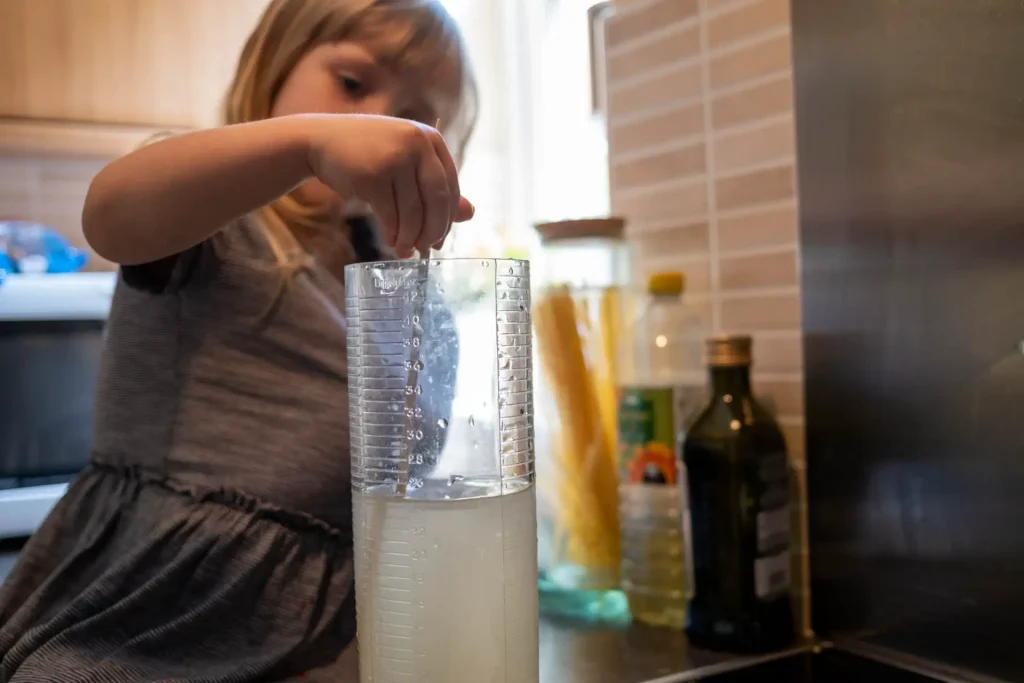
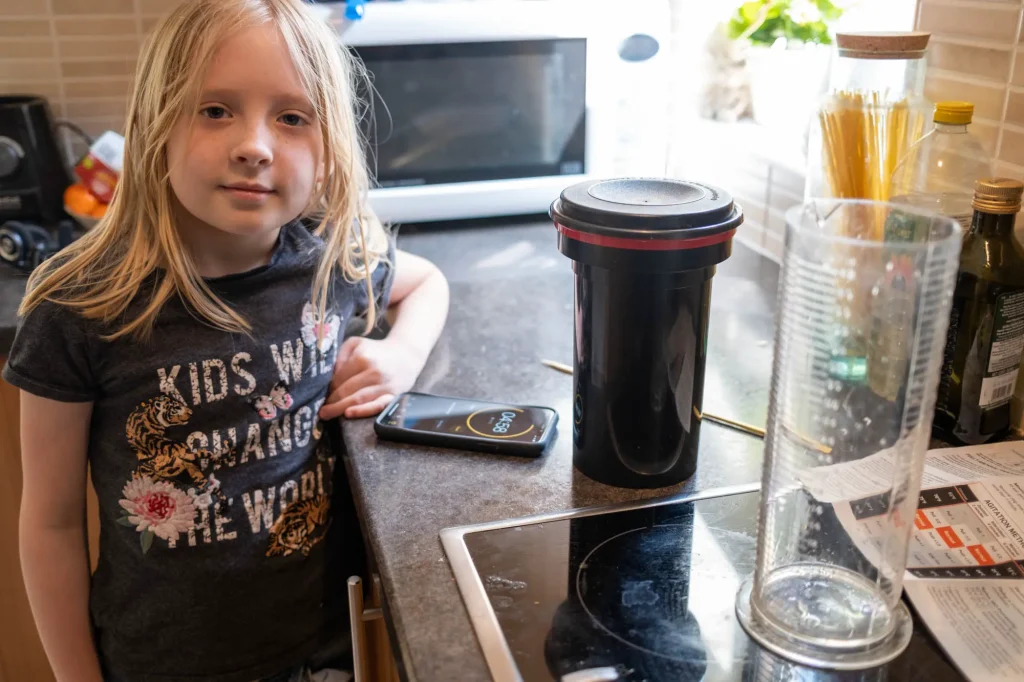
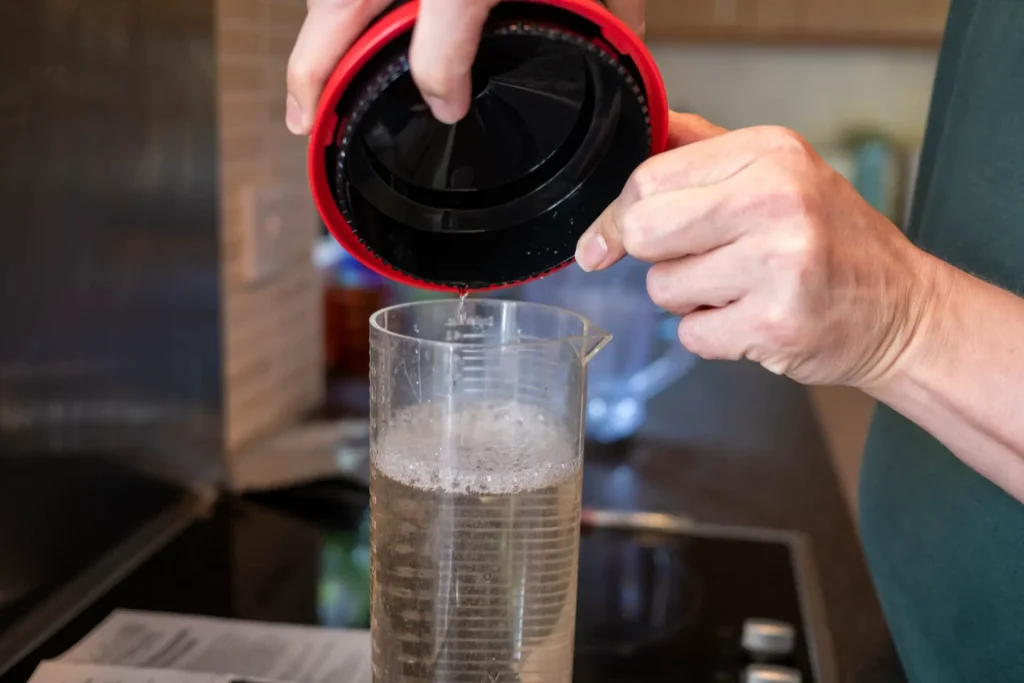
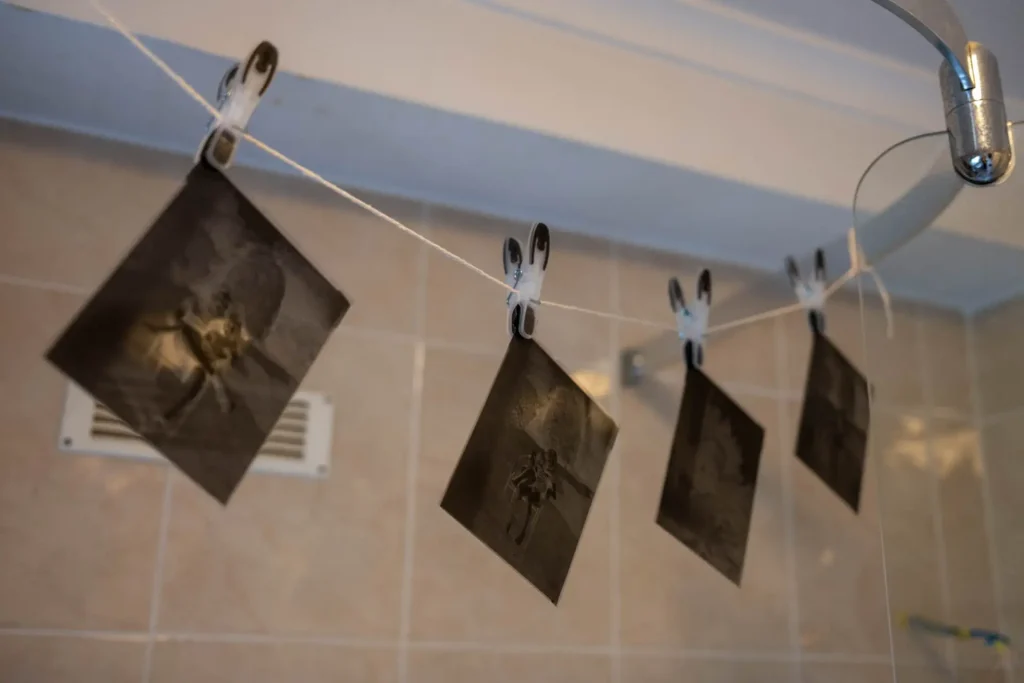
It’s always exciting seeing the film come out with a picture on it, but seeing Connie’s little face light up when she saw that something had come out was very satisfying.
Digitising
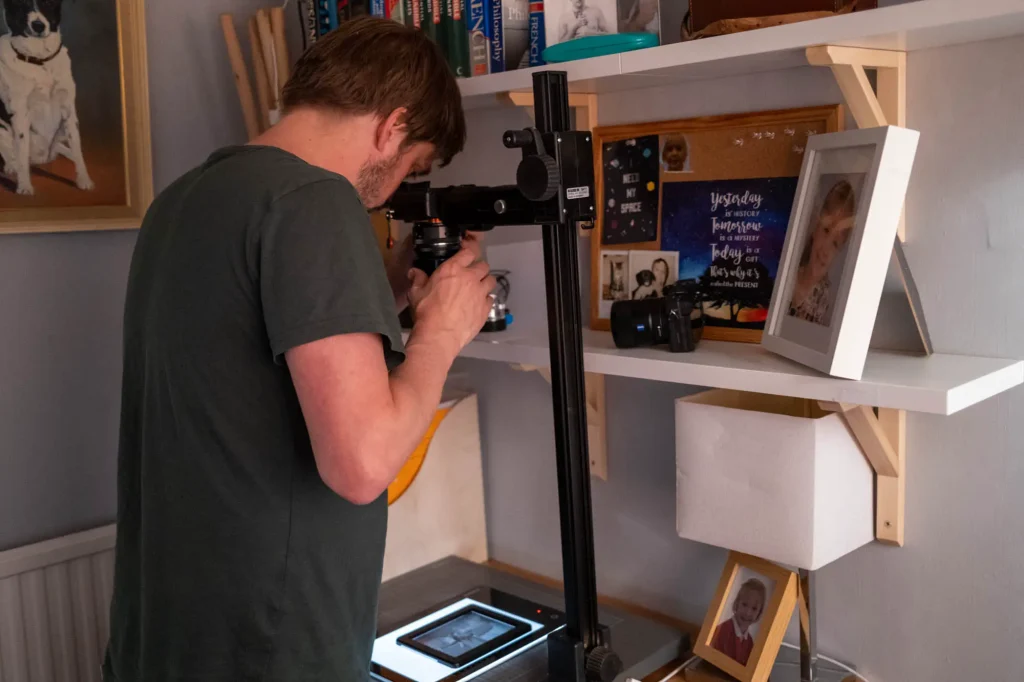
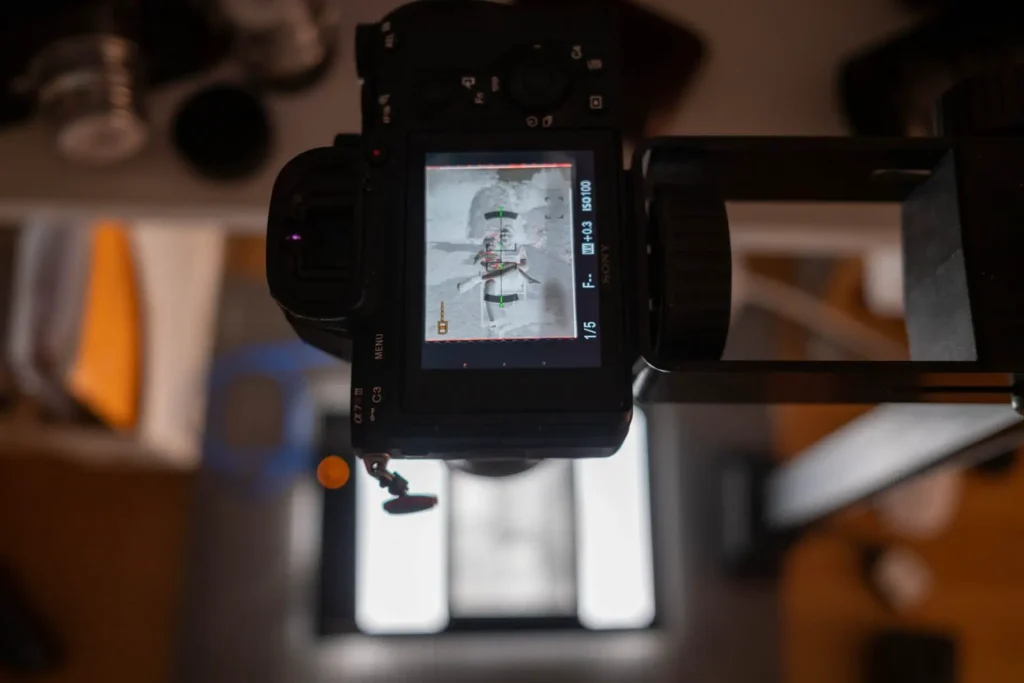
I used my pixl-latr, copy stand, and Sony with the Nikon 90mm to digitise the film. After all these years of trying to bring this thing to market, it was satisfying to use the final version to solve the problem I originally set out to solve. I just did a very quick manual curves inversion and a couple of tiny tweaks to get the results I wanted. Again, I was most interested to see Connie’s face when they converted. Part of my reason for using curves was to explain that I was making the dark bits light and the light bits dark – this did make her eyes glaze over a little bit, but I think got the gist and was very excited to see the positive image appear on the screen.
The Results
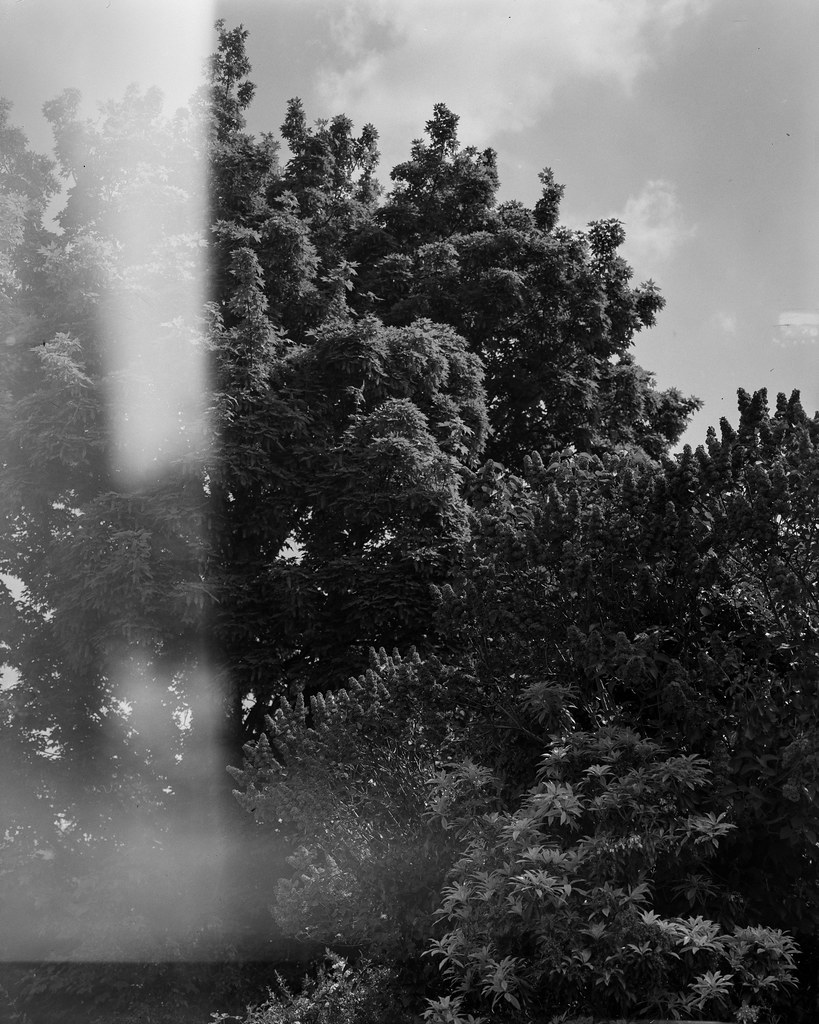
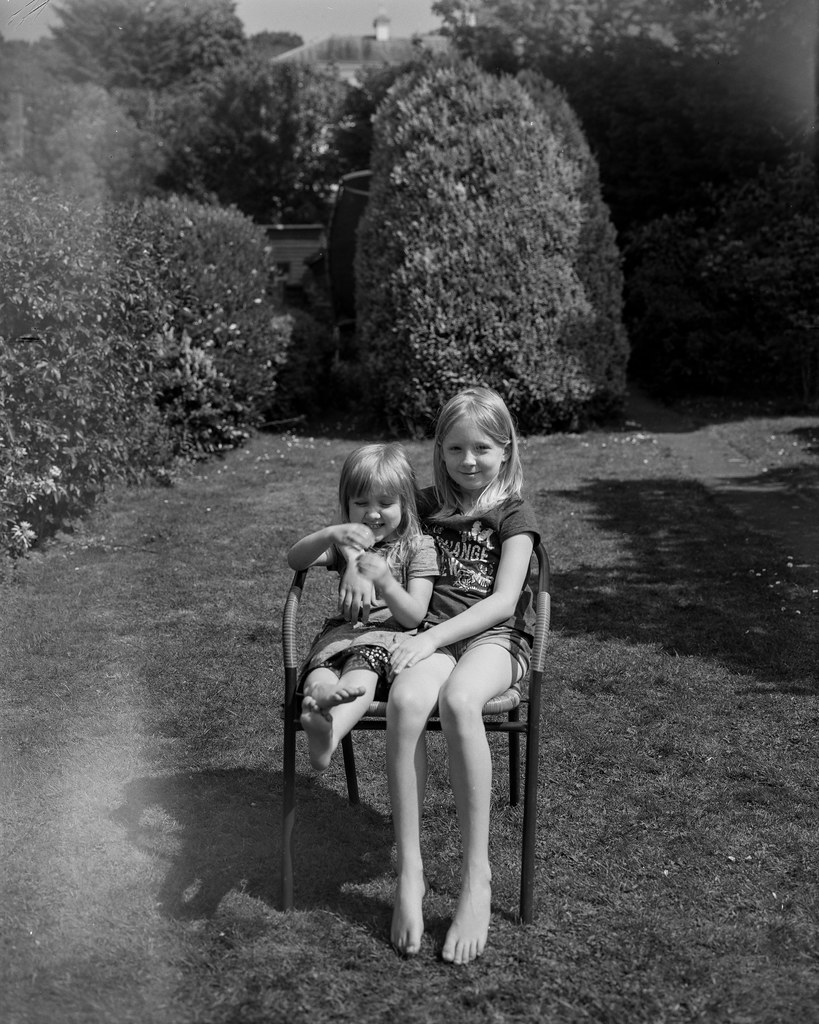
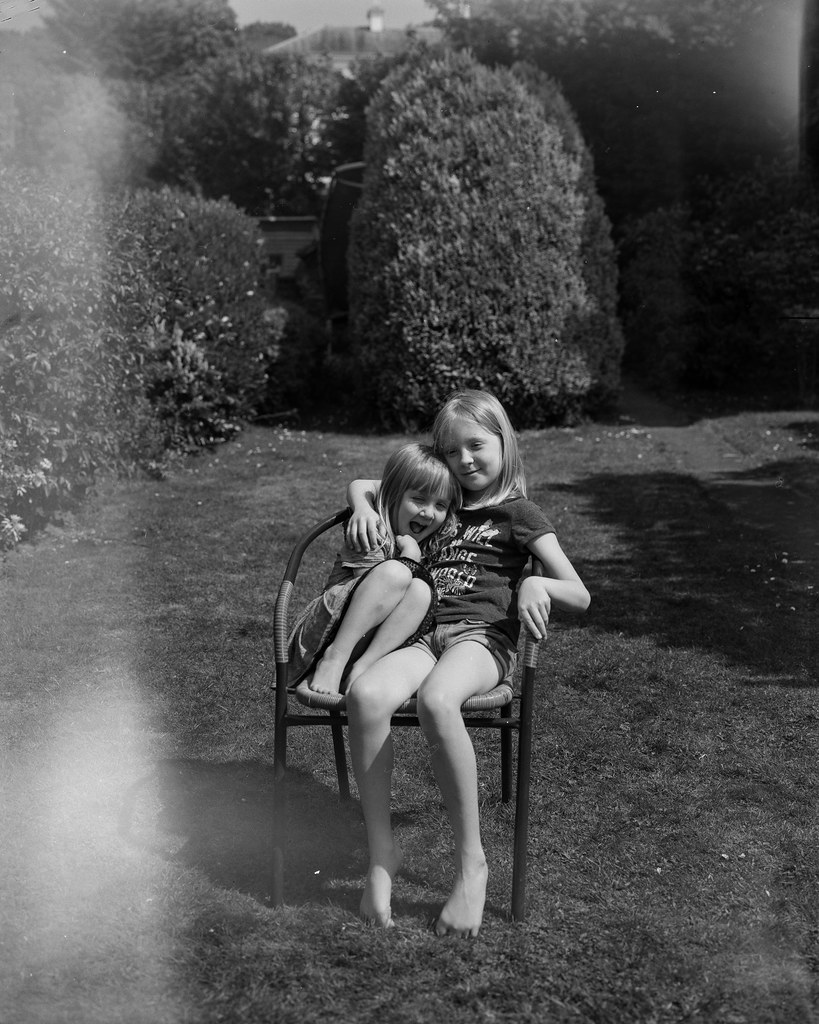
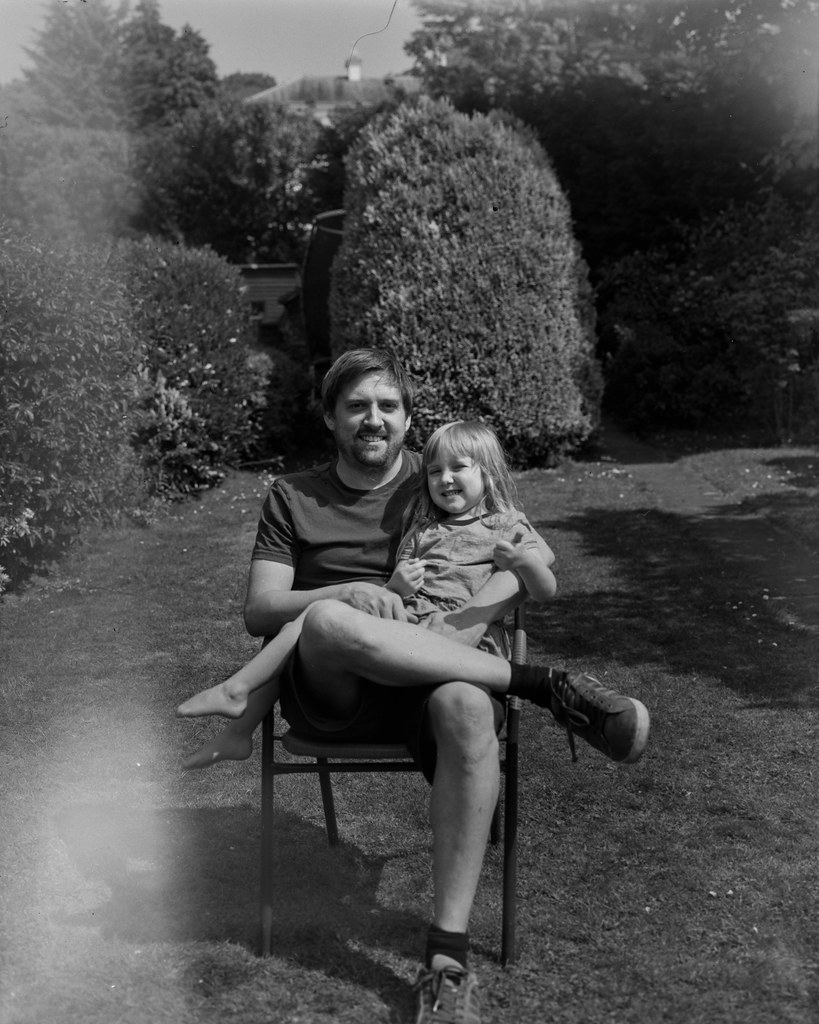
Of course, you’ve probably noticed the whacking great big light leaks on all the images by now…? I was a little disappointed initially, as I really did want to prove to myself how easy this could be without something going wrong. But, actually given the fact that I haven’t shot large format for ages, I’d not used this camera before, haven’t used a monobath before, and was trying to entertain two kids at the same time, I feel I can probably let myself off. Steve also said that I have a very old version of his rear standard, and if I misstepped slightly I could have quite easily caused this to happen. I haven’t checked to see if that was likely yet, but I feel like blaming the tools gives me an easy get out…
So that was that – a good chunk of one Sunday taken up faffing around with a huge amount of photography equipment just to take a few fairly crap photos in my back garden. As I said at the beginning though, whilst the experience in and of itself didn’t inspire that much in Connie, it did give me a fairly big clue as to how I could engage her in the idea of taking photos.
The thing she seemed like she enjoyed the most wasn’t anything with the film gear, instead it was using my Fuji X100v to take all of the other shots you can see within this post. Whilst she was playing with the camera, she discovered shallow depth of field and was trying to use it creatively to make interesting pictures. At every stage in the process when she took a photo she liked, she was trying to wave it under my nose. She was actually getting distracted from whatever the film photography task at hand was by other other much more simple digital photography task I’d given her of documenting the day.
It was this moment that I realised I really should put a different camera in her hand – the Nikon point & shoot digital just isn’t that different from the toy camera she has, neither have a big enough sensor for her to play with depth of field to any real extent. The next time we went out taking photos/walking the dog, I gave her an old Pentax DSLR to play with. This isn’t the first time I’ve given her this camera, but the first time she didn’t discover shallow depth of field. As she talked about in the little post we put together as part of her Covid home-schooling, she really liked taking close-ups with a strongly out of focus background. Of course, I’m not sure shallow depth of field photography is the ideal starting point for her, but for now, if it’s engaging her brain creatively – which it very much seems to be – then I’m happy. It also gave me an in to start encouraging her to place her subject off centre, and ever start thinking more about subject and what subject isolation is, which has to be a good thing…
So in a roundabout way our day experimenting with large format did get her more interested in photography – just not quite how I thought it might. Regardless, I enjoyed the large format photography bit, even if she didn’t, and it has reminded me how much I enjoy it when I put my mind to it. Even the developing bit wasn’t too painful.
Share this post:




Comments
Kodachromeguy on Shooting 5×4 with Connie / Reminding myself how easy Large Format Photography is
Comment posted: 01/06/2020
Comment posted: 01/06/2020
Dave Walker on Shooting 5×4 with Connie / Reminding myself how easy Large Format Photography is
Comment posted: 01/06/2020
Comment posted: 01/06/2020
Kate Johnson on Shooting 5×4 with Connie / Reminding myself how easy Large Format Photography is
Comment posted: 01/06/2020
Comment posted: 01/06/2020
James Cleaveland on Shooting 5×4 with Connie / Reminding myself how easy Large Format Photography is
Comment posted: 02/06/2020
Comment posted: 02/06/2020
James on Shooting 5×4 with Connie / Reminding myself how easy Large Format Photography is
Comment posted: 02/06/2020
Re. the developing, this is the best bit, I reckon! Once you've taken your pic, there's no waiting to finish the roll, you can immediately get developing and have your neg ready and drying within minutes... the only thing more spontaneous is a Polaroid! The 'taco' method of developing is perfectly adequate for the occasional shooting I do, for anyone considering taking the plunge and wanting to keep costs down (and/or limit even more bits of kit hanging about).
Comment posted: 02/06/2020
Comment posted: 02/06/2020
Comment posted: 02/06/2020
Anton Yakovlev on Shooting 5×4 with Connie / Reminding myself how easy Large Format Photography is
Comment posted: 02/06/2020
And I find Connie's composition better than yours :-P Pity she cut some of your foot off. But it's not easy to control the frame edges all the time. Even for us, more experienced guys.
Comment posted: 02/06/2020
Sroyon on Shooting 5×4 with Connie / Reminding myself how easy Large Format Photography is
Comment posted: 05/06/2020
Comment posted: 05/06/2020
James Evidon on Shooting 5×4 with Connie / Reminding myself how easy Large Format Photography is
Comment posted: 19/06/2020
I loved reading your article. I first used D96 earlier this year for Medium format and 35mm and found the product absolutely dummy proof. I expect that the more experienced push-pull developers may sneer, but for one who has no problem using digital post processing after scanning, I'm very happy with D96 monobath. I found the reviews of the Mod54 rather off-putting and was looking into the Stearman system. While expensive, it looks like a good system. Perhaps I may experiment with the "taco" method first. I assume without thinking about it that the emulsion side goes on the inside of the 'taco'.
Your articles continue to entertain as well as edify. Keep it up Hamish!
Comment posted: 19/06/2020
Cameradactyl OG - 5x4 Large Format Snapshot Camera Review - 35mmc on Shooting 5×4 with Connie / Reminding myself how easy Large Format Photography is
Comment posted: 13/07/2020