Weeks of lockdown were beginning to play tricks on my mind. That was the only possible explanation I could come up as I checked the screen confirmation on Amazon that I had indeed bought a new light meter, the Sekonic L398A, mk 111 version. I already have a light meter, the excellent if perhaps somewhat basic Minolta Auto Meter 111. What had persuaded me that I needed the Sekonic L398A?
Well, here are my reasonings, make of them what you will (as I say the effects of lockdown had doubtless taken hold). The Minolta was some 25 years old, was it still accurate? It relies on batteries and has no battery check so I always carry a spare battery with me when I’m out with it. Its display does not clearly show half stops. It has no ability to dial in exposure compensation. It’s quite a handful in size terms and won’t squeeze into my jean pockets comfortably.
Okay, that’s not a compelling list to justify the Sekonic’s £229 price tag.
Unboxing the Sekonic L398A
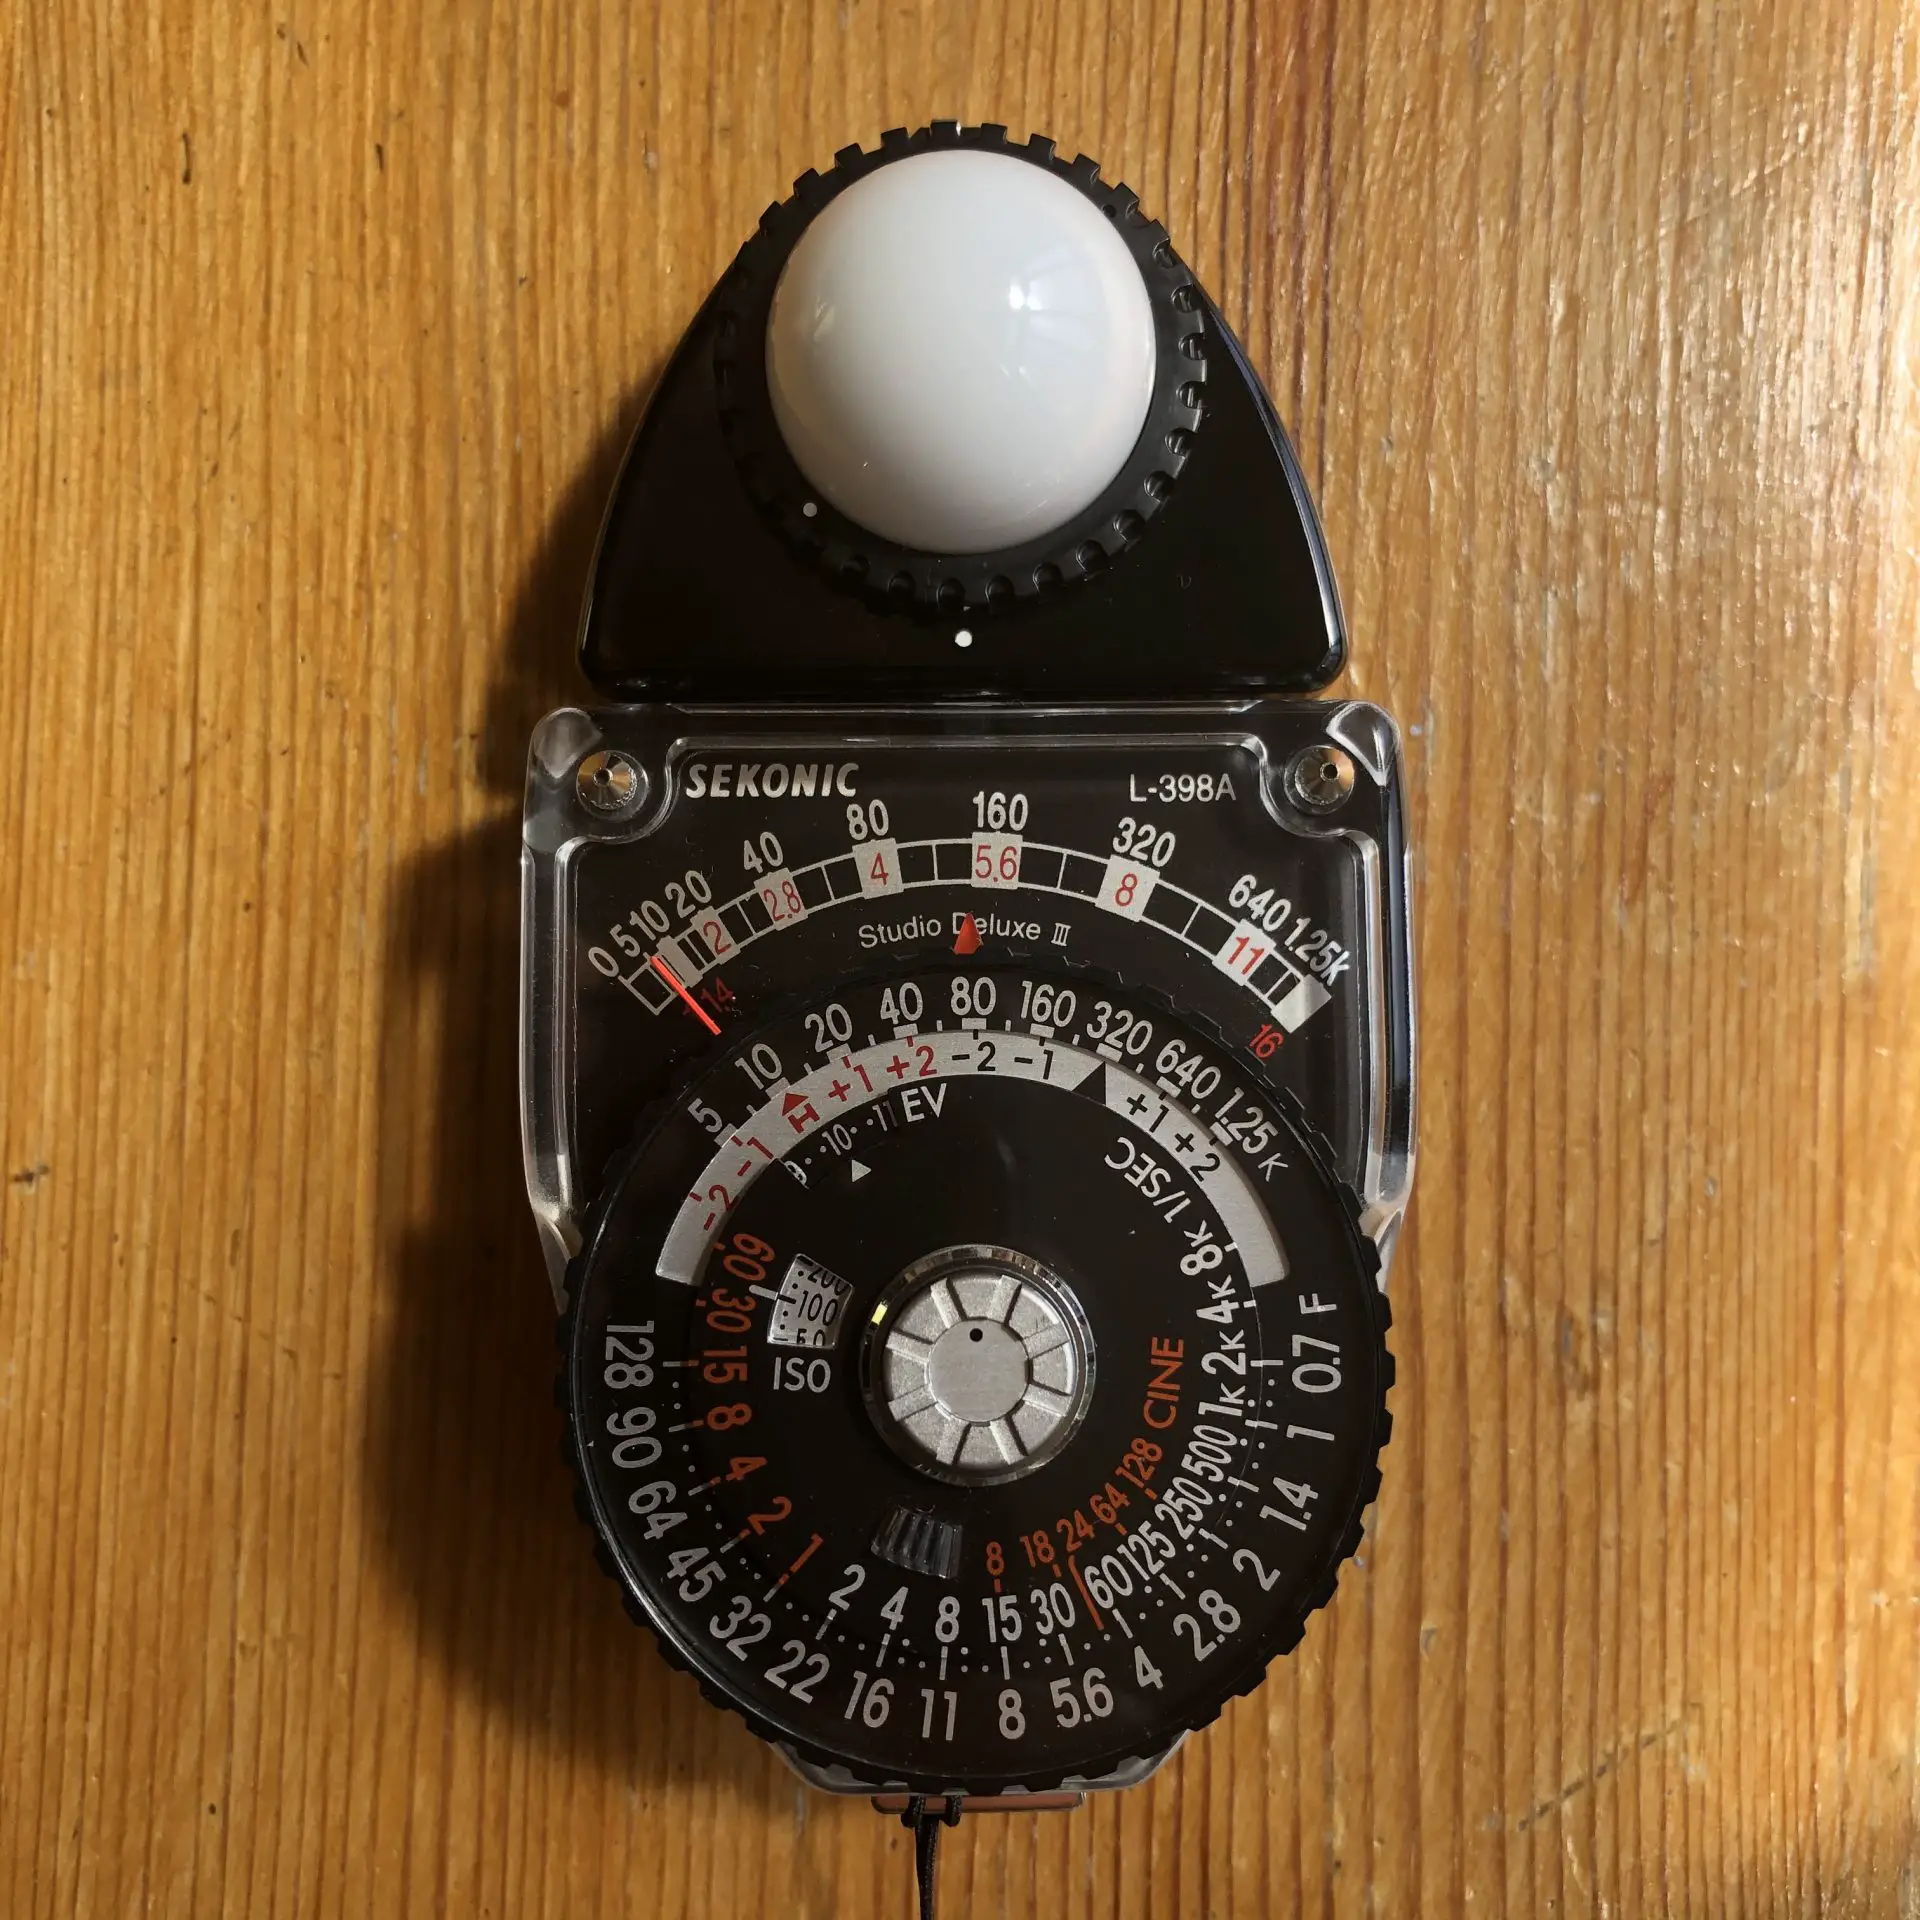
So what of the Sekonic L398A? Well, the unboxing experience was pretty good, the meter did not disappoint as I picked it up for the first time. Firstly, it just looks great. The pure aura of analogue it transmits is wonderful. It just looks right when used with so many of my analogue cameras. Second, it needs no batteries. Third, it is more compact and feels heavy, with a metal body and a heft to it that conveys quality construction and durability.
Although at first sight the dial is confusing it is in fact dead simple to use, and quick too. It slips into a jean pocket easily. It has the ability to set exposure compensation and, of course, displays the EV number. On the downside, I looked anxiously at the ‘high’ slide which must be slipped into the meter head in bright light conditions wondering how long it would be before I lose it (there is a slot on the back of the meter body to store this which is quite a tight fit so maybe it will be okay?). The meter is supplied with a carry case and two additional meter cell covers, one for metering 2D subjects and the other for reflective readings. I can’t see myself using either much.
I noticed a large sticker on the rotating head where the incident dome is located which advised that the meter created a powerful magnetic field. I had already flicked through a couple of YouTube videos on using the meter so I got straight to it. I was keen to know if my purchase could be justified in terms of the accuracy of the Minolta. The short answer is ‘no’ – both meters gave almost identical readings. Oh well… In fact, I could sort of justify the new purchase because I could now permanently affix the selective ‘spot’ attachment to the Minolta and leave the Sekonic L398A to use for incident readings. The Minolta’s ‘spot’ attachment isn’t really a spot reading as the field read is about 10% compared to about 1-5% for a proper spot meter, but it’s something I use from time to time.
Sekonic L398A User experience
The user experience is where the Sekonic L398A shines through over the Minolta. Both have rotating heads so there’s no difference there. To use the meter you press the centre button, read off the foot candles number and rotate the dial to the corresponding number using either the low or high pointer on the dial according to whether the high slide was in position. But while the Minolta will give you a single reading for the aperture on a scale (no half stops shown) based on the shutter speed inputted, the Sekonic shows a whole range of combinations of shutter speed and aperture. Better still, you can move the dial to set exposure compensation up to -2 and +2 stops. It is, all in all, a fairly intuitive device to use, if you are at all familiar with the exposure triangle.
First field trip with the Sekonic L398A
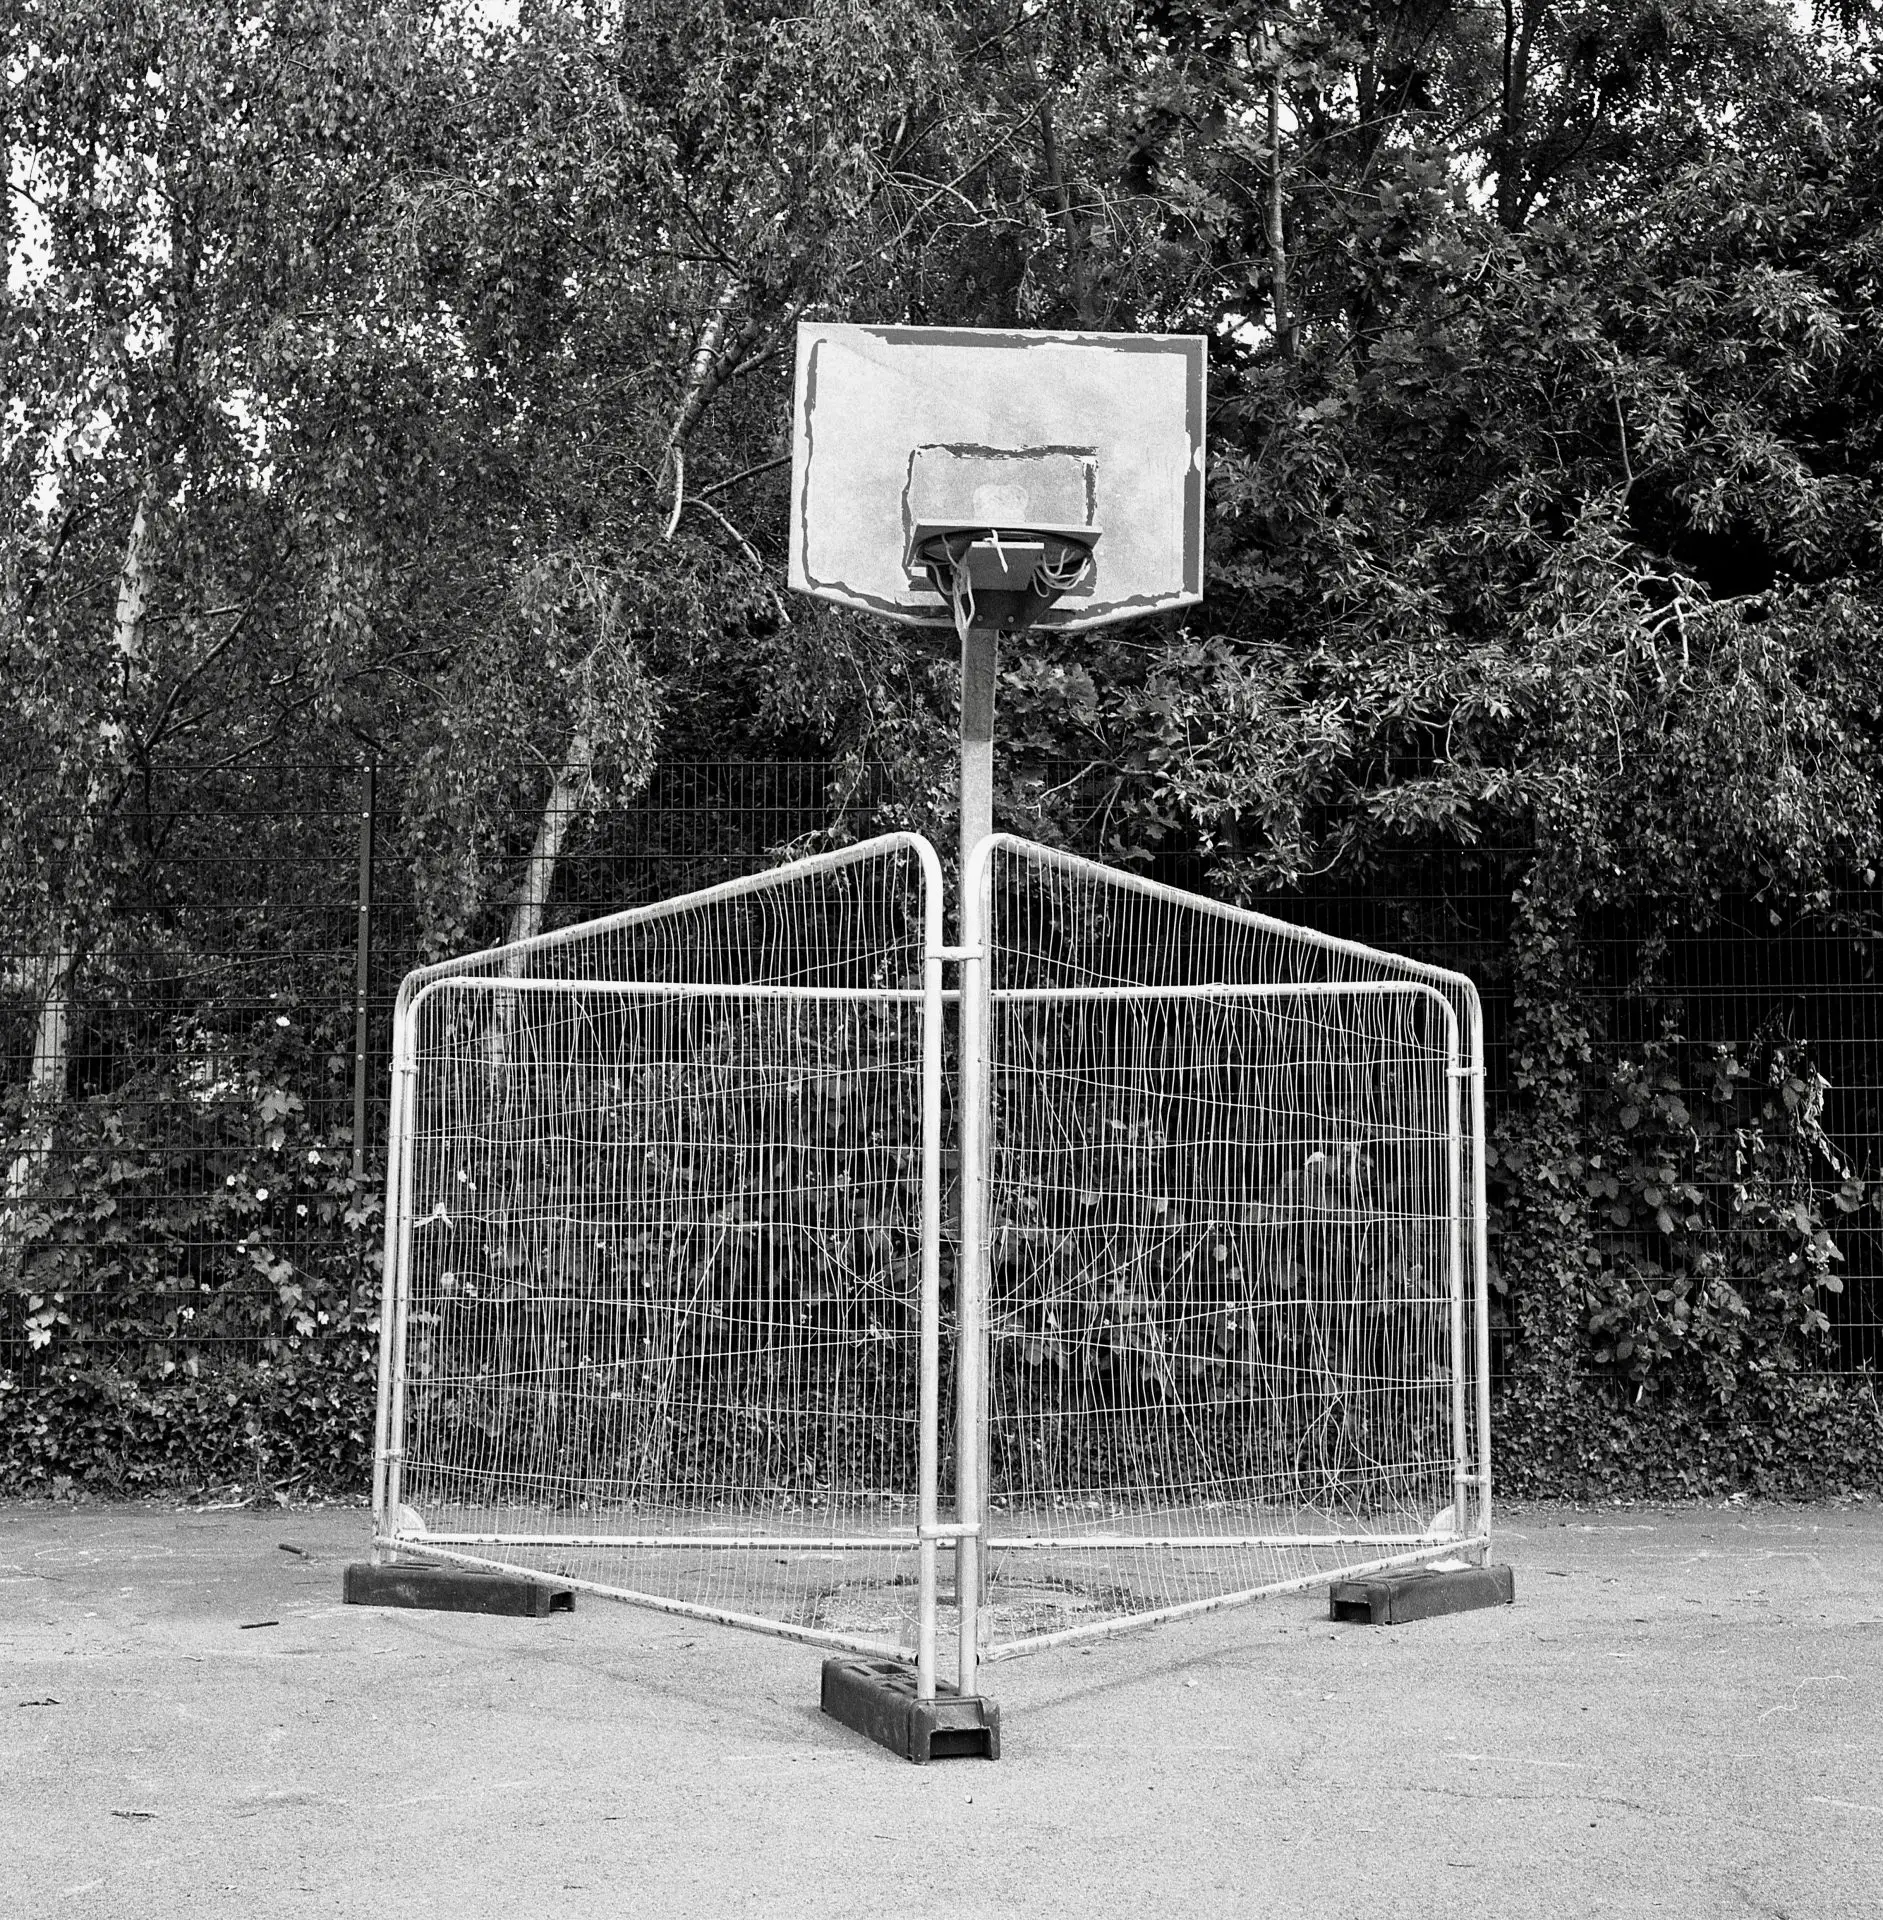
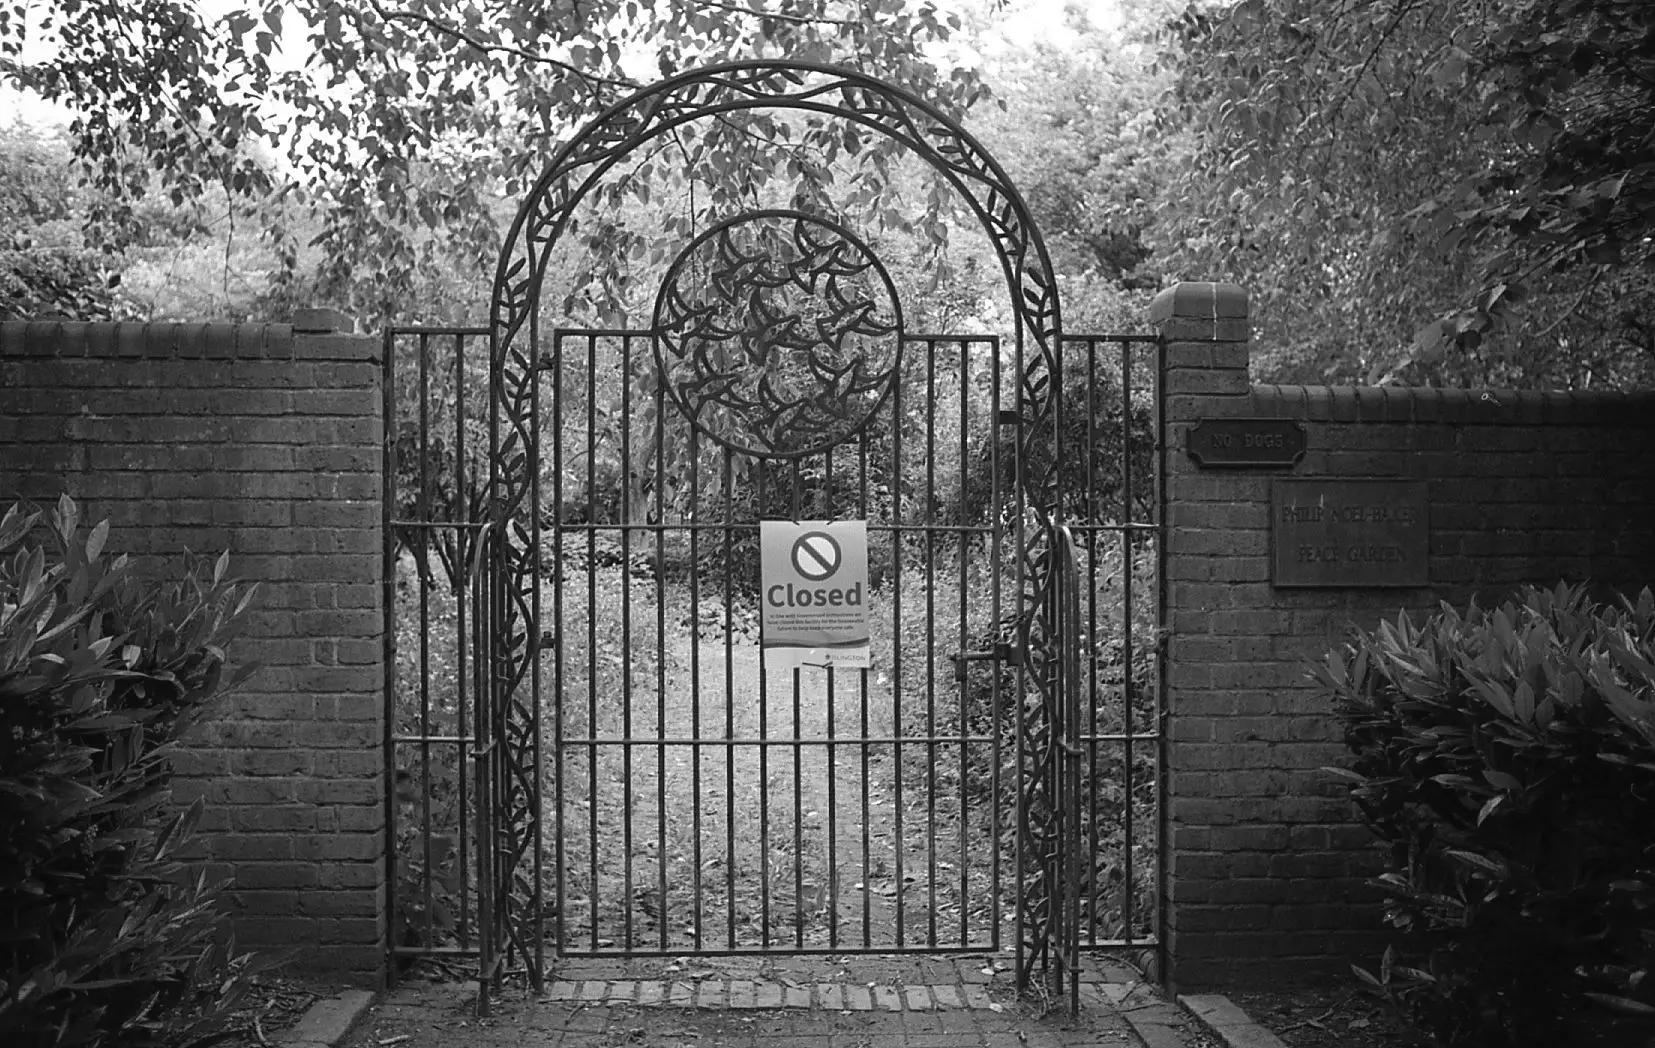
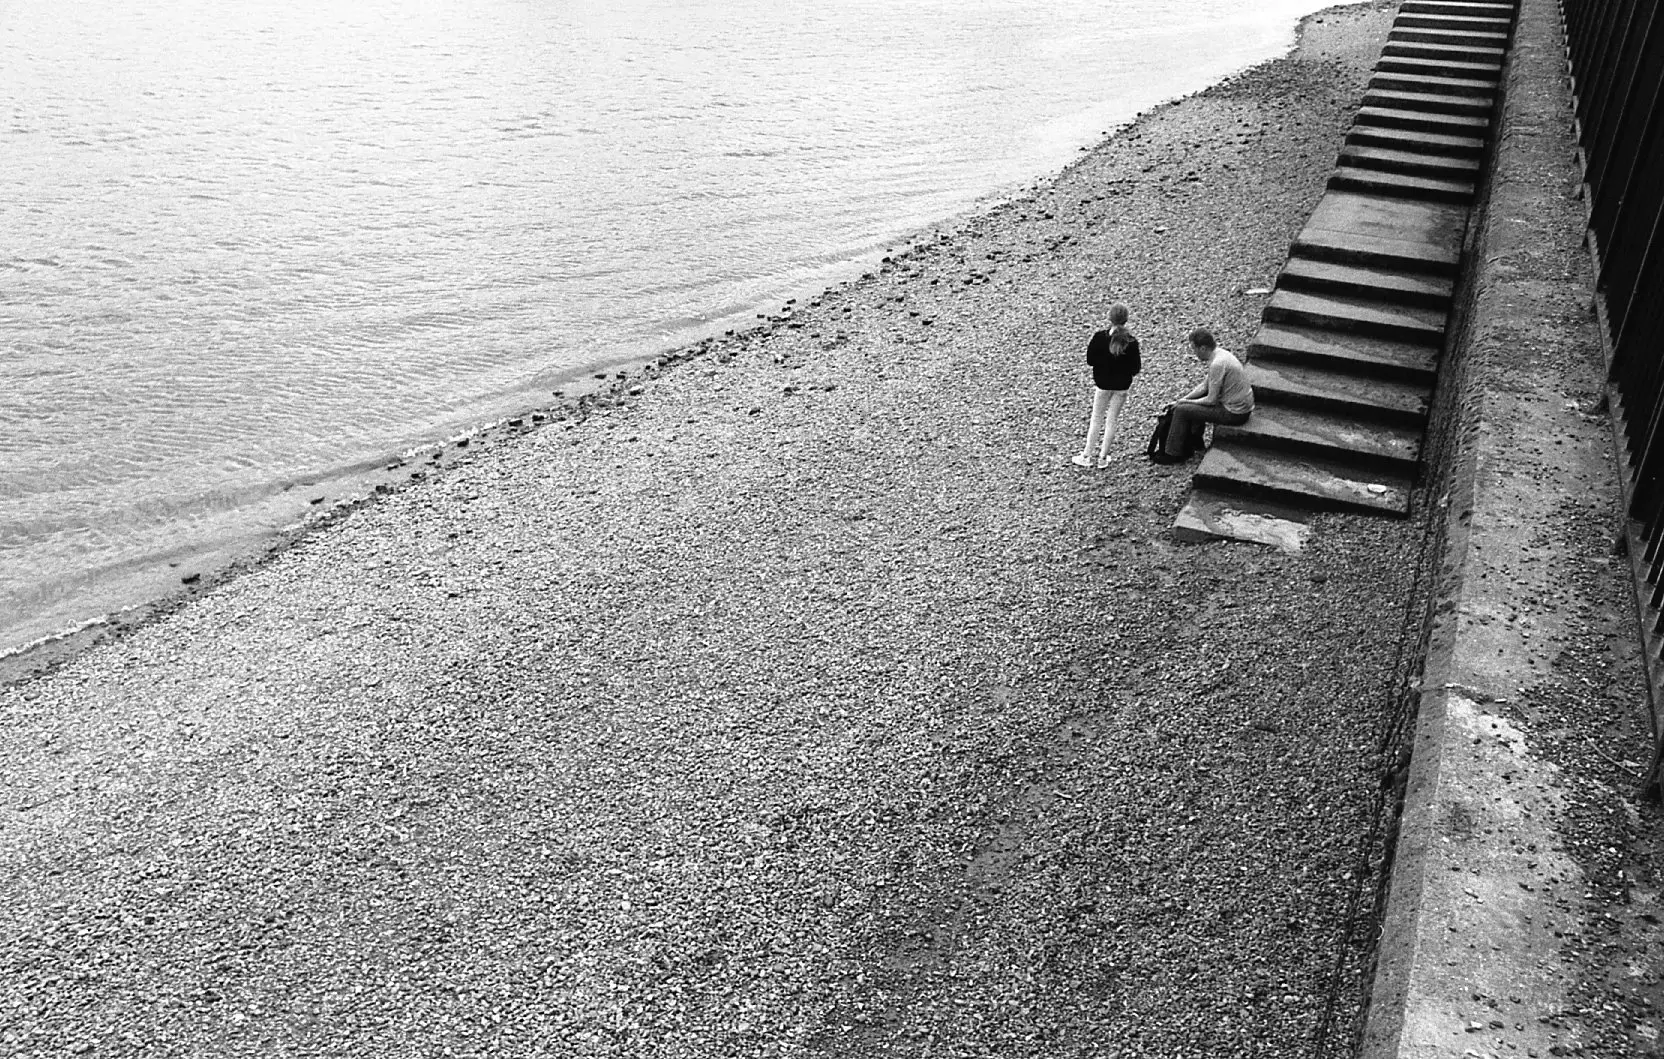
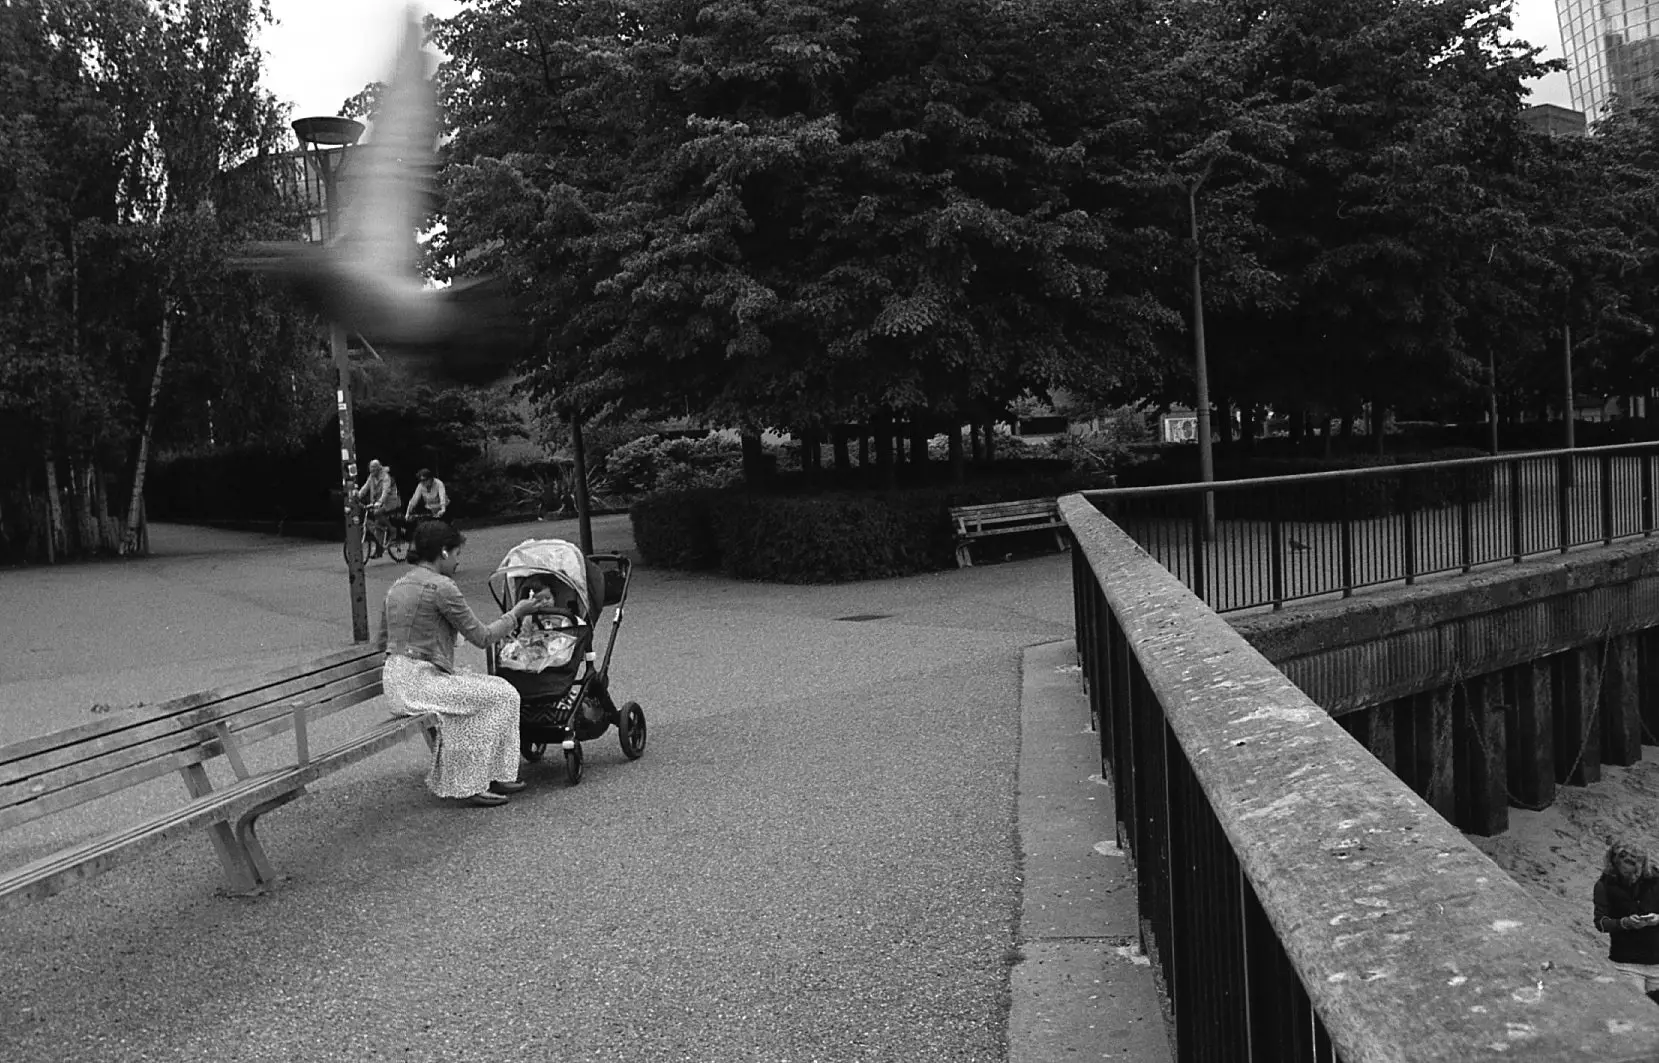
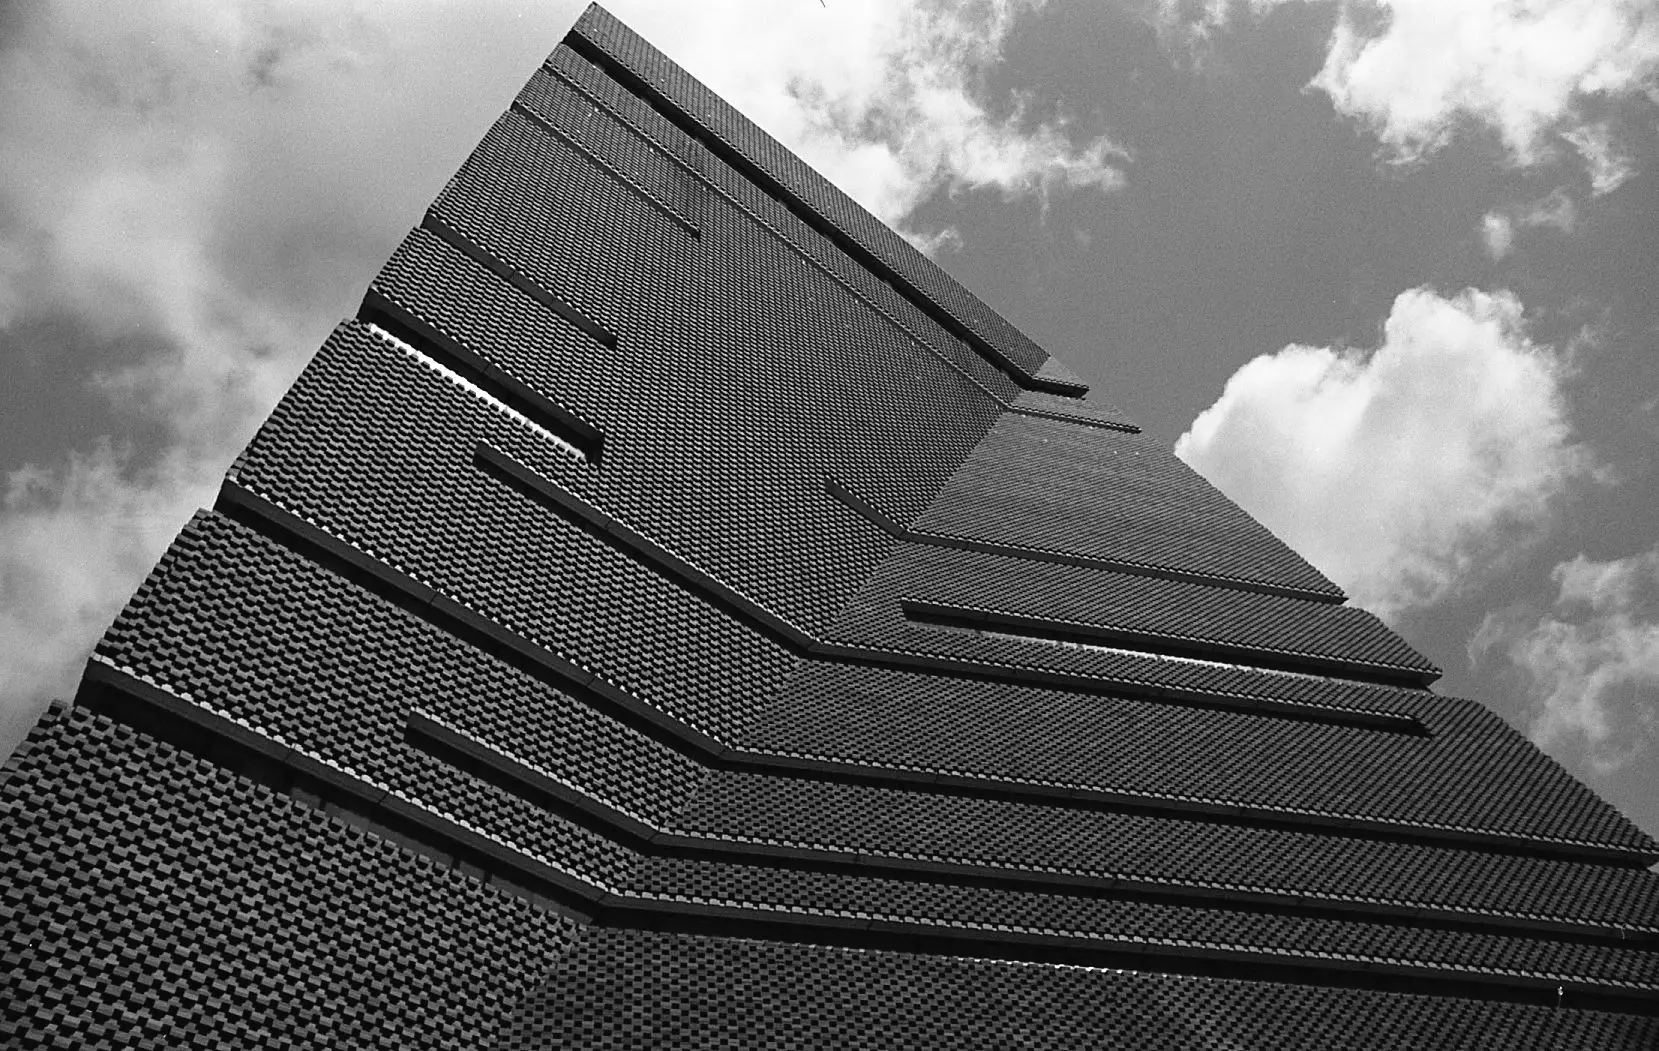
Next, a field trip. London is still in lockdown as I write this, but I packed my Nikon F2 (meter broken) coupled with a gorgeous pre-AI Nikkor-H 28mm f 3.5, loaded some Silvermax 100 and popped it and the Sekonic into my backpack and headed into town on my bike. It was a beautiful day, warm and sunny with clouds drifting through the skies. My first stop was a local park, then past the Emirates Stadium (home to Arsenal football club) and onto Smithfield Market. Moving south, I cycled over Blackfriars Bridge, and made my way to the Tate Gallery and the south bank of the Thames before heading back home.
I should say at this point two early observations. The first is one that affects all handheld meter users – a rapidly changing light. With clouds drifting across the sky the sun was being quickly exposed and then covered by clouds, so I would take a reading, set the Nikon, raise to compose and then the light would change necessitating a new reading. The second is that it was only when I was on the bridge that I noticed as a stuffed the Sekonic L398A back into my bag that I had inadvertently moved the ISO setting from 400 to nearer 250. It seems that the toothed mechanism for setting the ISO value is not that firm and it is surprisingly easy to shift the ISO value. From that point on I made sure before using the meter that the ISO value was the desired one.
As is my usual practice, I tend to meter for the shadows and adjust my camera’s exposure or film development time (or both). The Sekonic L398A made this process easier in that I could meter the whole scene and then dial in the desired exposure compensation. As it was a bright sunny day I opted for +2 and hoped to hold back over-exposed highlights when developing.
The results
When I returned home I processed the film and thought the results were, on the whole, pretty good. Some frames look a tad over-exposed doubtless because at some point the ISO value I had set on the meter had shifted, but on the whole the meter was doing the job.
Second trip – Using the EV scale and exposure compensation
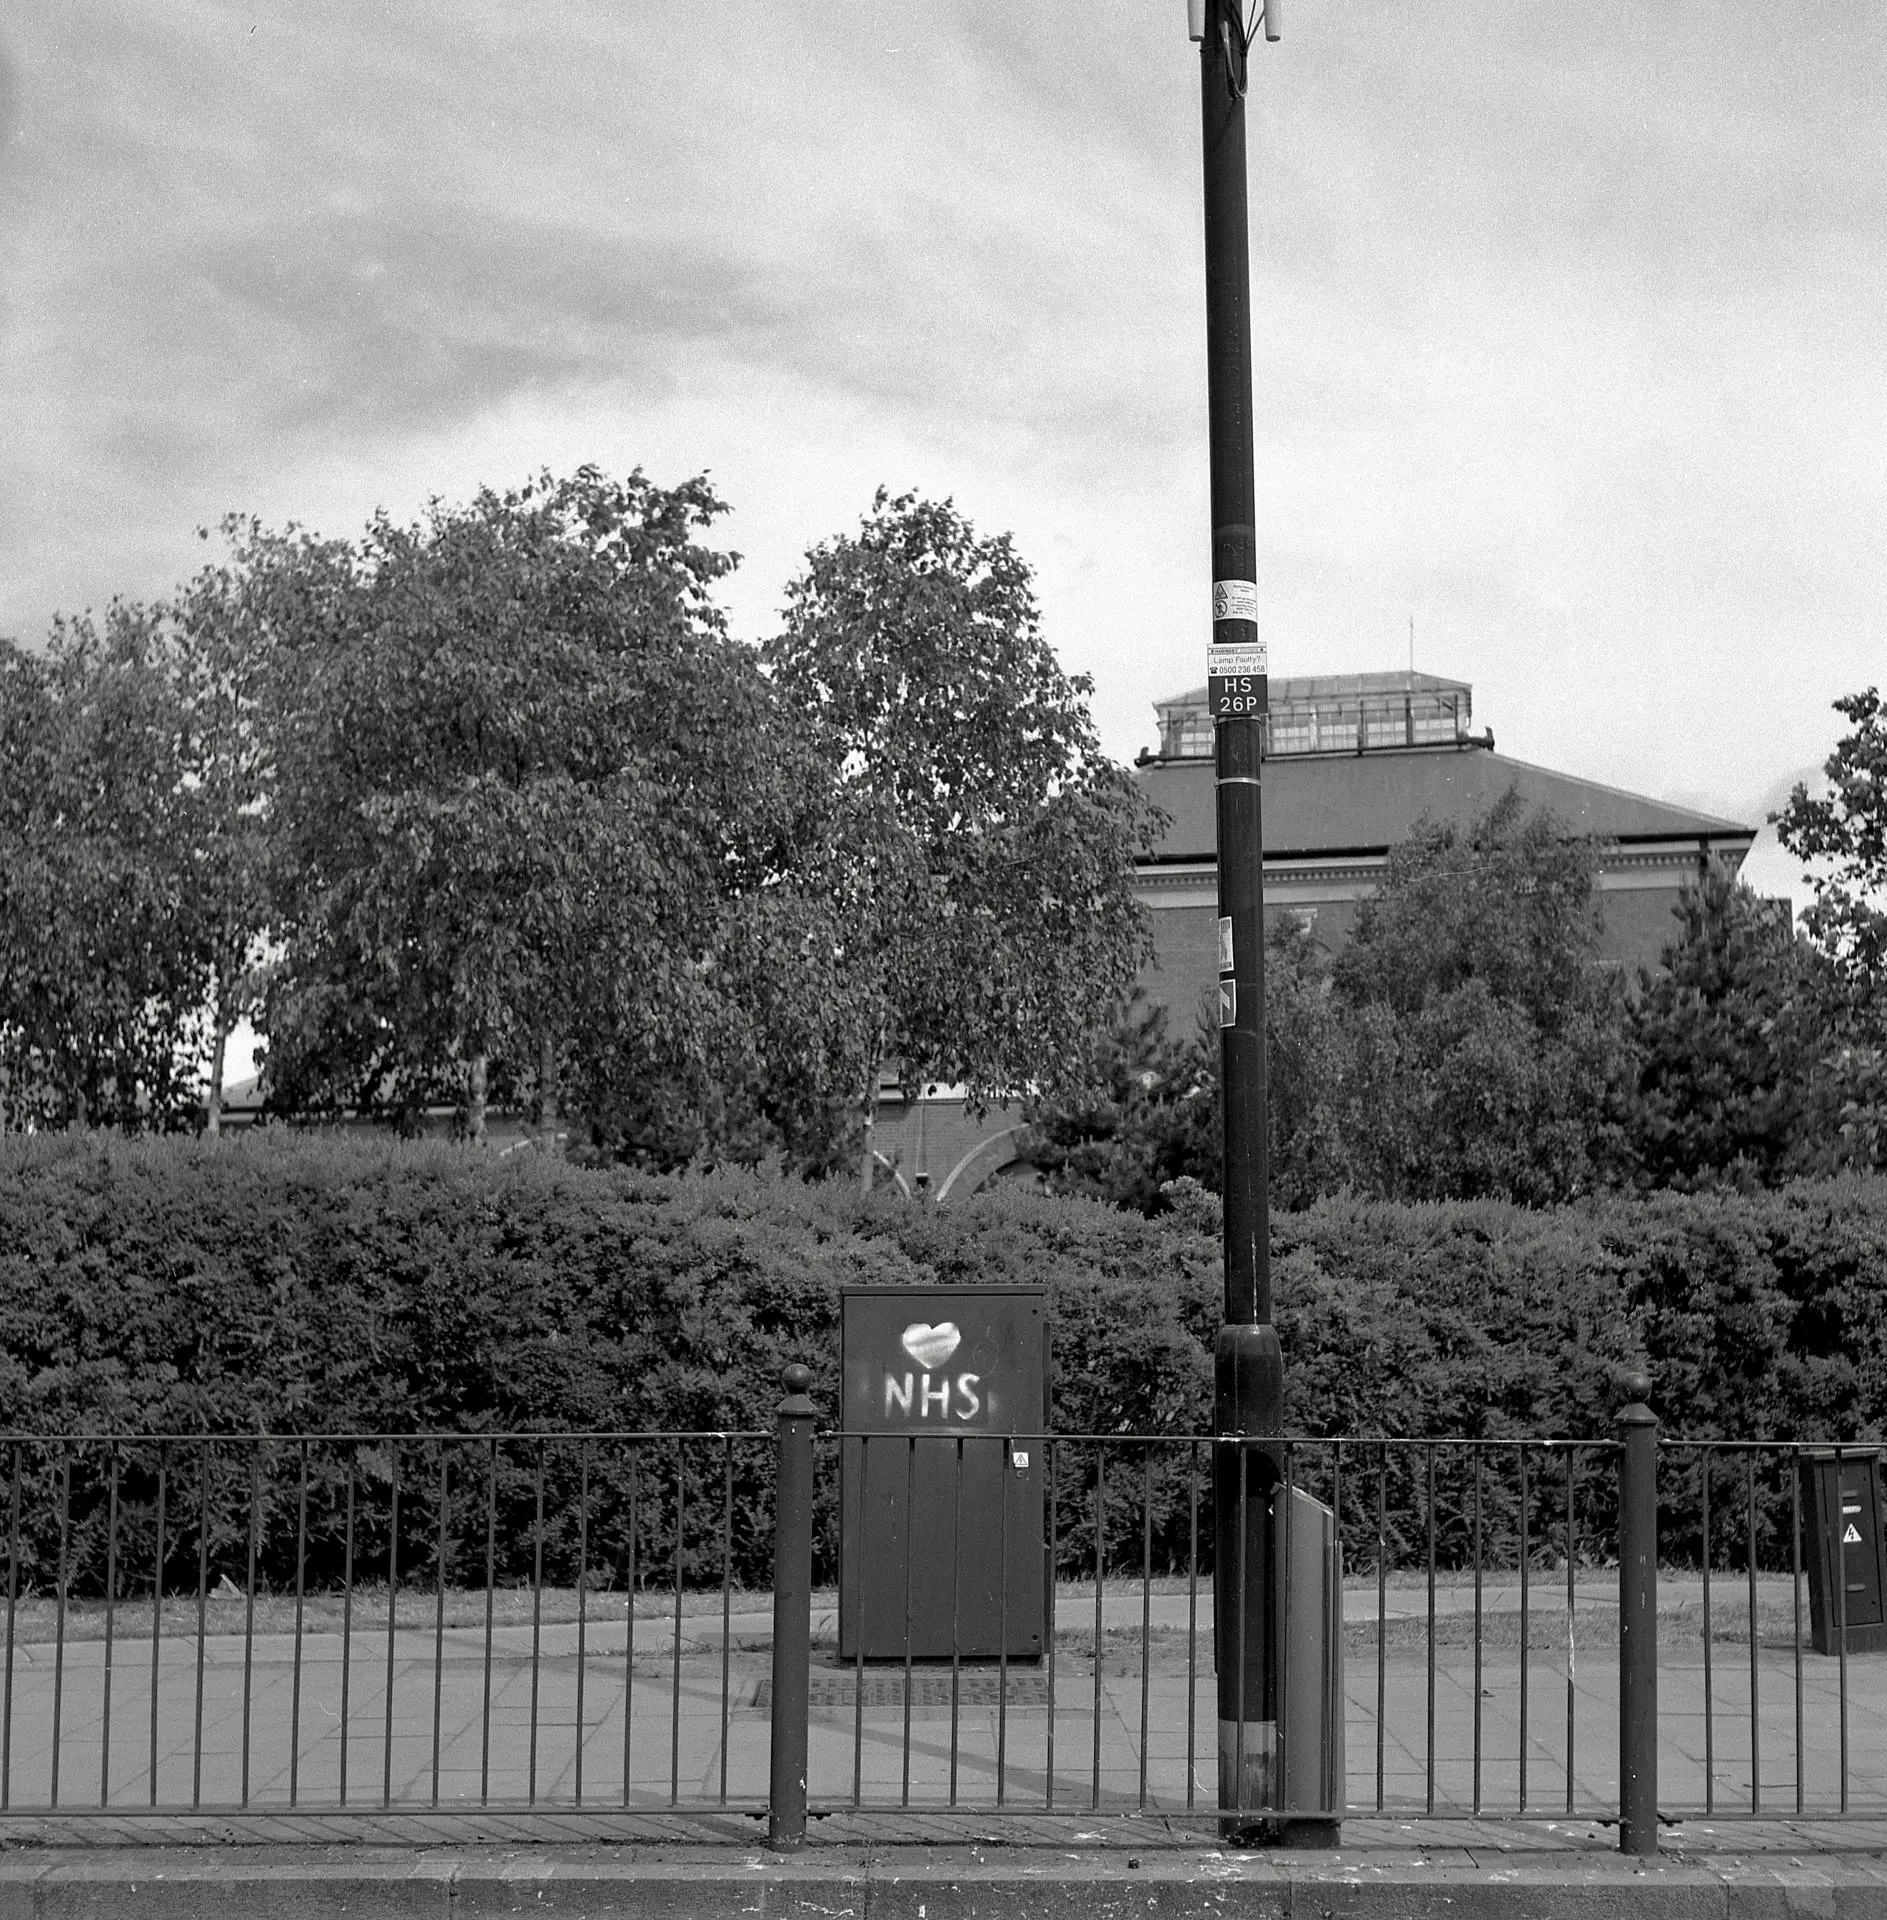
The following day, I loaded a roll of HP5+ into my Rolleicord Vb and set off with my Sekonic L398A around my locality in North London. The Rolleicord uses an EV setting mechanism requiring the user to select the EV number which then engages and couples the shutter speed and aperture according to chosen exposure value. When the user changes the aperture (or shutter speed) the shutter speed (or aperture) correspondingly changes. Some like this feature, others hate it because of the inability to apply exposure compensation as the aperture and/or shutter speed cannot be disengaged from each other. But, using the Sekonic L398A, again I could dial in the exposure compensation I wanted, read off the EV number and set that on the Rolleicord. This is actually a significant improvement in usability over the Minolta. Since my Kodak Retina IIc also users the same EV setting mechanism I can see this will be useful.
Sample Images

Conclusions and cautionary note
Overall, I am quite pleased with my purchase of the Sekonic L398A. It’s going to accompany me whenever I go out with my many meter less cameras, and fingers crossed I will manage to hold onto the high slide.
Just a word of caution though. Remembering the warning about a magnetic field I decided to check my trusty Omega Speedmaster with a compass at the end of the day and yep, you’ve guessed it, well and truly magnetised! Fortunately, I’m used to this happening and it didn’t take long to de-magnetise it, but from now on I might just leave it off my wrist when out with the Sekonic L398A.
Thanks for reading and you can see more of my work at on Instagram @scottphotographer.
Share this post:



Comments
Phil on Sekonic L398A Review – Field testing – by Michael Scott
Comment posted: 01/07/2020
Comment posted: 01/07/2020
Kodachromeguy on Sekonic L398A Review – Field testing – by Michael Scott
Comment posted: 01/07/2020
Comment posted: 01/07/2020
Ed on Sekonic L398A Review – Field testing – by Michael Scott
Comment posted: 01/07/2020
One of the joys of the M6 is not having to carry yet another gadget,
Comment posted: 01/07/2020
Castelli Daniel on Sekonic L398A Review – Field testing – by Michael Scott
Comment posted: 02/07/2020
An external meter offers another advantage - a stealth approach. You can meter, set the camera while in your lap or over your shoulder, then when the moment is right, up to your eye, compose and snap! No precious seconds lost fiddling with your camera (unless it’s auto exposure!)
This dino has always carried an external meter during his 50 years of pushing film through his cameras.
Comment posted: 02/07/2020
BruceC on Sekonic L398A Review – Field testing – by Michael Scott
Comment posted: 02/07/2020
ed on Sekonic L398A Review – Field testing – by Michael Scott
Comment posted: 02/07/2020
Comment posted: 02/07/2020
Castelli Daniel on Sekonic L398A Review – Field testing – by Michael Scott
Comment posted: 13/07/2020
Thanks for the information on Ian’s website. I’m going to contact him this week and see if it’s feasible to send them from the US to be repaired. I will mention you in my email to Ian.
-Dan
Toby Madrigal on Sekonic L398A Review – Field testing – by Michael Scott
Comment posted: 02/06/2021
Comment posted: 02/06/2021
Comment posted: 02/06/2021