Recently, I was lucky enough to be invited to contribute to a project that was started by Dave Whenham (@elland_in) and John Martin (@TEMLIGHTIMAGES). The project is passing a homemade 4×5 pinhole camera around some invited contributors, who each use the camera and submit the results as content for a zine.
When I agreed to do this, about a year ago, it all seemed a bit far in the future. As the camera landed on my doorstep things got real, very quickly. I’d had a year to work out my plan of attack and I’d put it into the back of my mind. The first weekend I wasted by being frozen with panic. I was going to look like a real fool.
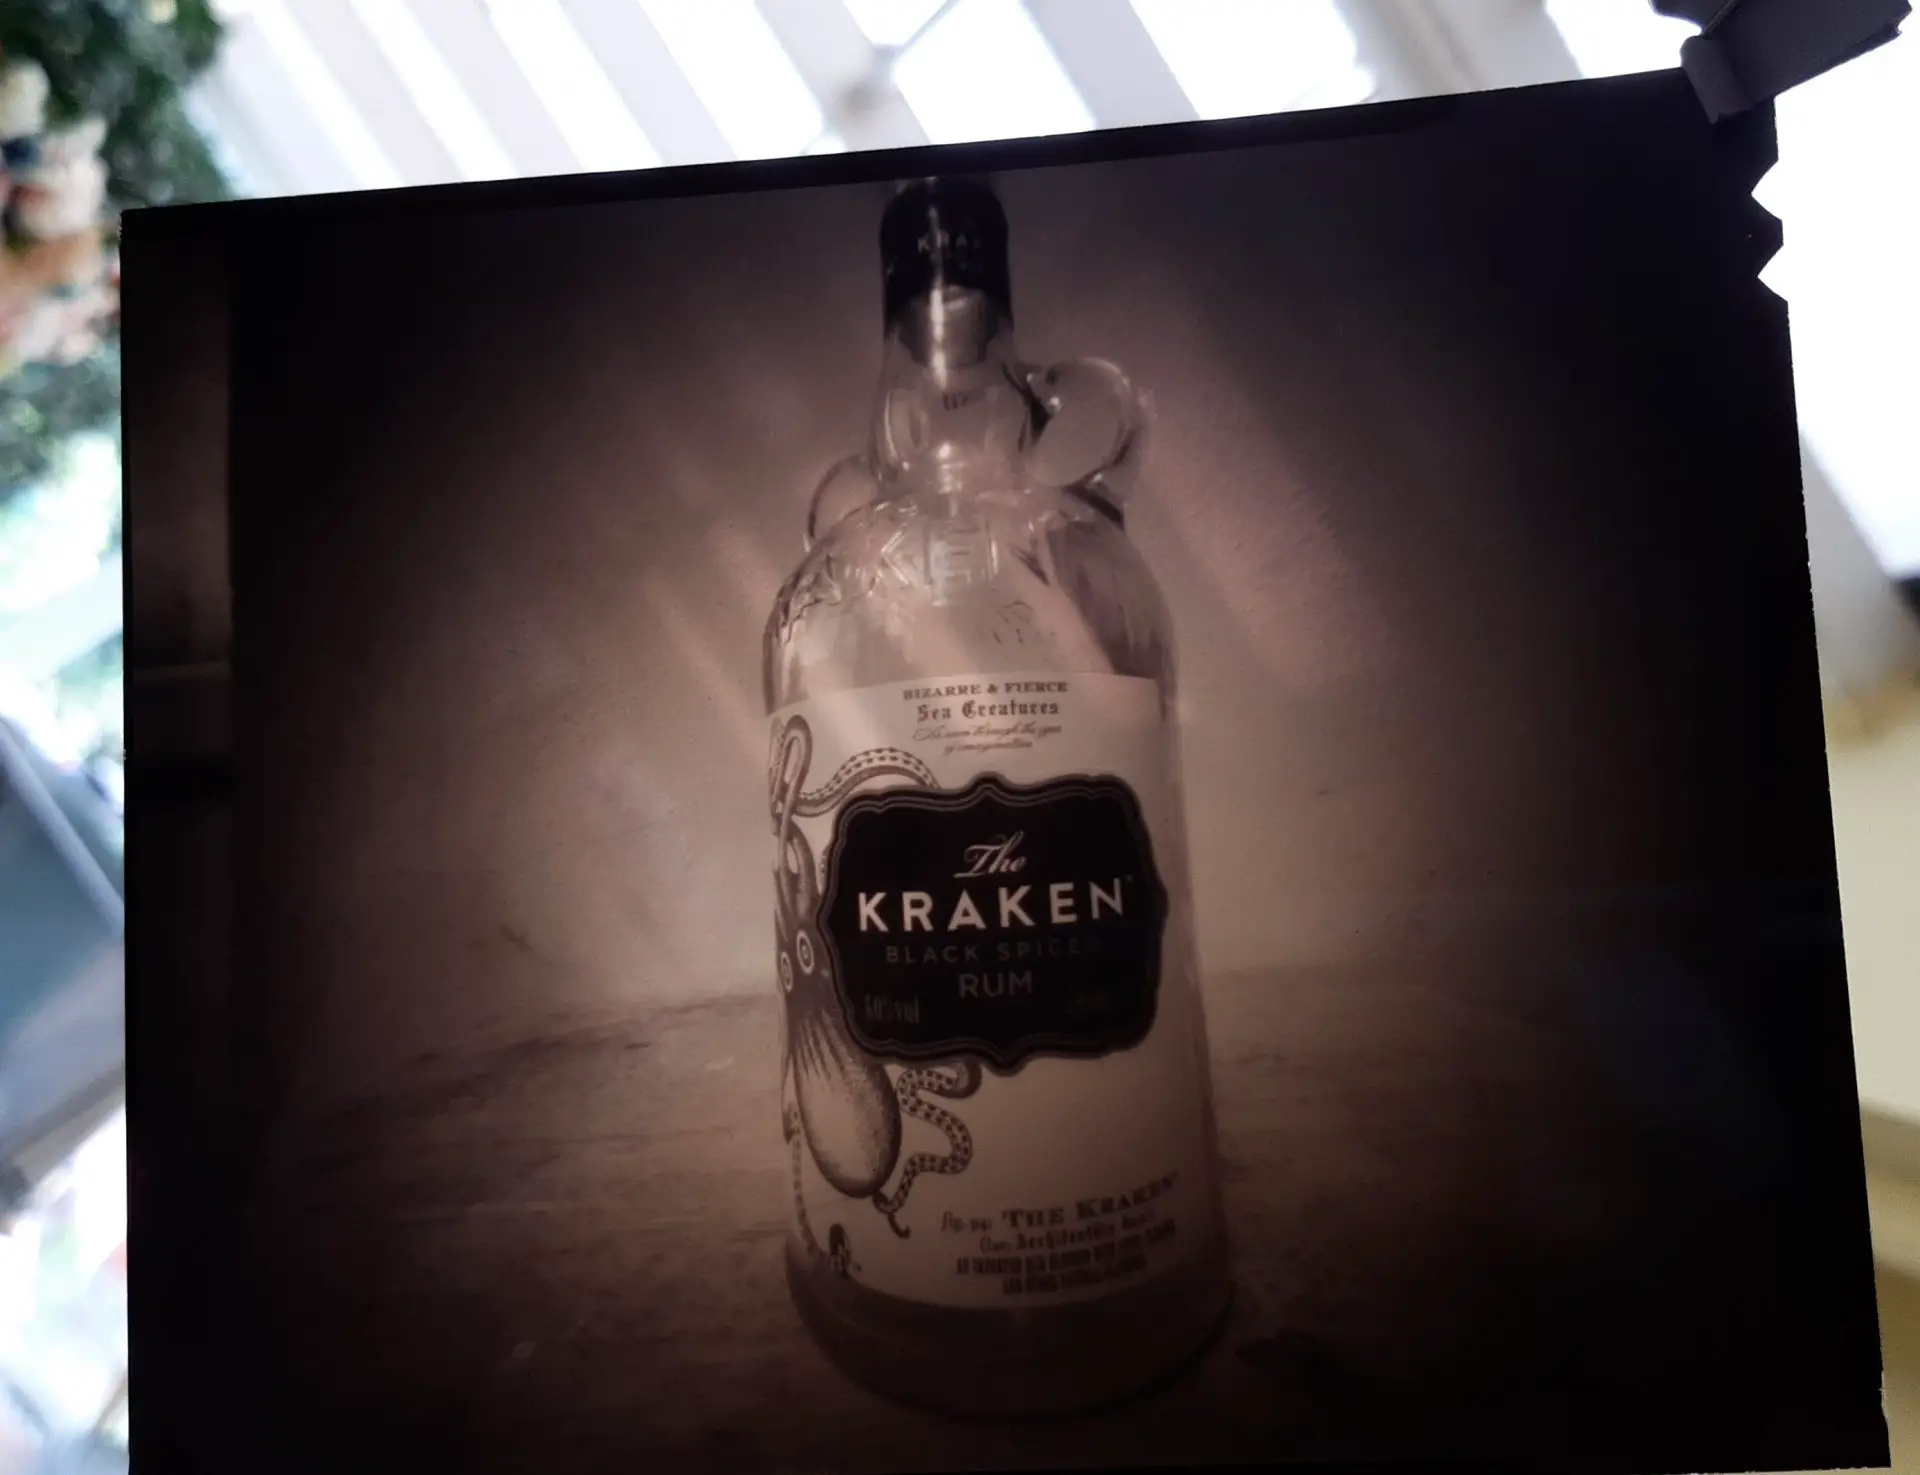
In a fit of JFDI (Just Flippin’ Do It) I loaded a couple of sheets of Adox CHS 100 II film and shot a frame of a Kraken Rum Bottle and a vase of plastic flowers.
I am not a person, with whom the term “brilliant” is associated, however I do have the odd flash of inspiration. This came in the form of not having any Kodak D23 made up or chemicals to do so. The only developer that I’d got was Ilford PQ Universal. I also had an unopened box of Fotospeed ST10 Sepia Toner. What if I tried a reversal process using the Sepia Toner?
The theory goes that you develop the film in a strong dilution of paper developer, then use the toner from the ST10 kit and then use the bleach from the ST10 kit you will carry out reversal of the image.
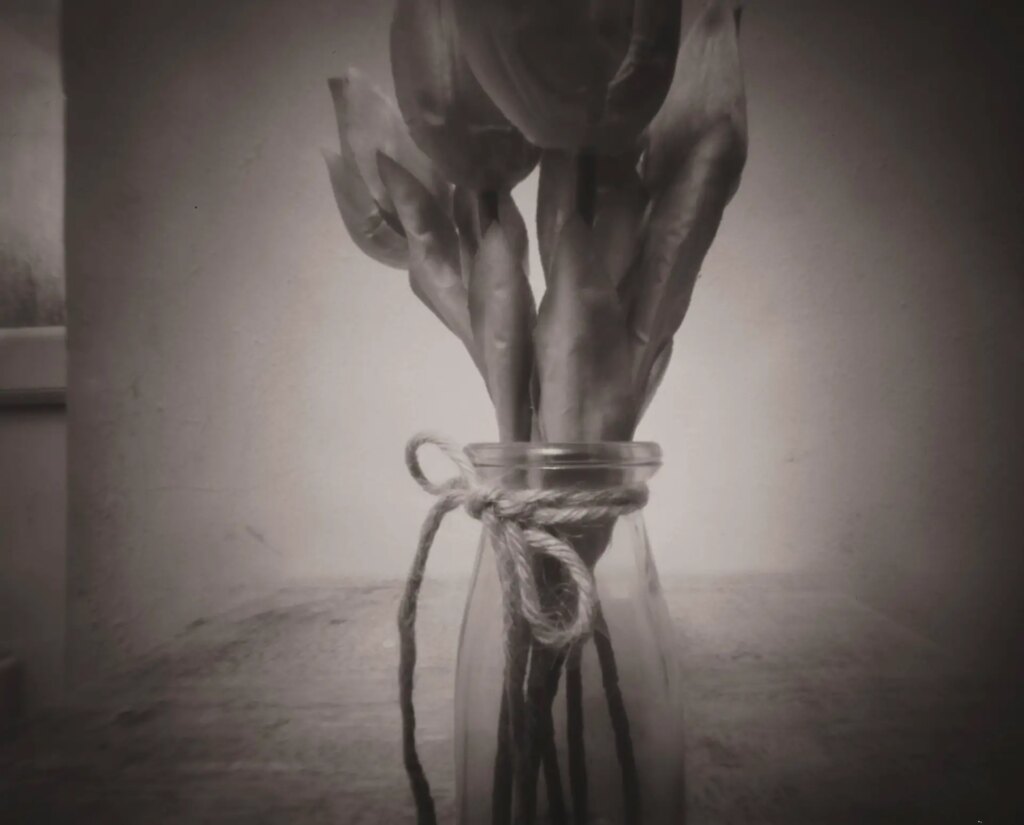
Normally when toning a print you develop the print, bleach away the print and then tone the print which returns a sepia toned image. To use the toner for a reversal process you need to reverse the use of the sepia kit.
For full disclosure, the reason that I’d got the ST10 kit is because I tried the reversal process with paper negatives over the winter, but would it work with film? A quick Google confirmed that it would.
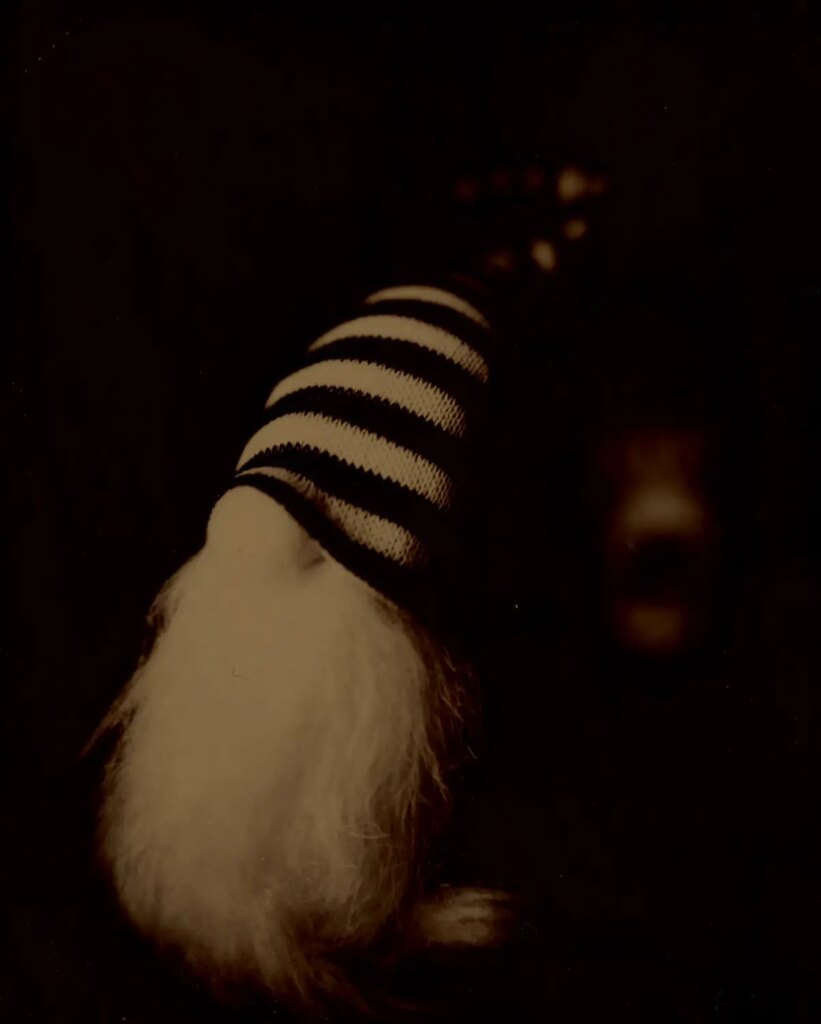
So onward with the experiment. I mixed the PQ Universal developer at a strength of 1+5 and diluted the toner and bleach at 1+9 as per the instructions on the box, labelling and storing them in separate bottles.
I loaded the exposed film into my Stearman Press tank and took a deep breath and got to work.
The resulting slides (transparencies) were a thing of beauty.
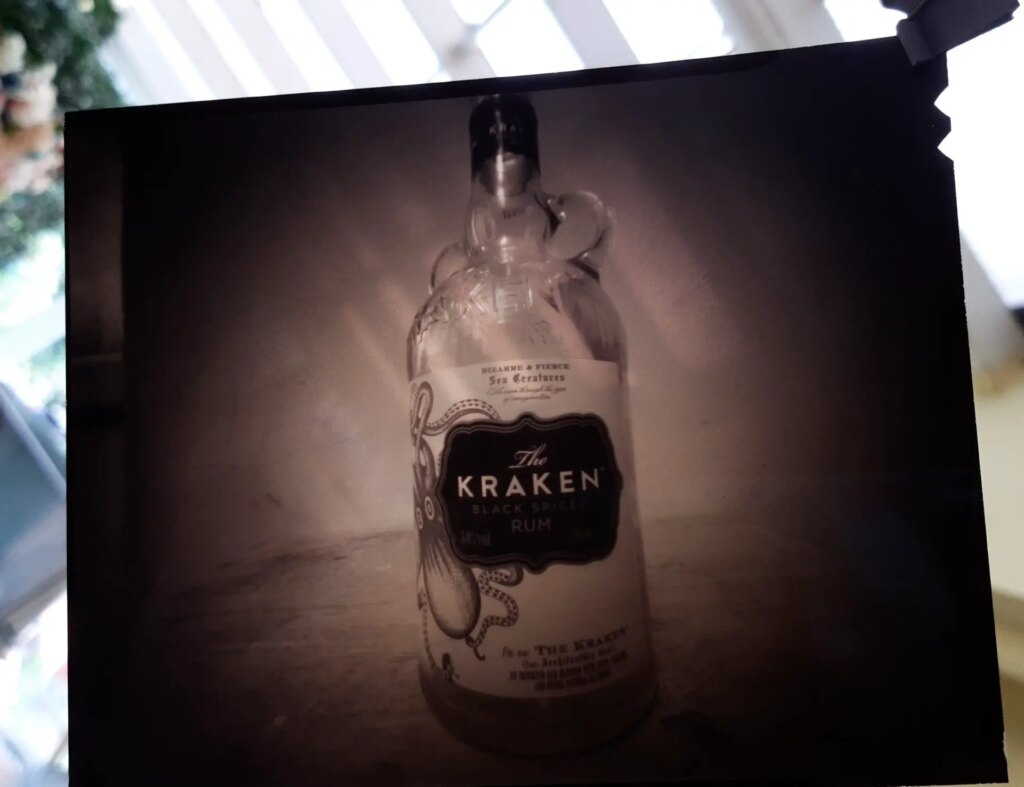
Warning: Always wear Personal Protection Equipment when dealing with chemicals, like a lab coat, nitrile gloves and goggles.
What you will need:
- Ilford PQ Universal Paper Developer
- Ilford Multigrade Paper Developer
- Fotospeed ST10 Sepia Toner Kit
- Adox CHS 100 II film in 4×5 (I haven’t tested this with any other film)
- Nitrile Gloves
- Goggles
- Lab Coat
- Developing tank suitable for 4×5
- Water @ 20 degrees centigrade
Method
- Develop film for 10 minutes using strong dilution (1+5) of paper developer, using the Ilford agitation method.
- Wash film to ensure no contamination ( 3x 10 inversions with fresh water @ 20C for each set of 10 inversions)
- Treat the film with a normal dilution (1+9) of Fotospeed ST10 toner for 15 minutes, using the Ilford agitation method.
- Wash film to ensure no contamination ( 3x 10 inversions with fresh water @ 20C for each set of 10 inversions)
- Treat the film with a normal dilution (1+9) of Fotospeed ST10 bleach for 15 minutes, using the Ilford agitation method.
- Wash film to ensure no contamination ( 3x 10 inversions with fresh water @ 20C for each set of 10 inversions)
- Fix in a netural fixer, I used Fotospeed FX30, for 5 minutes, using the Ilford agitation method.
- Rinse and wash film in normal way (Use Ilford method)
- Et Voila, you will have a slide that is beautifully sepia toned.
Ilford Agitation Method:
- Fill tank with chemical solution (developer, fix etc)
- Invert tank constantly, every 2 seconds, for the first minute
- Invert tank for the first 10 seconds of each subsequent minute in the development time.
Ilford Wash Method:
- Fill the tank with fresh water @ 20 degrees centigrade
- Invert tank 5 times
- Discard water
- Fill the tank with fresh water @ 20 degrees centigrade
- Invert tank 10 times
- Discard water
- Fill the tank with fresh water @ 20 degrees centigrade
- Invert tank 20 times
- Discard water
The Pinhole World Tour
As I mentioned earlier in the article, the reason that I started to make these slides is because of a project that is going on with an invited team of selected contributors. The project is called Daves Pinhole Camera World Tour 2021 (check out the hashtag #DPCWT2021 on Twitter). A chap, who I am privileged to call friend, called Dave Whenham found a homemade 4×5 pinhole camera in a charity shop. The camera is sent to a contributor, who has the camera for 3 weeks, who then has to make some images before passing the camera on to the next contributor. I was invited late in 2021 and my slot was put in the diary for April/May 2022.
There are some great contributors who have gone ahead of me and so I was determined to make the most of my time with the camera. The problem is that 3 weeks isn’t enough and goes in a flash.
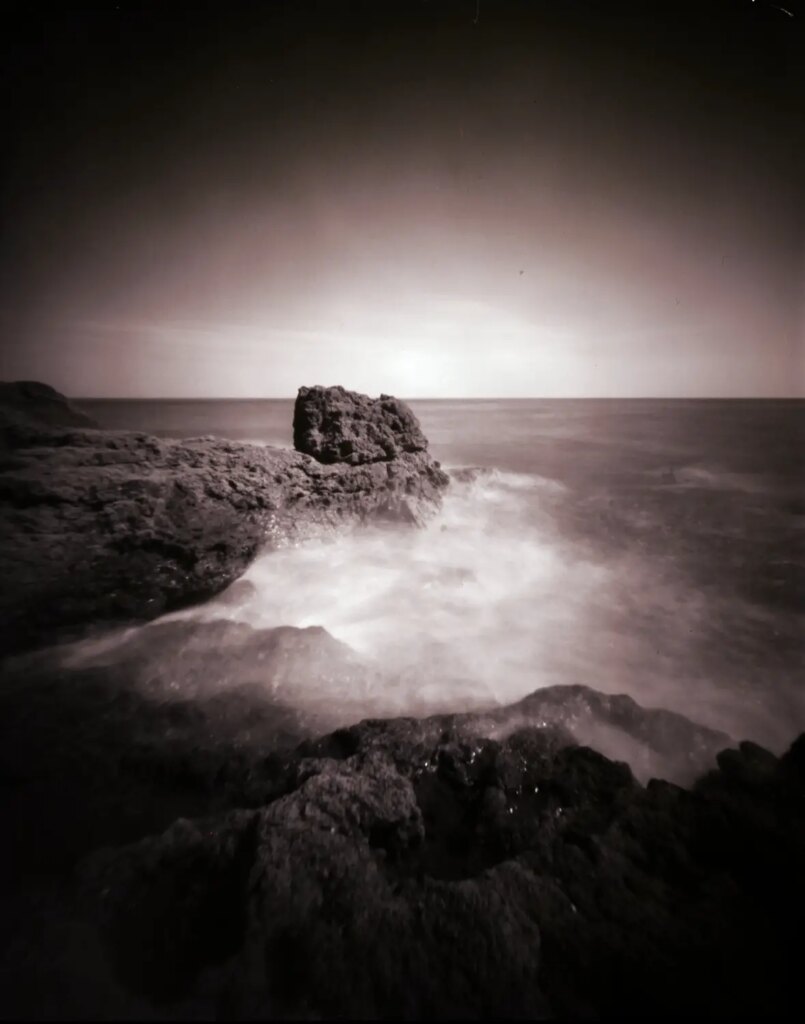
The following image was made, as a slide, in Bracelet Bay in the Mumbles, a beautiful beach that is just really tranquil (plus there is a bar at the top of the cliff).
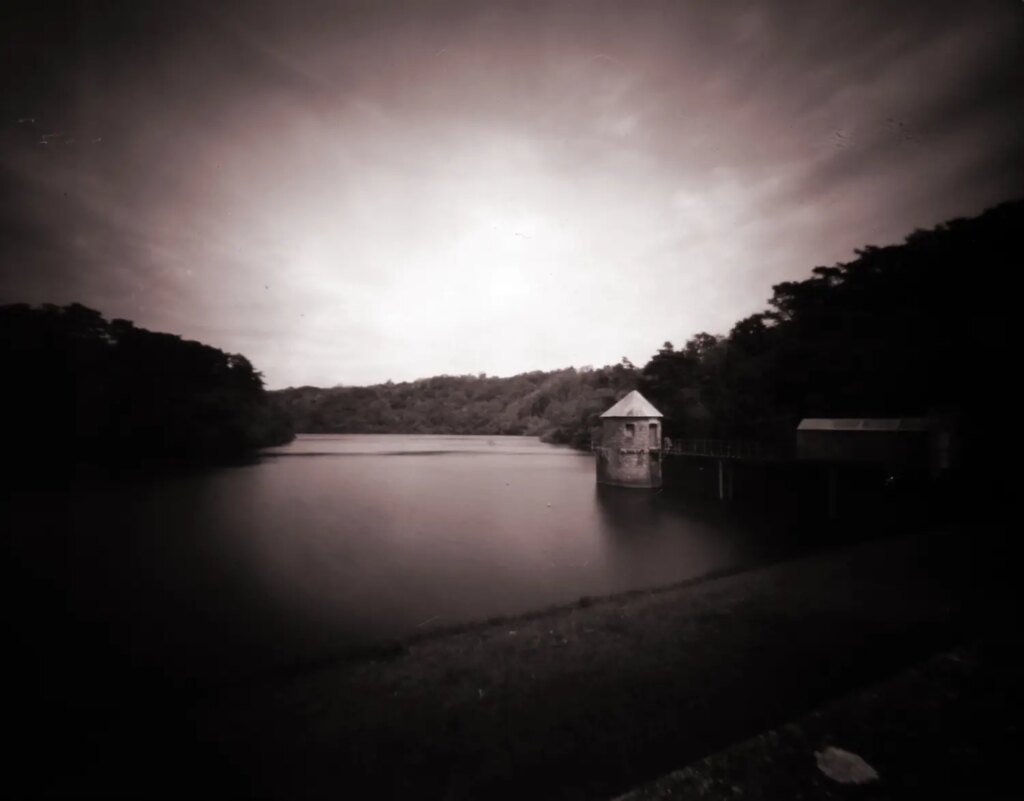
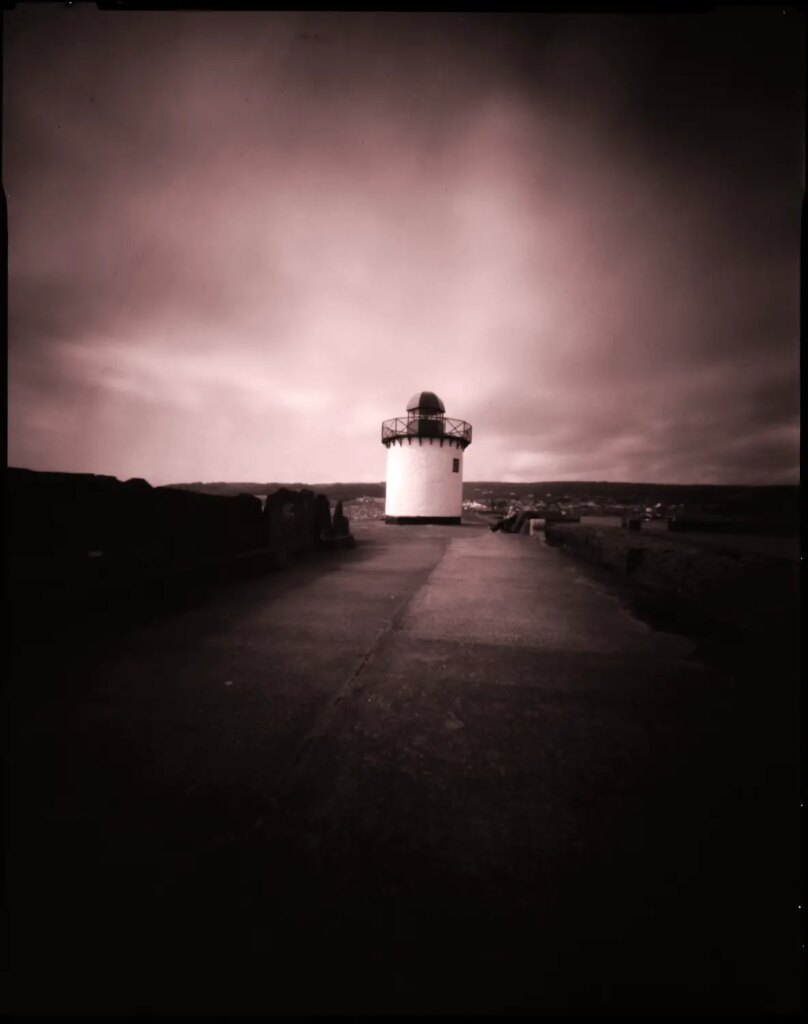
This next image, of the lighthouse, was made at Burry Port in Carmarthenshire using the DPCWT2021 camera.
I’ve rather been smitten both by pinhole photography and the slide making process.
The mindfulness of using a Pinhole camera should not be under estimated. You can get outside and just focus on creating an image. And being a 4×5 you don’t have to burn through rolls of film. One at a time is all that is needed (though I usually take a DDS film holder so two normally get taken).
Using a Sepia Toner means that all slides have the sepia tone but for me this adds to the beauty of each slide.
I’ll leave the last word to the man whose camera is used for the DPCWT2021, Dave Whenham.
“I’m blown away! Firstly by the results from your unique processing but also by the sheer physicality of 5×4 transparencies.”
Share this post:




Comments
David Hill on Making 4×5 Slides using a Sepia Toner Kit – By Andrew Smale
Comment posted: 03/07/2022
Comment posted: 03/07/2022
Kollimatorn on Making 4×5 Slides using a Sepia Toner Kit – By Andrew Smale
Comment posted: 03/07/2022
Comment posted: 03/07/2022
Vlad Serebryany on Making 4×5 Slides using a Sepia Toner Kit – By Andrew Smale
Comment posted: 04/07/2022
Now, I hope you would not mind if I make a suggestion how to improve the process and explain what actually happens during the process you followed.
I should say that i myself spent countless number of rolls trying to reverse the negative film Svema Foto32 back 40 years ago. The result was always low contrast, sepia colored slides which would be probably passable today when everything get scanned anyway, but for projection those slides did not do.
Only recently i discovered why it did not work - the first developer i used (and i tried quite a few ) did not have the "secret" ingredient any first developer (for b/w and color) reversal films has - Potassium Thiocyanate or Ammonium Thiocyanate or Sodium Thiocyanate.
The role of this substance is as follows. The film emulsion always has the smallest crystals of silver bromide, which are not light-sensitive and they are not affected by the first developer. But they play the sinister role in the second development bath after the film reversal (either by fogging agent or intense light ). Those crystals get exposed in reversal process and get developed in the second developer. So they make the lights on reversed film slightly fogged - and that kills the beauty of the reversed film. The contrast is lowered, the highlights are blocked. To deal with those pesky crystals the thiocyanate salt is added to the first developer at approx. 2-4 grams per liter ( there are a lot of formulations , say https://tishstringer.com/wordpress/wp-content/uploads/2020/01/16mmGuide_Final-1.pdf ) . The Thiocyanate in first developer simply dissolves those small crystals without noticeably affecting the rest of silver bromide in the film. So for the film reversals it is almost always advised to have thiocyanate present in the first developer. You do not want this thiocyanate in the second developer because it will dissolve some of the silver bromide during the second bath and thus will lower the maximum density (blacks) - something you don't want under any circumstances.
So i guess you know what to do next around - add say 4 grams of thiocyanate to the first developer _if_ you are reversing film.
As for the "magic" you observe with ST10 kit, here is what happens.
In the first developer the usual development happens.
The second bath - sepia toner is simple set of chemicals which convert remaining unexposed/undeveloped silver bromide into sepia-colored silver sulfide (THIOUREA/Thiocarbamide in that bath is responsible for that https://www.freestylephoto.biz/static/pdf/msds/fotospeed/ST10_Sepia_Toner_Part_2.pdf ). No light is needed for that reaction and it runs to completion.
The bleach bath ( https://www.freestylephoto.biz/static/pdf/msds/fotospeed/ST10_Sepia_Toner_(Bleach)_Part_1.pdf ) simply converts metallic silver developed in the first bath back into the silver bromide.
The last bath - fix - removes this silver bromide as usual.
So now you have emulsion which has silver sulfide for the image and blank gelatin where silver is removed. That way you have the reversal accomplished.
From my experience that sort of conversion may work fine if there is enough of silver is contained in emulsion to begin with - due to the formulation. If film is never intended to have Dmax around 2.5 -3 the reversal process will produce a low contrast image.
Hope this helps!
Comment posted: 04/07/2022