Hamish’s 7 reasons you should own a thread mount Leica post from earlier this year left me with three main thoughts. First that Hamish is a darned good writer. Second that he’s right about Barnack Leicas. Third that I really should take more pictures with my beautiful old Leica iii.
There she was, eighty years old, sitting alone, dusty and neglected in the dark, brooding on past glories – a German aristocrat in decline. Worse, when she did see the light just once or twice a year she’d often take revenge for my neglect by jamming half way through a roll, firing at random speeds or refusing to budge at all. And who can blame her?
So, inspired by Hamish and determined to give the old girl some love, I sent her off to Peter at CRR for a complete overhaul. And when she returned? Oh joy! Smooth, responsive, bright-eyed and renewed. What a machine! And what a craftsman Peter is. Here’s a quick snapshot portrait (of the camera, not Peter).
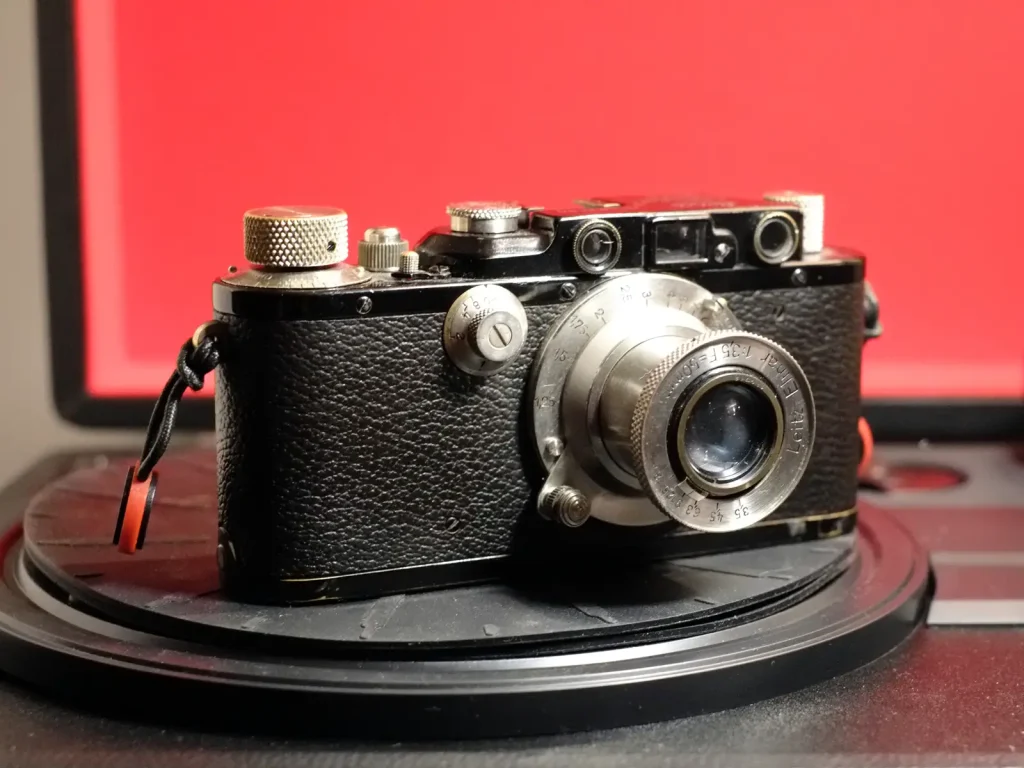
After a few days clicking, winding, stroking, clicking, winding just for the joy of it I re-attached the ancient Elmar lens and promised to use the camera more. Which I did. A lot more. At home, on weekend walks, in the pub, even at work to the amusement and (in just one case) jealousy of the whippersnappers I toil beside.
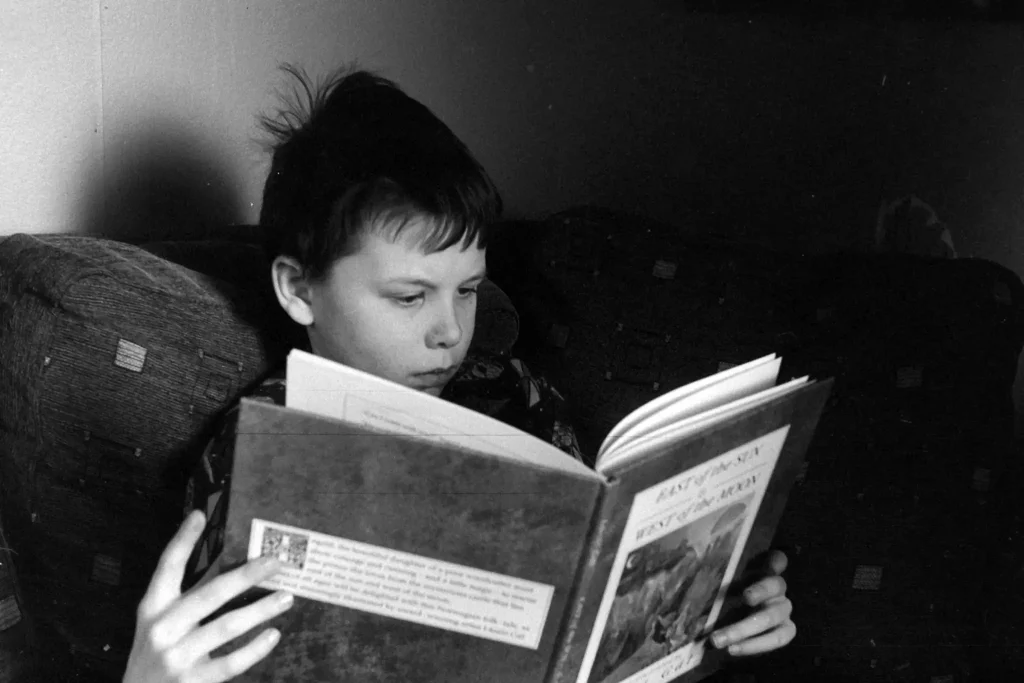
This serviced Leica iii is the most rewarding little camera I’ve ever used (and probably ever will). Thank you Hamish for inspiring her rebirth. Here’s an example from the first roll I took after the repairs. No masterpiece and I damaged the negative but I do love the character of the Elmar for this kind of shot.
Quite soon I was pocketing that Leica more than any other camera. The trouble is I was starting to get frustrated by the constraints of the old Elmar. Sure, it’s gorgeous in its way, especially for portraits, and looks way retro-cool of course. But it is what it is: an uncoated lens from the 30s, a bit fiddly and low contrast unless the light is just-so and not wide enough for my tastes in lots of situations. It also has more flare than Frisco in 68. Something better and wider would definitely be in order. And I had just the thing in mind…
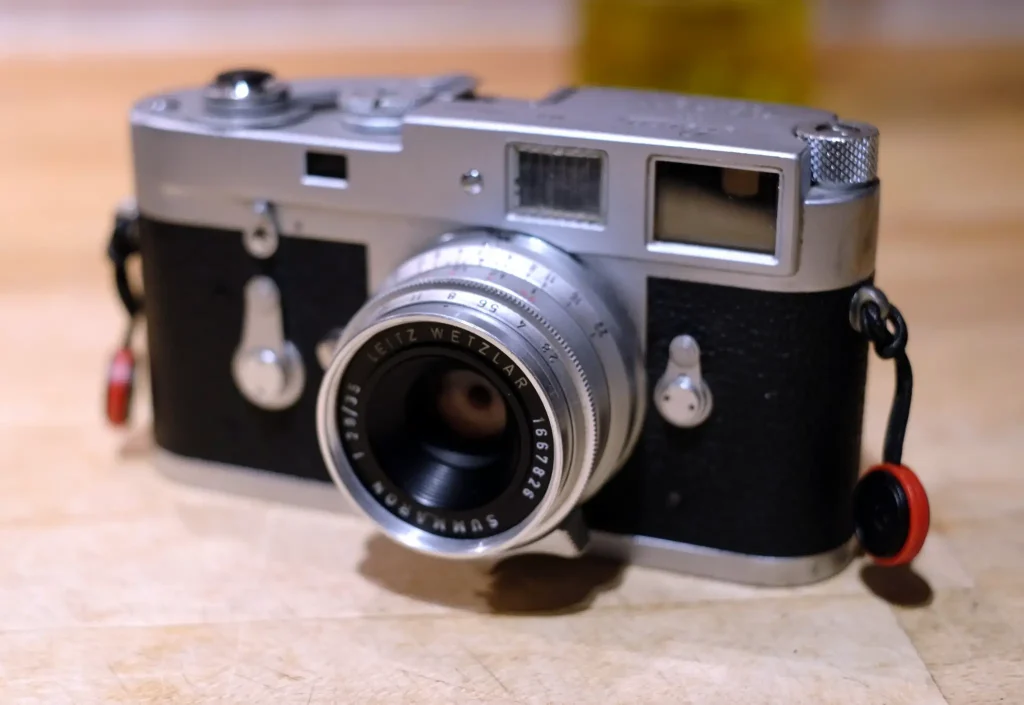
I’m no Leica collector (through poverty not inclination) but am lucky enough to own a beautiful 35mm Summaron 2.8 thread mount lens. It lives on a bruised but still street-fighting M2. I love the Summaron: sharp, not clinical; gentle but with good contrast, small but easy to use and built like nothing else I’ve ever owned. In other words, exactly what I wanted for my iii. How frustrating then to know that it would only be usable with either a hulking great external finder or a seriously expensive little one like the gorgeous Voigtlander 28/35 Hamish also got me lusting after. After a couple of failed Ebay auctions that reached nearly £200 (for a viewfinder!) I gave up on the Voigtlander and resigned myself to a long summer of saving.
A DIY Solution
Don’t worry though, there’s a happy ending to this tale that doesn’t involve saving money like some kind of adult. One day I was going through a bag of knackered old point and shoots looking for a decent donor lens to use on a cardboard camera I was making (as you do) when I noticed that nearly all of them had pretty good and small 35mm viewfinders. The Voigtlander mini came to mind. Inspiration! What if?…
And so over the next weekend a DIY viewfinder was born. Here’s how I did it…
1: Choose a donor camera
I’m sure most readers will, like me, have several large bags full of faulty or untested point and shoot cameras. But for those oddballs who don’t and need to buy one, here’s what I noticed.
– Most P&S cameras from the eighties have viewfinders ranging from acceptable to quite good. My guess is that they used pretty much the same components from high to low-end during this period. After that it’s noticeable that cheap cameras have commensurately cheap viewfinders. I guess they got better at granular cost cutting in the 90s.
– In approximate order of cheap viewfinder niceness I’d put Olympus consistently at the top with Nikon/Canon second and Ricoh/Konica (more variable) in third. Halina are awful.
– My choice for a donor was based on the following criteria 1: size – I wanted something about the size and weight of the Voigtlander 28/35 mini-finder 2: accuracy – calibrated with the 35mm lines on my M2 and 3] bright enough to see through comfortably with glasses.
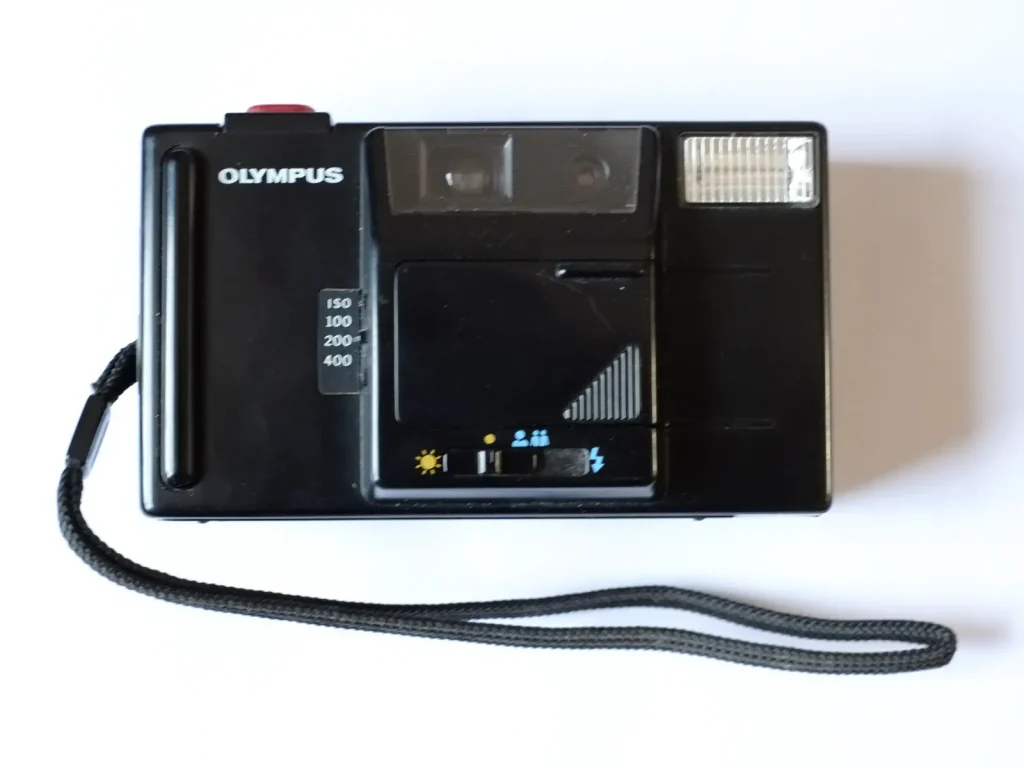
In my case I plumped for a broken Olympus Supertrip. The Supertrip is a very cheap, very flimsy fixed aperture fixed focus camera from the mid eighties with a slow and horrible flash. In other words, just the kind of thing readers of this blog might like. Not least because it has a pretty nice but slow Zuiko 3-element lens and – returning to the point – a perfectly acceptable and very compact viewfinder.
2: Extract the viewfinder
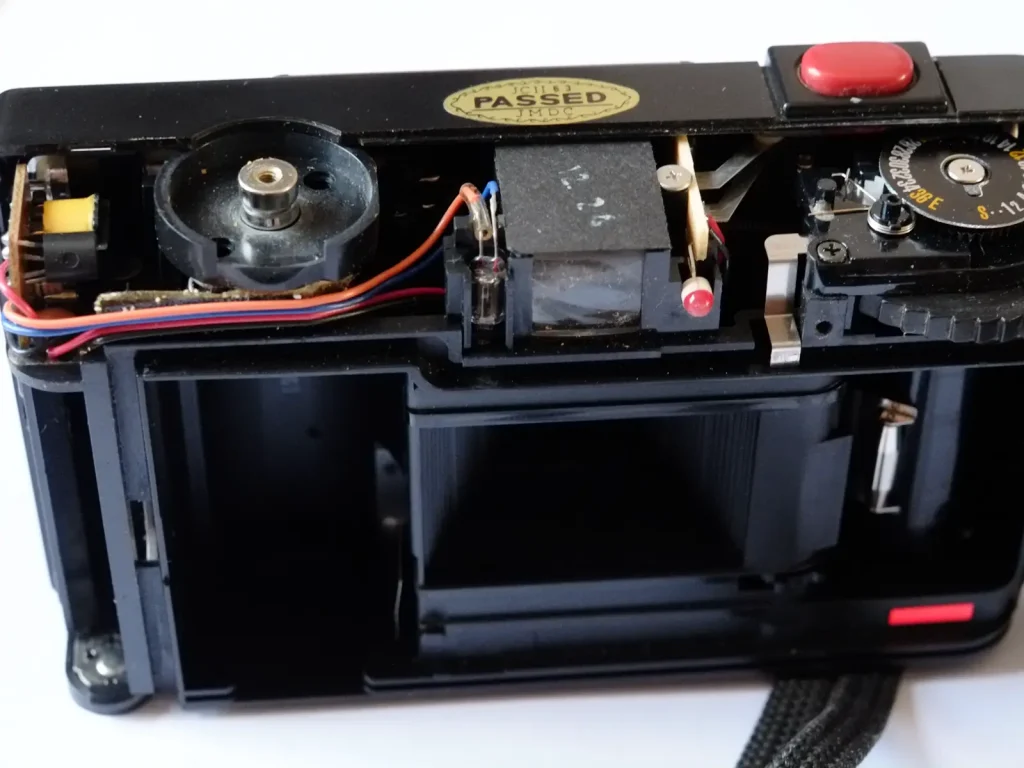
Almost all compact cameras can be opened by removing a few screws from the outside of the body and a couple behind the back door and battery compartment. A bit of brute force might be needed to prize the plastic open but once you’re there the viewfinder is easily accessible.
On the Supertrip there were two small screws, some wires and a dab of glue holding it in place so I just cut the wires, unscrewed and levered it away with the end of a screwdriver. Warning: please take care if the camera you’re mangling has had batteries in recently – the flash capacitor can have a mighty big electric charge even if the camera seems otherwise dead. It’s all at your own risk. If in doubt stop (or at least wear rubber gloves).
3: Remove the viewfinder lenses and tidy up the housing
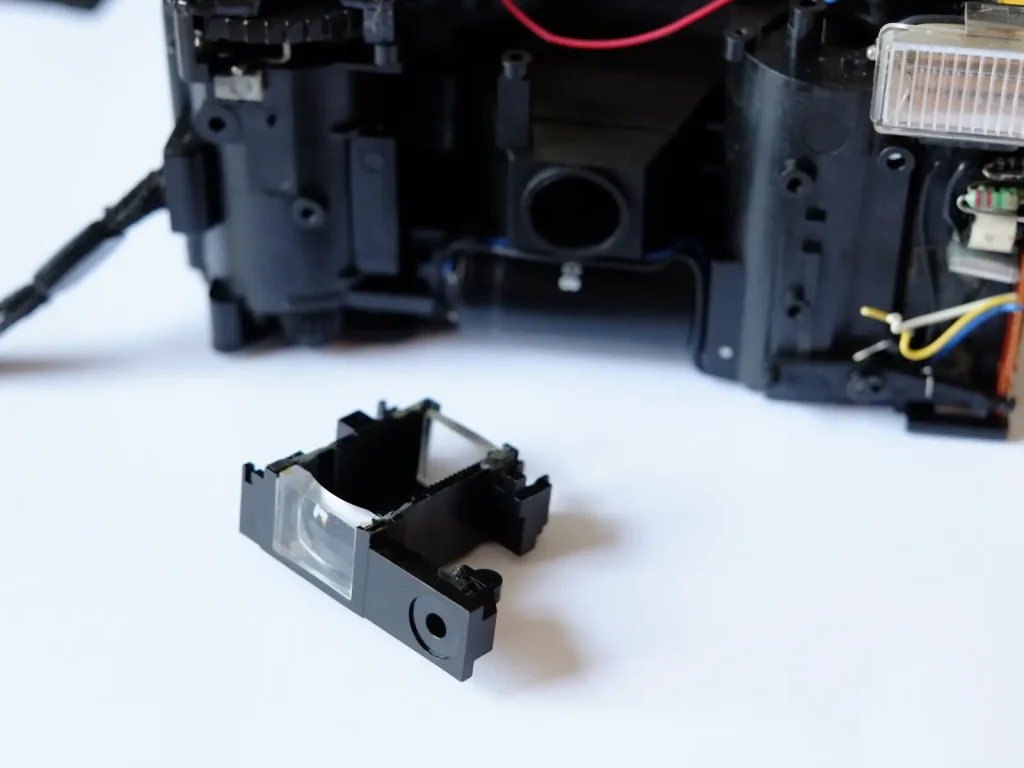
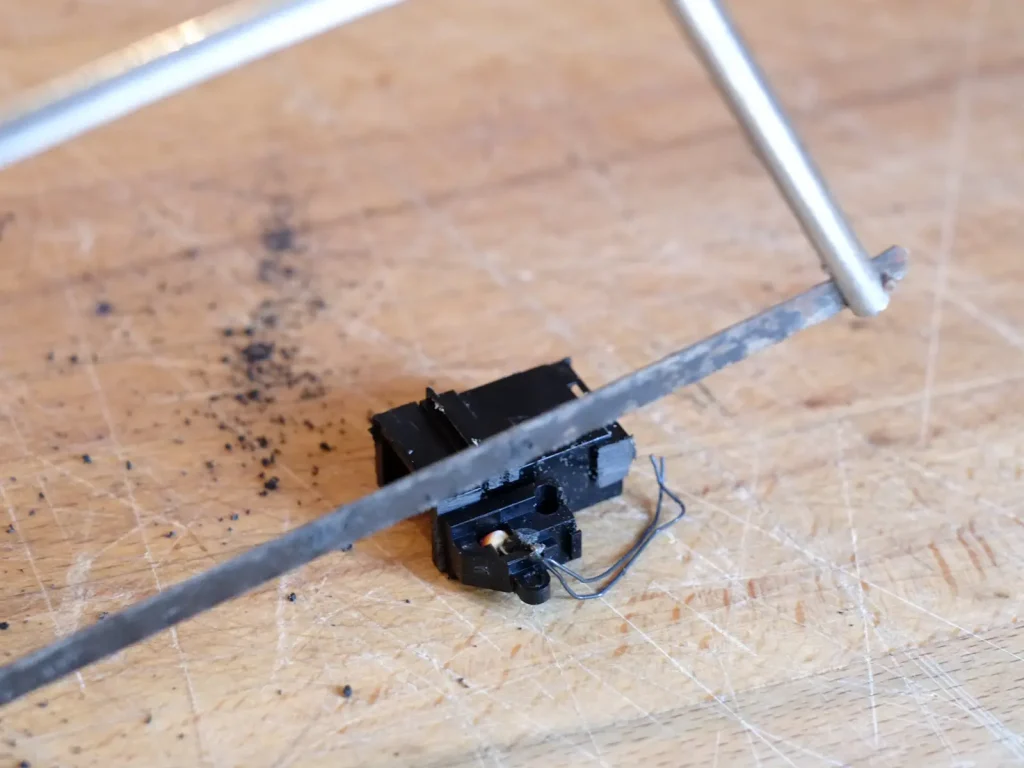
I took out the lenses then used a small hacksaw and a file to cut off and smooth the various bits of unnecessary plastic protruding from the housing. Then gave the lenses a dust and wipe with Eclipse fluid.
4: Make a nice cover for the housing
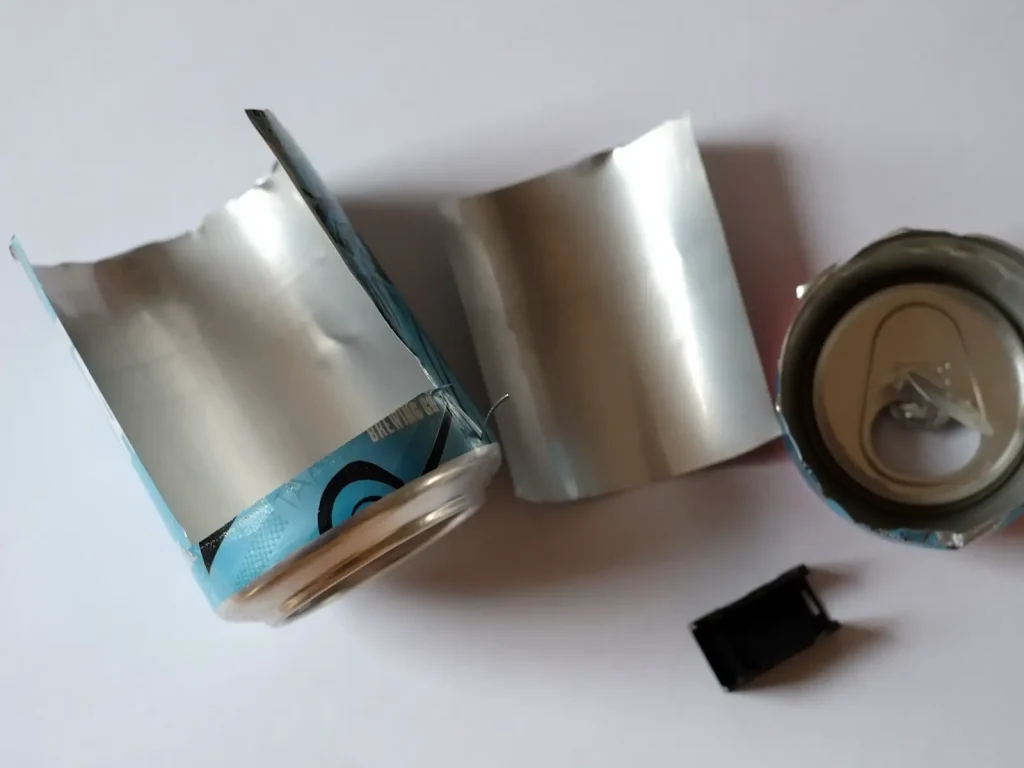
Because I figured that if this worked I’d return and perfect the technique I decided that the new housing cover should really be made out of metal. This was because a] I might want a proper ‘chrome’ one some day and b] it would be cool if a black one had potential to go all brassy. If you don’t care about that just use plastic from a yogurt pot or even stiff card. I used an old beer can because it was thin and malleable and, um, close to hand. Just cut a rough shape with sharp nail scissors, wrap it around the plastic viewfinder housing then trim to a neat finish. I scored the bends to make them sharper but go easy, the metal is so thin it breaks quite easily.
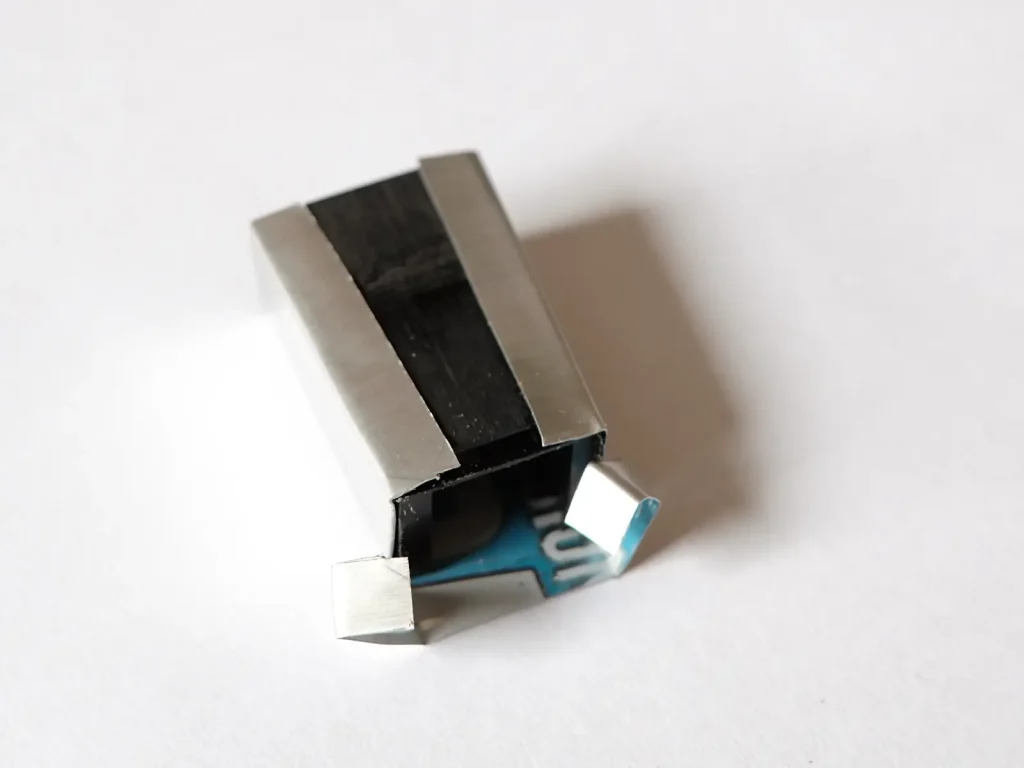
5: Make an eyepiece.
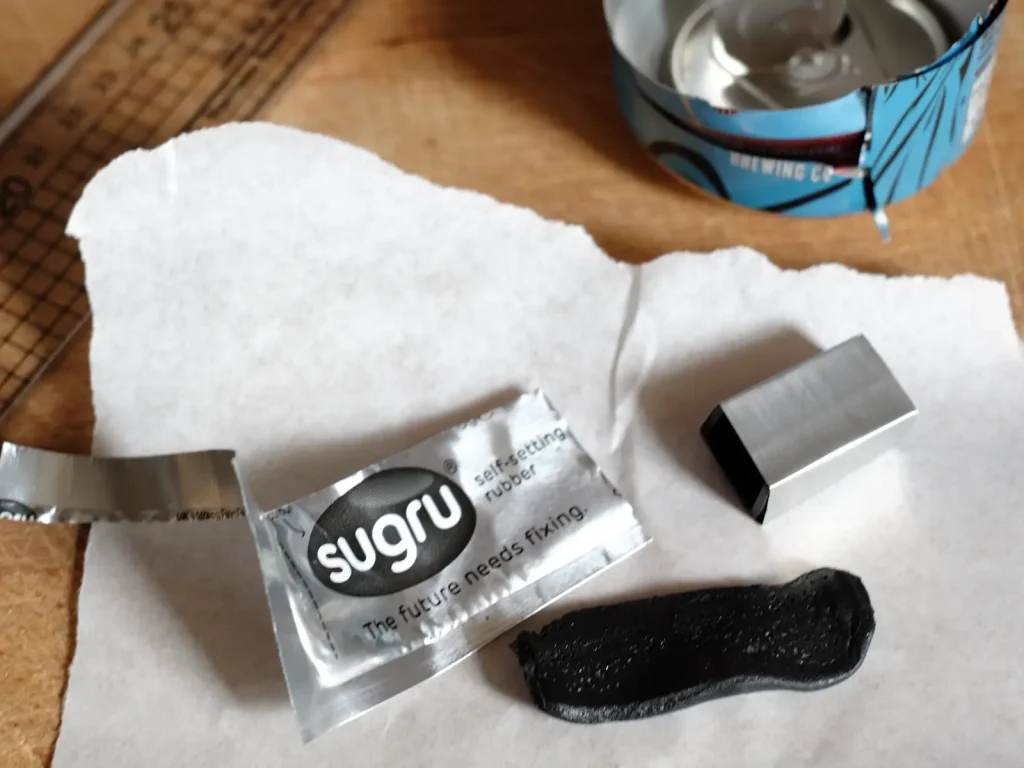
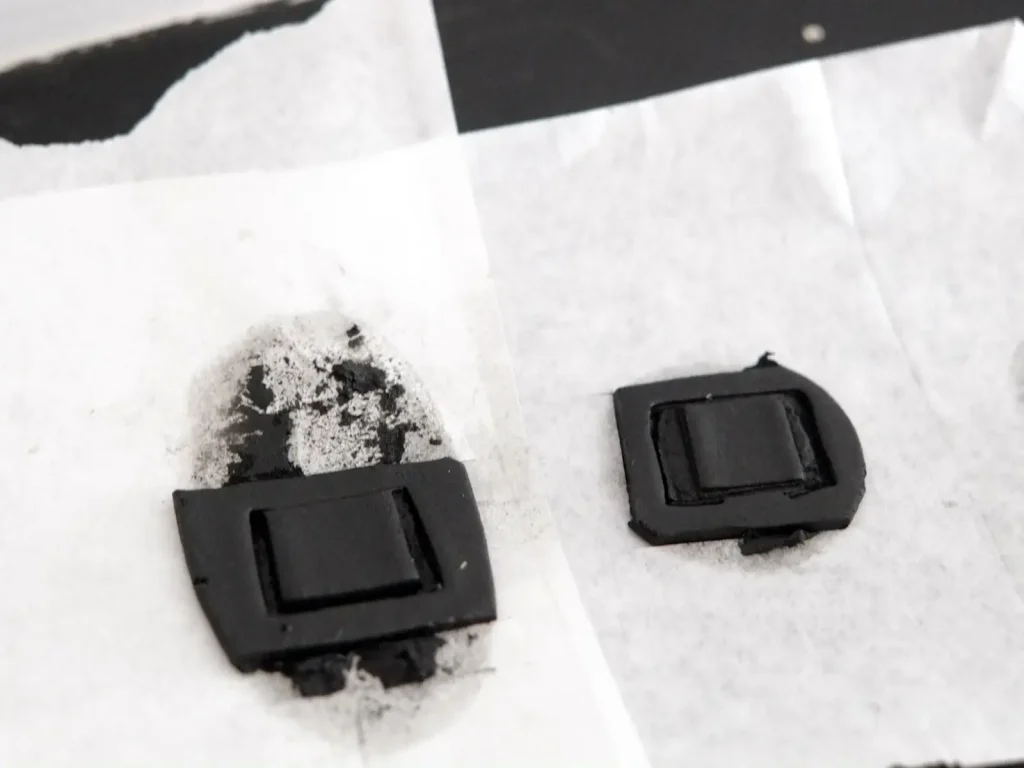
I used Sugru. If you’ve not come across it I recommend you have a play. It’s like sticky plasticine modelling clay that you can shape any way you like then leave overnight until it sets to firm rubber. Check out the site for hipster ideas on what to do with the stuff. Me, I use it for DIY camera projects, minutely detailed but otherwise unavailable weaponry for lego figurines and for mending the soles of my shoes so probably not their top brand ambassador. Anyhow – press the viewfinder into the sugru to get the shape, wait for it to set then carefully cut out the centre and around the edges to make a satisfyingly firm but not scratchy eyepiece. A big tap washer or piece of thin foam would likely work too.
6: Spray the housing
While the Sugru was setting I sprayed the beer-can housing with matt black enamel paint. This was a pointless step in the end (see 7) but did mean I was able to test whether it would look ok. It did. The next one I make will probably be done this way.
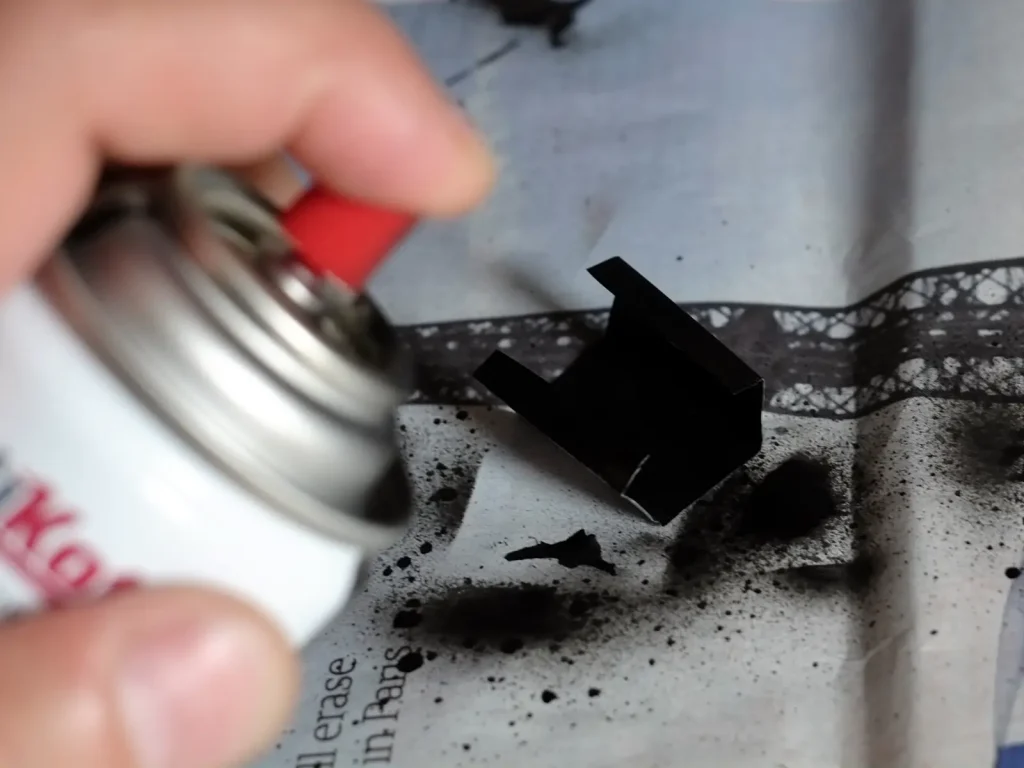
7: Change your mind about the paint job and make a leatherette cover instead.
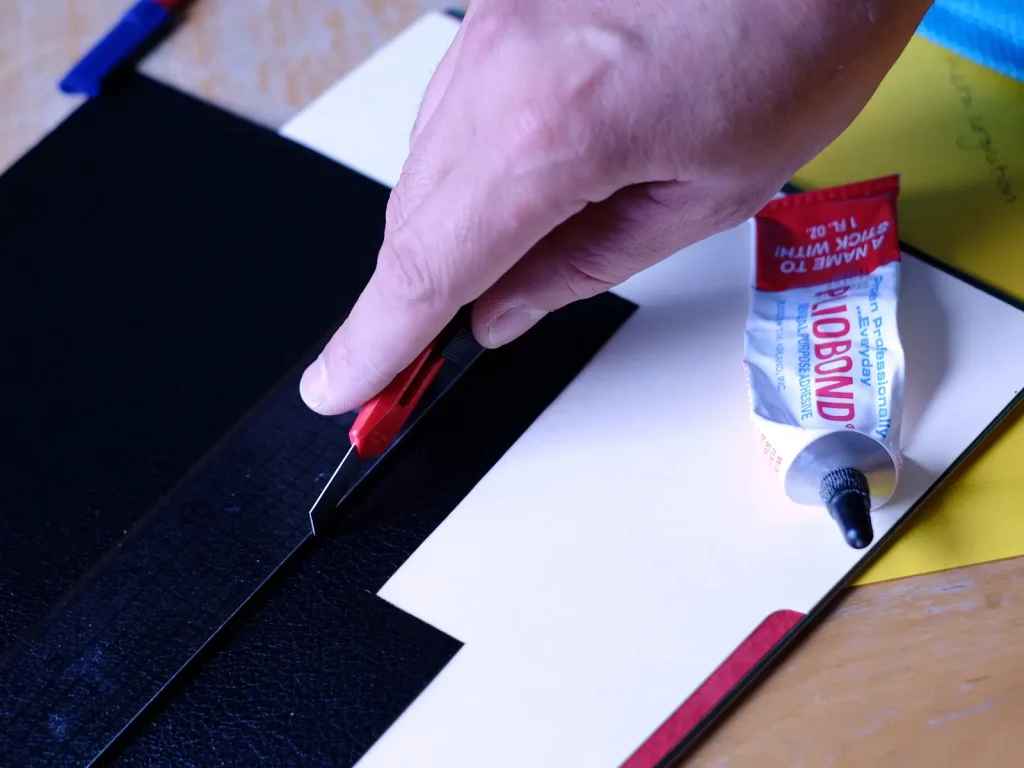
So the paint was drying and the sugru setting and back to work I went. In the meantime I took a look through a book my mother in law gave me called A History of Photography in 50 Cameras by Michael Pritchard. It includes an article about the Voigtlander Prominent from the same era as my Leica and has a picture showing the most beautiful viewfinder imaginable. So a close-as-damn-it leatherette cover it was. Luckily I had several sheets of the good stuff from CameraLeather.com kicking about but I reckon any thin leather or faux leather from a craft shop would be fine. Just cut a strip roughly the right size, wrap it around the viewfinder then trim to fit. It was glued with Pliobond but any flexible contact adhesive would work fine.
8: Make a shoe mount
I spent ages mulling whether to hack the mount off an old but working flash gun before realising I had an unused plastic hot-shoe cover sitting pointlessly on my digital SLR. So I glued that to a round slither cut from an old black felt-tip pen then glued that to the viewfinder.
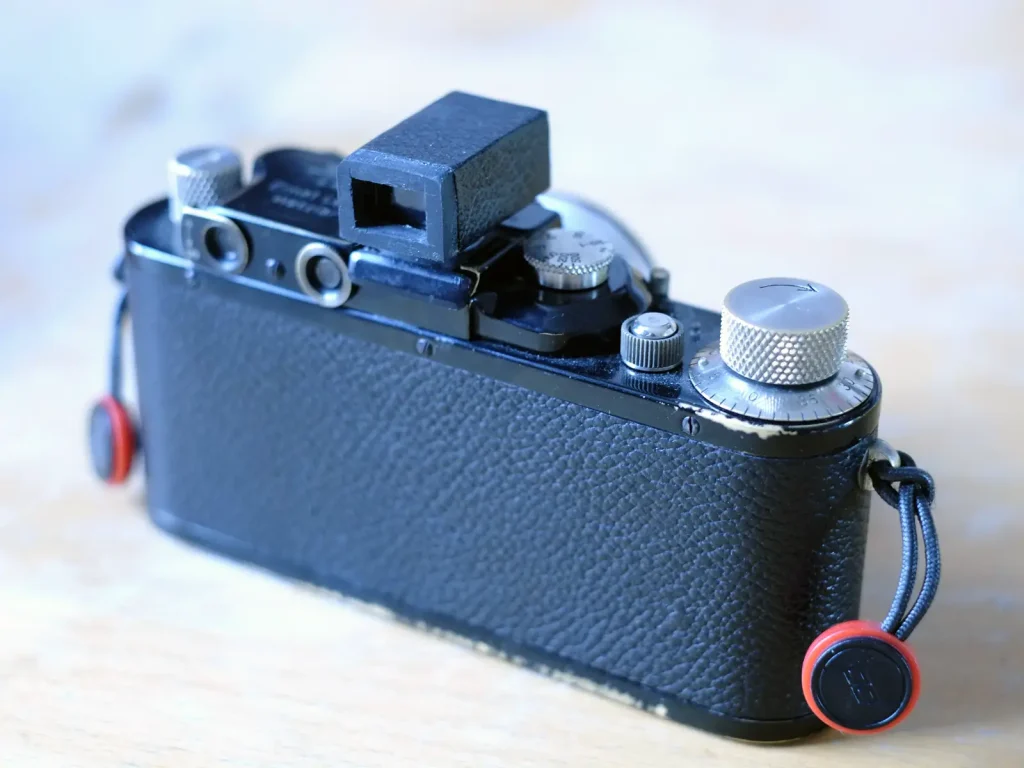
So there you have it. A 35mm viewfinder of quite good quality measuring 31mm (l) x 20mm (h) x 16mm (w)and weighing in at all of 9 grams.
Here are a couple more photos of it mounted on the Leica iii with the Summaron.

I hope this is useful for at least a few readers of 35mmc. Thanks to Hamish for encouraging and indulging me. And thanks to Frank Lehnen for posting about a similar, bigger (but certainly much brighter and better) DIY viewfinder for his Barnack.
Share this post:


Comments
Hamish Gill on Why & how I made a DIY 35mm mini-Viewfinder – Guest post by Eddy
Comment posted: 02/08/2016
Todd Schlemmer on Why & how I made a DIY 35mm mini-Viewfinder – Guest post by Eddy
Comment posted: 02/08/2016
(two words not enough for the SP-@M filter)
Comment posted: 02/08/2016
Stephen on Why & how I made a DIY 35mm mini-Viewfinder – Guest post by Eddy
Comment posted: 02/08/2016
:)
Comment posted: 02/08/2016
Comment posted: 02/08/2016
Comment posted: 02/08/2016
Comment posted: 02/08/2016
Comment posted: 02/08/2016
Frank Lehnen on Why & how I made a DIY 35mm mini-Viewfinder – Guest post by Eddy
Comment posted: 02/08/2016
Why did I go for this monstrous Canon viewfinder when there are such cute things around! Well done!
Comment posted: 02/08/2016
Comment posted: 02/08/2016
Max Brug on Why & how I made a DIY 35mm mini-Viewfinder – Guest post by Eddy
Comment posted: 02/08/2016
Comment posted: 02/08/2016
Lars on Why & how I made a DIY 35mm mini-Viewfinder – Guest post by Eddy
Comment posted: 03/08/2016
Comment posted: 03/08/2016
jeremy north on Why & how I made a DIY 35mm mini-Viewfinder – Guest post by Eddy
Comment posted: 04/08/2016
Geoff Radnor on Why & how I made a DIY 35mm mini-Viewfinder – Guest post by Eddy
Comment posted: 12/08/2016
Last November (2015) bought my second Leica, a iiif, from 1934, it is as old as me. It has been joined by a 5cm f2 Summar. My first was a new M2 in 1959, but that is regrettably long gone.
I can't afford the other Leica lenses, like maybe a 35mm or 28mm wide angle. But I picked up an almost free Canon converter B, so I can mount Canon wide angle lenses on the Leica. Canon lenses may not be in the same league as the Summarons but what do you want for less than $10.
What is all this to do with viewfinders. I didn't have a 28mm lens on a point and shoot, but I did have a 40mm on a Canon that was seriously past its best before date. It took me several hours to open it up, but only minutes to extract the viewfinder. A spare old flash gun had a nice connection, so all I need is the Sugru to make it more permanent. It is held together by one screw currently.
Next project is to find a cheap or freebie P&S with a 35 or 28mm lens, and then to find the appropriate Canon FD lens for less than $10.
Thank You Eddy for the DIY inspiration.
brain butler on Why & how I made a DIY 35mm mini-Viewfinder – Guest post by Eddy
Comment posted: 18/03/2017
Charlie on Why & how I made a DIY 35mm mini-Viewfinder – Guest post by Eddy
Comment posted: 29/07/2017
Phil on Why & how I made a DIY 35mm mini-Viewfinder – Guest post by Eddy
Comment posted: 12/08/2018
Nice finish. Would be good covered in copper tape then painted black. The black could wear off and look like an old brass one.