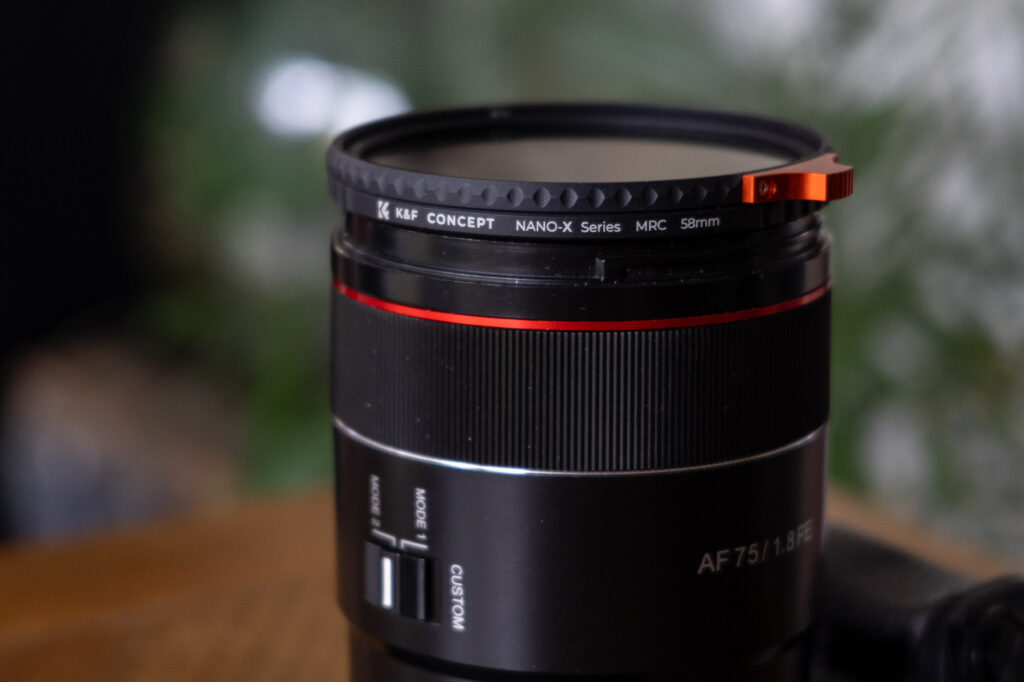
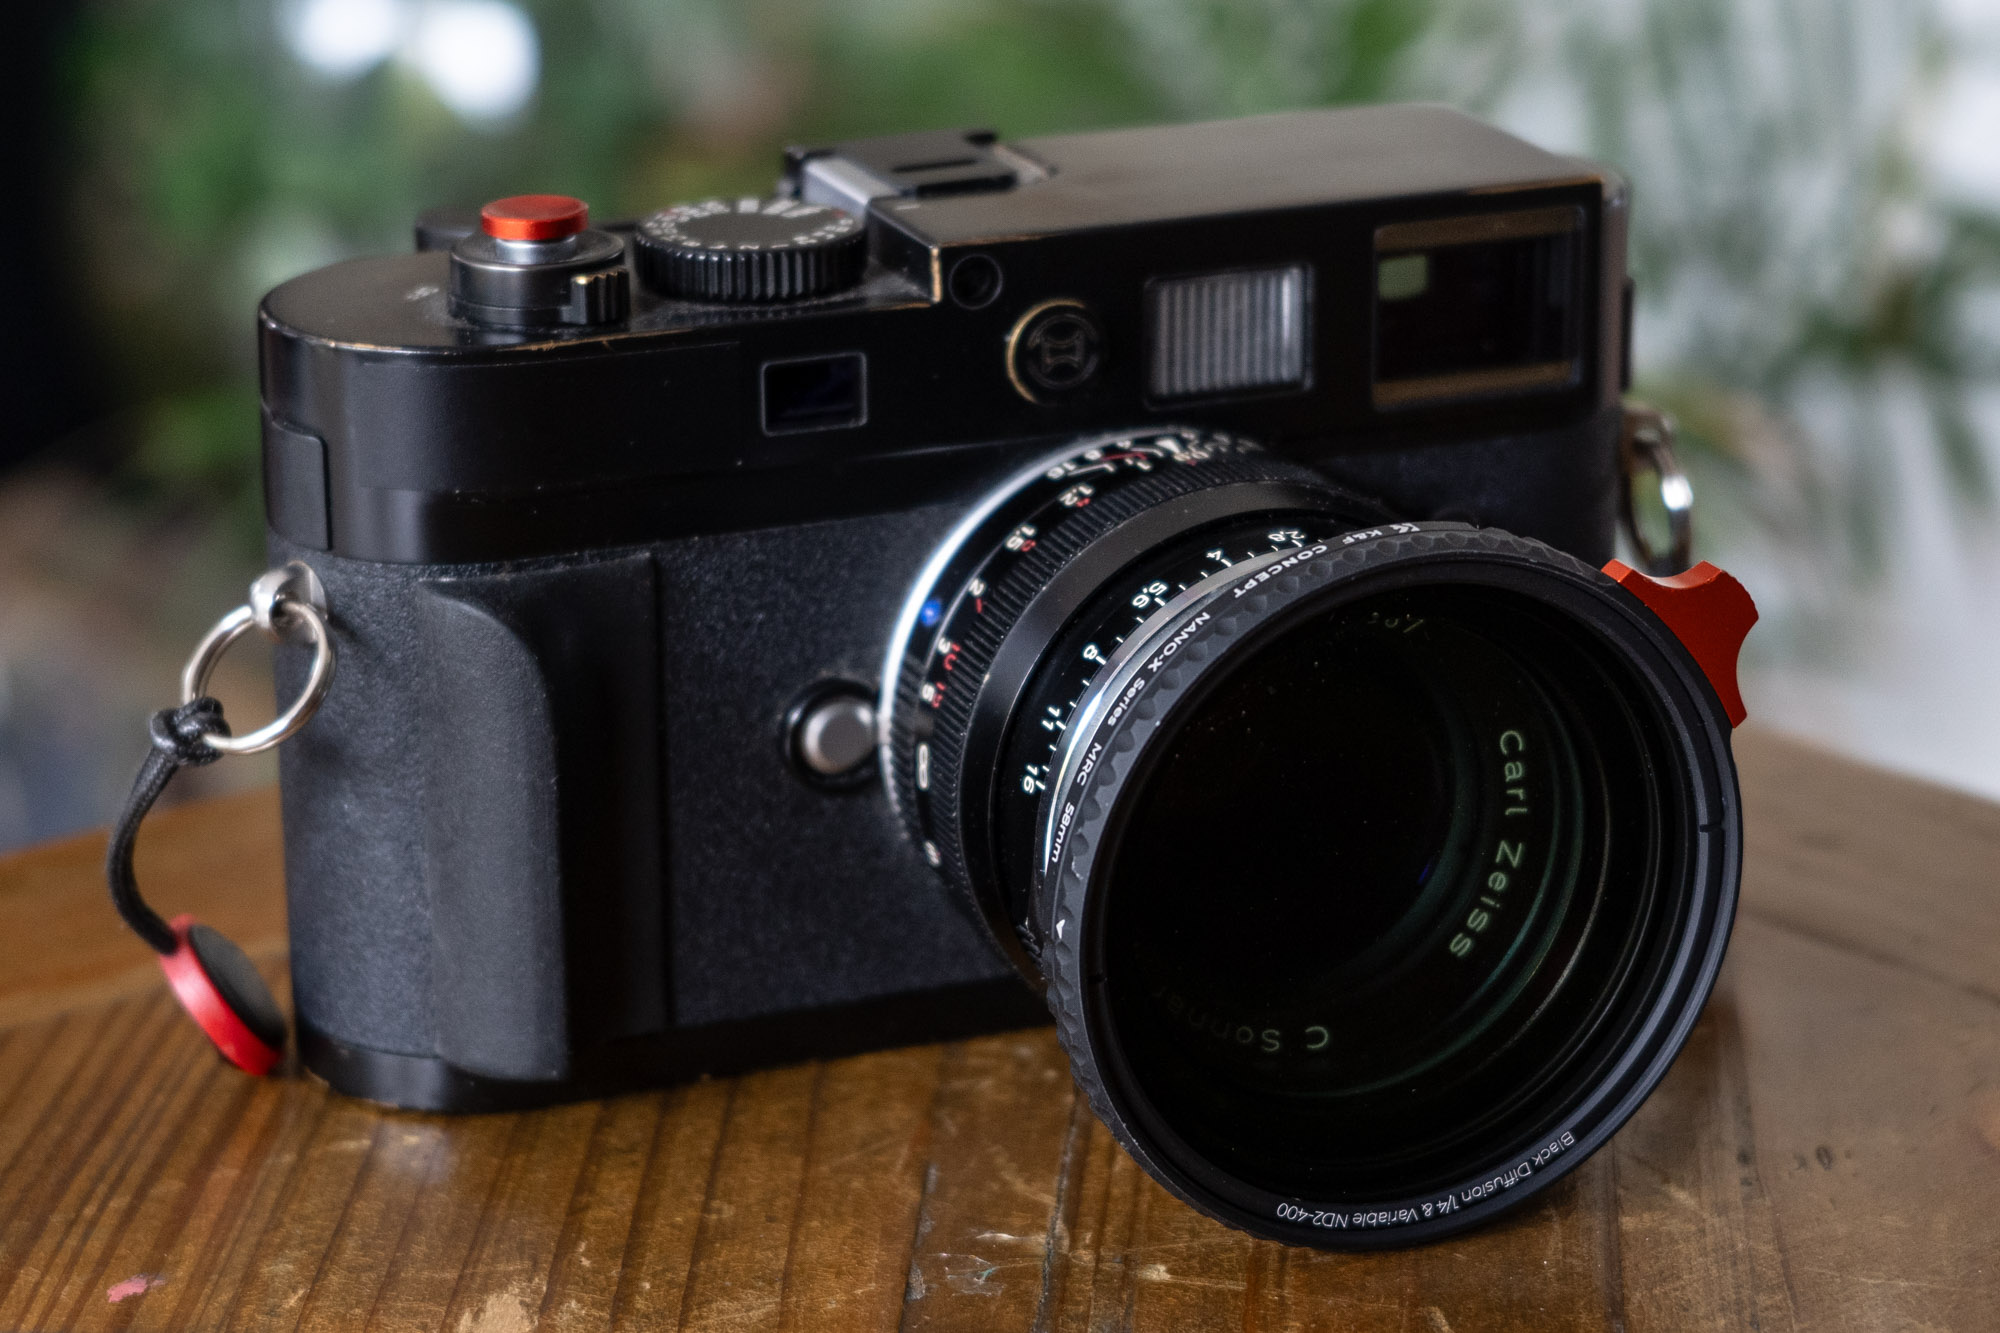
I am a fan of mist filters, and have used ND (neutral density) filters a fair few times before. I’ve even crossed paths with variable ND filters. I’ve never come across a Variable ND & mist filter in one though – that’s a lot going on in one filter! Sounds interesting though right? Which is why I wanted to try the Kentfaith (K&F) Variable ND black mist filter for myself, and so happily took a loan of one for the purposes of a review.
This is not a review
Review… this article was supposed to be a review of this filter. It has ended up meandering somewhat away from that specific direction of travel, and indeed has become quite a lot longer than a filter review ever need or should be. The reality is, I am just not qualified to write a simple review of a filter like this. I don’t have the experience to compare it against other filters of its type or even similar. For all that though, the process of trialing this filter has been very interesting and has come at an interesting point in my photography career; one where filters have begun to play an increasing part in my creative choices and photographic goals. As such, I hope that whatever this article amounts to, it contains at least a few nuggets of interest. It has certainly helped cement a few ideas about ND and mist filters in my own head, and indeed has won K&F a pretty loyal customer in the process.
My interest in K&F and filters
As I have alluded, I have a fairly recent new found appreciation for lens filters, actually of a few different types. I have, for e.g., started using CPL (circular polariser) filters a fair bit more in my photography – especially my professional work where I have recently taken on work photographing cars for a high end automotive auction house and houses for a local premium estate agents. We have also recently replaced our work set of ND filters having lost a set on a shoot somewhere. By coincidence, we bought a set of K&F filters as they looked to offer good value for money. I have also tinkered with a Tiffen 1/8 black pro mist filter on and off over the last couple of years and have quite often found the effect to be to my tastes. And then there’s the Kolari filters I played with a couple of years ago, though admittedly they are another level of niche.
I’m also very familiar with the K&F brand. A friend of mine used to be a retailer for them in the UK, and whilst he was I bought a fair few of their lens adapters, all of which were very good quality – though I now definitely have all the lens adapters any one human being could possibly need. As such, when K&F got in touch asking if I would like to review some of their kit, my mind immediately jumped to filters. I went browsing on their website and quickly found these combination ND black mist filters. They were something I wasn’t previously aware of so I thought I would give one a go.
In fact, ND and mist filters have also been on my mind because of the recent introduction of the Ricoh GRIII cameras with a built in mist filter. This raised an eyebrow for me as my initial gut reaction was of scepticism. I liked the idea of there being a built in ND filter in the Ricoh GRIII, and initially felt like the offer of an alternate version with a mist filter was an odd choice. Surely an ND filter is more useful, right? Well, as you are soon to find out, for me at least, it seems that the opposite is true.
What are ND & Mist filters
The transition I am currently going through is one where filters hardly featured in my photographic world, to one where I have two filter cases filled with filters of different types, shapes and sizes in my camera bag at all times. I have been long familiar with what many, if not all the different filter types out there offer, but in case you’re not, it feels like it is sensible to first touch on the filter types I’m going to be talking about here, what they are for and what they do etc.
ND filters
So, first, ND filters. ND filters, or Neutral Density filters, are simply designed to cut the amount of light reaching the film/sensor in your camera. The benefit of this is simple really, it’s all about opening up the opportunity to shoot at different settings, i.e. wider apertures or slower shutter speeds. The advantage of this in photography is that it might allow shooting for more shallow depth of field in brighter sunlight, or to allow slower shutter speeds perhaps for capturing movement.
ND filters are also perhaps even more useful in the world of video/cinema when they for e.g. allow the use of wider apertures whilst still retaining a 180-degree shutter angle (a shutter speed that’s twice the frame rate) which is a common practice to retain just the right feel of motion within video. In fact, many dedicated video cameras have ND filters built into them for this very purpose.
ND filters come in different strengths, which somewhat confusingly aren’t always denoted in the same way. Sometimes the strength of an ND filter is referred to as a fraction, so 1/2 ND filter halves the amount of light, i.e. one stop. 1/4 2 stops, 1/64 6 stops etc. Sometimes they are referred to with numbers such as ND0.3, ND0.6 and ND1.8. Finally, there’s a system of round numbers such as ND2, ND4, ND16 etc. With both of these latter systems, each time the number doubles another stop is cut, so 0.3 and ND2 are one stop, 0.6 and ND4 are 2 stops, 1.8 and ND16 are 6 stops and so on. I pretty much forget what the numbers mean every single time I use an ND filter. Google is your friend – it certainly has been mine! If you’d like another concise and very useful explanation of ND filters, have a read of this article on the ever-awesome Cambridge in Colour.
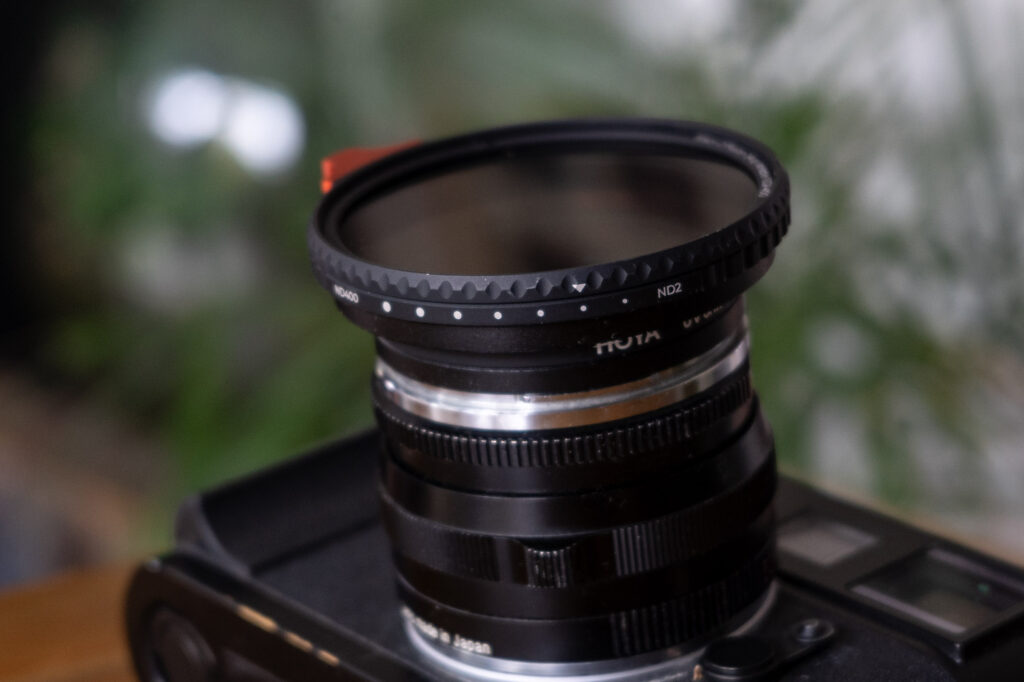
Variable ND filters do exactly what you might expect. Rather than providing a fixed cut of light, they are instead variable, meaning the amount of light they cut can be adjusted by rotating the front of them in the same way the front of a CPL filter rotates. The amount they vary changes from one filter to the next.
Mist filters
Mist filters (also known as diffusion filters) are an even more interesting though arguably more niche a proposition. Mist filters also vary with some having a subtle effect and others having a fairly strong effect. Again they are denoted by fractions with a 1/8th filter having the weakest mist effect, 1/4 and 1/2 being stronger and 1 being stronger still. They also sometimes come in two types, black mist and white mist.
You might not realise it, but if you watch TV series, films, etc chances are you’ve seen the effect of mist filters a lot! Being someone who works in video production and photography, I’m one of those annoying people who spots the use of mist filters all the time, and often feels the need to point it out to my wife. I’m pretty sure she’s just as interested in this as she is when I name all the cameras I see on tv…
Mist filters have a few effects on the image, the most obvious being the impact on highlights where you see a glow around point-sources or light. There’s also an overall lowering of contrast which is especially noticeable when shooting a subject that’s backlit. Mist filters also soften and flatter skin tone and texture, which can be especially handy when shooting portraits with modern lenses that are otherwise quite harsh and clinical in their rendering. This latter effect of softening skin tone and creating a more obvious glow around skin and lighter subjects is more pronounced in white mist filters, with black mist being more commonly used for a slightly more subtle effect. I did some googling and found this article to have a concise yet informative comparison of the two different types.
What’s the point in a combined ND mist filter?
This was the first question that popped to my head when I saw these filters on the K&F website – if I am going to have a look at a filter like this, I need to think about what the actual point of combining such filters is, i.e. why would anyone wanting ND land mist filters not just buy both and stack the two? The theory here is that stacking filters can cause image degradation. More sheets of glass in front of your lens can reduce the quality of the image by introducing unwanted reduction in resolution, flare and even vignetting if the filters used are too thick and/or on a wider angle lens. There’s also the more simple fact that if you always intend to use both ND filters and mist filters, then why not combine them into one?
For me, frankly, I was just intrigued. As I have said, I have used both ND and mist types of filter within my work and hobby respectively, but never together. Would combining them, thus forcing myself to use both at the same time, bring me any creative advantage… or even inspiration…?
The review bit
I shall come back to that question in a moment, but before I go any further, I suppose I should at least attempt to review this filter. This is the bit that I would have struggled with had I stuck to the idea of just reviewing it. After all, what is there to say about a lens filter…? Not much… but first, specs:
Specs
If you look on the K&F website here, you’ll find that this filter can come in a range of sizes from 49-82mm. There’s options for 1, 1/2, 1/4 and 1/8th black mist, but if you want the combination with variable ND then they only come in 1/4 strength mist with a few options for the power of ND. There are also options for white mist filters here though these don’t have variable ND options with them. The filter I have been playing with here is a 1/4 Black Mist with ND2 (1 stop) to ND400 (8 2/3rd stops). That a lot of light-stopping power!
Build quality & use
It’s made of a couple of bits of glass and a couple of circles of metal with a little nub for controlling the level of the ND. When adjusting the ND filter, it feels fairly nice and smooth. The one issue I have found is that it’s easy to knock the filter thus adjusting the power of the ND without noticing. This would be less of a problem with the camera on a tripod, but hanging over my shoulder I find myself constantly knocking it.
The K&F ND Mist filter in practice
More often than otherwise, I have found myself wishing the filter was just a mist filter as pretty much every single use I have found for this filter has been about the mist effect and not about the ND. This is pretty much where the concept of this article as a review falls apart a little. Within my photography, an ND filter is a lot less useful, never mind a variable one. Whereas a mist filter, as it turns out, is something I am wondering how I will ever be parted from. Let me talk you through my journey with this lens filter in 3 or 4 outings with it.
The Mountain Walk
The first time I used this ND mist filter was on a lovely walk up Clee Hill with my wife and new doggo, Kippy. My goal for the day was to take advantage of the fact that I’d be able to use the lens wide open at f/1.8 in bright sunshine by using the variable ND to cut the light somewhat. Of course, what I quickly realised is that thanks to the very high shutter speeds of modern cameras, that’s not really an issue anyway. If the lens had been an f/1.0 lens I might have had some more advantage from the filter, but as it was, I could have just about got away with the filter being a mist by itself. That said, dialling in a bit of an ND cut did allow me to take this at a much slower shutter speed than I would have without the filter.

Ah well I thought, let’s see how the mist filter impacts landscape type shots in broad daylight. So I took a few shots, making the odd comparison shot with and without the filter. To be honest though, I left feeling a little underwhelmed by what I could see on the back of the camera. Of course, the back of the camera is a terrible way to judge basically anything, and all of that sense of feeling underwhelmed passed quickly when I saw the results on the computer. What the mist filter had achieved was a reduction in contrast that really appealed to me. I love shooting digital these days, and I love the Samyang 75mm 1.8 – it’s right up there in my list of favourite lenses. But, I find the results – especially in broad daylight/sunshine – can feel a little hard and clinical. The Samyang isn’t even that clinical a lens compared to some, but the addition of the filter takes the hard edges right off and leave a result that – dare I say – looks more film-like. I’ve never used a mist filter in this way before, so this was something of a revelation. I know they reduce contrast, but hadn’t really thought of how this subtle softening might play out in reality.


Now, at this point I should also just put my reviewer hat back on and point out that in these images, it is also obvious to see a little bit of a green cast. ND filters have a reputation for causing colour casts, though to be honest I don’t have enough experience to say if this is a strong cast or otherwise. But again, I shoot a fair bit of film, so it’s not like I am not used to colour casts finding their way into my work. I often remove them, and found the cast here to be easy enough to tackle to a satisfactory degree.
The Bowling Trip
I shot a few snaps between the Clee Hill trip and this bowling day out, but it was at the bowling that I had my next realisation about this filter. I was shooting indoors in a fairly dark space that had lights about the place that I figured would look interesting with a mist filter. Of course, being in a low lit environment can make you realise that an ND filter is not exactly ideal for all shooting environments. I must admit, I didn’t really notice the stop less light when it came to my settings, but it did feel a little daft having such a filter mounted to my lens in this environment. A normal mist filter would have been much more sensible.

Thinking creatively (or attempting to at least)
Coming away from the bowling was when I felt most lost in the idea of reviewing this filter. I started trying to come up with various ways to take advantage of both elements of this filter’s offer. My first thought was to shoot some video with it. That would allow me to write something about the benefits of ND filters and mist filters within the world of video. I’m not opposed to including video content on this website either really. I just couldn’t think of anything I wanted to film. It’s always been an irony of my enjoyment of producing films within my work. I’ve just no interest in it as a hobby at all. So to force it into this review felt as though it would be inauthentic to my experiences with the filter. I needed to come up with some creative ways I could use this filter within my still photography.
I started thinking about how ND filters were used by photographers and how I’d liked the look of landscape photos taken with the mist filter. And from there started dreaming up ideas of shooting the coast (something I enjoy) or a waterfall with the camera on a tripod for some longer exposures with the mist filter having its effect. Great, but I’m nowhere near the sea or really any waterfalls to try this out. I’m also not really a tripod photographer. That said, I will give this idea a go when I get a chance…
This thinking just put my review on hold. I was waiting for an opportunity to use the filter in a way that wasn’t realistically going to happen any time soon. And then K&F got in touch asking how the review was coming on. This gave me the kick up the butt I needed to find other ways of making use of the filter.
Pumpkins pt.1 – Leica M9 & ZM Sonnar
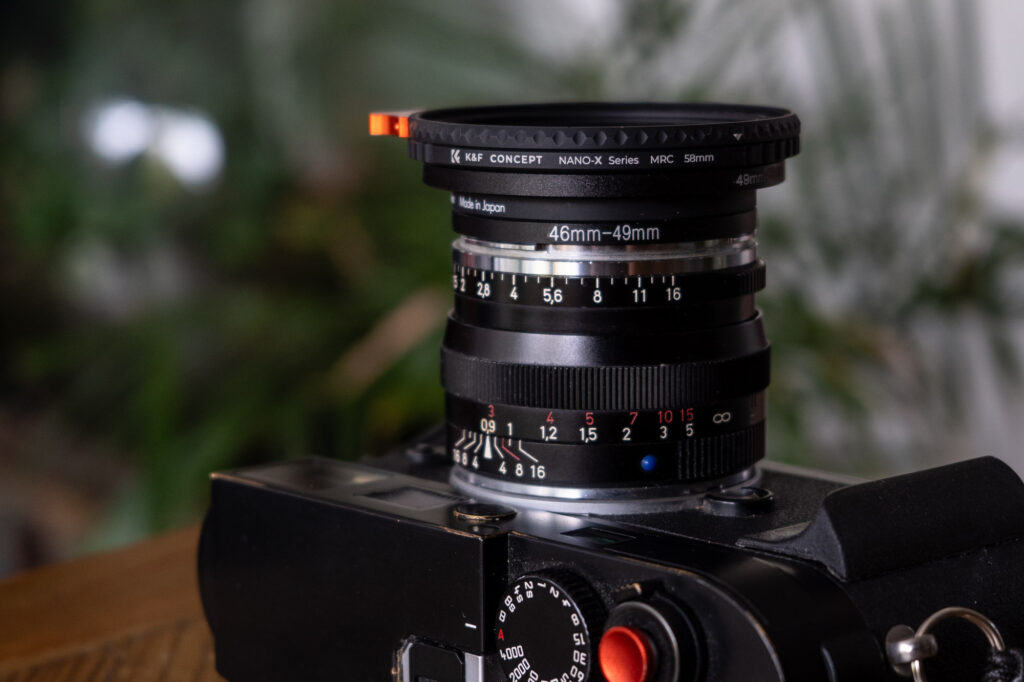
It then clicked. I could mount it on my ZM Sonnar on the Leica M9. The Sonnar is a f/1.5 lens and the M9 caps out a 1/4000th. I could shoot in sunlight with this combo wide open, but would need the filter. I also happen to know from past experiences that the ZM Sonnar works an absolute treat with a mist filter.
There is a problem with the M9 I have though, and that’s the fact that it has been modified to need a IR cut filter. Long story short (I’ll tell the long story another day), it effectively has a full frame Leica M8 sensor. So with this setup I would be adding a ND mist filter on top of an IR cut filter. I’d bought the relevant step-up ring and because of the size of the ND mist filter I wasn’t going to be having any issues with it causing a vignette, but shooting this camera, lens and filter combo on this occasion made for some pretty haywire white balance in my kitchen. So I switched back to the Samyang 75mm…
Pumpkins pt.2 – halos agogo
Prior to playing with this filter, if you’d have asked me what a mist filter does, I would have talked about the effect you can see on the highlights in the background of these photos. I love that misty glow around the lights. “Atmosphere” is the word. A filter like this adds it in a way that really works. Of course, yet again, the ND filter is completely useless in this environment – it just doesn’t make sense to use a filter that cuts light when the light is already low. Yet another blow for the ND nature of the filter.


Window light for the win
This is the shoot that really sealed the deal for a mist filter for me. As I’ve already said, the combination on mist filter and ZM Sonnar is something I already knew worked. Add some natural light and the warmer tones of the M9 and, well, wow! I love this look. The last mist filter I used was a Tiffen 1/8 black pro mist, which when buying, I decided didn’t want to go down the road of anything stronger through the concern that it might look contrived or forced. In practice, I couldn’t be happier with the stronger mist effect the K&F 1/4 mist filter brings to the table. There’s a slight softening of skin tones which I love, but the overall drop in contrast and the veiling that occurs when shooting subjects with a backlight is just beautiful I think! Some of the 3D pop that remains is of course down to the ZM Sonnar, but adding the mist filter just ramps up the character of an already characterful lens to a degree that I absolutely love. Add then the tones from this M9 and I really feel like this is a combination I can and could make a great deal of use of.


ND vs. Mist in my photography
So what am I saying here? Well, I think the first part of what I’m saying is that I now need to buy myself a K&F mist filter without the variable ND feature. With my increased use of filters recently, I have a pretty strong feeling that introducing a couple of mist filters in different sizes and strengths will add something to my creative options in a way I will continue to use. What’s even more exciting is the idea of combining a mist filter with some of my collection or vintage lenses. I have a lot of lenses that already have strong character traits – being able to add a mist filter to them feels like it gives me the opportunity to ramp up the character in a way that really appeals to me.
And what about the ND element of this filter? Well, I do think I can make use of it on the M9 with the ZM Sonnar and faster lenses – I just need a little more sunshine to try it out more. I’m also keen to take a long exposure or two of same waves or a waterfall in the daytime. There’s a shot I have in my head at a beach we go to quite regularly in the winter. I will just need to make sure to remember the tripod… which would be unusual for me when it comes to my hobby work, but I can’t help be intrigued by the creative possibility.
Ultimately, for me though, it’s the mist element of this filter that has fit into my normal photography practice. Taking a tripod to the beach is just not the sort of thing you might ordinarily catch me doing. I shall do at some point for the sake of the experiment, but there is a difference between experimenting with something for novelty, and finding something that really feels like it fits one’s creative aspirations. For exactly the same reasons I love vintage lenses and the impact they can have on my photos, I really love the look a mist filter can have. As I have said, the word is atmosphere. Be that indoors with some window light giving an almost autumnal feel to my images, or up a mountain where the reduction in contrast brings about an almost film-like look, and I am sure many situations between. Mist filters simply bring a type of creative opportunity that fits my photographic goals, and I am looking forward to adding a few to my growing collection of filters!
…And then came the sun
Of course, having spent so long writing this – waiting for a bit of sun and an opportune moment to shoot this filter, and then giving up waiting thinking I was pretty sure about everything I had written – the sun finally came out. I thought I would take the Leica out with the ZM Sonnar mounted the the ND mist just to see if I could get a few snaps to see if I would like them… and dammit, my ideas about not really ever needing to shoot an ND and mist filter at the same time went right out the window… Just look at how lovely these couple of shots are:


 Just as I had formed my opinion, something cropped up and changed it! What I discovered in these photos is that I absolutely can see the benefit in combining an ND and mist filter within my photography. These ended up being the favourite photos I took with the damn thing… I suppose the point is though, combining two types of filter simply tightens the use case. I love these results, but would I be better off if I just had my ND and mist as separate filters? I think the answer is possibly yes! A plain mist filter would likely get used more, but having an ND filter to add to the mix once in a while is definitely something I now want in my life!
One way or another, my experiments with filters will continue… …
Share this post:



Comments
Geoff Chaplin on Kentfaith Variable ND (ND2-400) & 1/4 Black Mist and a growing love for lens filters
Comment posted: 02/12/2024
Jeffery Luhn on Kentfaith Variable ND (ND2-400) & 1/4 Black Mist and a growing love for lens filters
Comment posted: 02/12/2024
The combination of wide aperture and misty filter is fabulous. I still have a set of 3 misty filters for Hasselblad...somewhere. I'm going to dig them out! Thanks for your well-written article!
David Hume on Kentfaith Variable ND (ND2-400) & 1/4 Black Mist and a growing love for lens filters
Comment posted: 03/12/2024
Chad Gayle on Kentfaith Variable ND (ND2-400) & 1/4 Black Mist and a growing love for lens filters
Comment posted: 09/12/2024