In Part 1 of this article, I stumbled on a way to shoot “super-macro” photos with a vintage Contaflex SLR! And it was done without Zeiss Ikon’s “Proxar” screw-on lens adapters (or any similar adapters attached to the front of Contaflex lenses)– or the manufacturer’s special “Pro-Tessar 1:1 Macro Lens.”
As far as I know, this has never been done before. I’ve seen no online discussions or even examples of greater-than-lifesize images shot with Contaflex SLRs. That may be because the technique I used is extremely non-intuitive. It involves easily removing one of the lens’s optical groups, rather than adding macro-focusing aids.
I shot the photos in Part 1 hand-held on a breezy day. They may have been a little “soft.” And they exhibited macro’s unavoidably tiny depths-of-field. This second installment describes more-controlled indoor setups for better gauging the magnifications, image characteristics and quality of Contaflex super-macros.
What I found speaks well of Zeiss optics. And along the way, I learned something cool that I didn’t know about the Super B SLR.
A First Test
I wanted a test subject that would provide decent info about overall image quality. Lacking a lens-resolution chart, I decided to backlight the centimeter scales of two transparent rulers. Here’s a photo of them (shot with my Olympus C-8080 WZ set to its own excellent super-macro mode):
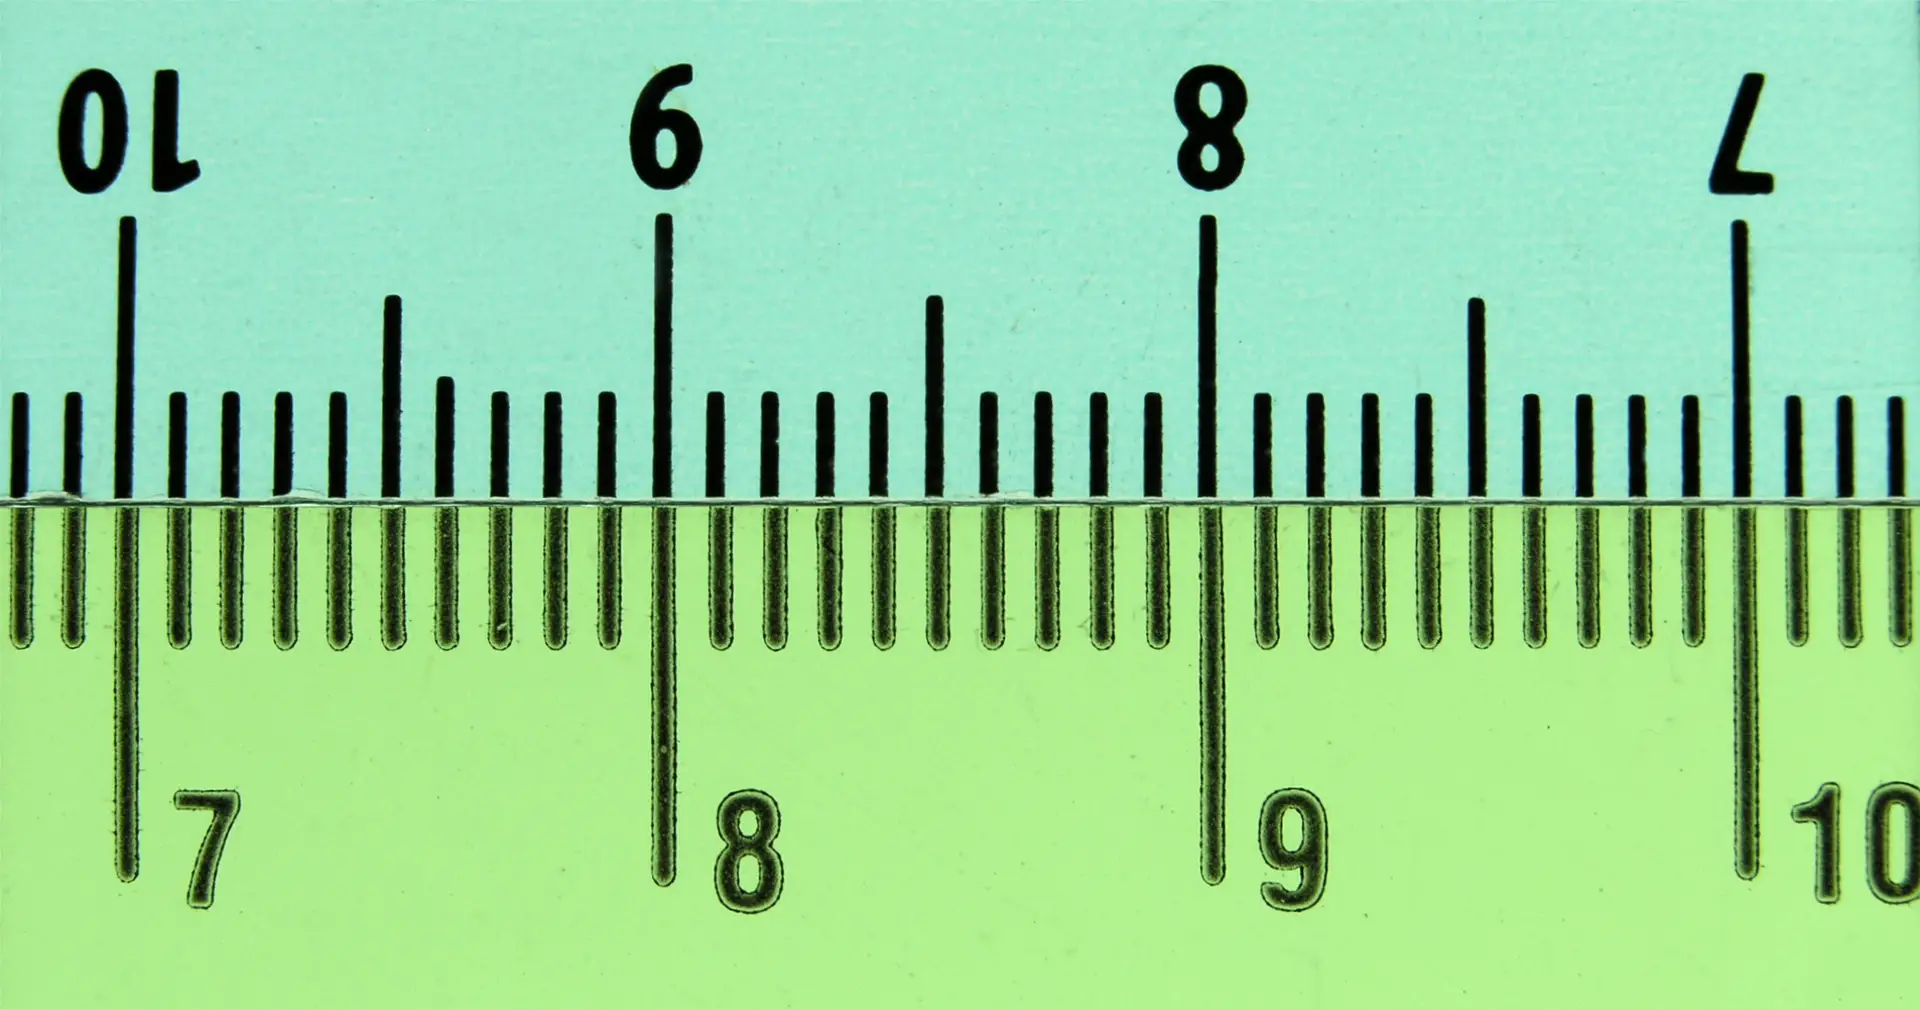
They’d make it easy to gauge magnification values. And their many parallel lines would reveal field distortions and edge/corner sharpness. I shot with the “standard” Tessar 2.8/50mm lens, since I’d already determined its magnifications were higher than the Pro-Tessar 115mm’s… and I wanted to study the system’s highest magnifications.
The Contaflex SLR shoots its super-macro subjects from about a half-inch away. And I didn’t have a tripod that would work. Instead, I tried this kludge:
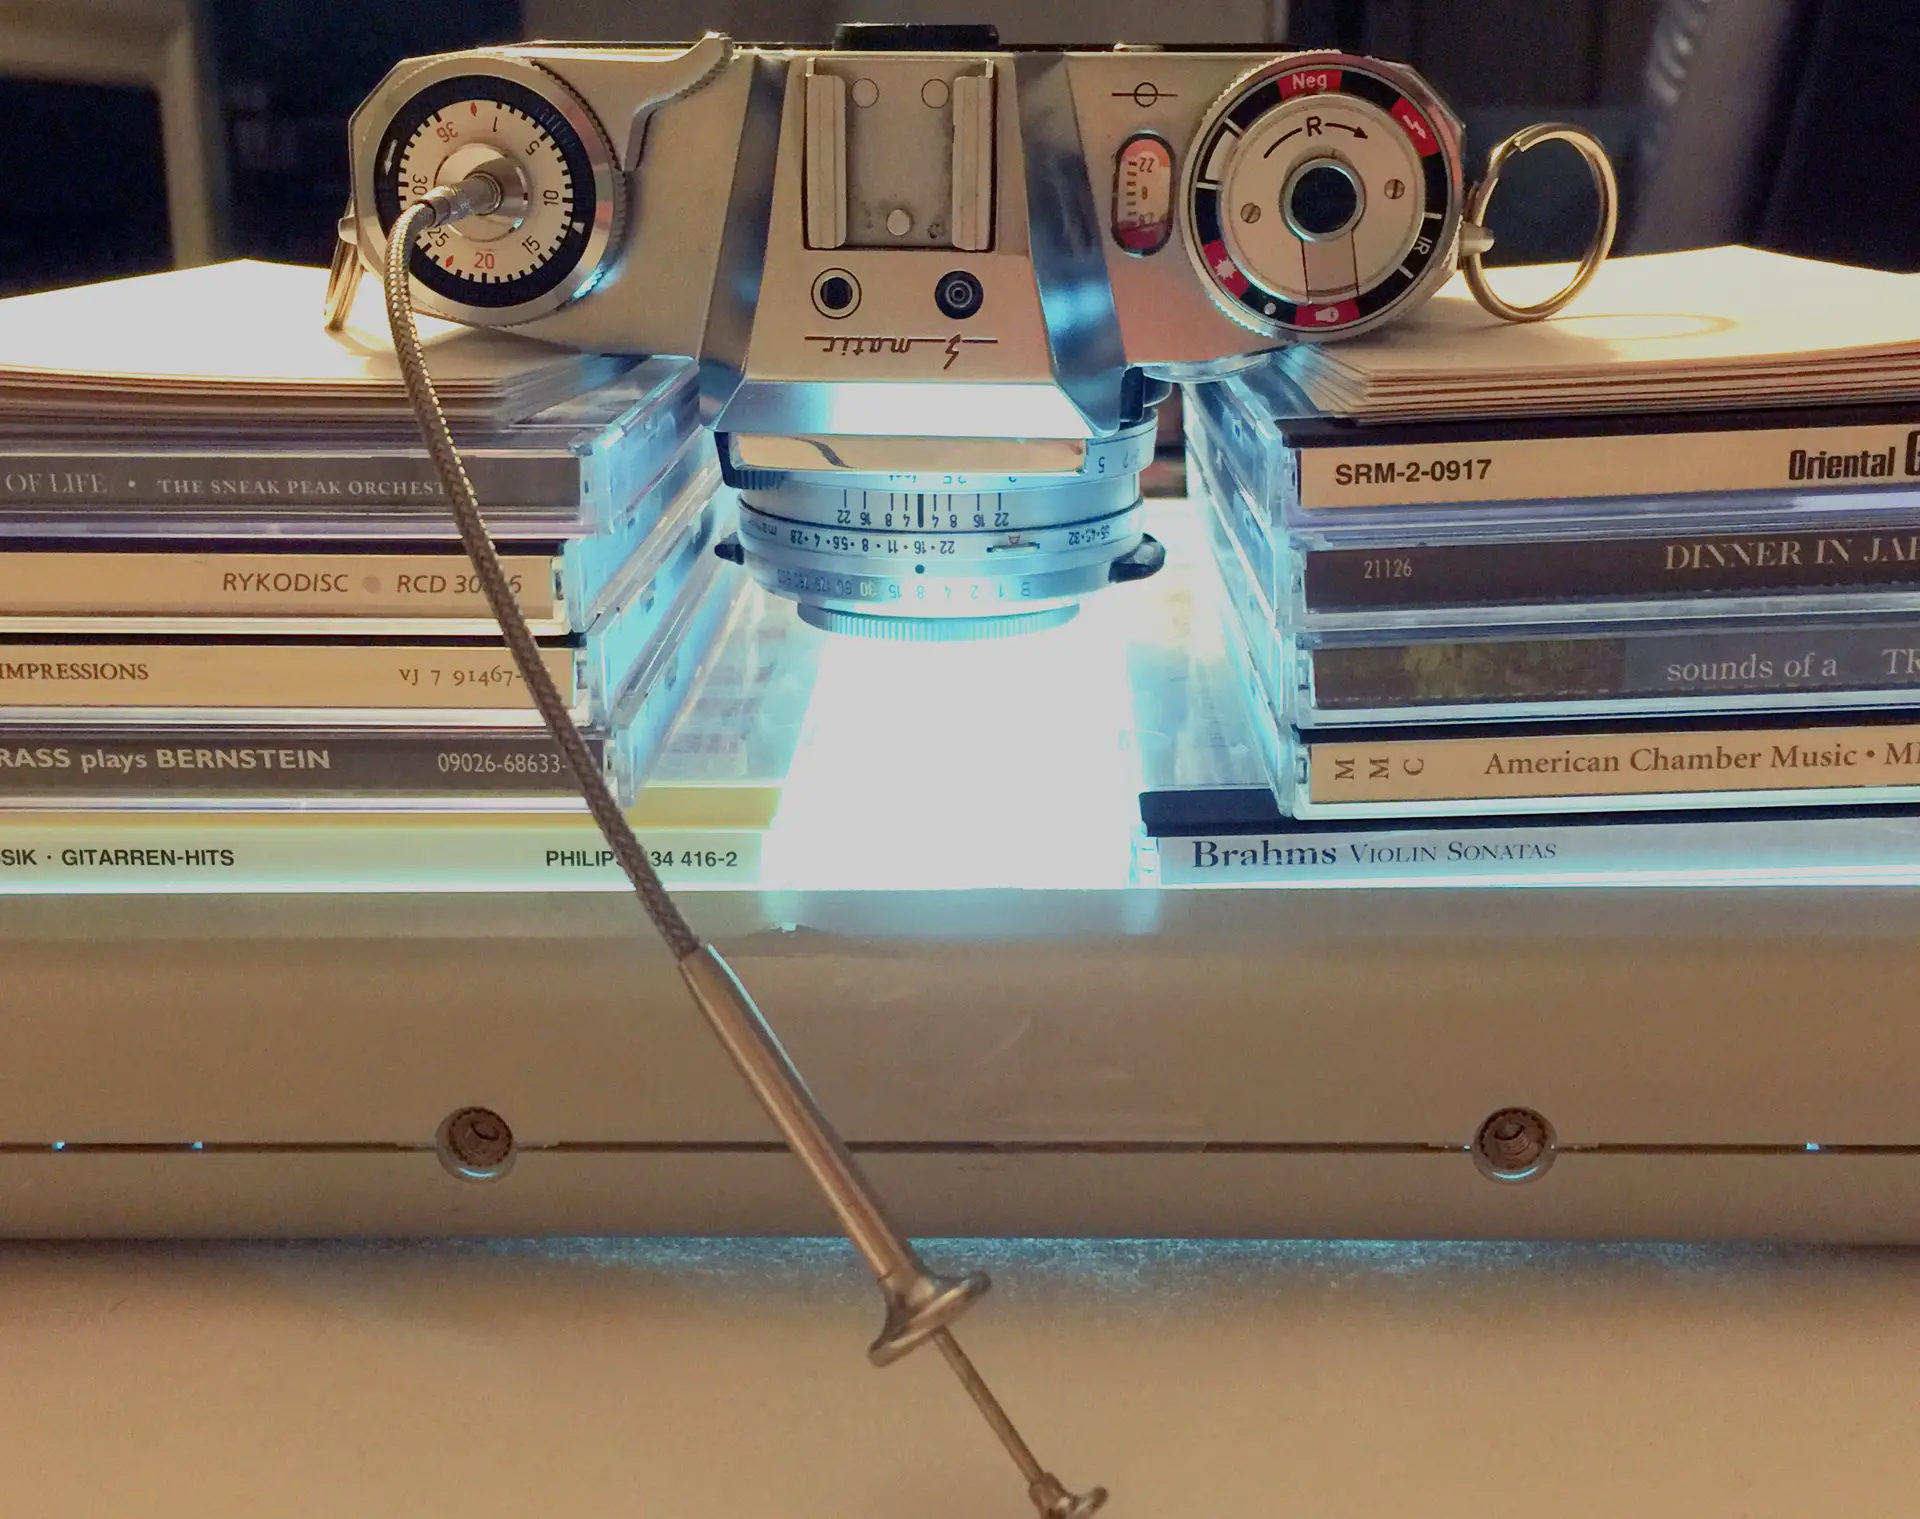
The rulers were backlit by a small light table. And a stack of CD jewel cases held the camera above the table. Blank file cards atop the CDs allowed me to level the camera and “fine-tune” its focus. A cable release helped to maximize image sharpness.
But What About Mirror Slap?
SLR “mirror-slap” can affect macro shots more than it does landscapes. A mirror-lockup feature would address that problem, but I didn’t think a camera of the Super-B’s complexity could also support mirror lockup.
Surprisingly, it does! And this photo shows where it’s activated:
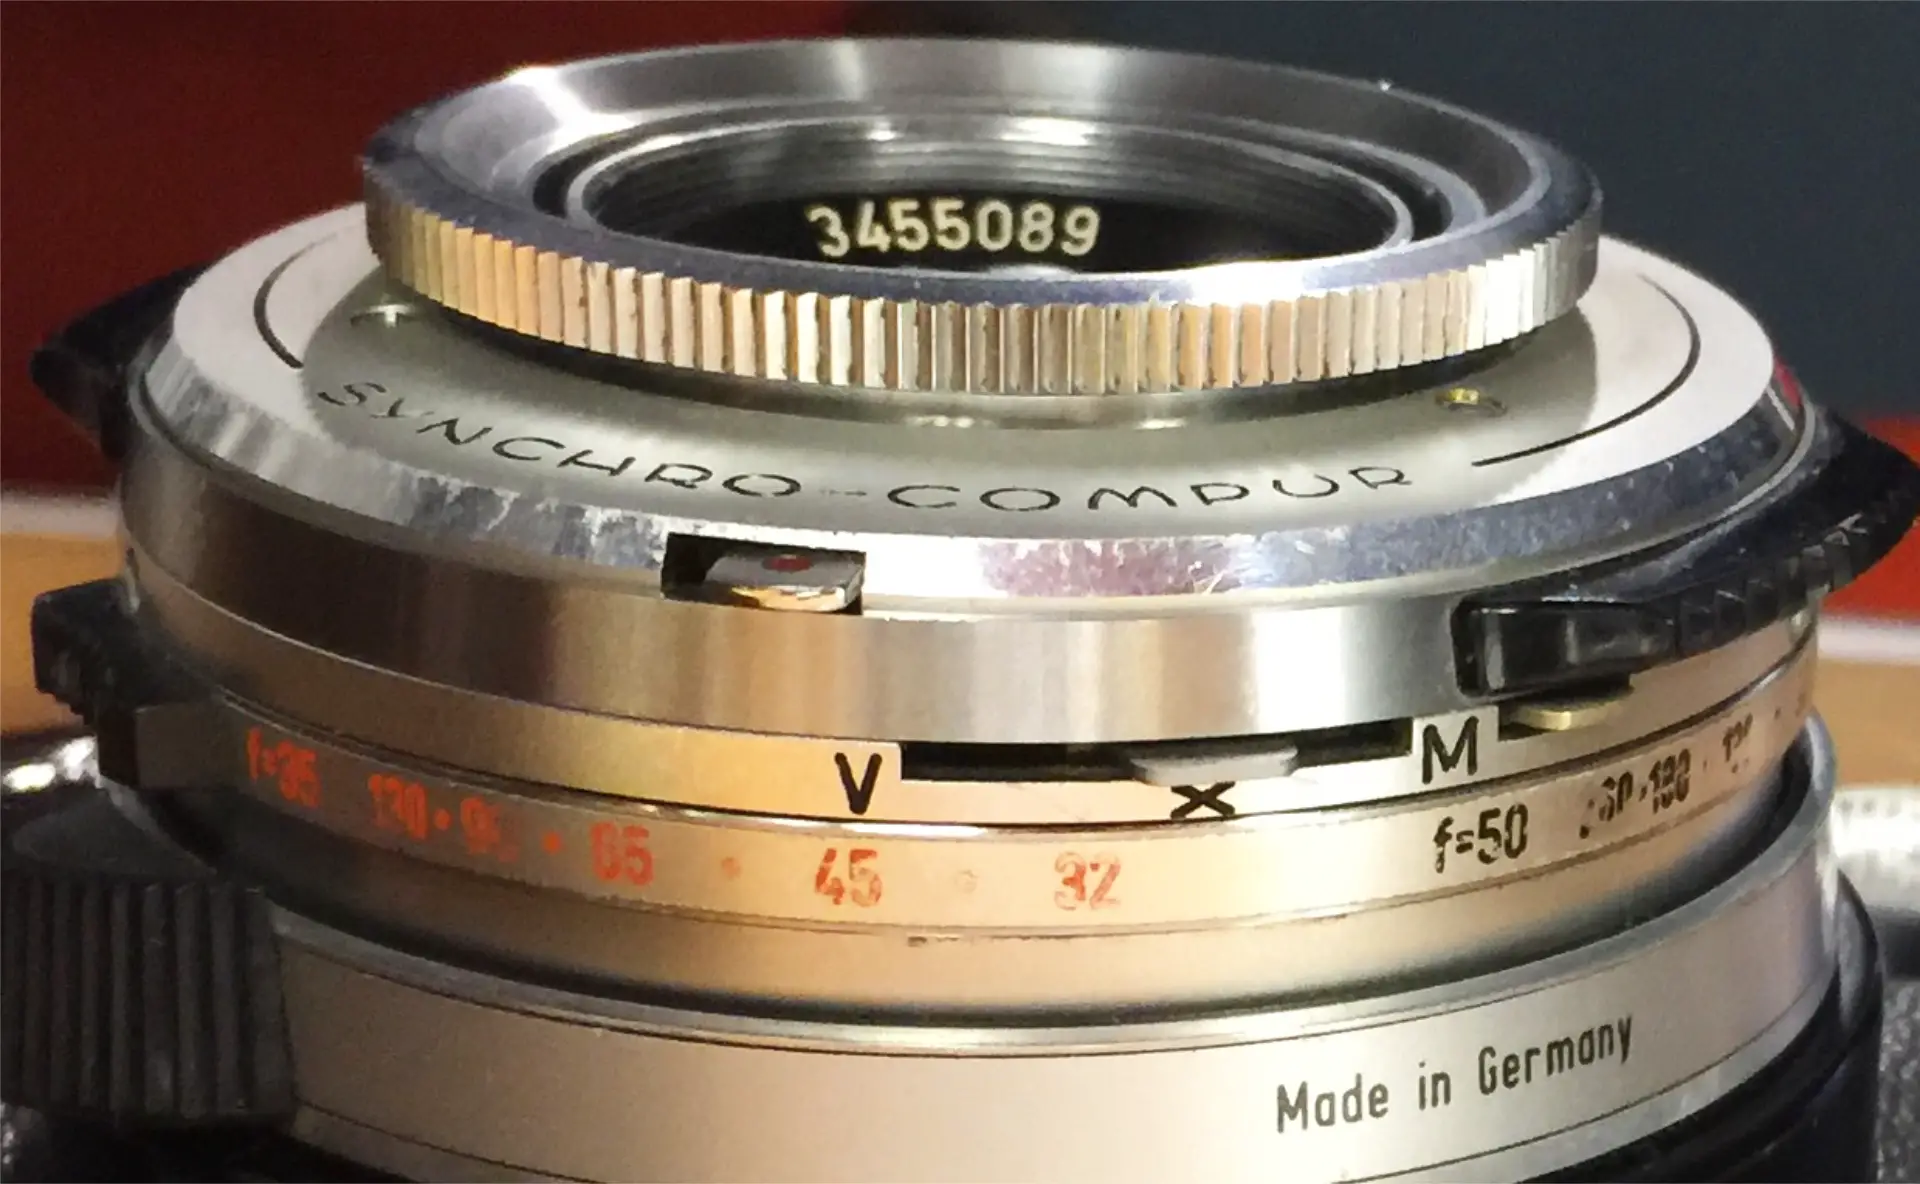
The bottom of the Contaflex lens has the X and M flash-sync controls found in many vintage cameras. But that V to their left is (unusually) a combined time-release AND mirror-lockup. And it must be used carefully. To shoot my indoor macros, the safe procedure was to:
- Set aperture and shutter speed (estimated with my Olympus C-8080 WZ camera focused on the subject in its own super-macro mode).
- Advance the film.
- Slide the V-X-M lever to V.
- And shoot.
When I tripped the shutter, the camera’s mirror stayed out of the incoming light path, a mechanical timer rasped along for a few seconds, and then the shutter fired. I’m amazed that Zeiss Ikon managed to add this feature to an already over-engineered machine!
NOTE: I call the above a “safe” procedure because I once did step 2 after steps 1 and 3… and the camera completely locked up. I had to open its back, press and hold a little button below the toothed sprocket-advance spool, and rotate the spool a few turns to unlock everything. Fortunately, the camera took its abuse in stride.
A Mixed Result
Unlike the images in Part 1, I shot this first test on Tri-X 400 that had expired 4 decades ago. I followed common wisdom and increased exposures by 2 stops (1 stop for every 2 decades since expiration):
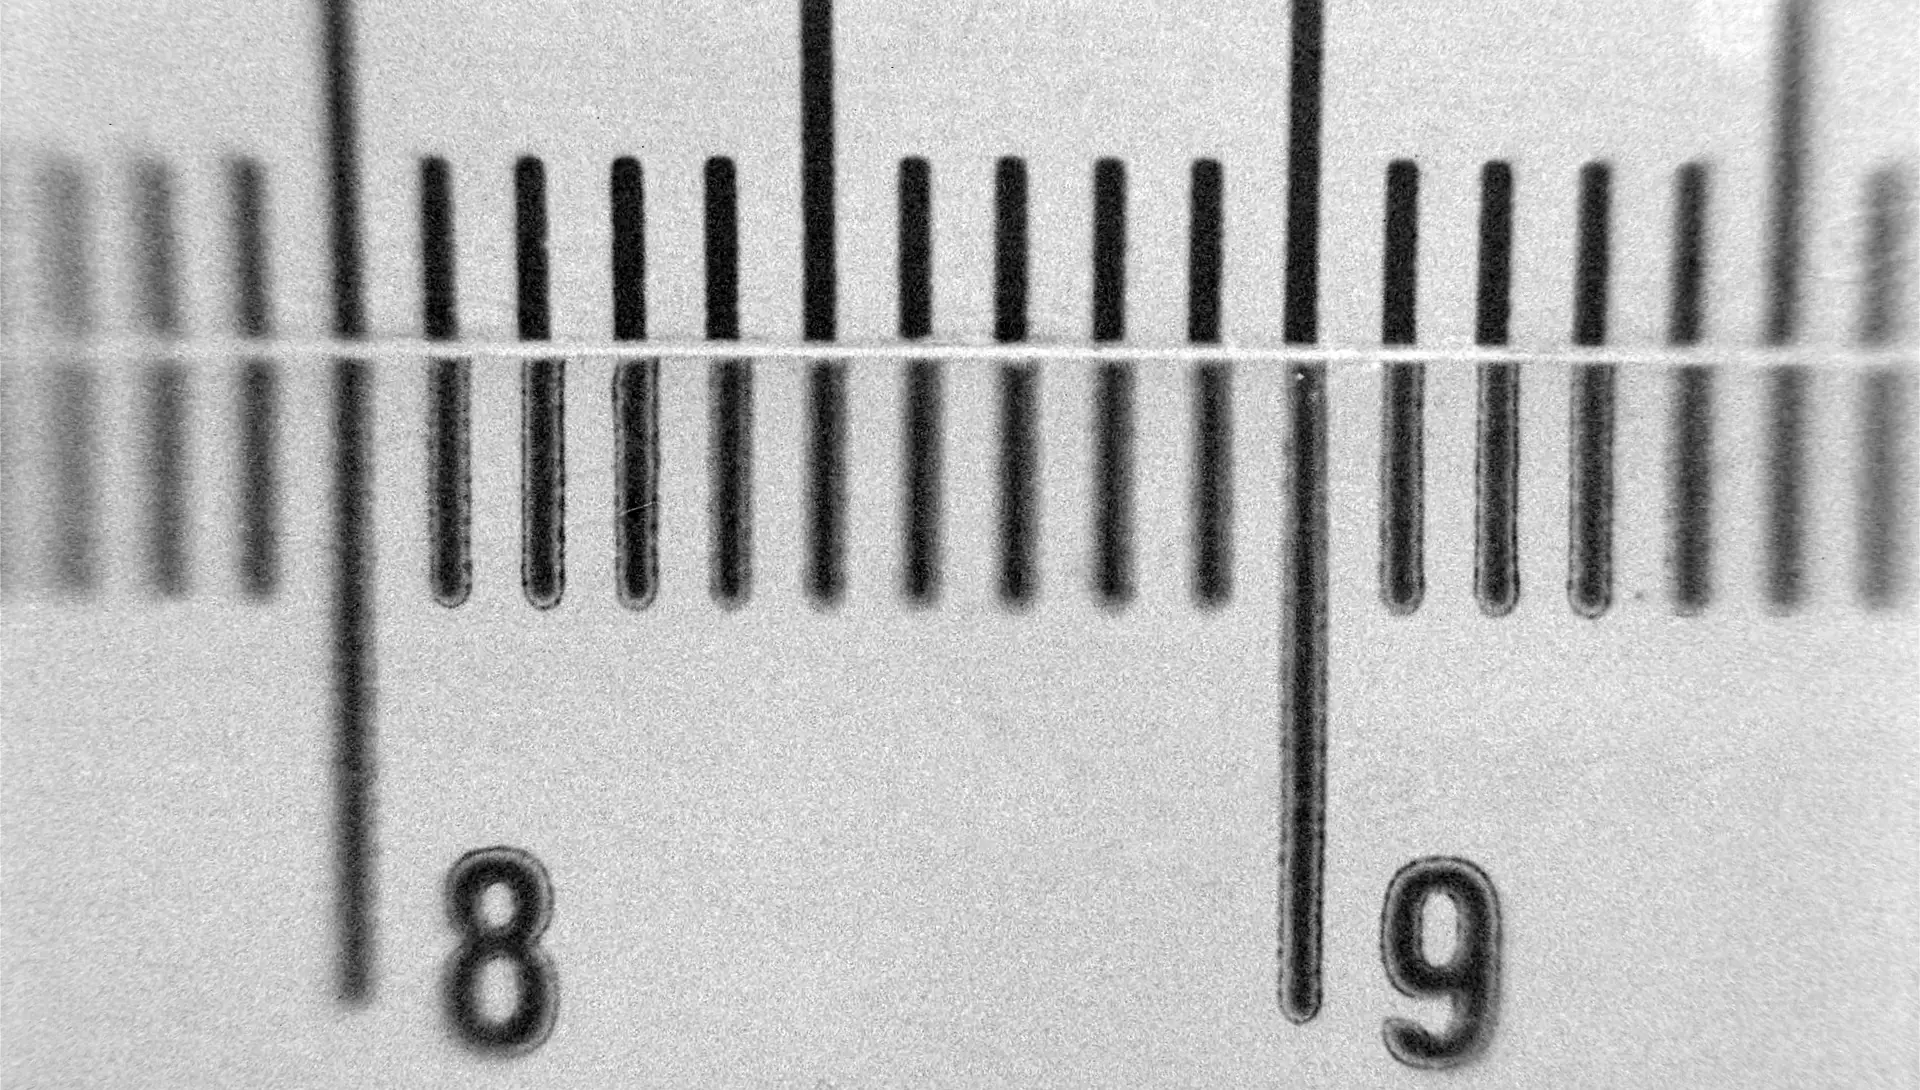
The camera’s viewfinder was so bright and clear that I could focus on tiny pin-point irregularities in the printed lines and numbers. As one might expect from a three-group lens with its middle group removed, the image was sharpest in the middle and blurred toward the corners and edges. There also seems to be a little correctable distortion.
But I was surprised by the odd inconsistency of focus across the image– with groups of sharp lines adjacent to others that are blurred. A film-flatness issue may have rendered this result rather meaningless.
But as expected, the rulers made it easy to gauge magnification. With the Tessar set to focus on infinity, magnification was almost exactly 1:1. But when I then cranked the lens to its closest focus (around 2 feet), the above resulted. On the rulers themselves, the distance between the numbered lines is obviously 10mm. But it’s exactly 20mm in the negative. So 2:1 super-macro magnification was achieved.
Take Two
The variable sharpness across the image bothered me, though. So I shot more tests on the Kodak 5222 “Double-X” film that I used in Part 1. Its plastic base feels thicker, which I hoped would minimize film-flatness problems. Fortunately, the camera’s pressure plate is in perfect condition. But it could be that the Tri-X’s thinner base was not held as securely as 5222 would be. (And 5222’s thicker base may also be why I felt a little more resistance to winding than with Tri-X.)
I also decided to research the Tessar 2.8/50mm lens’s “aperture of maximum sharpness.” It’s reportedly f/11 or f/16… and not the f/8 I’d been using. So I switched to them as well.
Then, using the same kludgy setup as before, I shot a sheet of backlit graph paper… with this more-useful result:
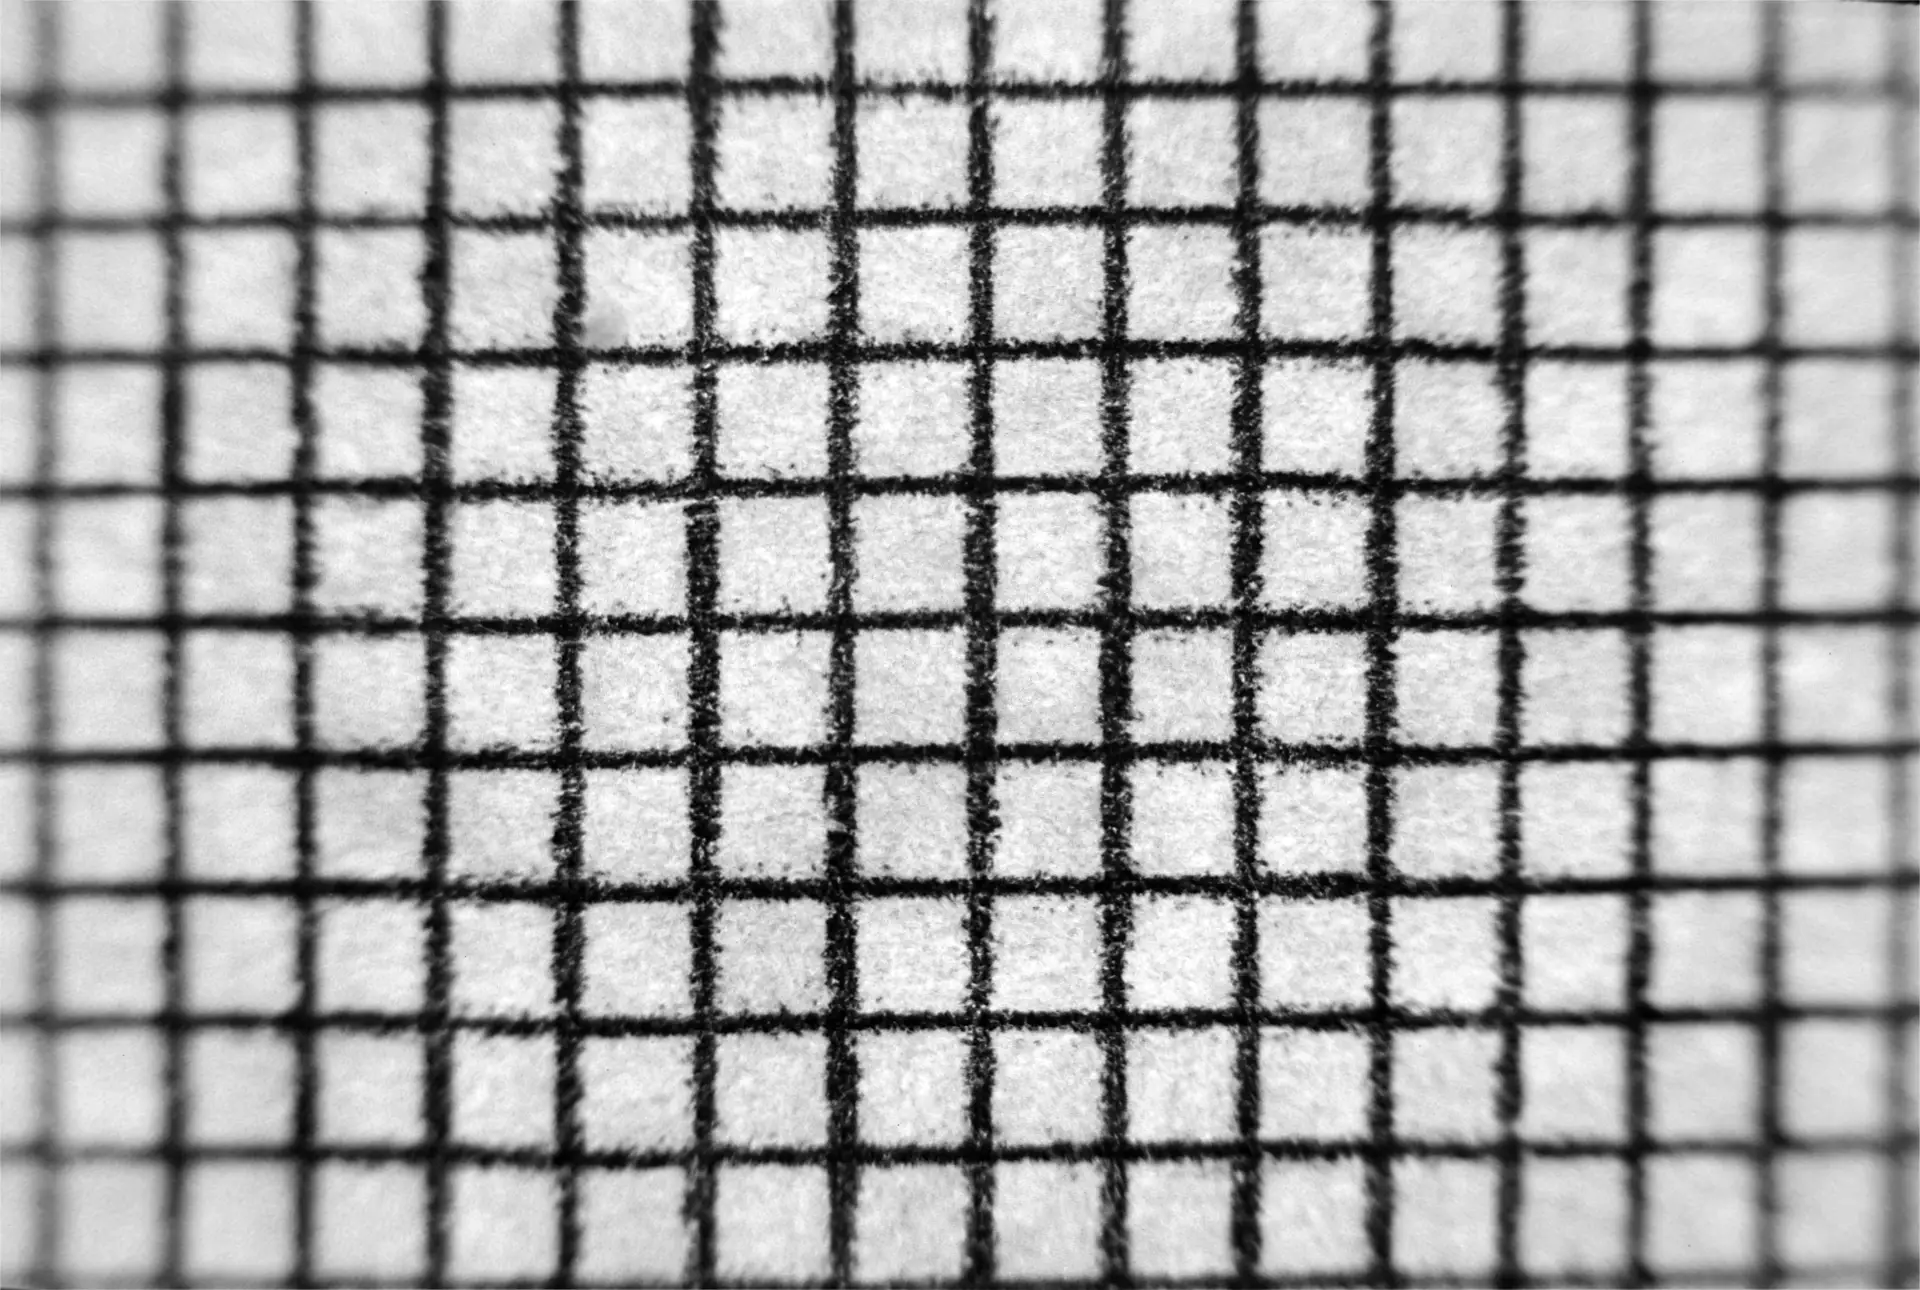
It confirmed the 2:1 magnification ratio and corner/edge softness. But distortion is stunningly low (I did not correct the image in post). A decent percentage of the field is also reasonably sharp. Switching to a smaller aperture may have helped. As too might the film’s thicker base. In fact, the result is so good that one can even see the ragged way the lines printed on the paper’s fibers.
However, I still found it almost impossible to use the camera’s small split-image and Fresnel focusing aids. Critical focus was much easier to check in the viewfinder frame outside them.
And on Into 3D!
Feeling better about the lens, I decided to attempt hand-held shots of 3D objects. First, the back of a 2018 U.S. quarter:
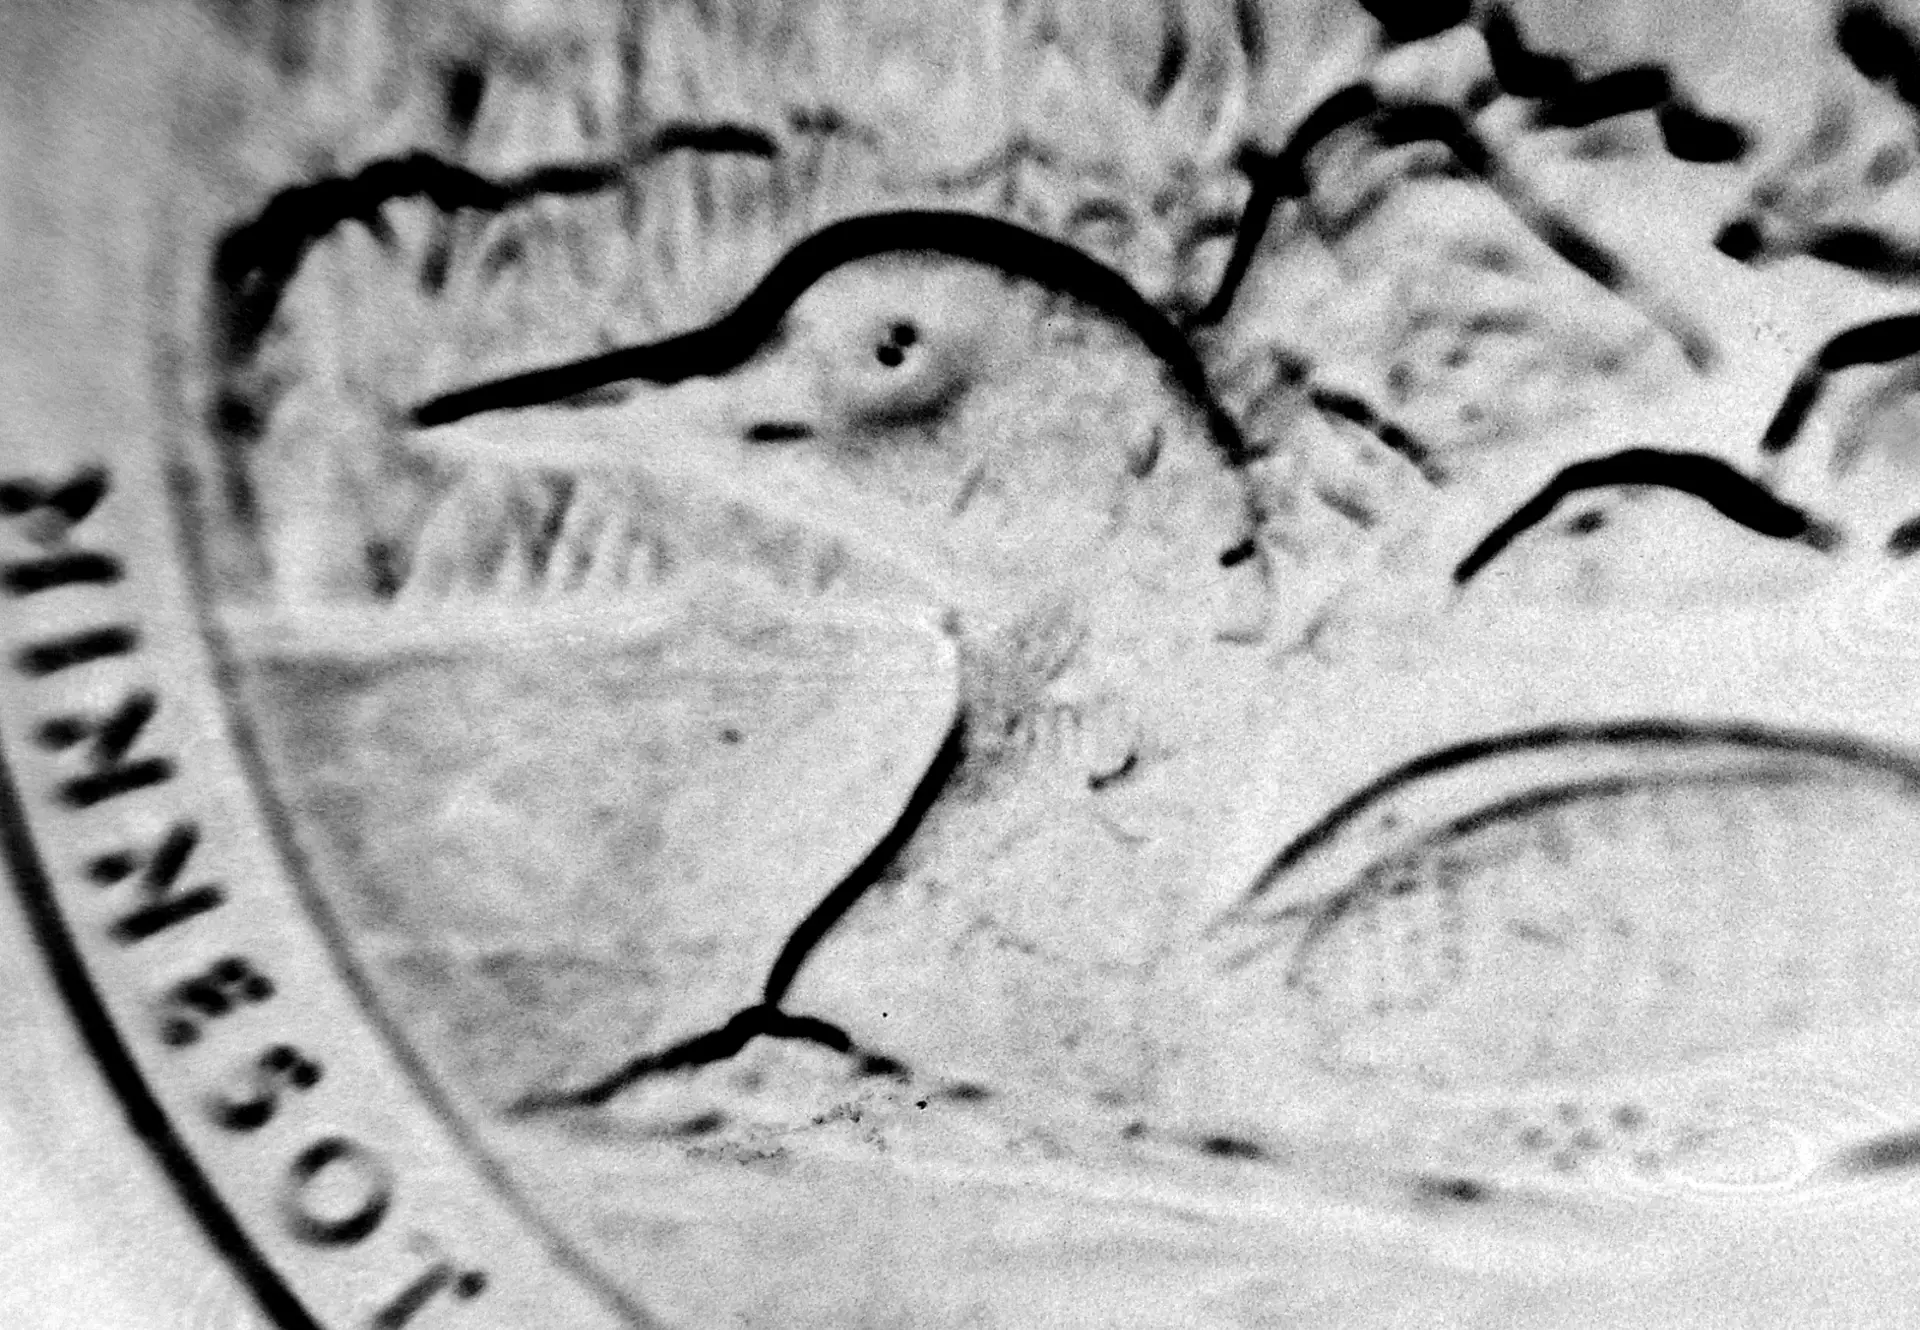
Obviously, hand-holding wouldn’t do. So I DIY’d several tripod alternatives. The most stable (and easiest to use) was an old sock filled with dried beans– a “bean bag chair” for the camera! I also continued to use the cable-release and Super-B mirror-lockup. And the next images were much improved, despite exposures as long as a one second.
Here’s a tiny part of an old circuit board (note the minuscule macro depth-of field and smooth, unfocused bokeh):
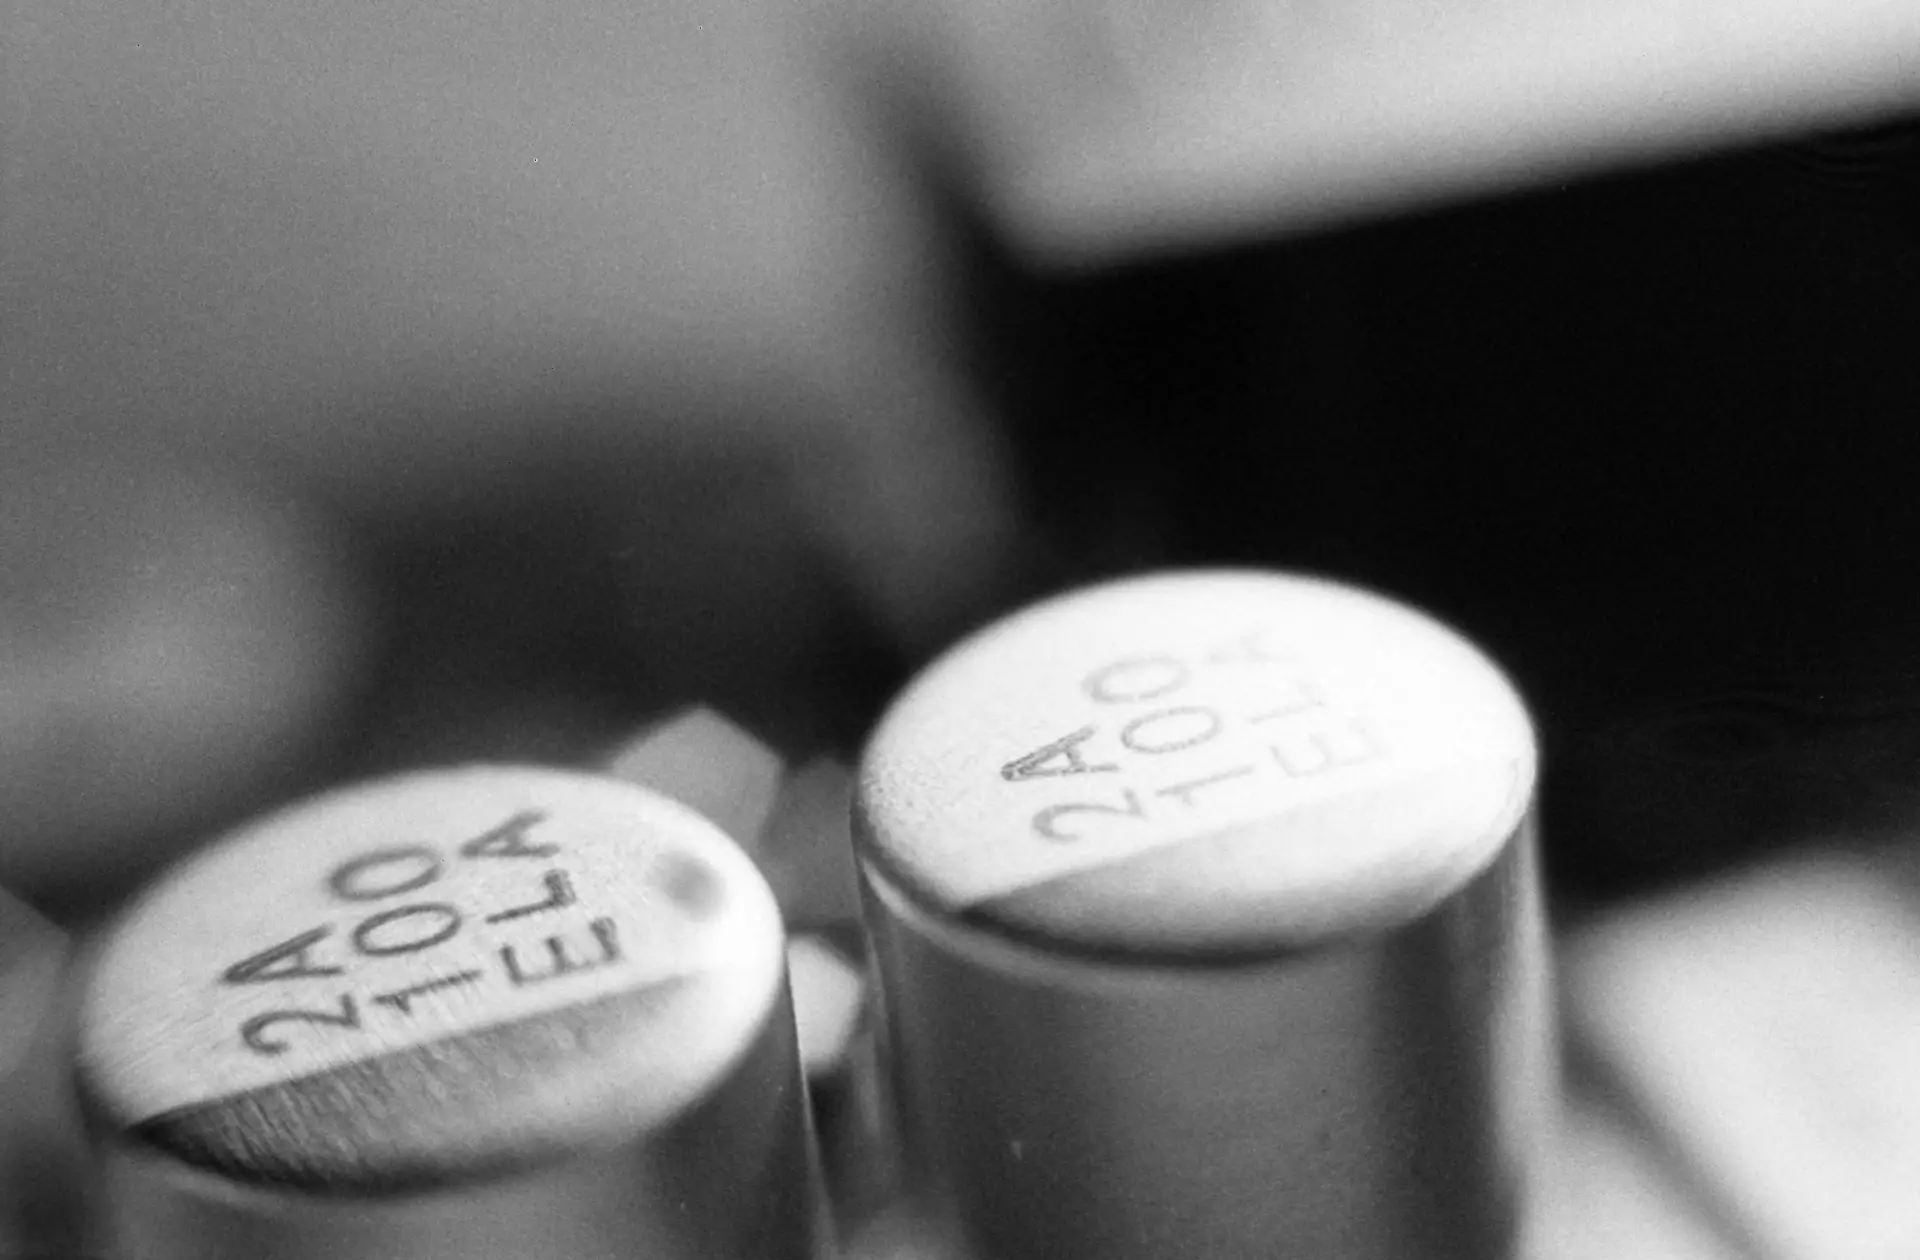
1 second @ f/16
You may rightfully ask why the text in the lower-left corner is the sharpest part of the image. It’s not because I cropped the scan! I had carefully pitched, rolled and yawed the camera in its bean-bag chair until that corner was the sharpest in the field. And it was easier than I feared. The bean-bag is an excellent table-top tripod!
Next, here’s a tight peek into a 1-inch chunk of Icelandic lava. Much of its mountainous micro landscape is outside the tiny depth-of-field:
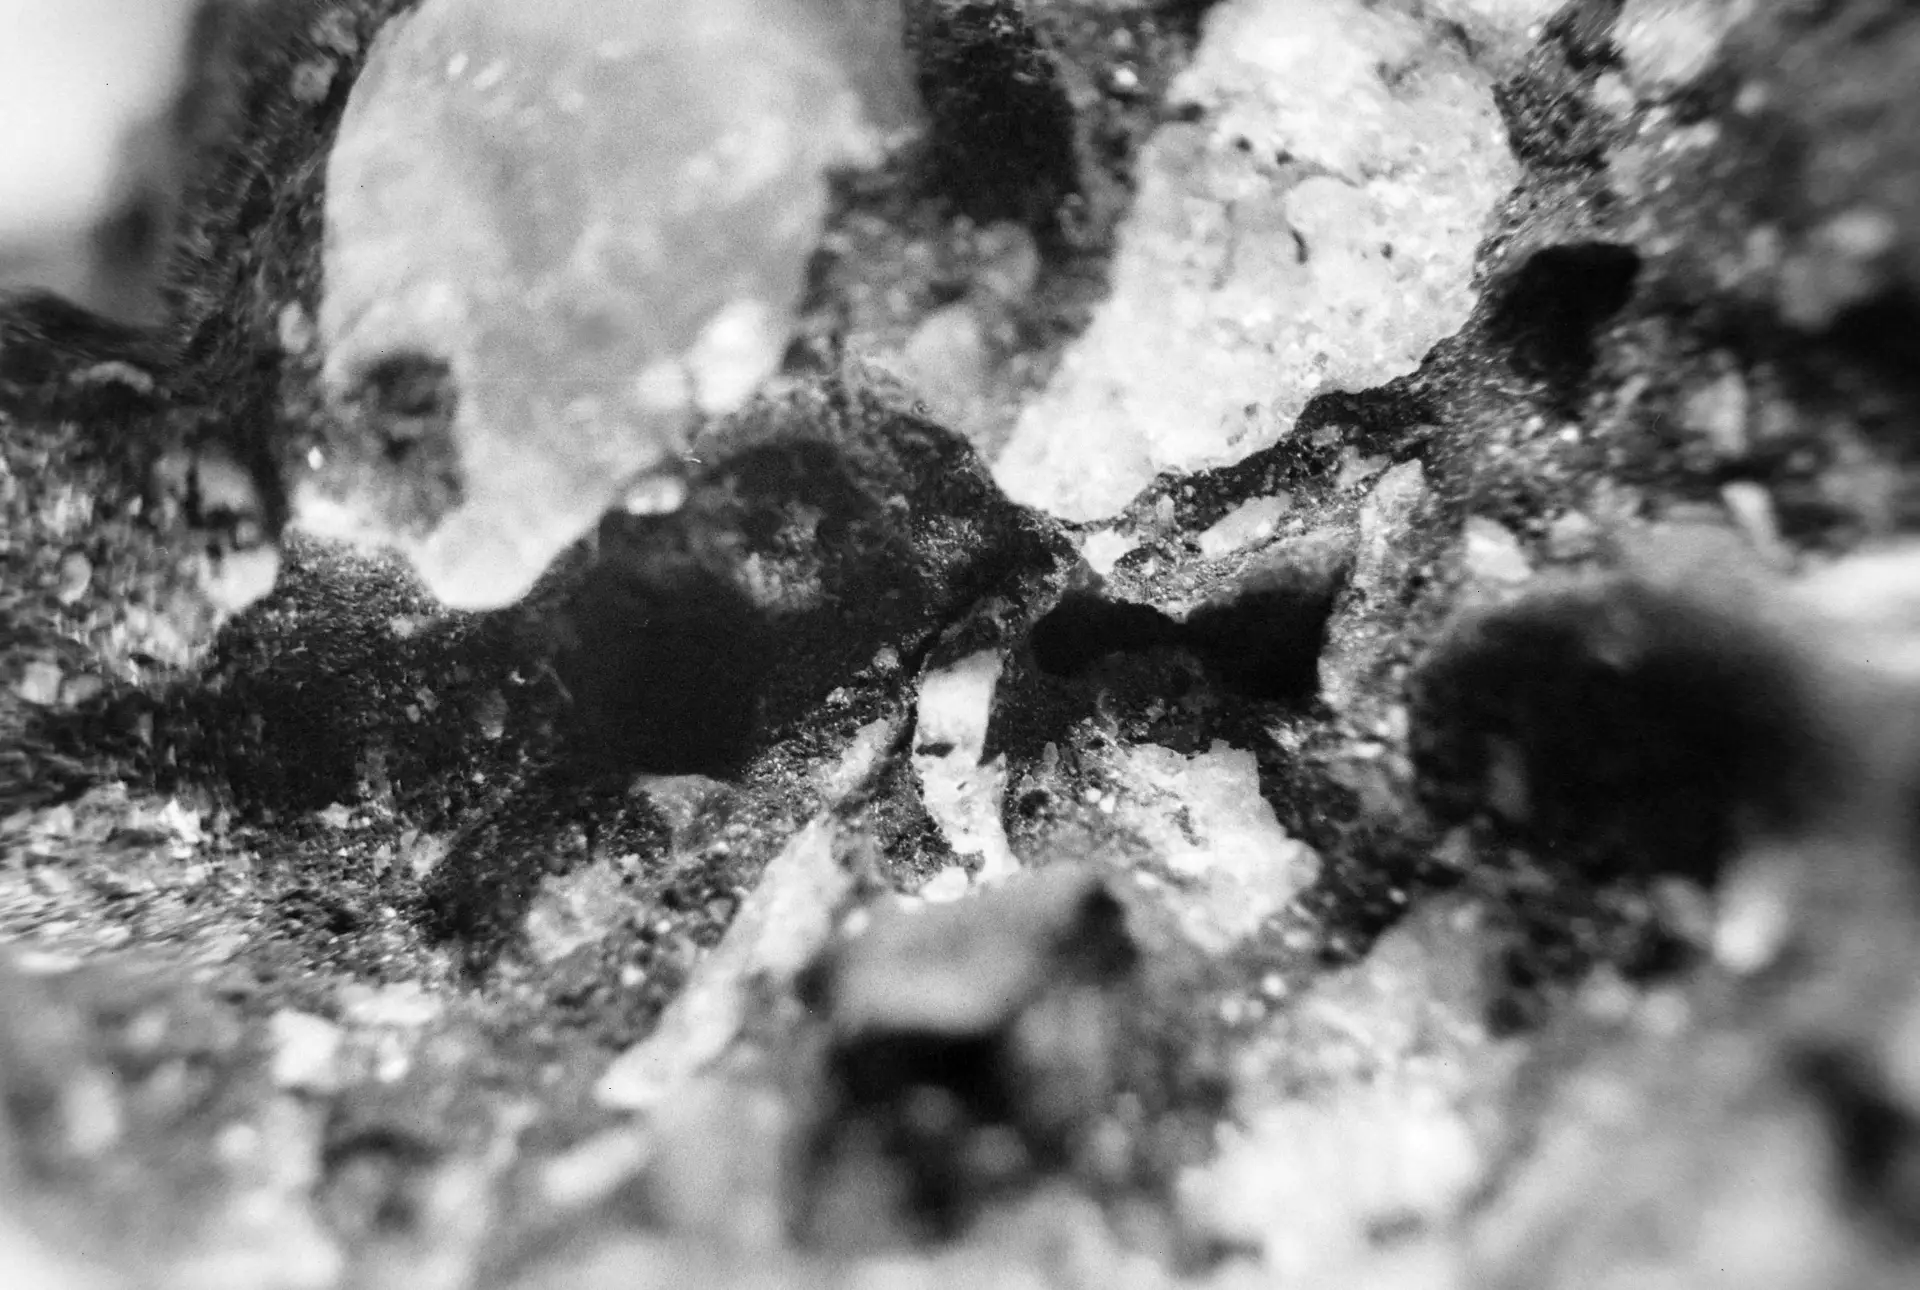
NOTE: When lava is thrown in the air, quartz and other minerals crystallize in its nooks and crannies as it cools and falls to the ground. (These falling chunks of lava are often called “volcano bombs.”) I should shoot the above “scene” again in color, because the lava is dark black, with scattered clear, white and pink crystals.
And finally, the skeletons of 270-million-year-old, fossilized, Ohio coral:
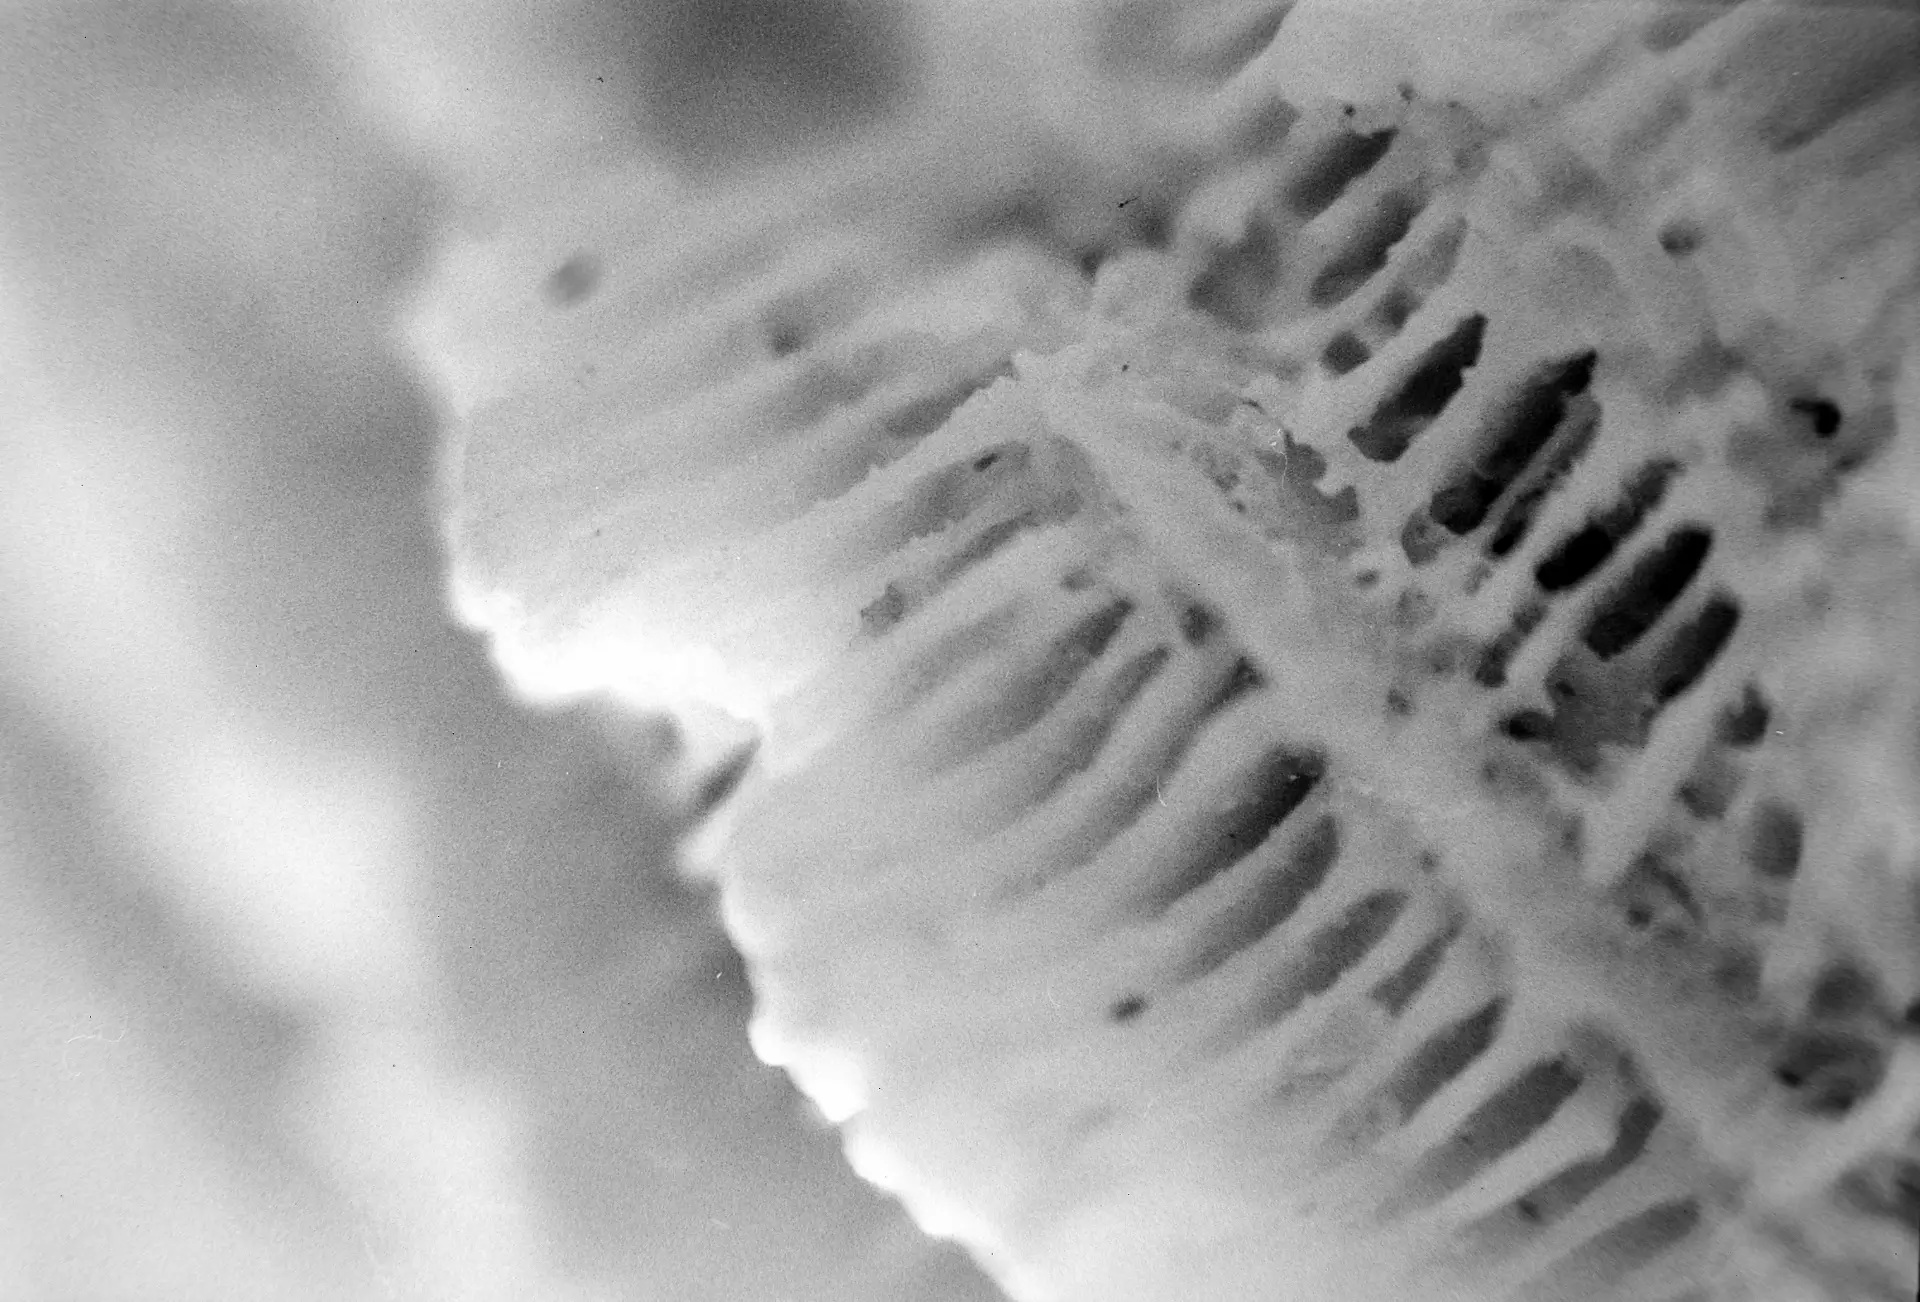
Some Final Notes
- As before, I developed the film with the Caffenol recipe and procedure described at the end of this article. The initial Tri-X shot of the rulers received 15-minutes of agitation, but the above Double-X negatives received 13.
- The Super-B’s split-image and Fresnel focusing aids were pretty useless for macro work. But it was easy to check focus in the viewfinder around them.
- To get results such as these with part of the lens removed is a tribute to Zeiss engineering.
- One can definitely capture macro and super-macro images with the Contaflex Super-B! All without macro adapters or specialized lenses. And at no cost. Even scientific-documentation applications wouldn’t be completely out of the question for this camera.
- As mentioned in Part 1, if any readers own other manufacturers’ vintage leaf-shutter SLRs (or other Contaflex models!), see if they have a similar divided-lens design. If so, try the same experiment. And if you do, submit an article with your results!
- In the spring, I’ll return outdoors with color film. And if the images merit, I’ll post a Part 3.
–Dave Powell is a Westford, Mass. writer and avid amateur photographer.
Share this post:


Comments
JC on Shooting “Super-Macros” with a Contaflex Super B SLR (Part 2)
Comment posted: 04/02/2024
I have a small box with four Proxar closeup lenses and i use them on the Standard 50mm f2.8 Tessar on my Contaflex Super Mk.1.
This is a stunning fully working machine, even the selenium meter works.
But your macro experiences with the Contaflex go beyond that. Thanks !
Comment posted: 04/02/2024