I was asked recently my opinions around what I think is the best way to scan a large collection of slides? I replied by suggesting that they should have a lab scan it and not to bother with home scanning. This answer comes from my 4 years of mostly unsatisfactory home scanning experience, and the very specific way in which I display my photographs.
Like the photographers of the 1960s, I choose to print beyond the full frame and have a black border around my photographs. This is a relatively simple process when printing in the darkroom, you can simply shave down a negative holder until it reveals more than the full frame of a photograph. For scanning though, it is a much more difficult process with pleasing results either being very expensive or time-consuming. In my 4 years of scanning at home, I have used various flatbed scanners and a Pakon f135. The Pakon, while delivering excellent colors and detail, cannot scan beyond the full frame and will often leave hairline scratches on my negatives.
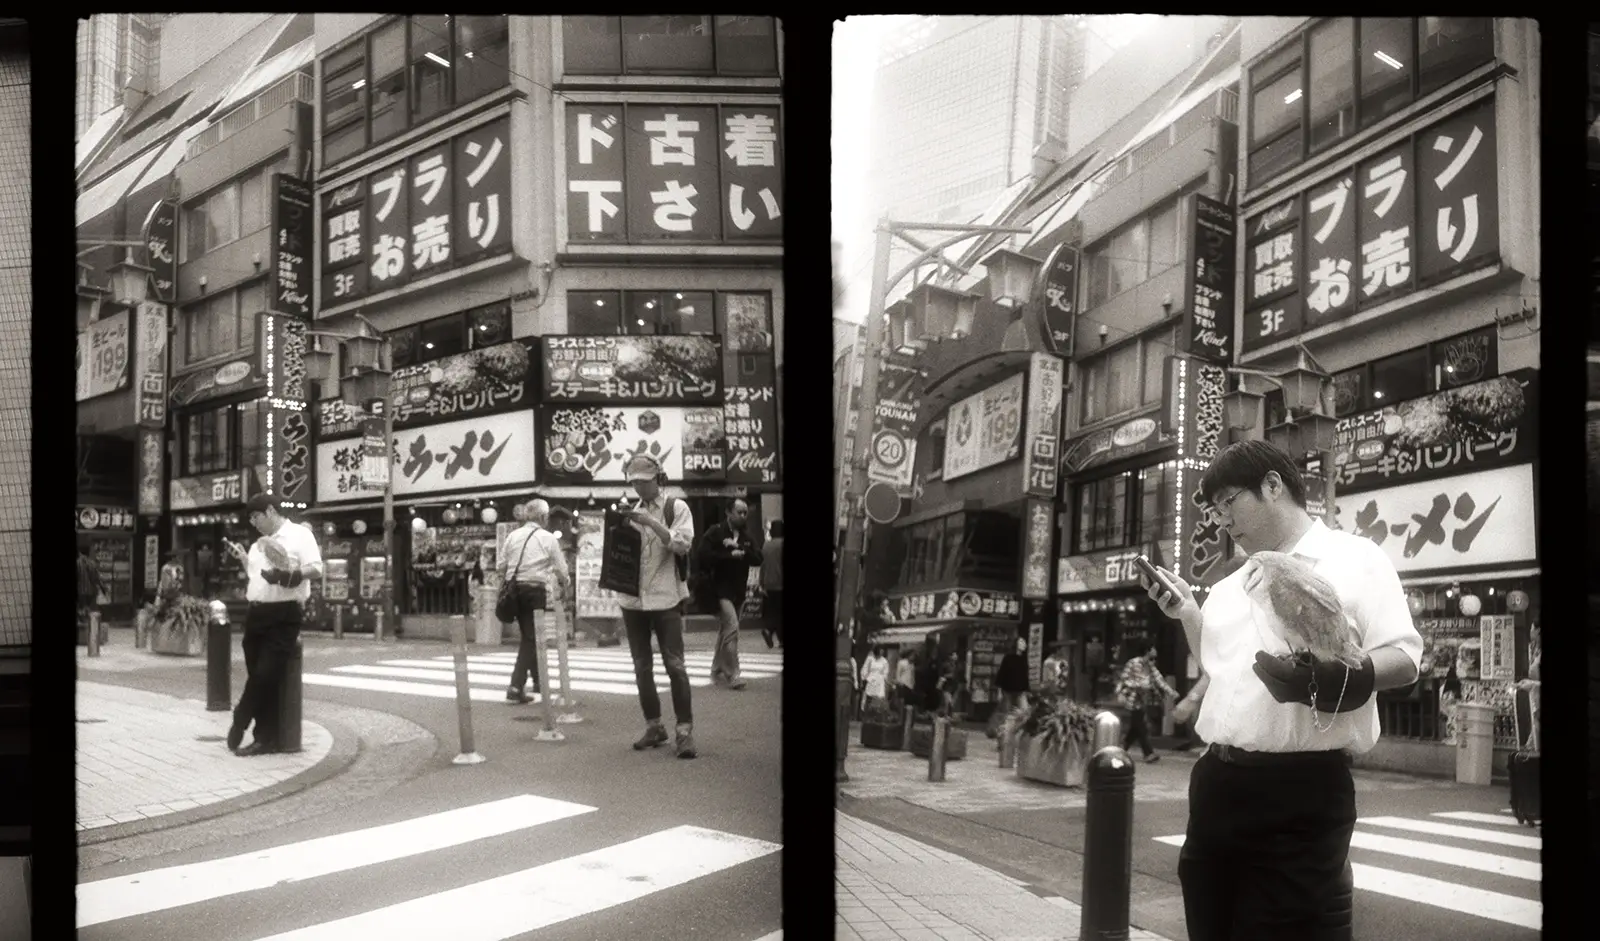
When it comes to flatbed scanners, dealing with the flimsy negative holders is always an aggravating experience. Good results can take hours of re-positioning and re-scanning negatives. Due to the hardware limitations of the film holders or the scanners, I was often forced to scan a cropped image.
In my quest to scan beyond the full frame, I modified negative holders by cutting and shaving the sides hoping to reveal more of the frame. With this process I did manage to scan past the black borders but it became an even more gruelling process, having to re-seat negatives several times to get a decent scan. This is a frustrating process, so I kept searching for a better solution.
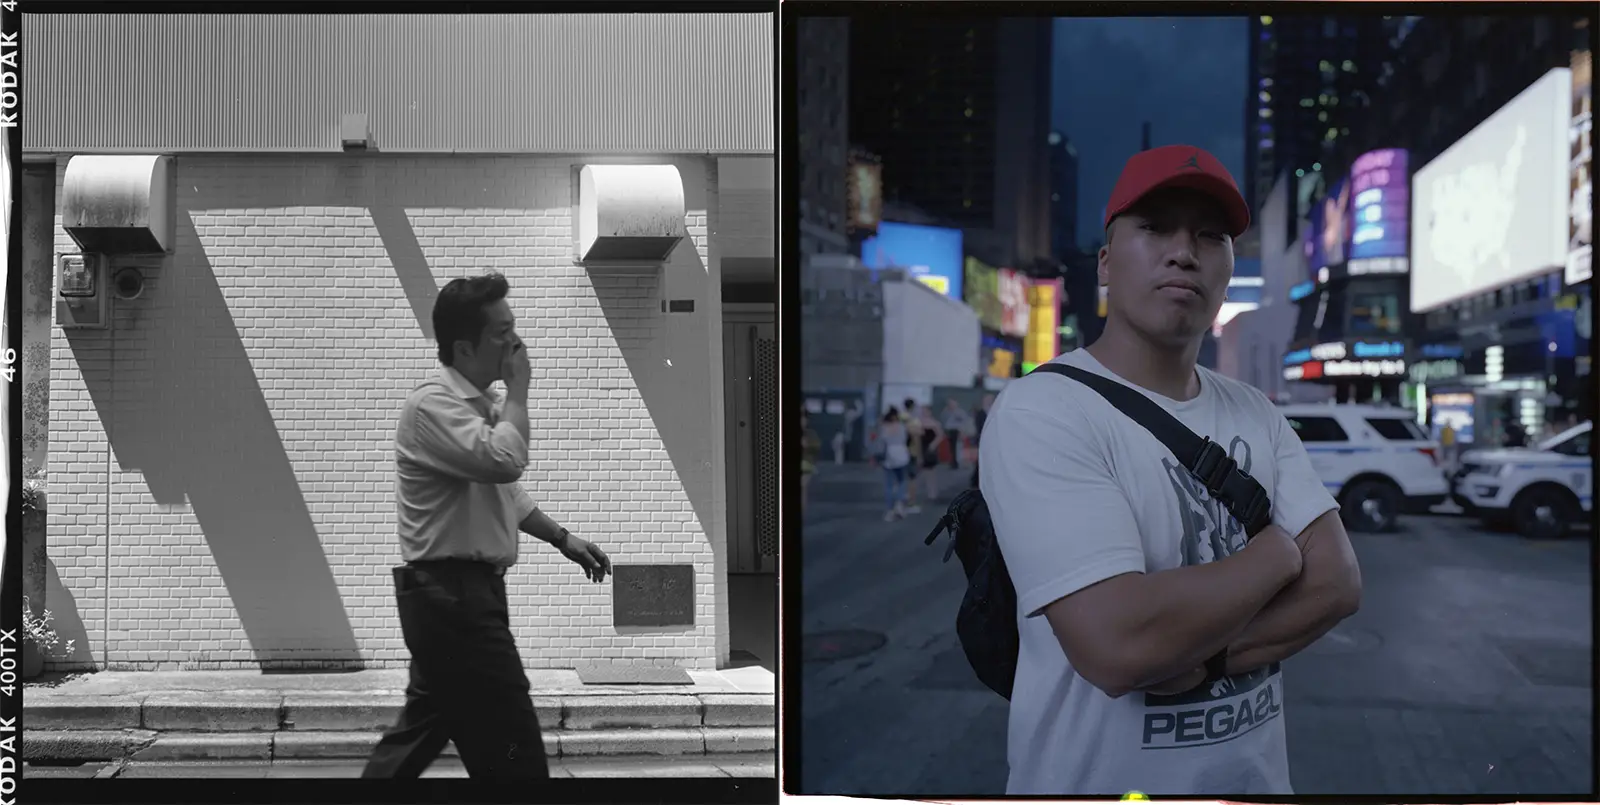

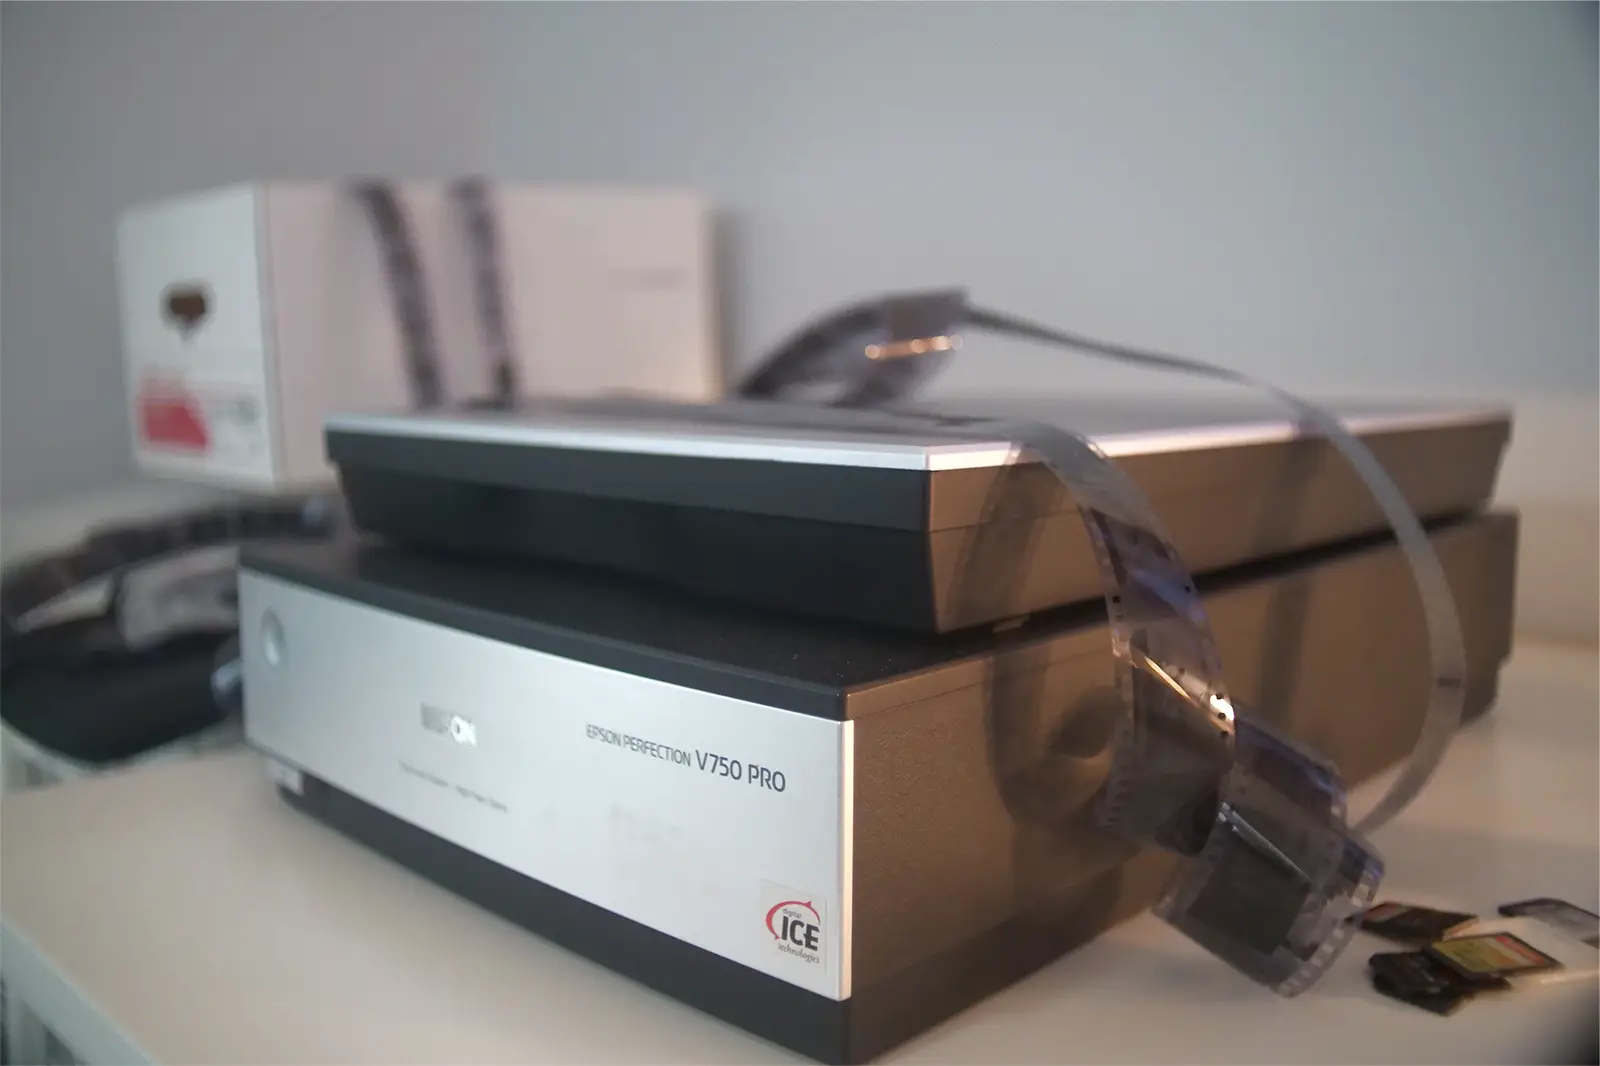
Unfortunately, the terminology for this process is not set in stone. Reading other articles some people call it “full frame” others call it “natural black border” others might say they “scan to the sprockets”. This being the case, it is difficult to find information on scanning in this manner. My solution at first was to use the glass provided with my Epson v750 pro (provided for wet scanning).
Placing the negative with the safety film base (shiny side) directly onto the scanning surface with the glass on top was in theory an easy way to get the full frame. However, this resulted in newton rings on most scans. This would be acceptable for the web, but I wanted archival scans of my negatives. Wet scanning was also considered, but I was looking for a solution that would not take up most if not all of a day devoted to scanning.
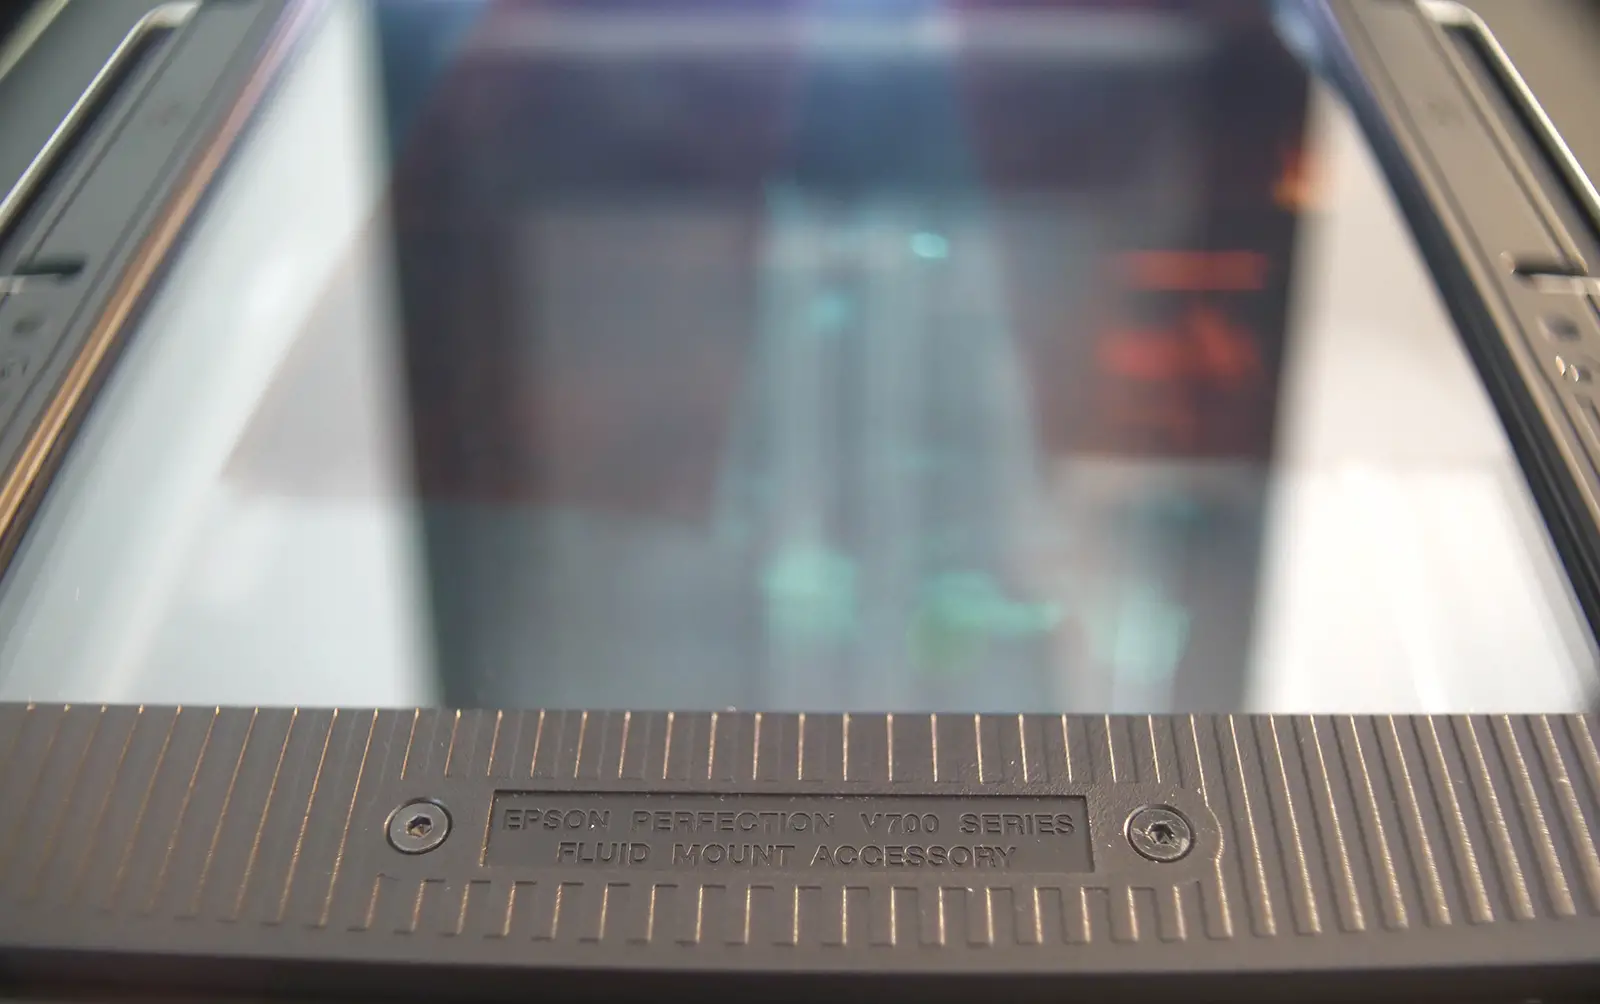
By chance, with a very thin negative I accidentally placed the emulsion side (matte side) directly on the scanning surface with the glass on top. To my surprise there were no newton rings. I repeated the process with various negatives and found that by having the emulsion directly on the glass it greatly reduced or outright eliminated newton rings, while delivering results that are closer to a darkroom print. Normally, scanning with a flatbed, images can be muddy and soft with grain less pronounced. Darkroom prints, on the other hand, retain the beauty of natural grain as well as sharp detail.




It is a very simple process and does not take any more time than conventional flatbed scanning. I feel that this method delivers more natural photos in both black and white as well as color. The only extra procedure is to flip the image horizontally to compensate for placing the negative upside down on the scanning surface.


I have not tested this process on every scanner or type of glass. It should work with a scanner+software configuration that have an “advanced mode” and can focus on something placed directly on the scanning surface. If your scanner does not come with specialty glass, using 4×5 anti newton negative carrier glass should do the trick.
The Epson v750 pro has worked for me with the provided glass. My photography professor can attest to this process working well with 4×5 negative carrier glass and a Canoscan 9000f.
Tutorial:
- Place the emulsion (matte side of the film) directly on the scanning surface
- Place anti newton glass directly on top of the negative and close the scanner (take care when using glass not provided from the manufacturer, or that is not fitted for your scanner)
- Using your scanners advanced mode, pre-scan the entire scanning surface
- Manually select the entire frame and scan to your desired resolution and settings
- In Photoshop or Lightroom flip the image horizontally
While researching for this topic I found an old forum post on a similar subject here
In the end, I’ve found scanning from the emulsion to be the best compromise of time and quality. When scanning 4×5 I still occasionally get newton rings, so it is not perfect. If you still get newton rings I have found that repositioning the negative can solve this. I will try some proper anti newton glass on my Epson when I get the chance.
I hope this can provide some help for anyone trying to scan full frame, affordably and reasonably, with a flatbed scanner.
My blog
Portfolio site
Instagram
Share this post:



Comments
James on Scanning from the emulsion; getting the most out of a flatbed scanner – By David Narbecki
Comment posted: 06/09/2018
Comment posted: 06/09/2018
Ken Hindle-May on Scanning from the emulsion; getting the most out of a flatbed scanner – By David Narbecki
Comment posted: 07/09/2018
Comment posted: 07/09/2018
Comment posted: 07/09/2018
Terry B on Scanning from the emulsion; getting the most out of a flatbed scanner – By David Narbecki
Comment posted: 09/09/2018
I'm going to try scanning the emulsion layer to see if I can detect a difference with my Canoscan 9950F and, out of interest, I'll see if it makes any difference with my dedicated 35mm film scanner. I'm hoping the difference, if any, in my set-up won't be too bothersome. I'd hate to re-do years of scanning! :D)
As for your second issue, that of black borders, I wonder if I'm missing something here. Applied to film printing, getting a black border may be no more of a matter than of using an adjustable negative holder set to slightly wider than the image format; this is how I did it.
But with scanning, I don't see why you would wish to scan beyond the frame to get black borders, especially when this facility is readily available via software. This avoids trimming film holders and juggling the position of the film to achieve even borders. One can set the width of the black border, even setting different dimensions in the horizontal and vertical, and set for this border to enclose the image.
Comment posted: 09/09/2018
Comment posted: 09/09/2018
canon printer error 5200 on Scanning from the emulsion; getting the most out of a flatbed scanner – By David Narbecki
Comment posted: 31/07/2019
Comment posted: 31/07/2019
canon printer troubleshooting on Scanning from the emulsion; getting the most out of a flatbed scanner – By David Narbecki
Comment posted: 20/11/2019
Recommended reading : Down the Road on Scanning from the emulsion; getting the most out of a flatbed scanner – By David Narbecki
Comment posted: 05/03/2020
jeremy north on Scanning from the emulsion; getting the most out of a flatbed scanner – By David Narbecki
Comment posted: 22/05/2020
Comment posted: 22/05/2020