The Leica M-A is a fully mechanical rangefinder camera that is the latest in the long line of Leica M film cameras. Leica manufactures three film M cameras today, the M7, the MP, and the M-A (typ 127). The M-A is the only one of the three that does not use a battery; it has no electronic components, not even a light meter, and therefore is similar in function to Leica M cameras of decades ago. In this era of electronic cameras, some people may view that as insanely retro. I think it’s wonderful!
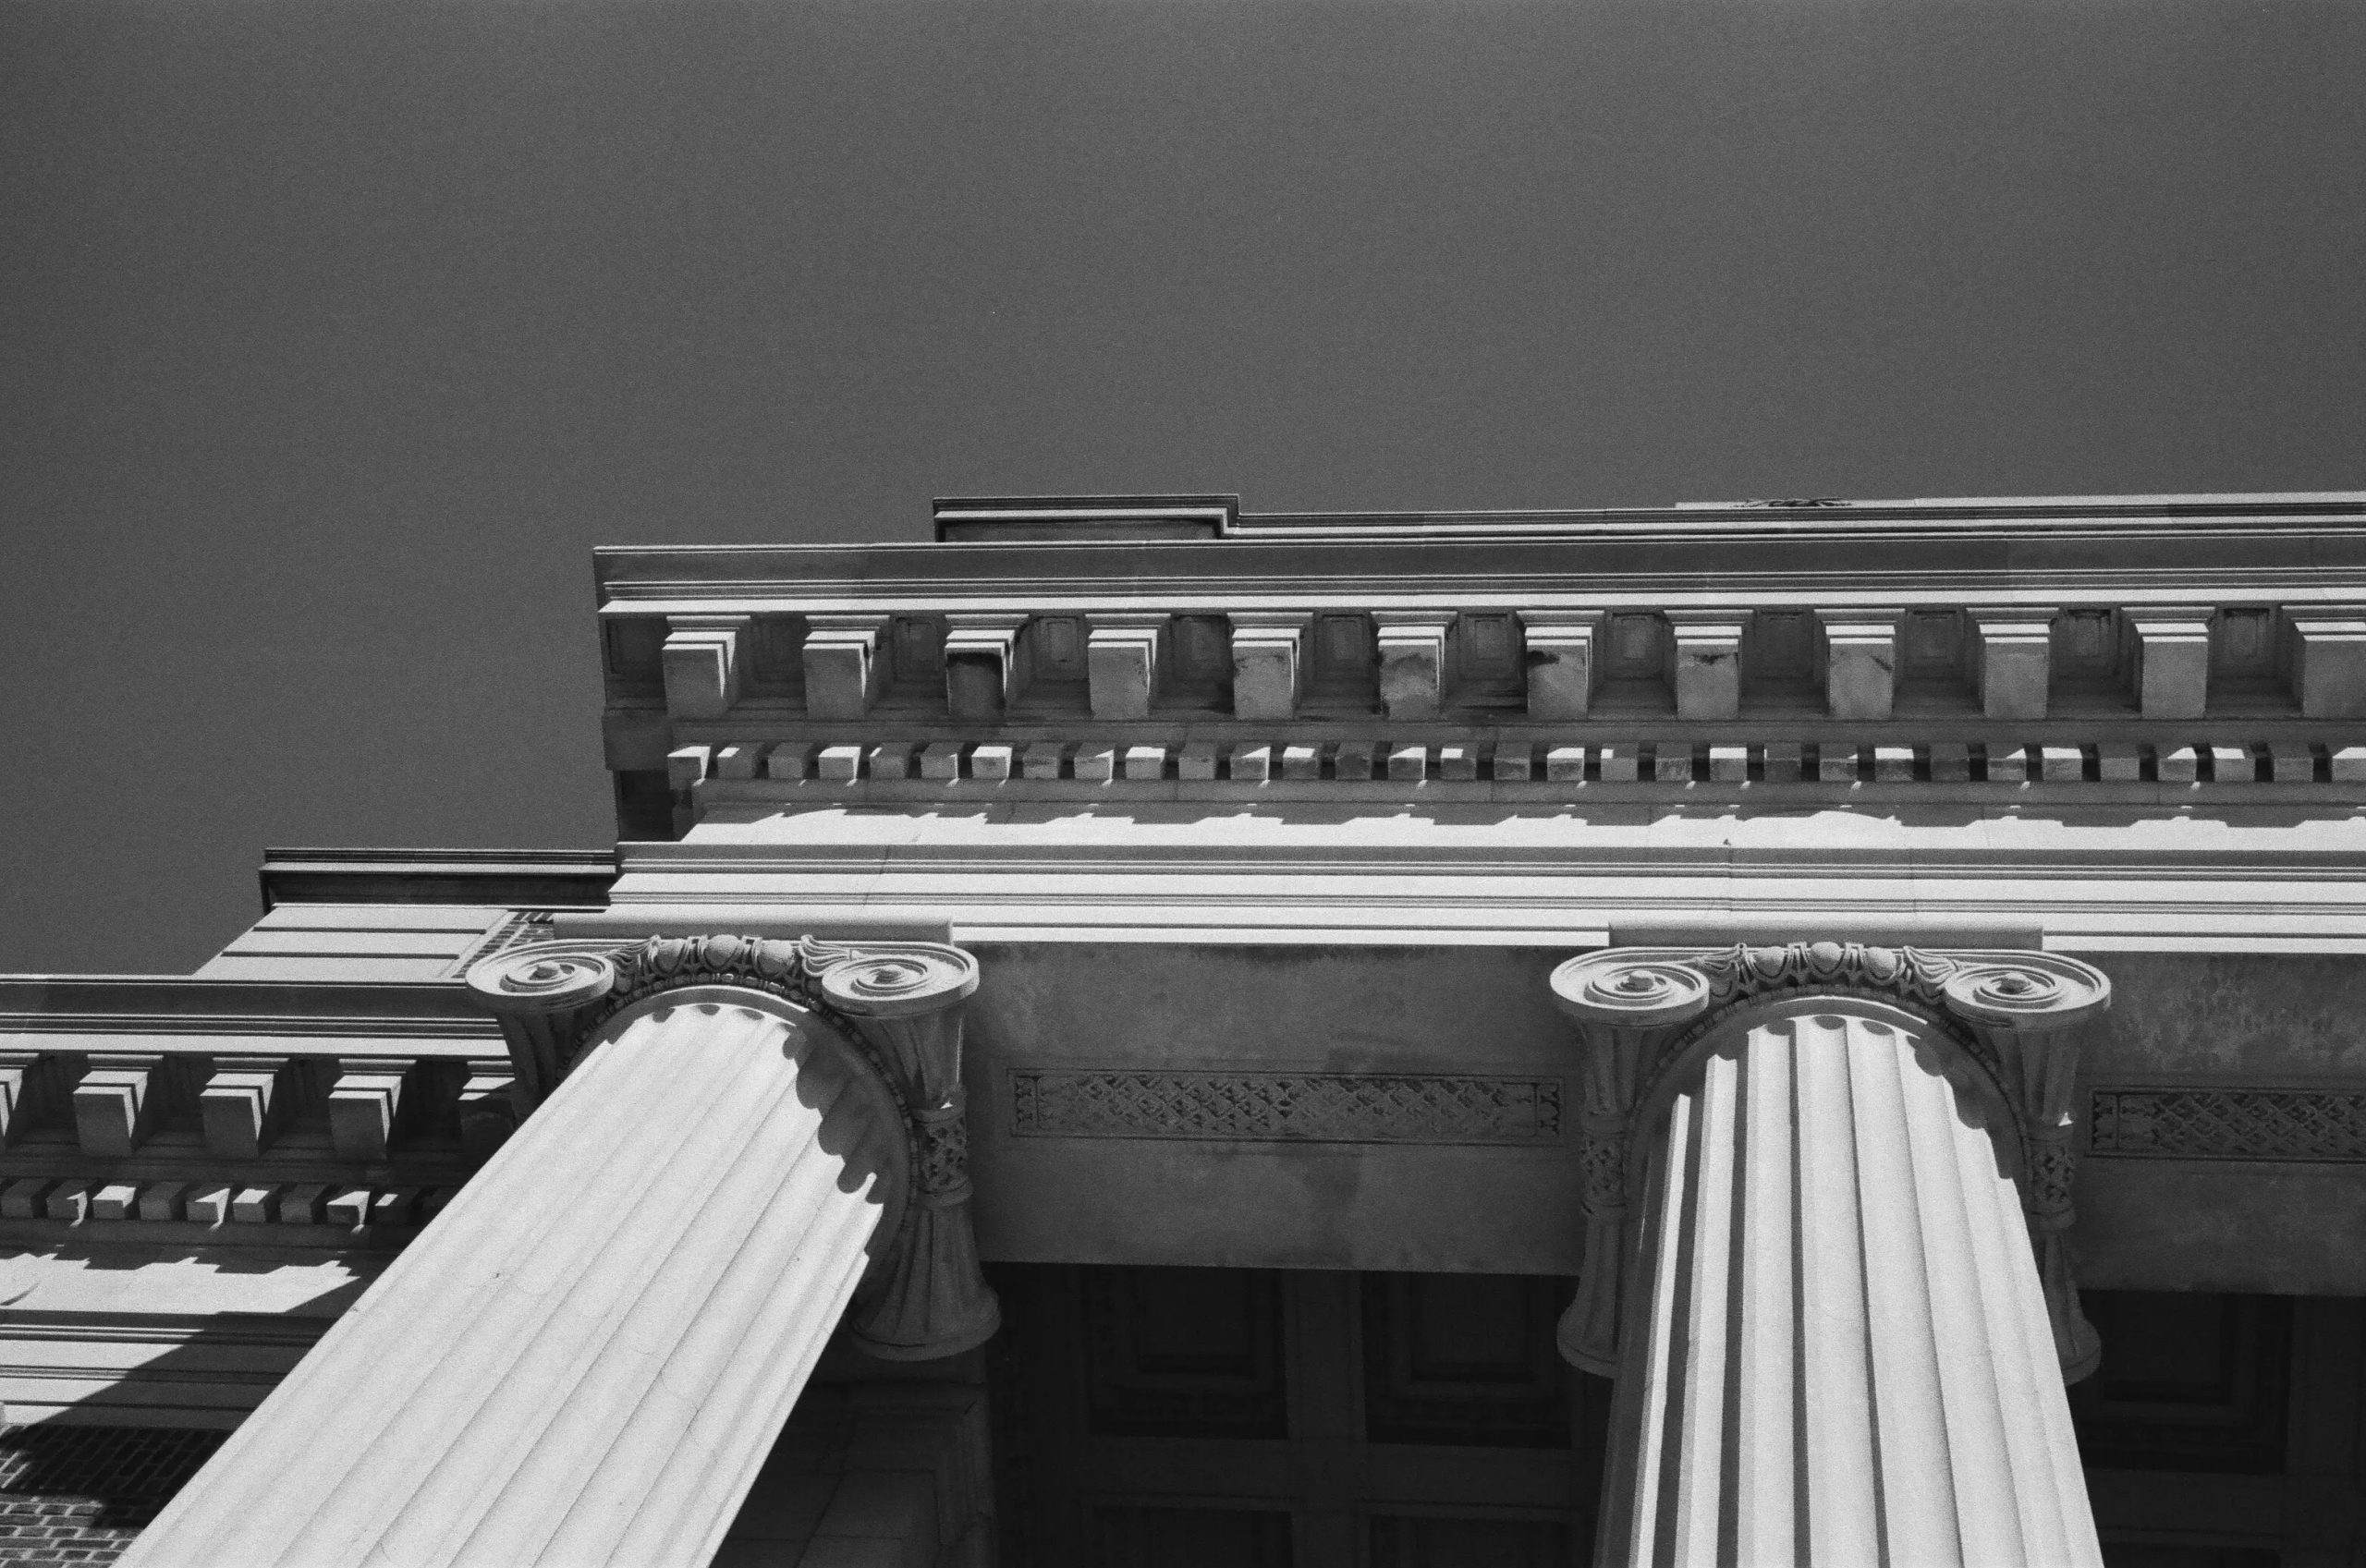
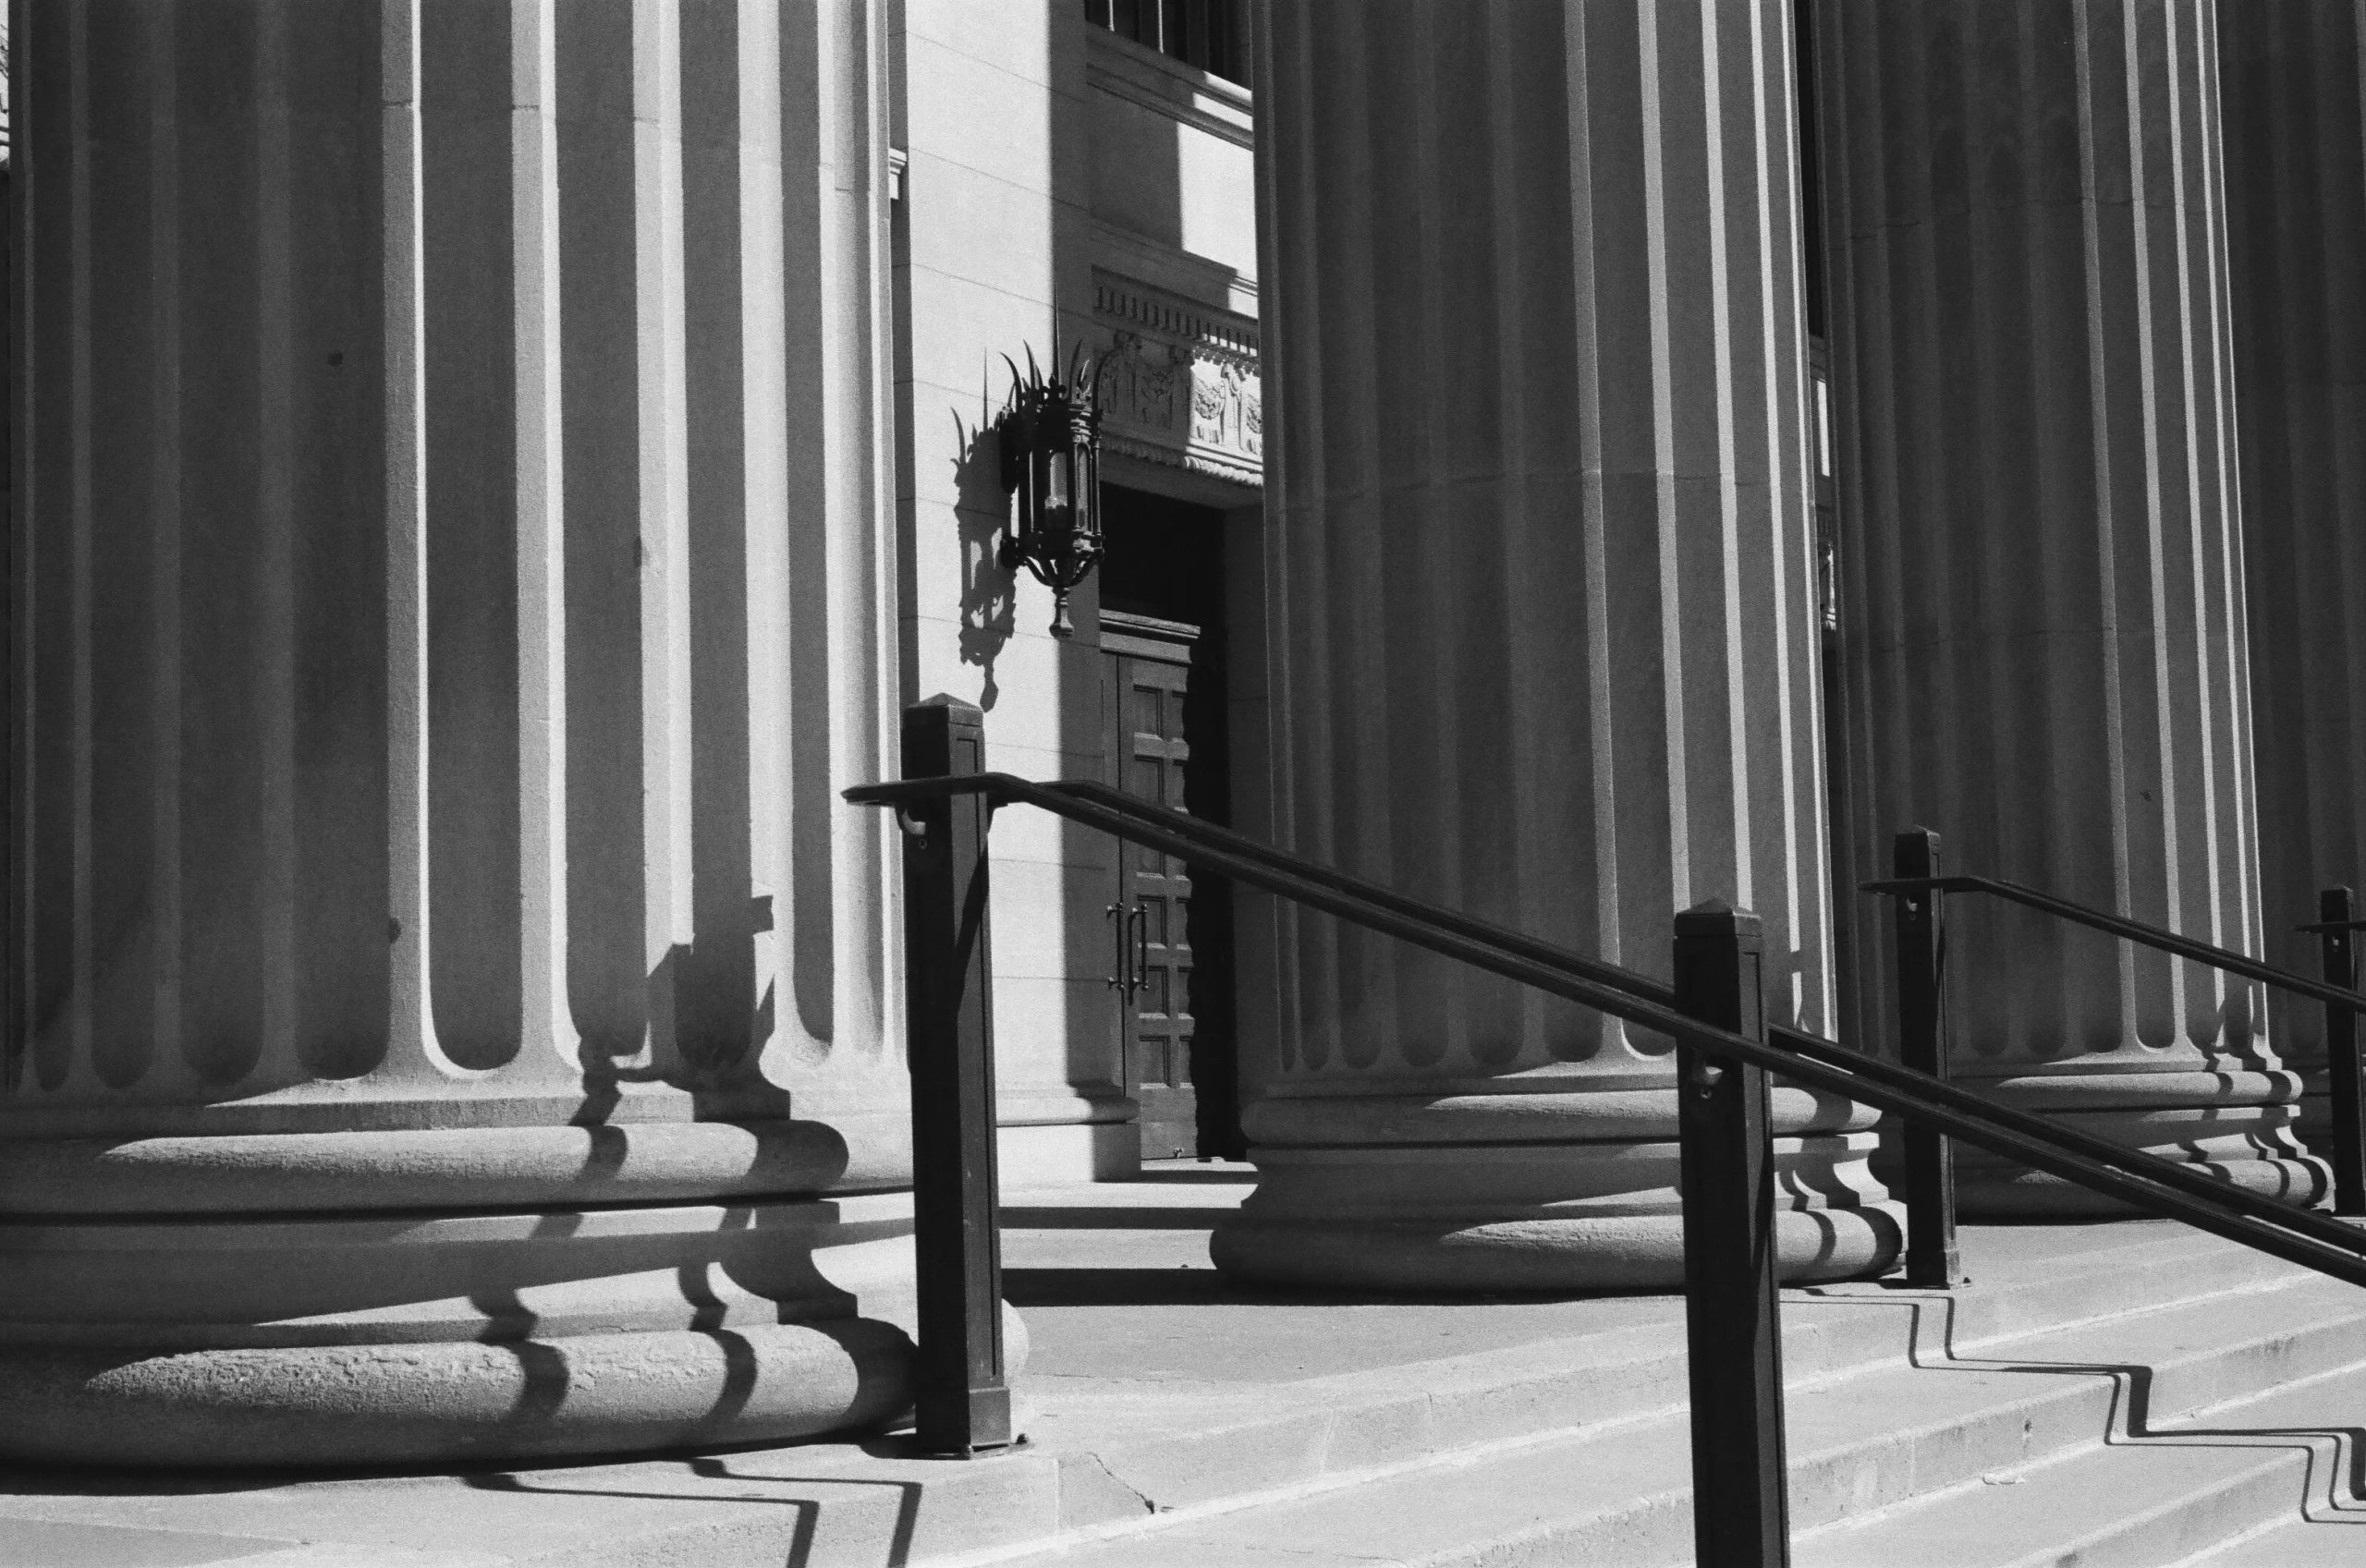
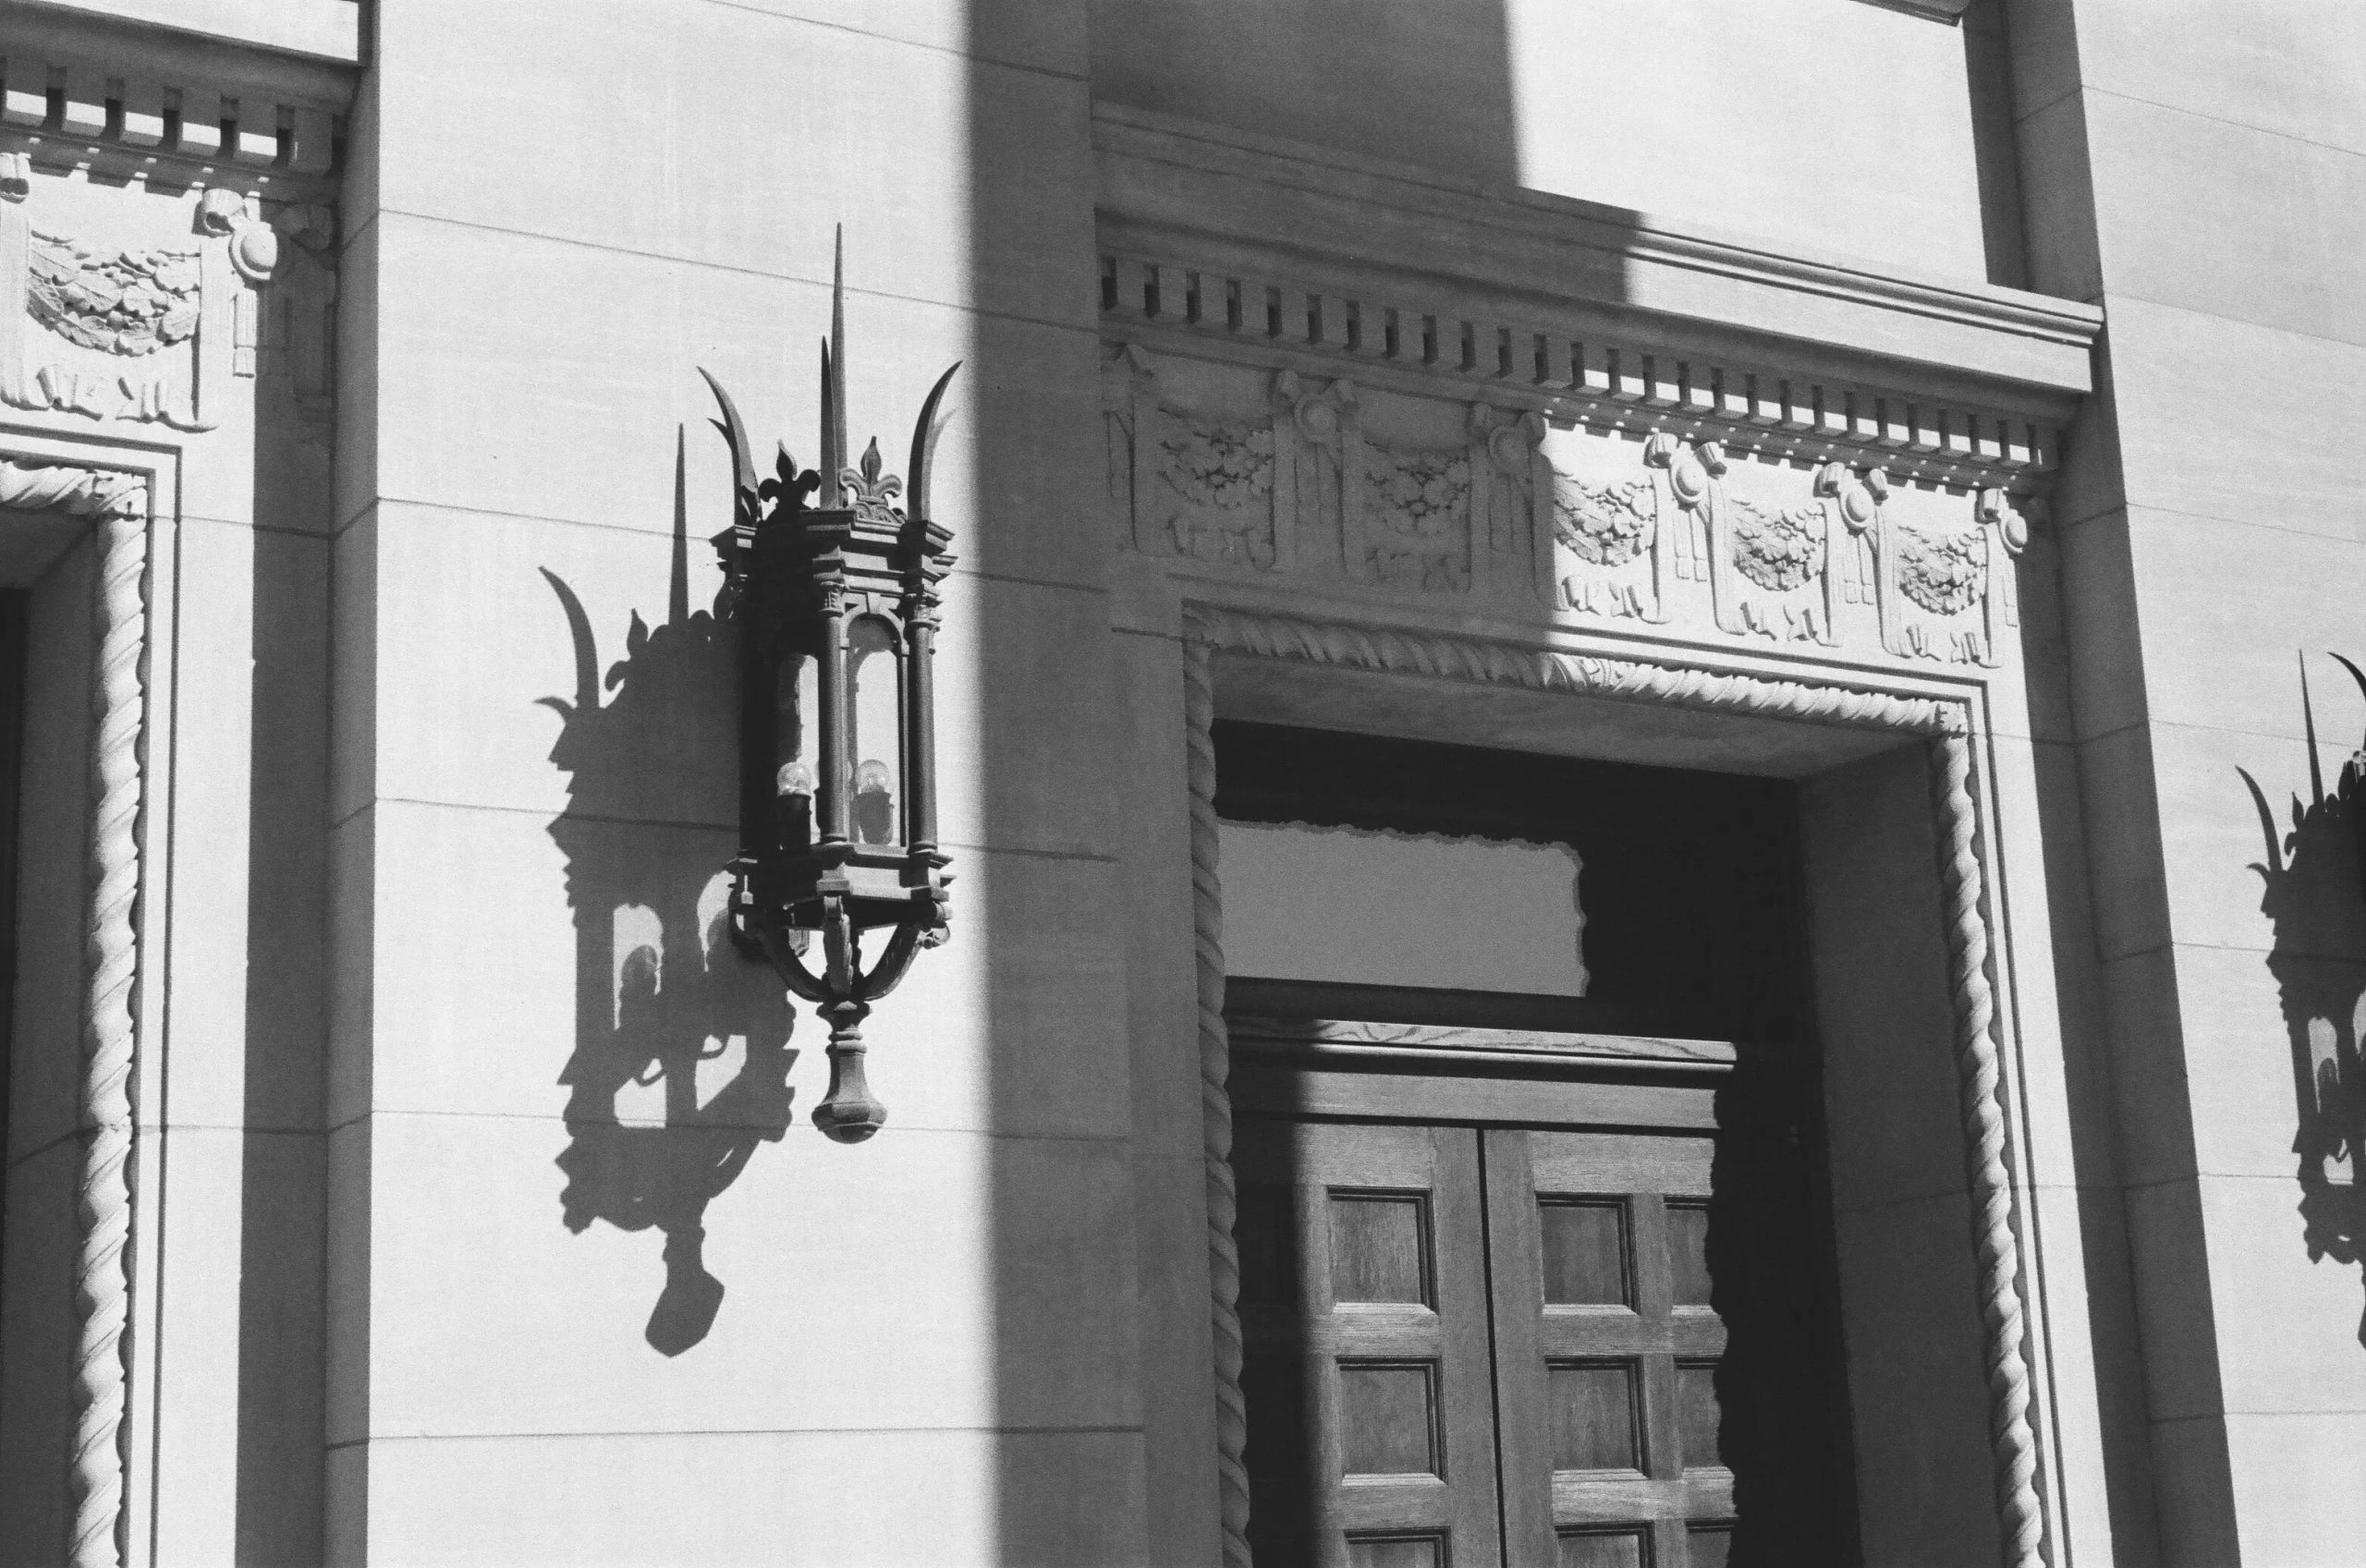
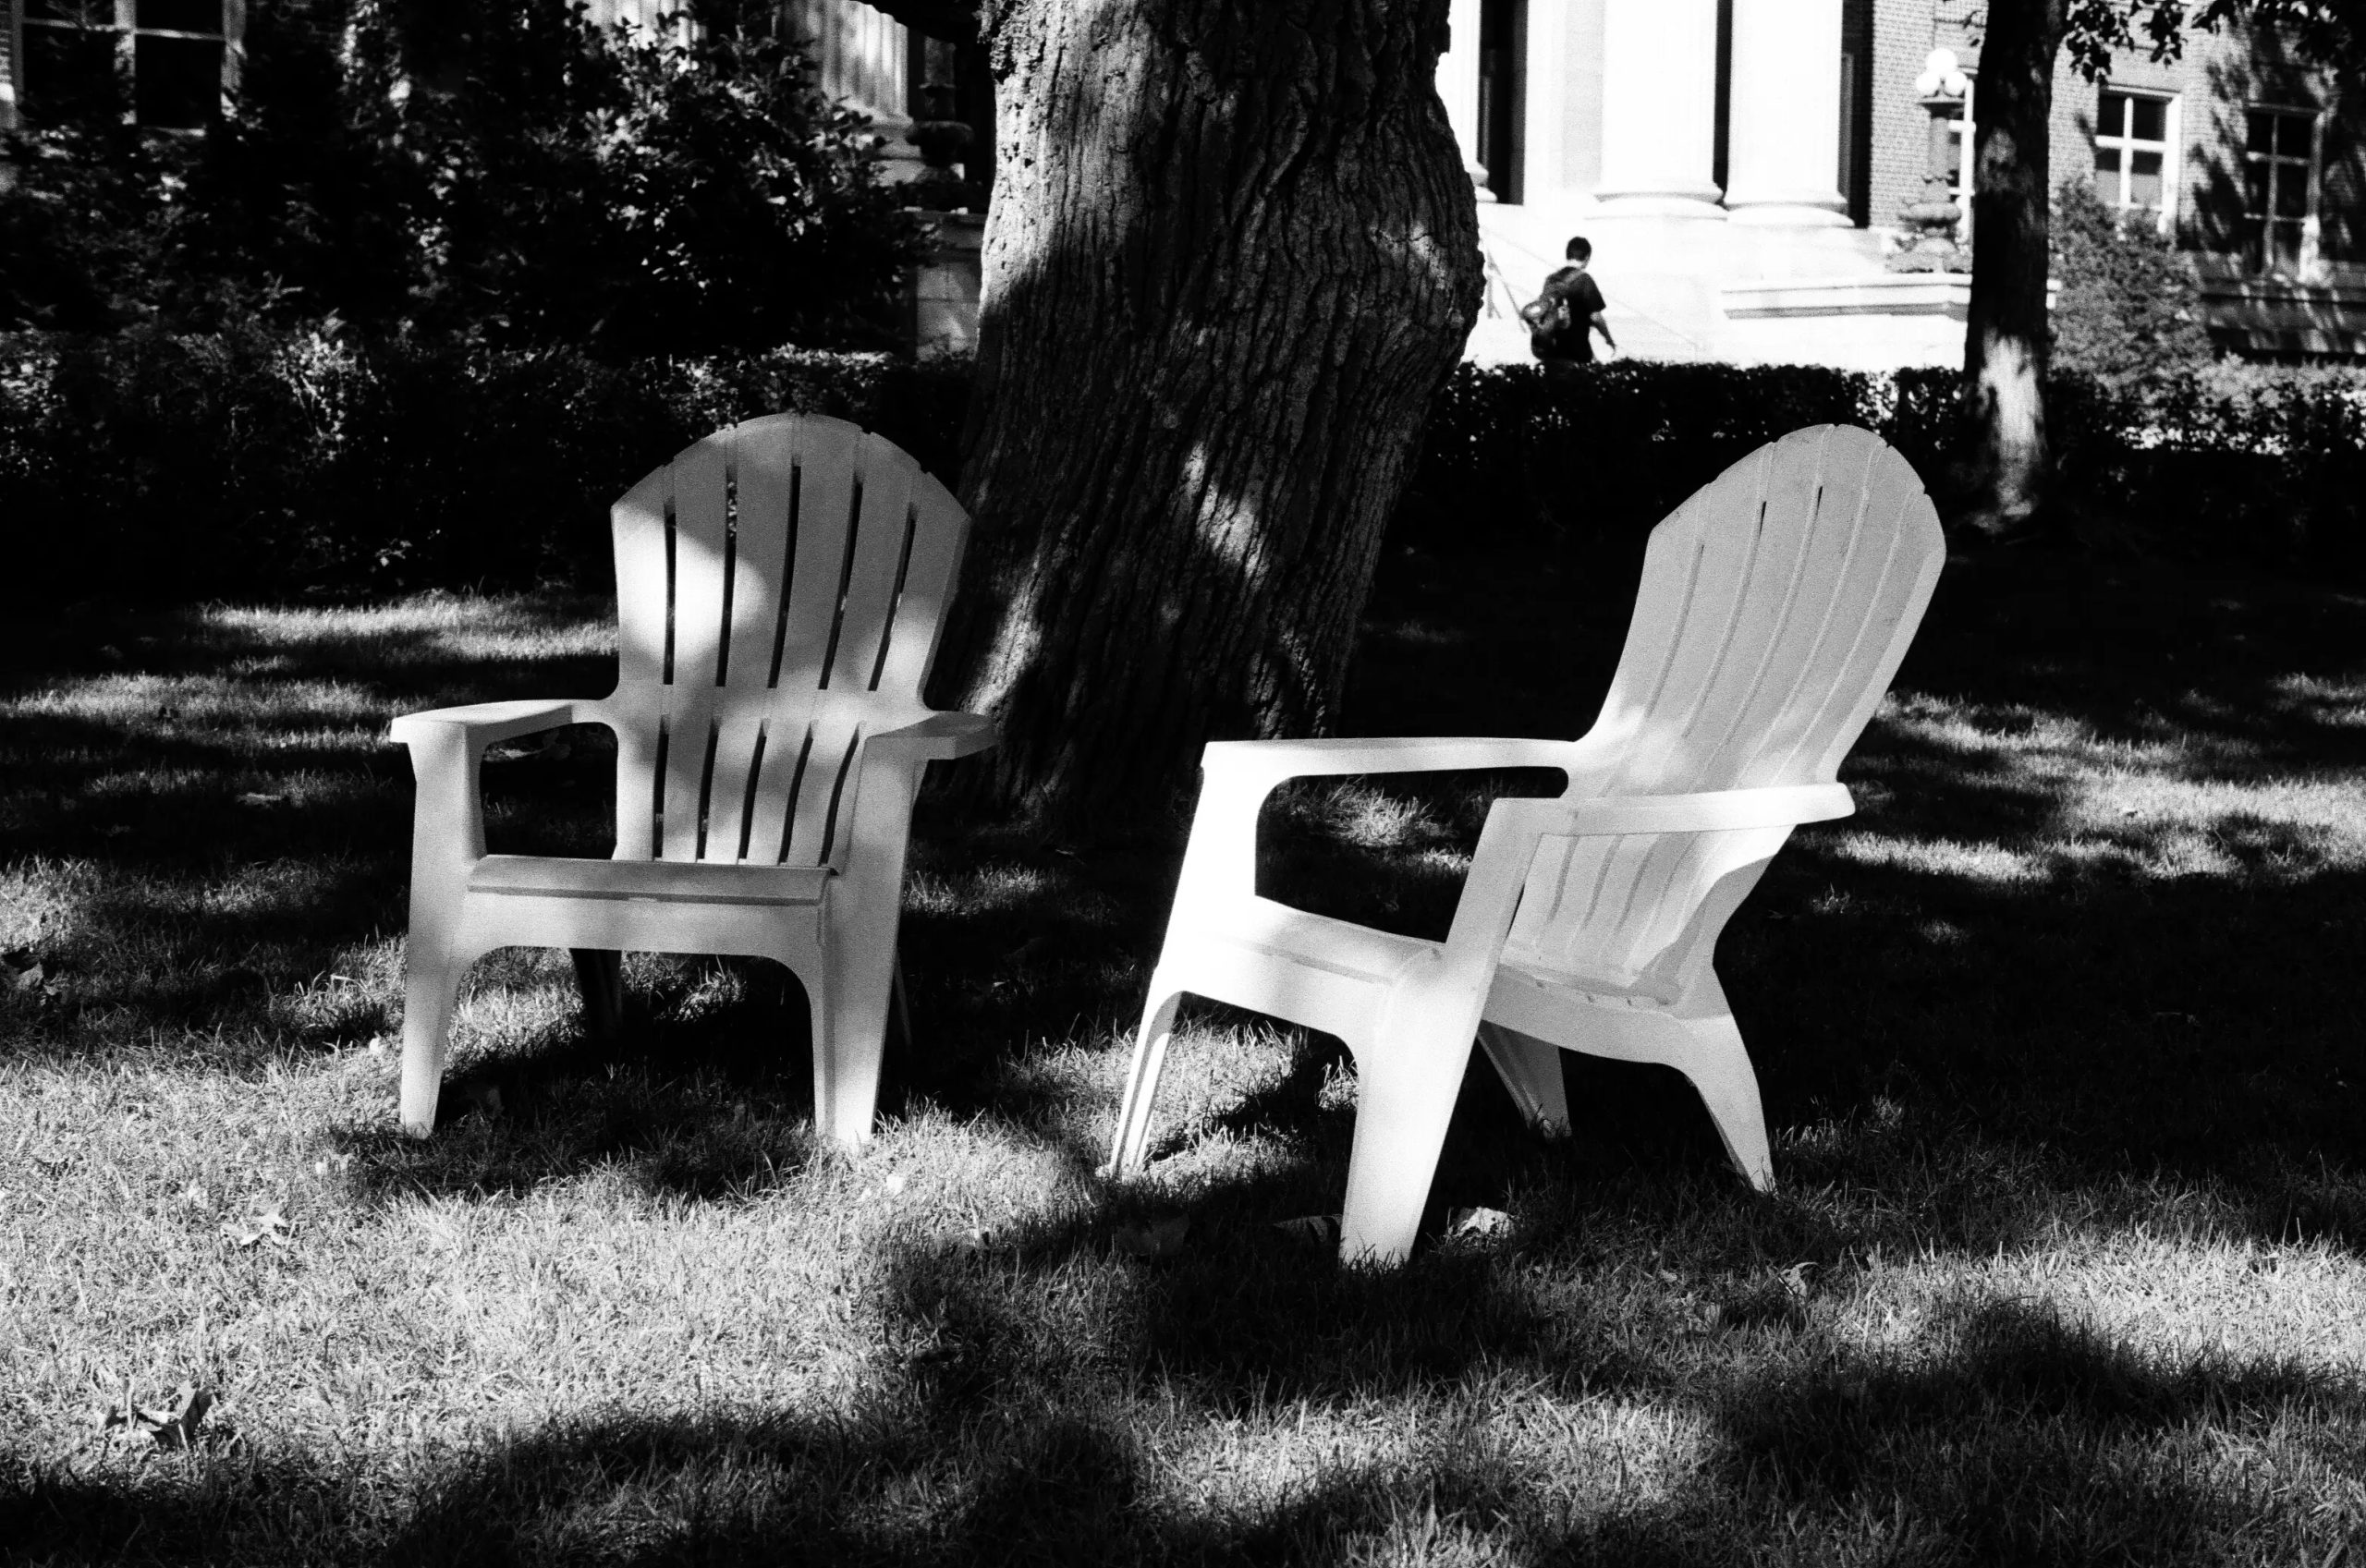
Because the Leica M-A has already been reviewed by Hamish and is similar to other Leica M film cameras prior to the M5 (when electronics first appeared in the form of an integral light meter), I am not going to write a full review. Instead, I want to describe my initial experiences with this camera as someone who used to do film photography and also has a more recent digital photography background, and share some photographs from the first two rolls of film I shot using the camera. Knowing that many younger people have never held a film camera, I’m going to address some of the differences I perceive between film and digital photography. For those who are lifelong film aficionados, please bear with me. A lot of young photographers are interested in film!
I have been taking photos for nearly 50 years. I used to develop and print my own black-and-white film when I was in school. Over the years I’ve owned several point-and-shoot film cameras, then SLR film cameras, a Mamiya 7 II medium-format film rangefinder, and several digital cameras including a current Fujifilm X100S.
Recently, I was looking for a new camera with interchangeable lenses to add to my Fujifilm X100S. I was very close to purchasing the new Sony A7R II, in fact, I had an order in for one, but delivery was delayed because of the backlog when it was first released. While I was waiting for it to arrive I began to read about the typical kinds of issues that people fret about in digital photography, such as whether the 14-bit lossy compressed RAW files lead to inferior image quality, and the appearance of moiré interference patterns. These concerns forced me to reconsider what I really wanted, and my quest for a new camera took me in an unexpected direction back to film photography.
I had recently sold the Mamiya 7 II because I had never really warmed to it. It is a technically very good camera, but a bit too large for my liking, and so not used very much by me. Some further research led me to the Leica 35 mm M format, and the latest version in that line, the M-A, which was released just about a year ago (2014). Of course, one can buy used Leica film cameras, but many of them are now at least a half-century old and I wanted a new camera that would last the rest of my life. My choice was influenced by my digital camera experience, which is that they don’t last a lifetime. Few people would buy a digital camera today and expect that it will last them the rest of their lives. There is the constant pressure of the upgrade cycle for more megapixels, more menu options, and more useless features. If you don’t succumb to the marketing pressures, you’ll cave on that sad day when the electronics stop working and the warranty has expired. Digital cameras have become expensive consumer items with a lot of marketing pressure for replacement every few years. But one can buy an M-A today and expect that it will last for decades and be the only film camera one would ever need. It’s from the same pedigree as other Leica film cameras, and they have been proven to last.
So the M-A was what I chose, the current successor to Leica’s storied tradition of German engineering, and to the 35 mm cameras that defined photography for much of the last hundred years. I cancelled my A7R II order, and went in exactly the opposite direction by placing an order for an M-A and a 50 mm /f 1.4 Summilux Asph lens.

Back to Basics
The M-A offers nothing more than the most fundamental photographic controls. You have three settings to think about: the choice of film (including its ISO speed), the aperture stop, and the shutter speed. That’s it. After you’ve loaded a roll of film, one of those options is fixed until you change the film. This is photography at its most basic and arguably at its best.
There are no menus, film simulations, or special effects. There’s also no battery and therefore no light meter, no auto-exposure, no autofocus, no rear LCD screen, no EVF, no memory card and no wi-fi. It does have an accessory shoe, so I imagine that somewhere inside there are a couple of wires that can connect the shutter mechanism to an external flash, but it’s just a switch. Everything in the camera operates by mechanics, including the timing mechanisms for the selectable shutter speed. Many people looking at this camera would think it’s from a different era, which is true from a design perspective, but it’s a design that has been shown to work extremely well both functionally and aesthetically. On the other hand, it’s manufactured today, being one of the few film cameras that is still in production.
I said I wouldn’t do a full review, but I must comment on how solid and reliable everything feels. The film advance lever, which also cocks the shutter, is wonderfully smooth. The rewind mechanism is solid with no wobbliness at all. The weight and form of the camera feel just right. The shutter sound is just a quiet click. The act of taking a photograph is a moment to enjoy.
Many younger people today have grown up with digital cameras and have never used a film camera. Using a film camera, and especially a fully manual camera like the M-A, forces one to slow down and think about each shot. There are only 24 or 36 shots on a standard roll of 35 mm film. Each shot is a deliberate act, thinking about the composition, the lighting, the camera settings, framing the image, getting it all right before squeezing the shutter release, and then a single push of the thumb to move the film advance lever. There is a ritual, both mental and physical, to this kind of photography that is a pleasure. The experience is also, for me, different than digital photography. Fairly or unfairly as a comparison, my own practice with digital photography was less intentional. When a camera is capable of auto-everything: focus, ISO setting, speed and aperture, and has an essentially unlimited storage, I tended to default to a kind of lazy photography that involved taking many photographs on those auto-settings. Those auto-selections remove many of the challenges, but also much of the fun of photography, and this is an art form in which quantity doesn’t compensate for poor quality. Hours spent on “post-production” at a computer to correct problems that should have been avoided at the time the photographs were taken are not particularly enjoyable for me. I rarely used most of the fakery and weird effects that come from image manipulation in Photoshop. They can be interesting in some situations, but can also become clichéd very quickly. I generally prefer to look at photograhs that represent the original scene that caught the photographer’s eye.

Gaining Confidence
At first, I was most apprehensive about the absence of a light meter. I wasn’t worried about focusing a rangefinder because my Mamiya 7 was one, but getting the right exposure setting I wasn’t so sure about. For decades, I’ve never had to think about ambient lighting conditions. My old film and digital cameras had built-in light meters. When set to auto-exposure they generally took care of it, except in situations like strong backlighting. But then I remembered that my earliest cameras didn’t have a light meter, and really had very few other settings, but I was able to take photos that were reasonably well exposed as I recall. Maybe it wasn’t such a big problem.
An internet search on how to select the exposure settings yielded the “Sunny 16” rule, which seemed to offer a simple rule of thumb: set the shutter speed to the reciprocal of the film ISO number (or the closest available speed) and the aperture to f16 for a sunny day. Open it up for increasing cloudiness or less light according to general guidelines (easily found on the web). Not too complicated. The M-A came with a roll of Kodak Tri-X ISO 400 film. The closest reciprocal shutter speed is 1/500, so I selected that. As a backup, I installed the Light Meter app on my iPhone, which is excellent, very easy to use, and is actually much better than many built-in light meters. I also bought the fellow who wrote the app a pint of beer (it’s an in-app purchase!). After a few shots I felt as if I could take off the training wheels (stabilizers for those of you in Britain) and just use my own judgment of what shutter speeds to use. From what I’ve read, film is much more forgiving of under- or over-exposure than are digital sensors, and an exposure stop either way is probably not going to ruin a photograph.
The other skill involved with a rangefinder is manual focusing. I have used cameras with both manual focus and autofocus before. The former is better whether it’s a rangefinder or an SLR. With autofocus you have to be careful that the focusing system and what you’re interested in are at least at the same distance from the lens. A rangefinder involves manual focusing of the lens by getting the images from the optical viewfinder and the rangefinder to align. It’s not difficult. You can also use the engraved scales on the Leica lens to pre-focus to certain distances. The latter is a skill that I have to improve on by learning to better judge distances up to about 25 feet.
I loaded the camera with the supplied roll of Tri-X and went to try it out. At first I was very careful, even writing down the exposure settings so I could check them later in the event that photos were incorrectly exposed. I then shot a roll of Kodak Ektar 100 (shutter speed set to 1/125 s for the Sunny 16 rule), and seemed to get more at ease and confident so that I wasn’t compulsively making technical notes with each shot. I deliberately did not challenge myself with lower lighting situations for the first couple of rolls. I just wanted to get comfortable with the basic operation of the camera in the easier situation of summer daylight. Low light operation will come later.
I took the Ektar roll to a local processing lab. The owner mentioned that the previous business day, he had received 50 rolls of film for processing! Another conversation with a young woman at the store where I was buying film led to her telling me how one of girlfriends loved to fix up old cameras, and how some other friend wanted her wedding photography done with film. These are people who grew up with digital, and they are looking at film as an interesting and desirable alternative. Maybe I’m not the only crazy one!


The Tri-X roll I sent to an Ilford lab in California that processes and prints black-and-white film as a specialty. I’m not sure what the best options are among labs. I’d certainly like to support the local lab because there aren’t many of them. I’m also interested in relearning how to develop and print B&W prints myself. If I could do it when I was 13, I think I could do it again! Both the local lab and the Ilford lab return the negatives, the prints, and the scanned images on CDs
I waited with anticipation for the photos to come back. If there is any downside to film, it’s that you don’t see your results immediately, which is also a part of the slower pace of film photography. I really had no idea how things would turn out. It was a brand new camera, I might have been making some basic mistake with each shot (I realized I had left the lens cap on for one shot), I might have set the exposures all wrong, the focus might have been bad; all kinds of things might have gone wrong. All of those doubts went through my mind as I waited for the photos to come back. I had to travel out of town, delaying further the time before I could see what exactly I had. But at last I held in my hands two packets of photographs and two sets of negatives. In my opinion, having real prints and negatives is an enormous advantage for film photography for archival purposes. Today’s jpg or RAW files may well be like a set of old computer punch cards in the future: unreadable by most people. If Vivian Maiers had stored her images digitally on 1960s or ‘70s magnetic tapes, her life’s photographic work would almost certainly have been lost.
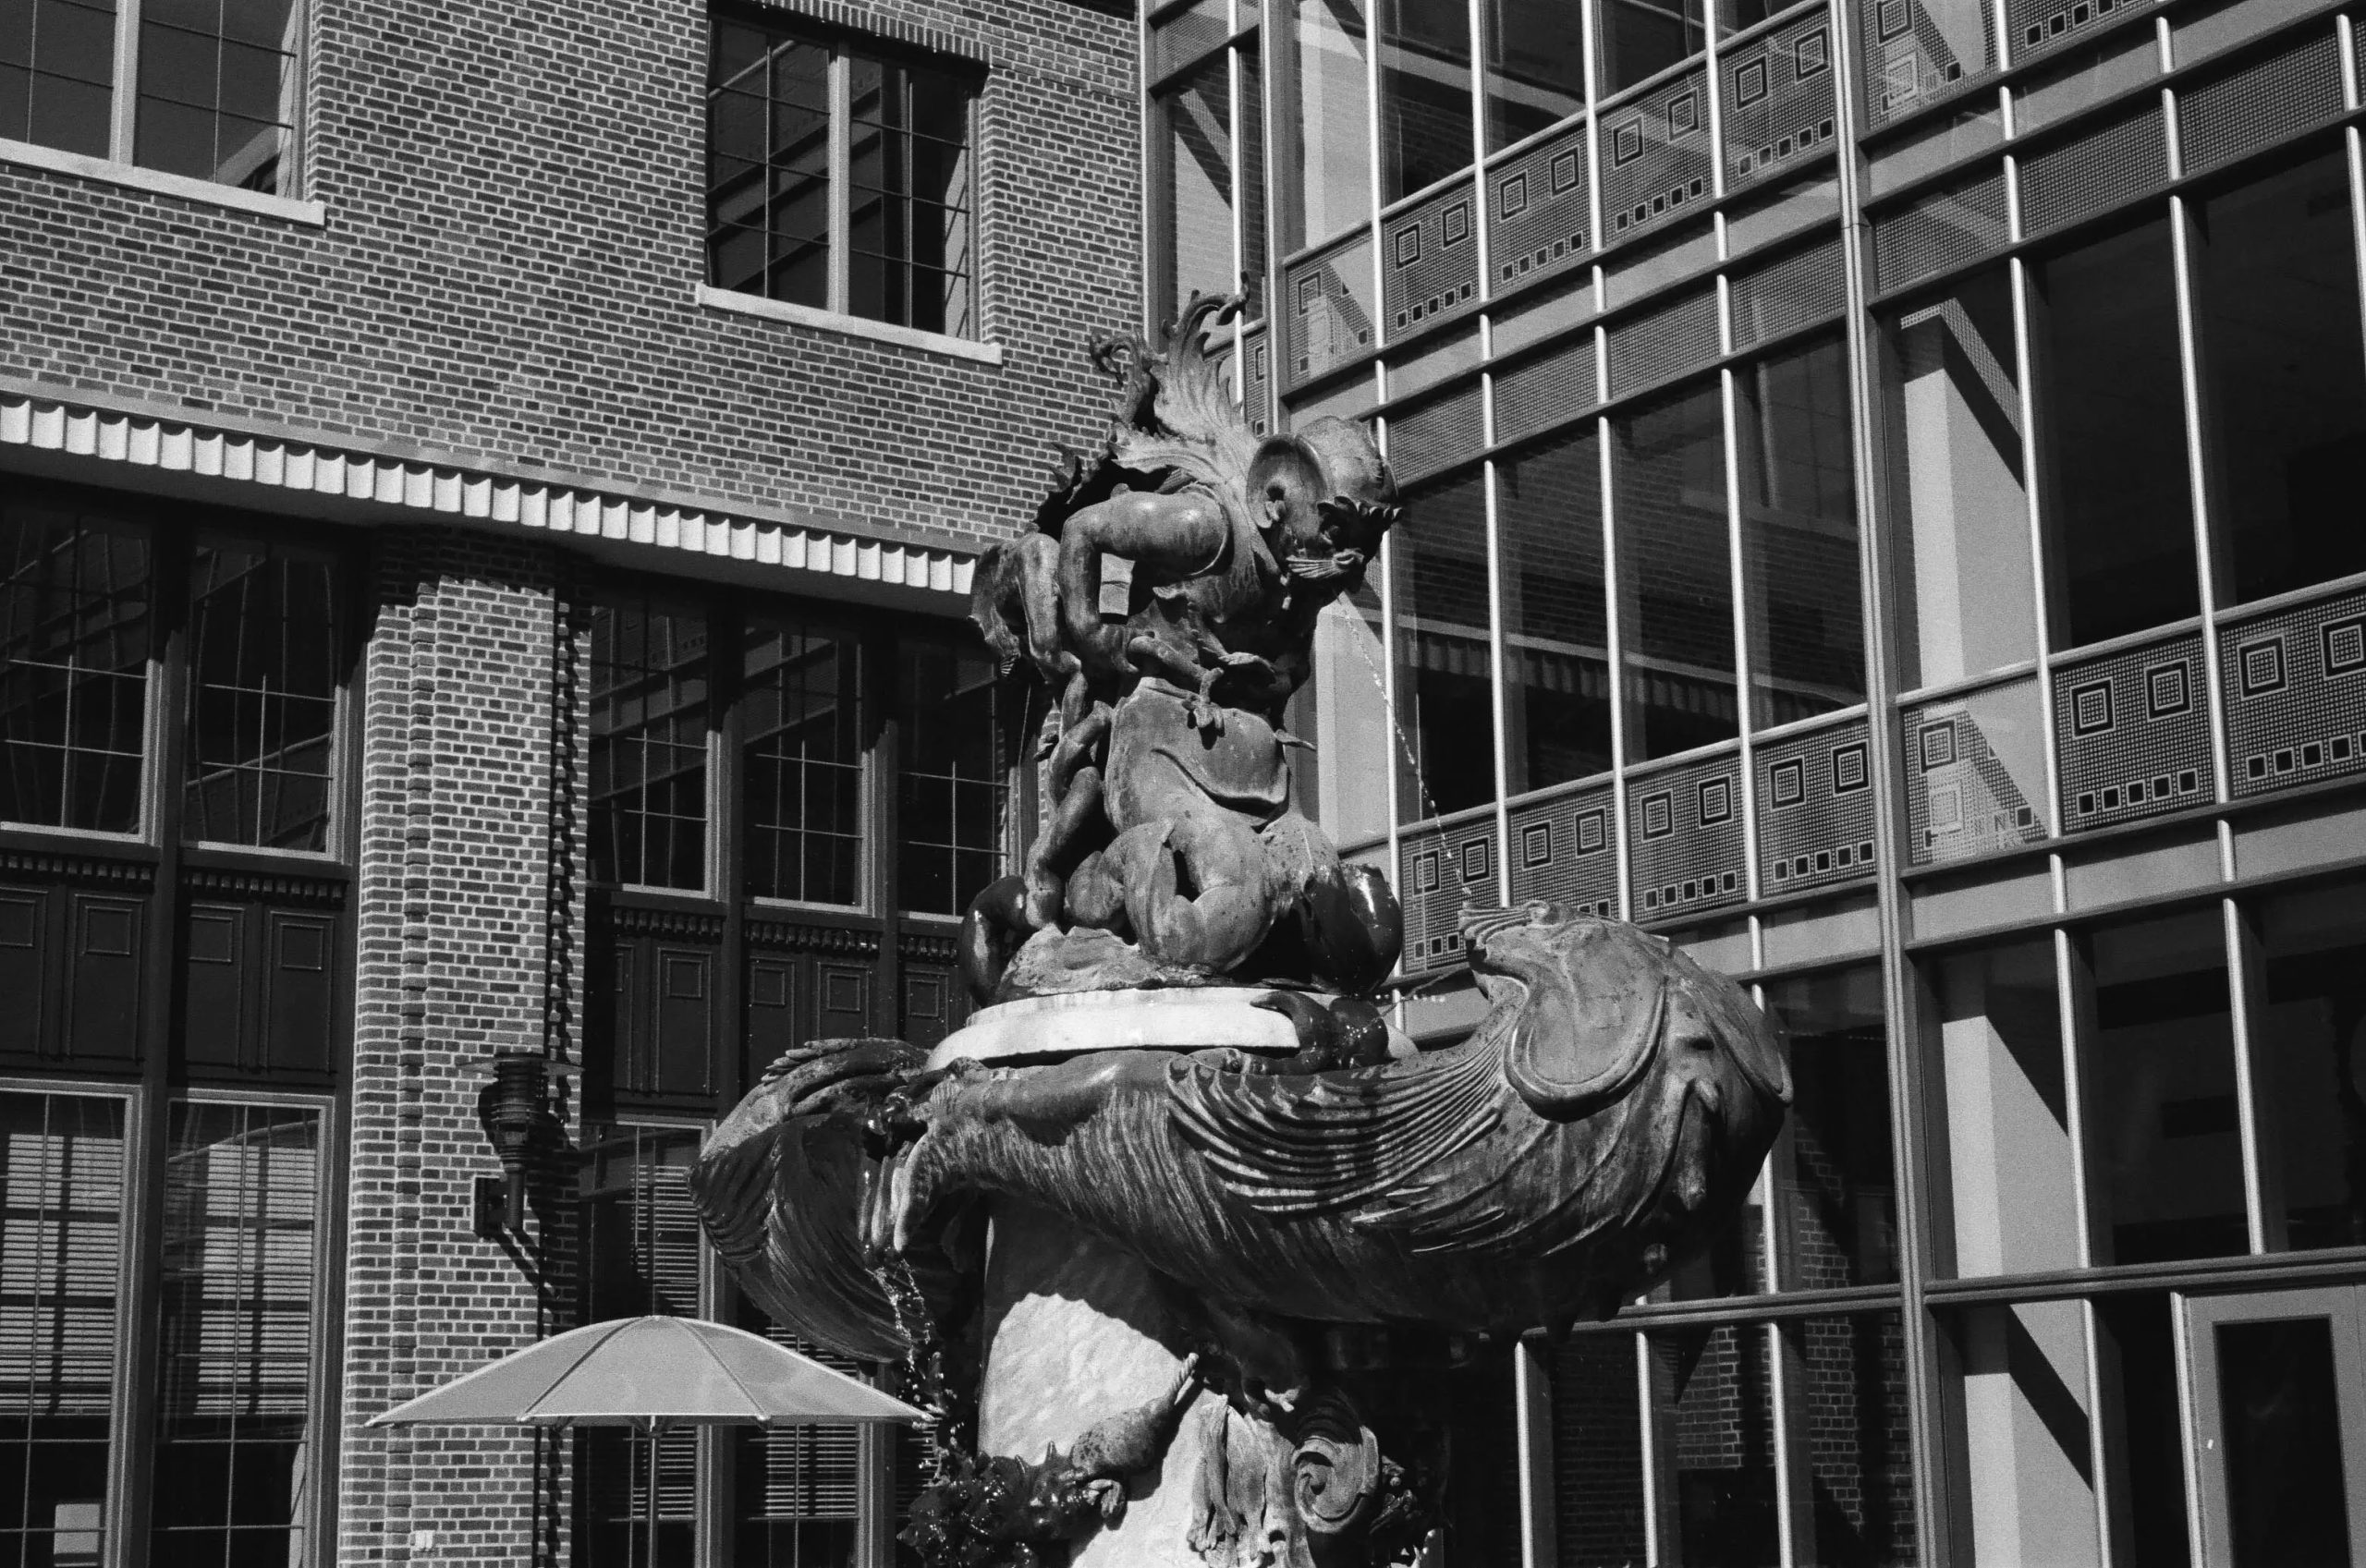
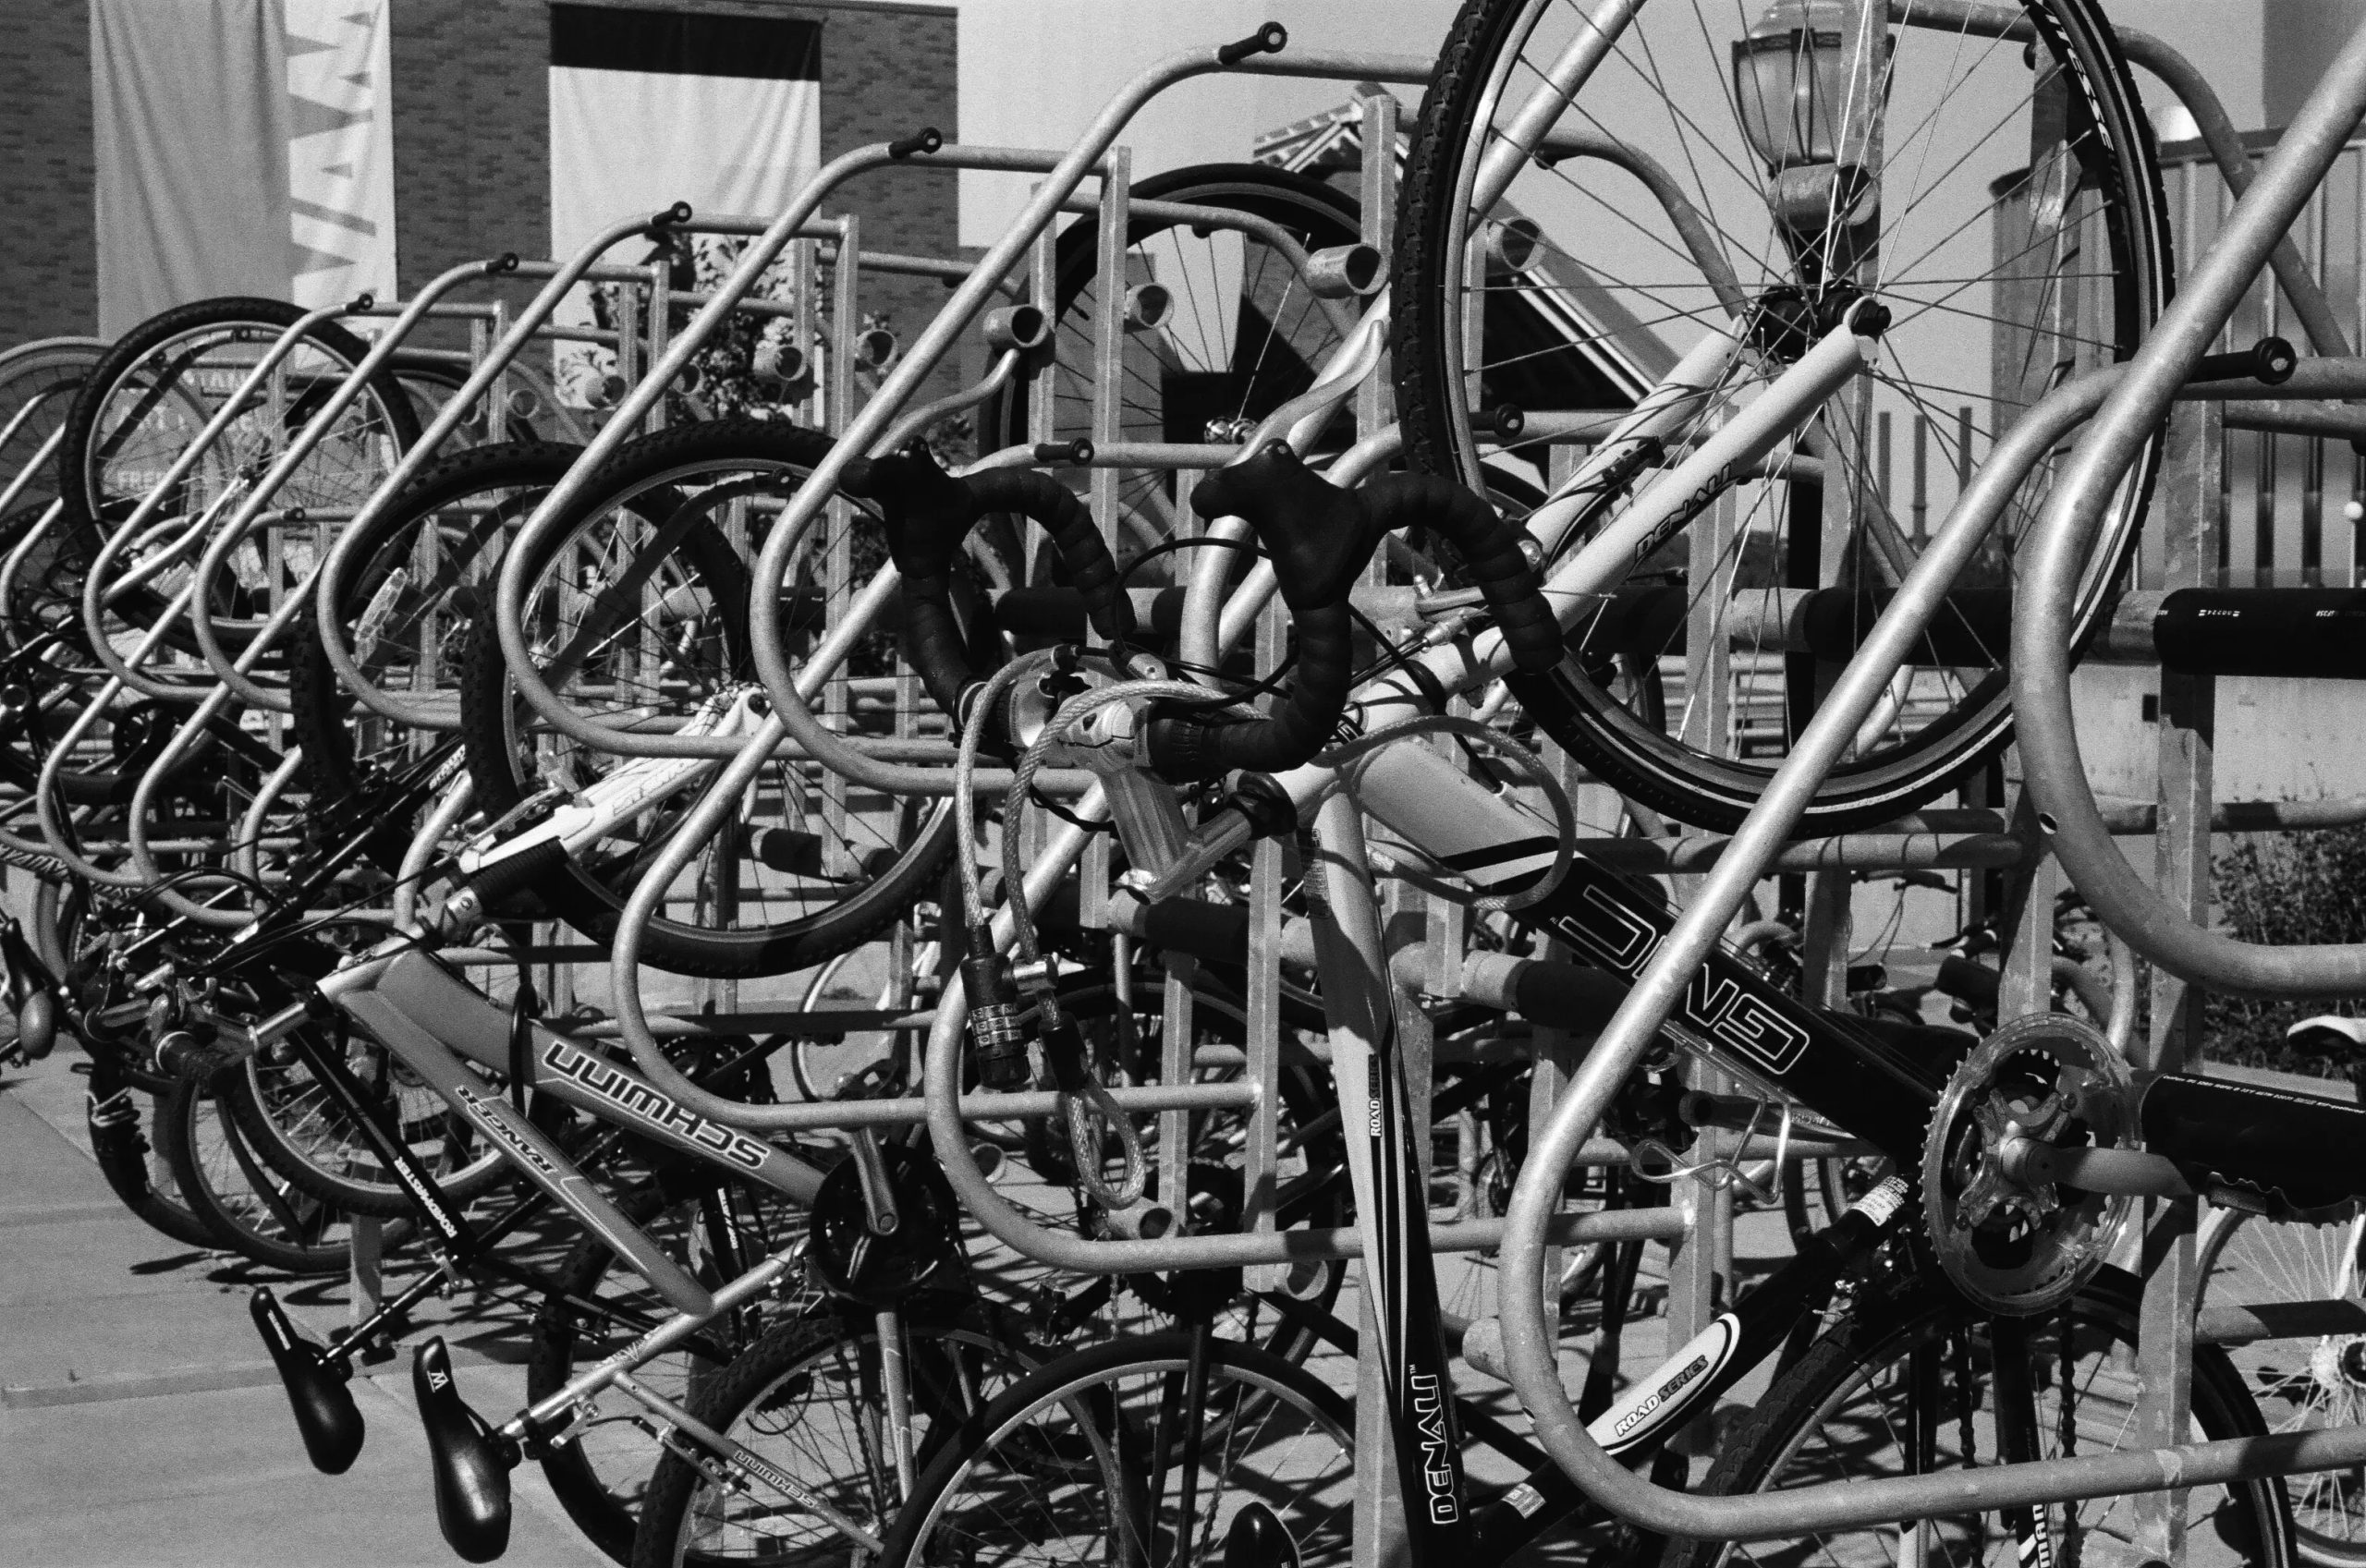
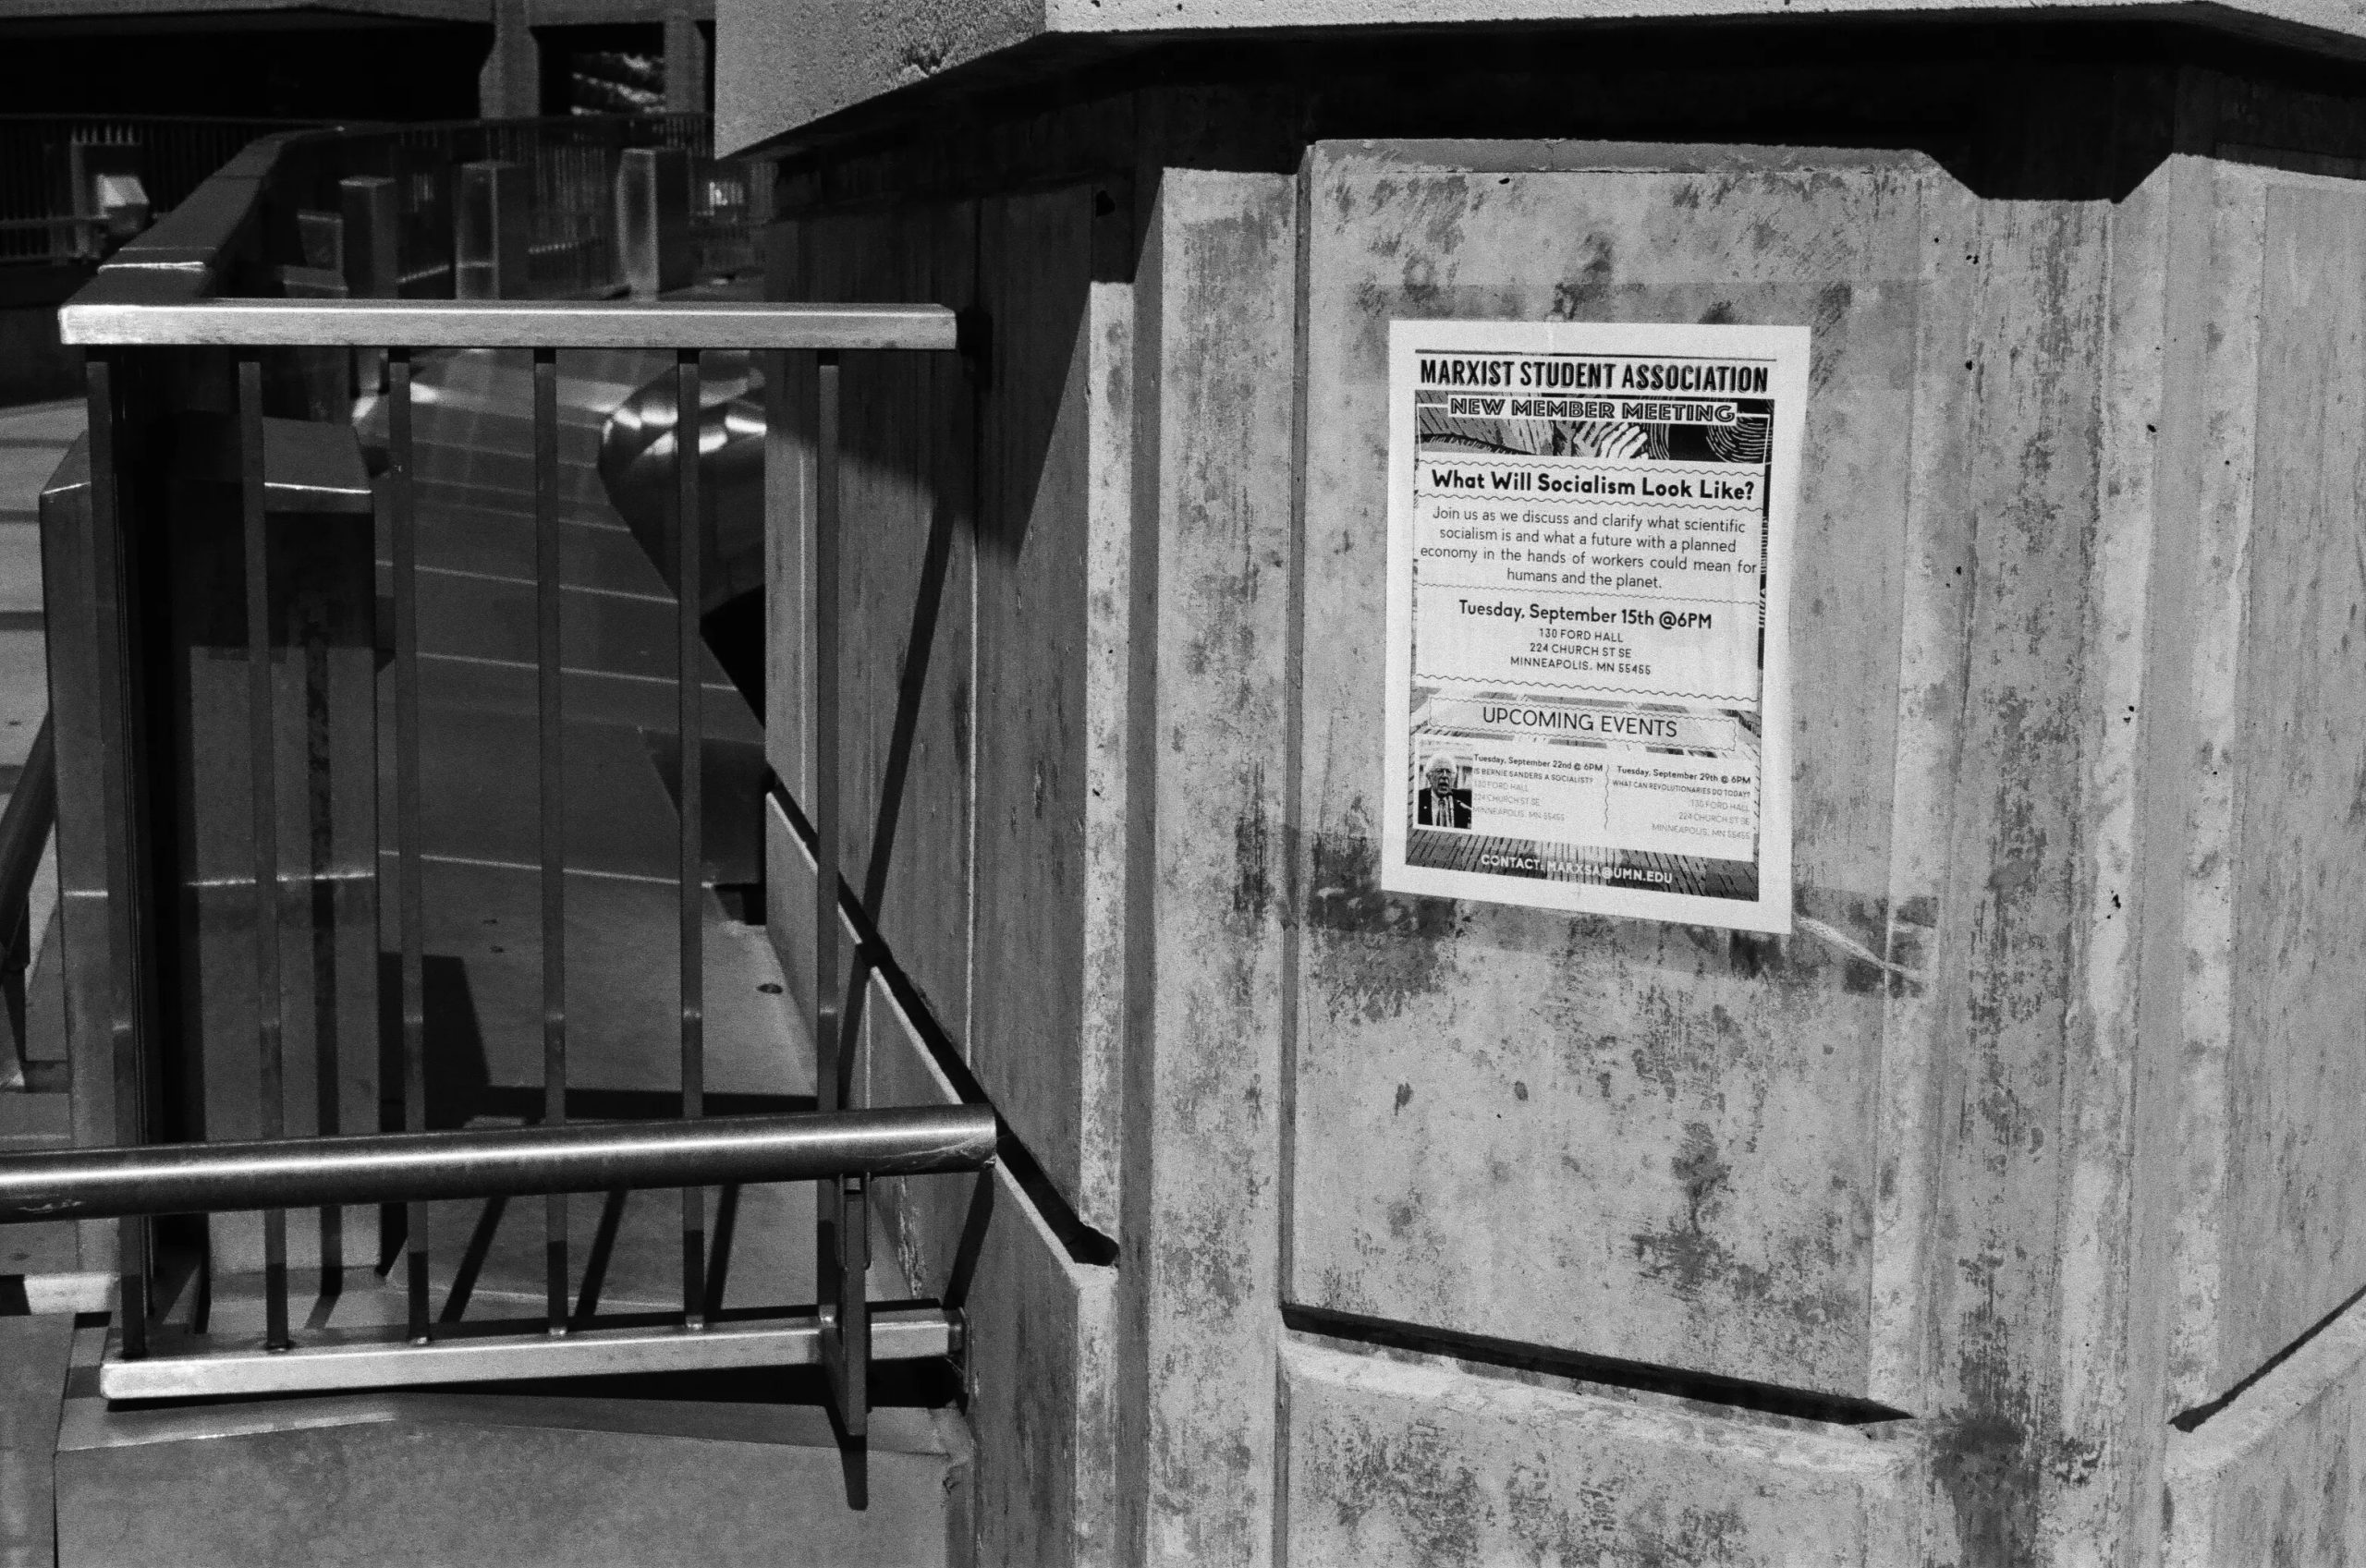
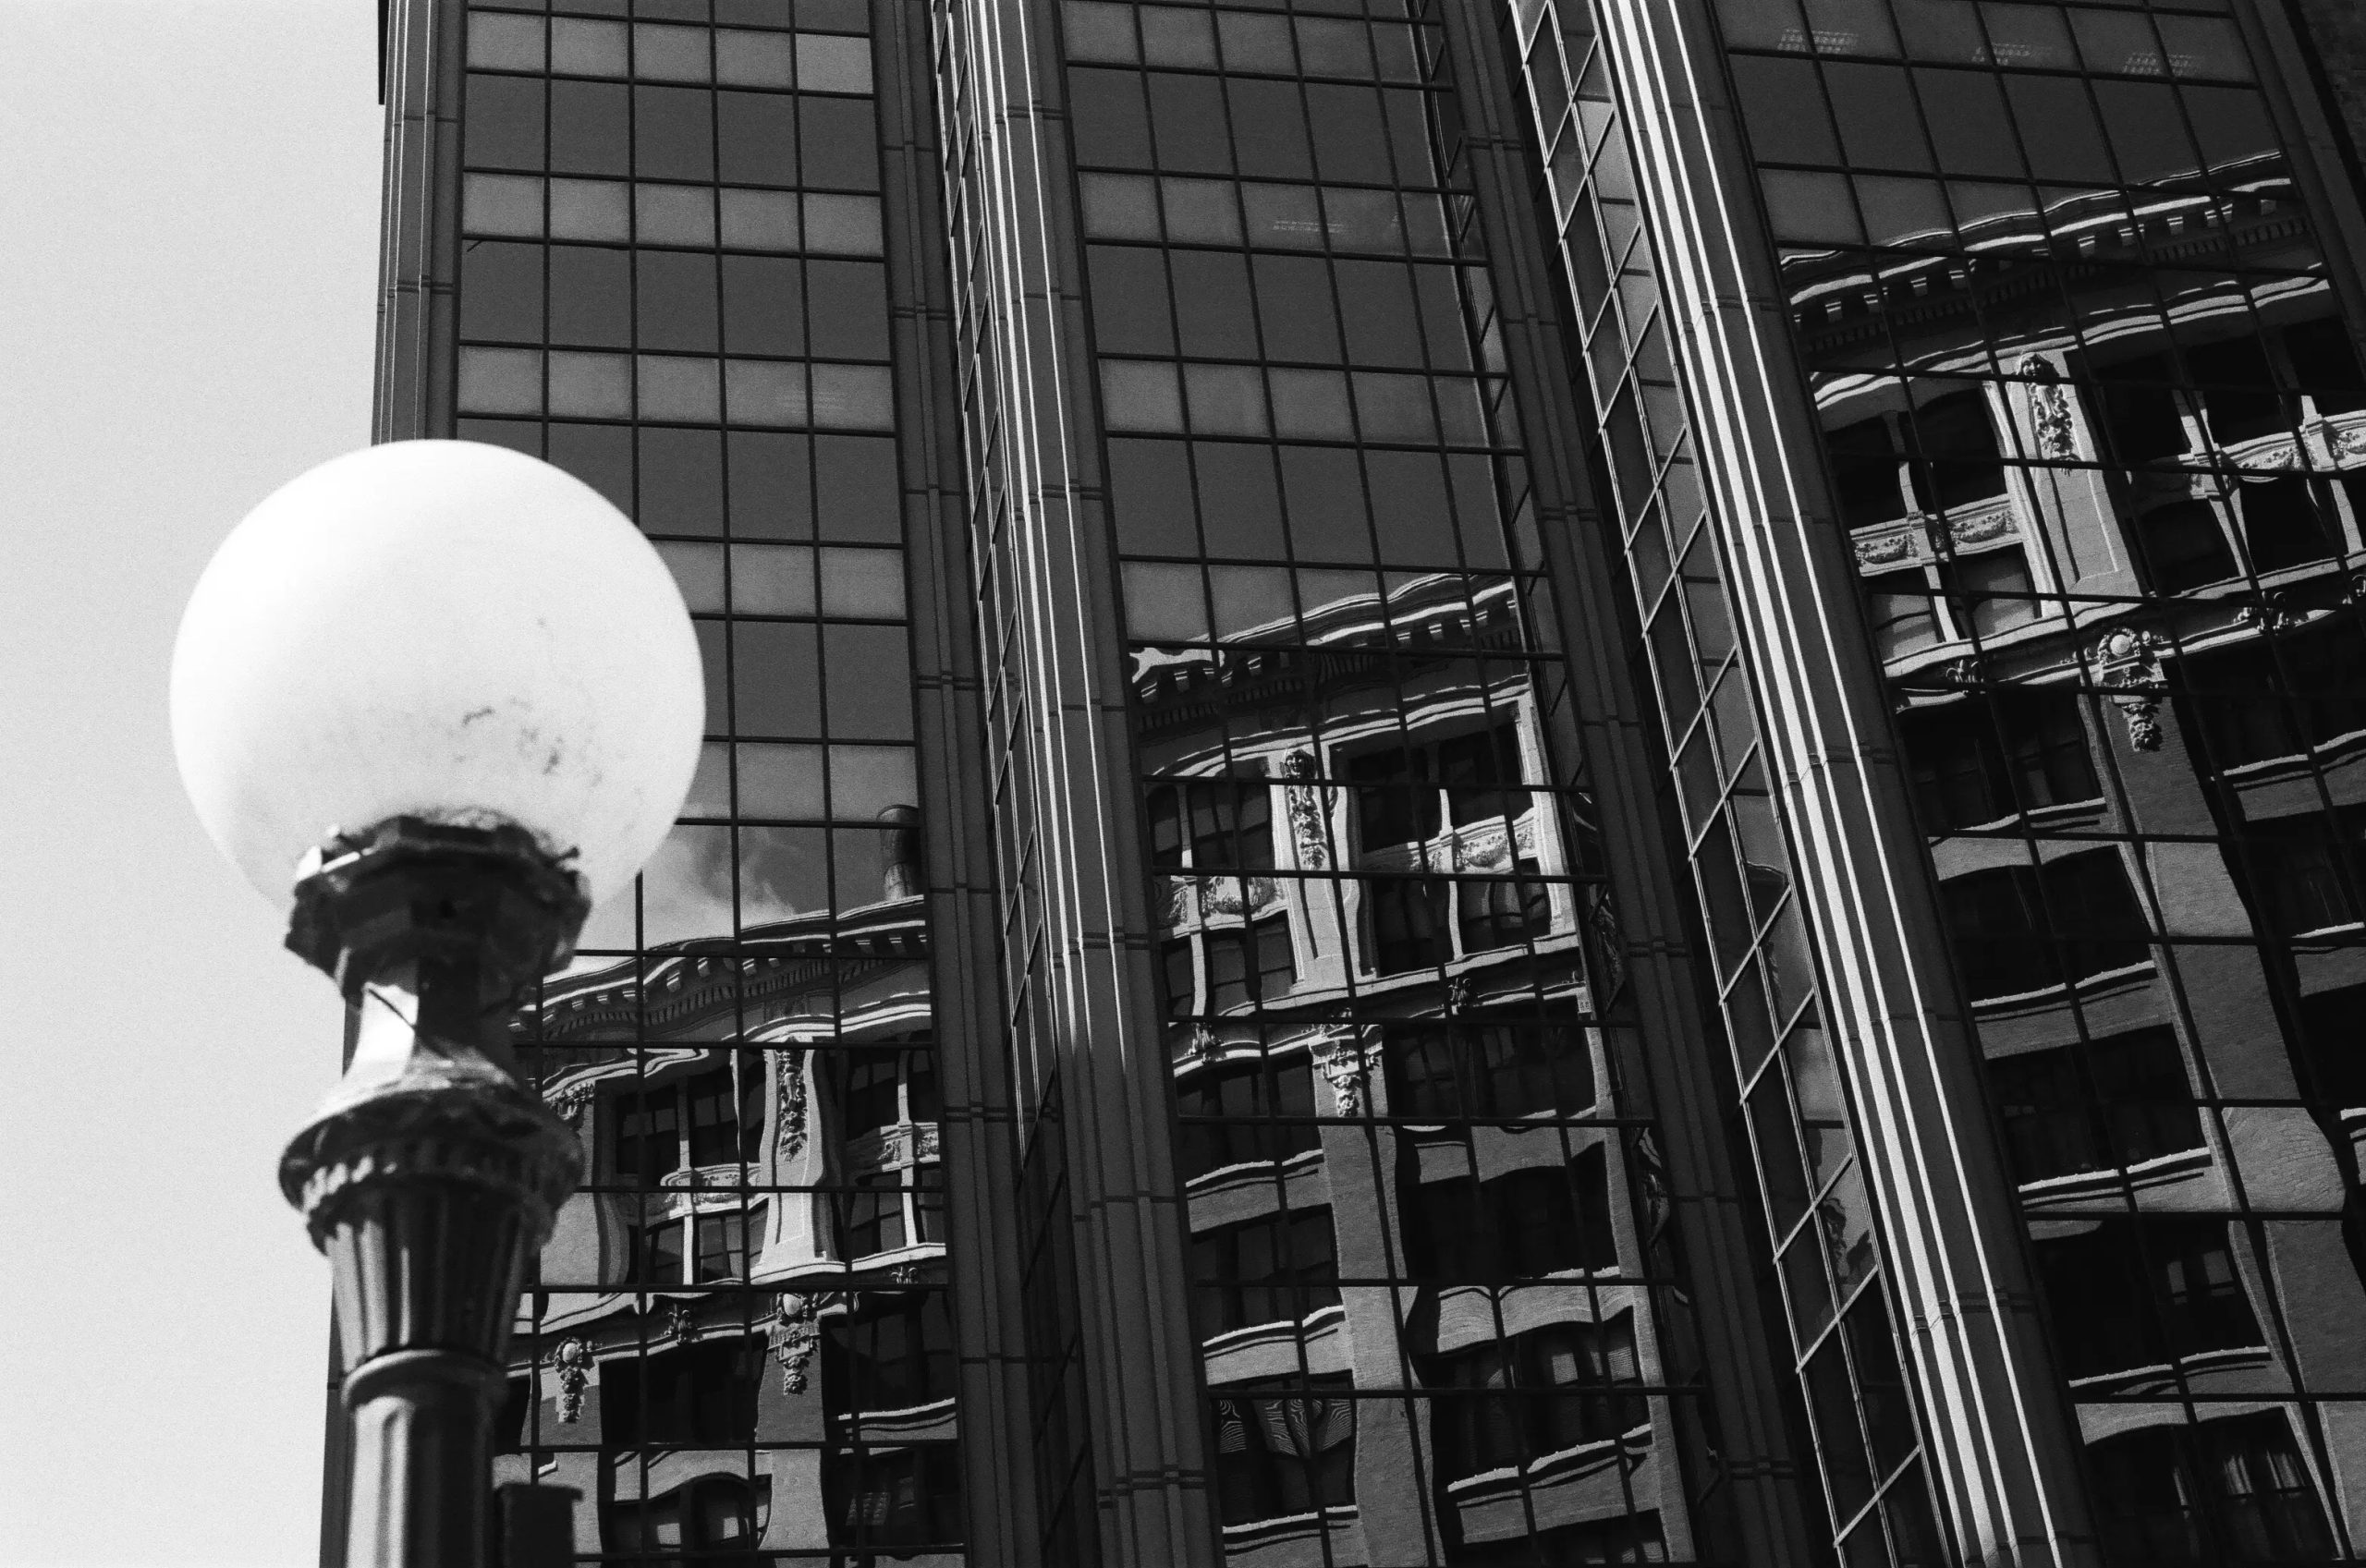
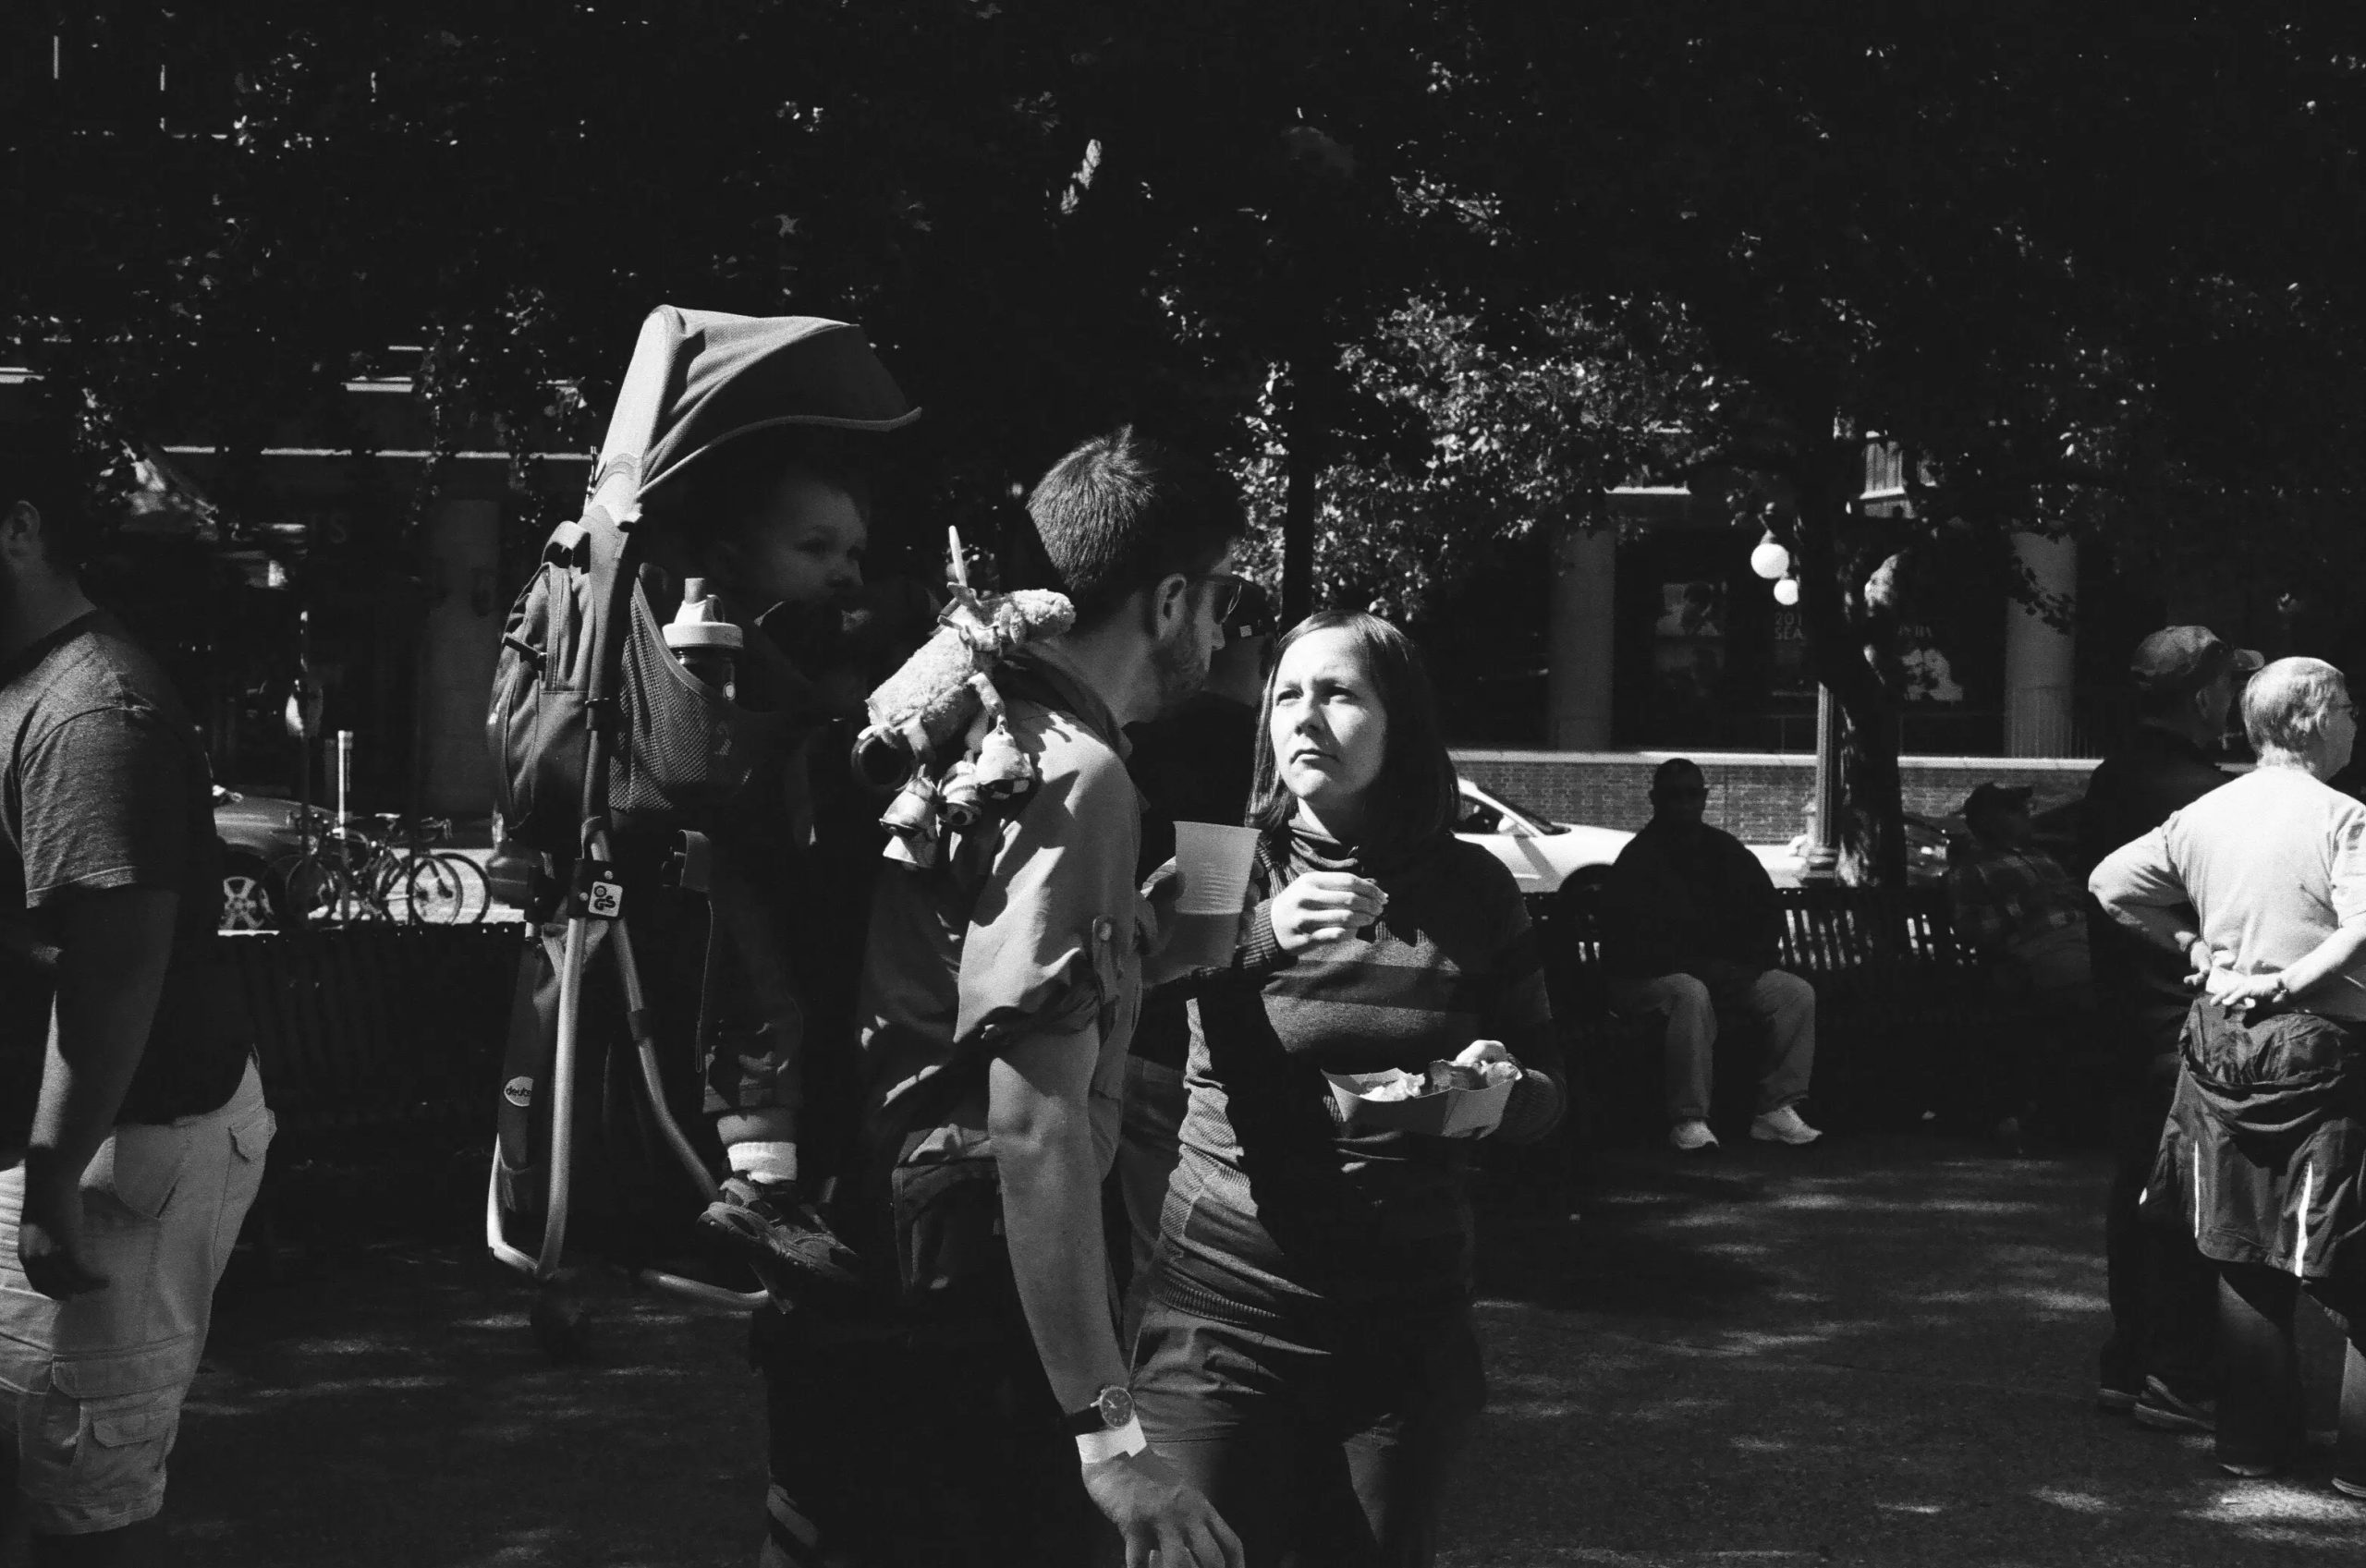
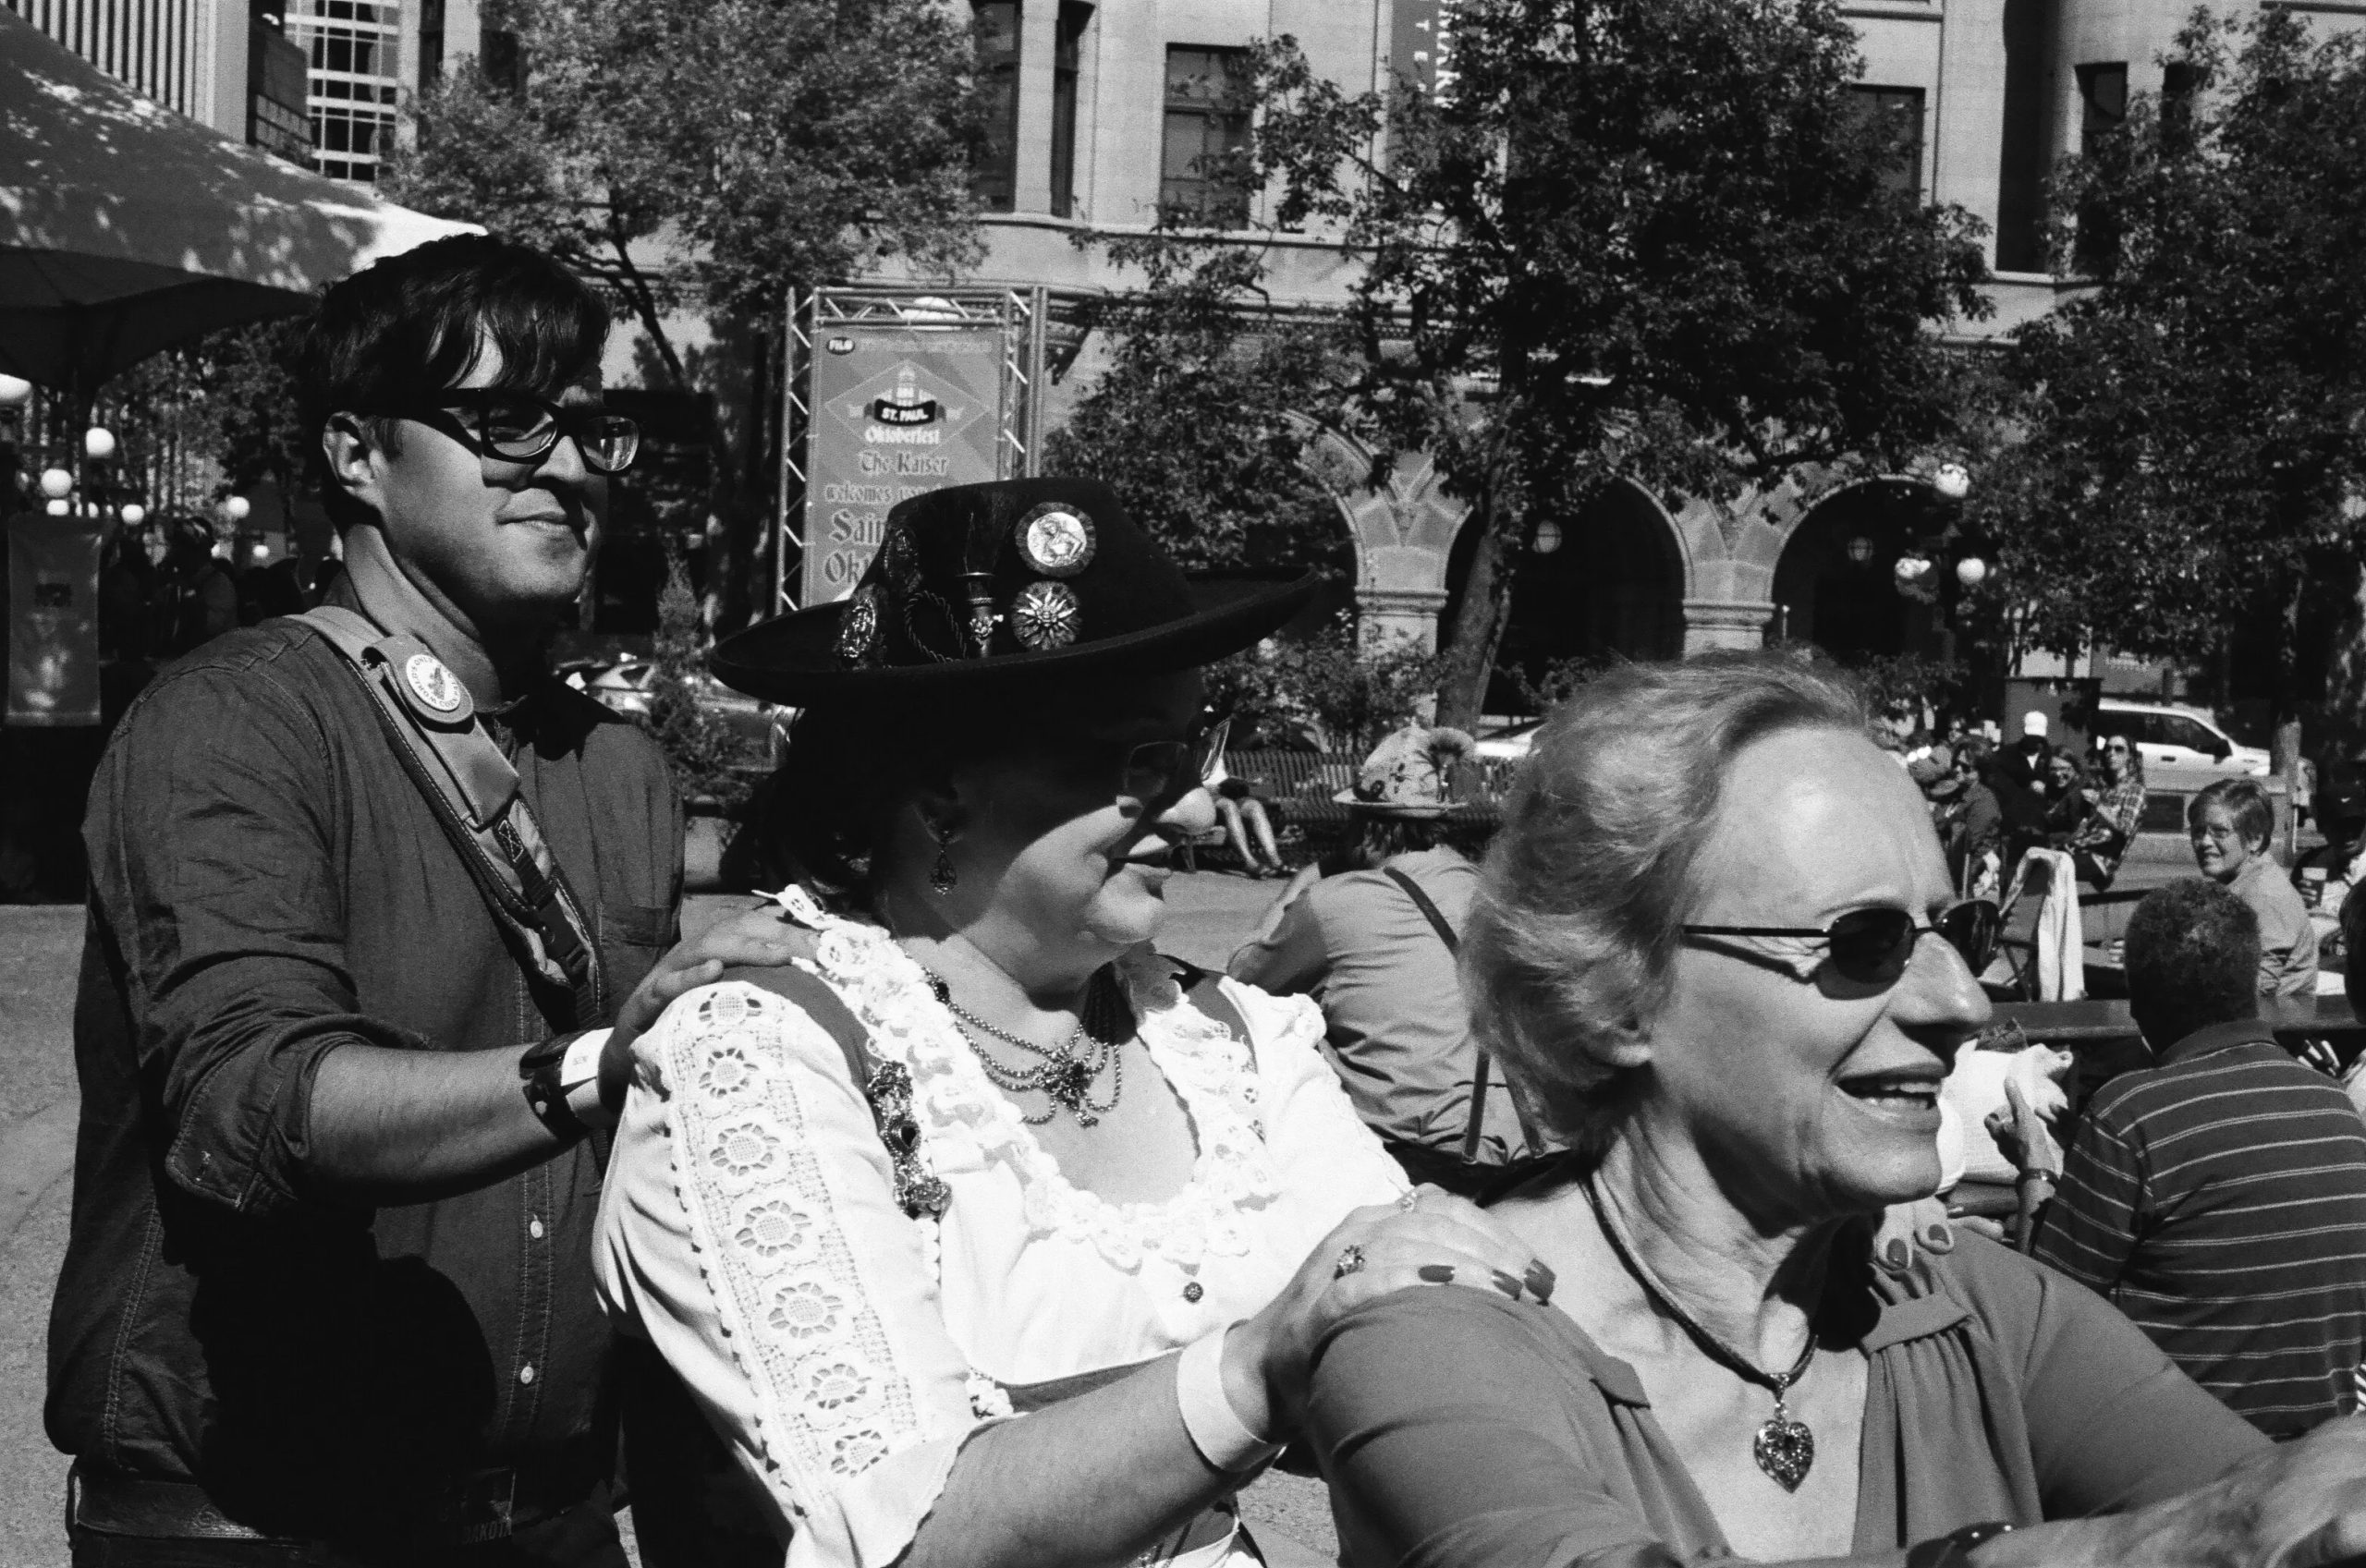
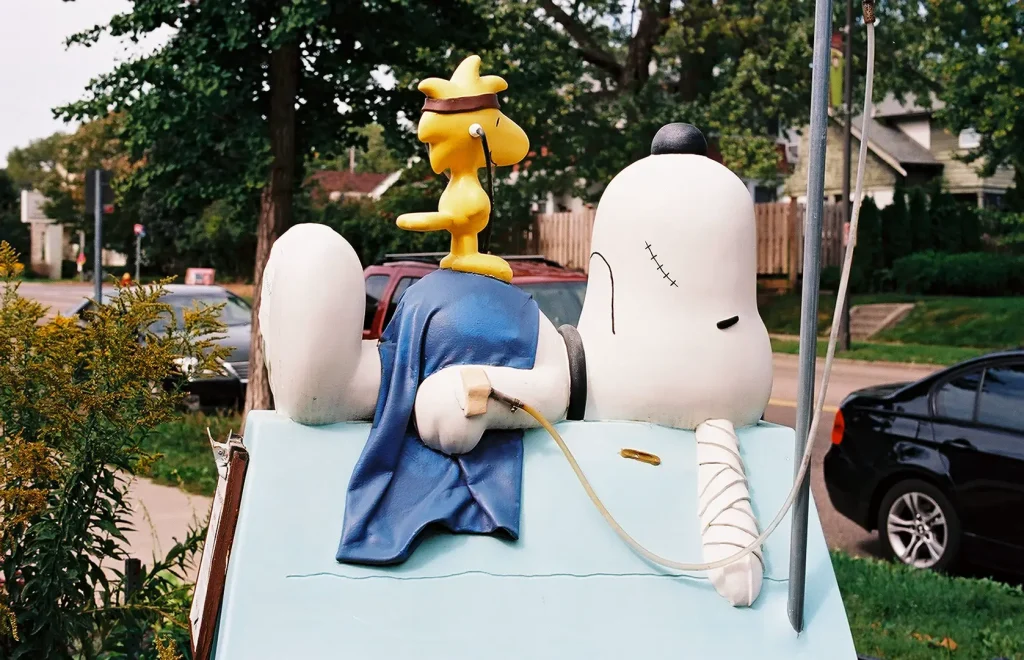
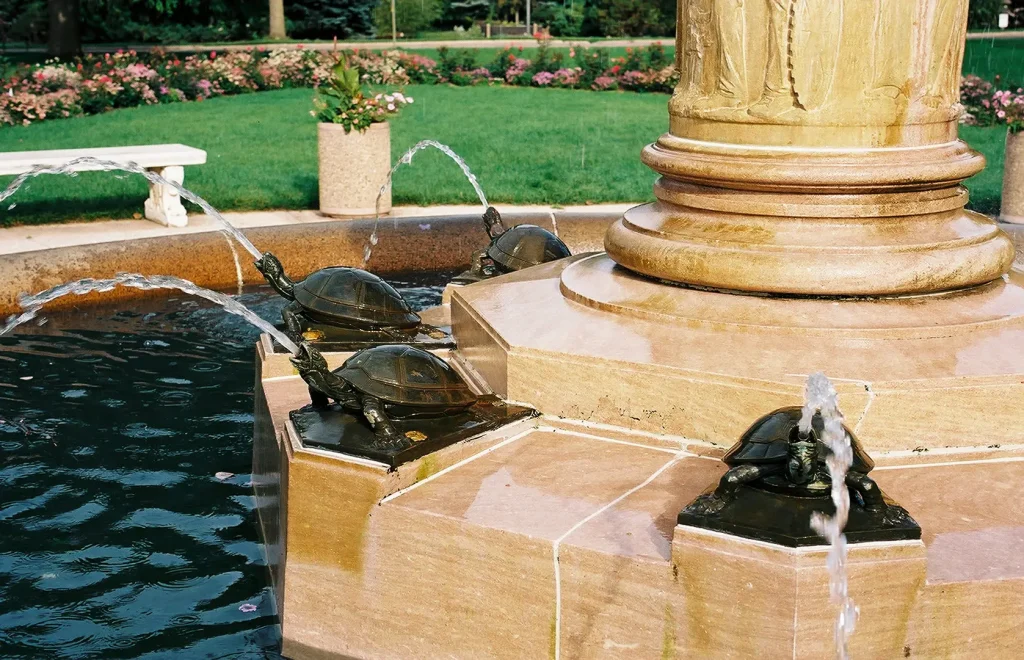
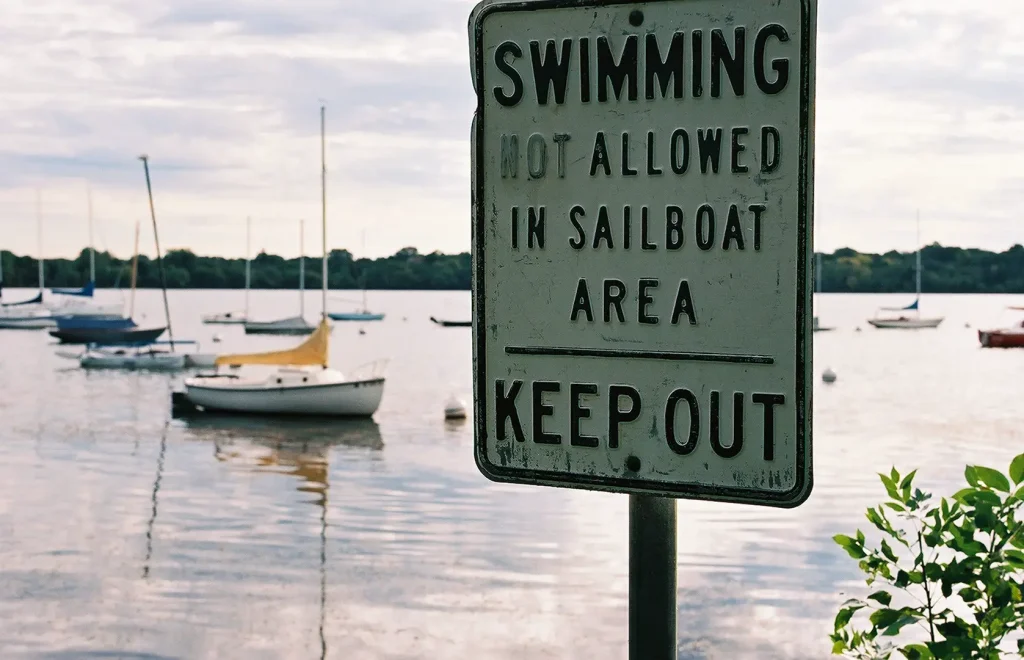
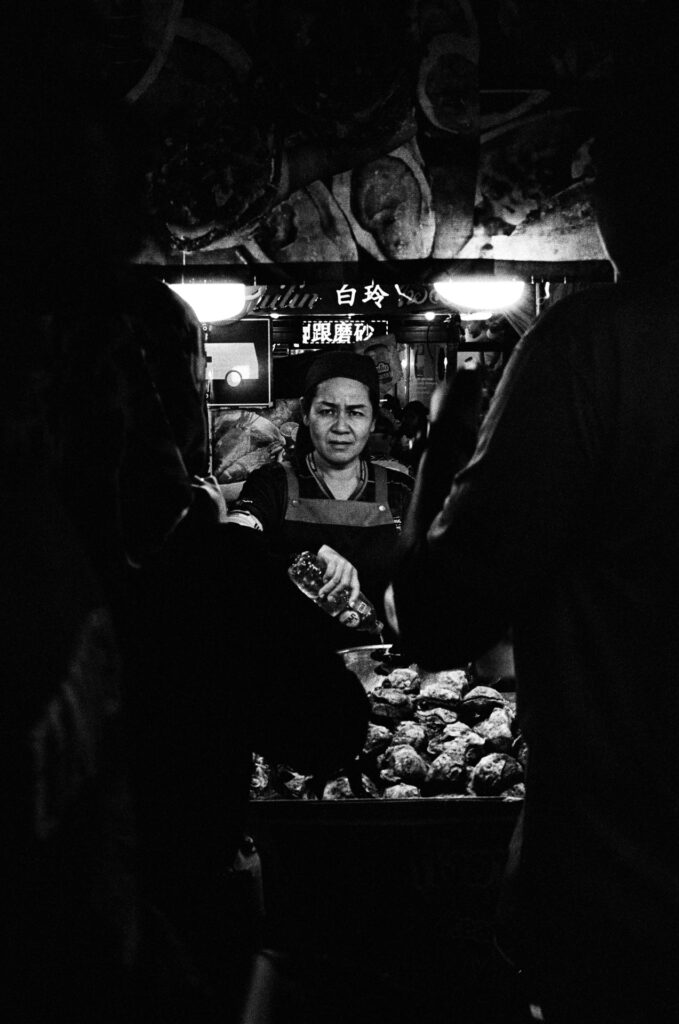
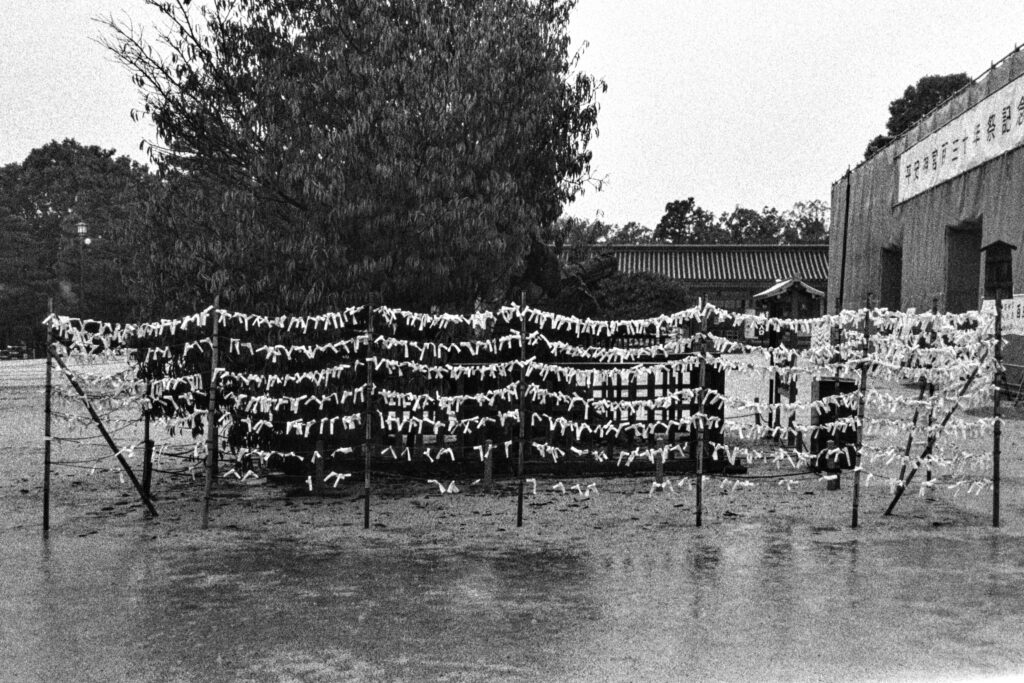
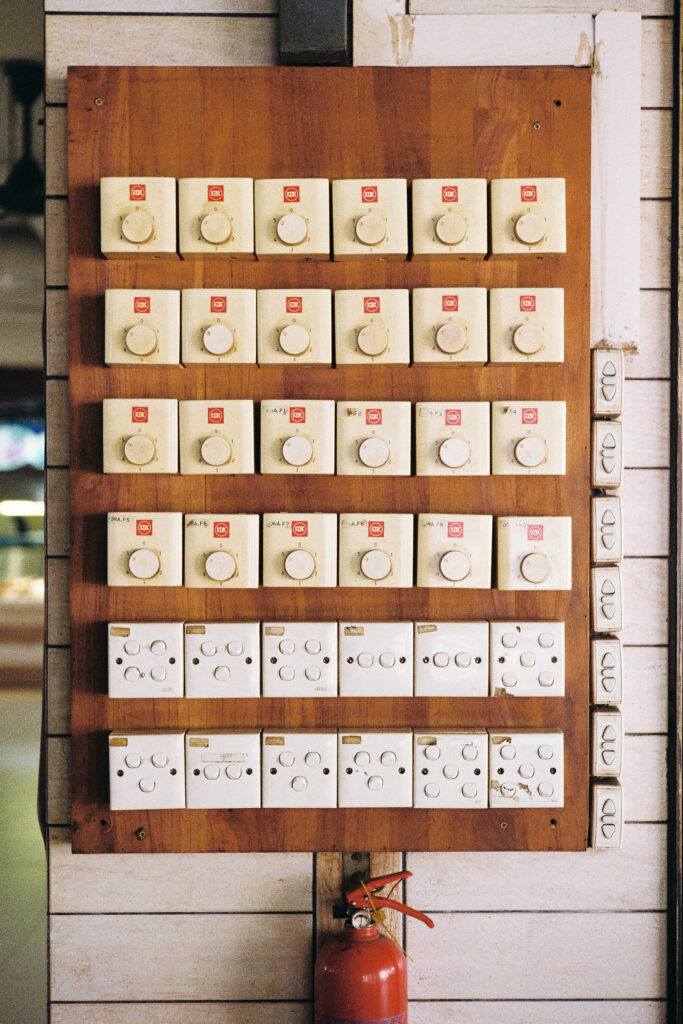
So how did I do? Most of the exposures on both rolls were fine. The focus was off on just one of the 72 images. As mentioned, one was taken with the lens cap on (with a rangefinder one doesn’t see through the main lens), but somehow the roll had 37 exposures, so there were 36 good images and one blank. I am attaching a few sample images from both rolls. These are just as the lab returned them without any further editing on my part.

Overall Impressions
The Leica M-A is a lovely camera in the long tradition of Leica M film cameras. My biggest concern about the absence of a built-in light meter was unfounded; I did not miss it and in any event, there are alternatives including the iPhone light meter app. My experience of shooting with the M-A is very different from shooting with a digital camera: I find that each shot is more of an intentional engagement with the subject, and I find that very satisfying. This camera has renewed my interest in photography as a creative process.
Thanks for reading and I hope you enjoy the photos from the Leica M-A!
Share this post:



Comments
Hamish Gill on Leica M-A – From digital, back to film – by Anthony Killeen
Comment posted: 06/10/2015
It's fascinating to hear from someone who's path has changed so profoundly and successfully.
Some great results too, especially the last shot!
Thanks again for posting this, I really appreciate the effort!
Hamish
Tony on Leica M-A – From digital, back to film – by Anthony Killeen
Comment posted: 06/10/2015
Returning to film feels like coming back home to family and old friends.
Tony
Rob on Leica M-A – From digital, back to film – by Anthony Killeen
Comment posted: 06/10/2015
Comment posted: 06/10/2015
Comment posted: 06/10/2015
Comment posted: 06/10/2015
Comment posted: 06/10/2015
jeremy north on Leica M-A – From digital, back to film – by Anthony Killeen
Comment posted: 06/10/2015
Good work!
Comment posted: 06/10/2015
Matt on Leica M-A – From digital, back to film – by Anthony Killeen
Comment posted: 06/10/2015
From the looks of it, you're in the Twin Cities. Recently inherited an M3 myself - and was wondering what local lab you were referring to for processing?
Thanks!
Comment posted: 06/10/2015
Comment posted: 06/10/2015
Petr on Leica M-A – From digital, back to film – by Anthony Killeen
Comment posted: 08/10/2015
thank you for a great article.
Comment posted: 08/10/2015
Rodney on Leica M-A – From digital, back to film – by Anthony Killeen
Comment posted: 24/10/2015
Comment posted: 24/10/2015
Zvonimir on Leica M-A – From digital, back to film – by Anthony Killeen
Comment posted: 02/04/2017
I hope that the next step will be the rediscovery of the darkroom. My first darkroom work was in 1956. In 2017, I'm still learning and enjoying it.
My Leica M3 was built in 1955 or so. It has been CLA'ed once. I don't see why it should not last a few hundred years more, by which time all current digital offerings will be landfill.
francois karm on Leica M-A – From digital, back to film – by Anthony Killeen
Comment posted: 12/01/2019
the way it play with the light, and with the tri-x , this possibility to go from ultra dark to white on the same object.
the m-a is an incidence light camera, not a reflective one like the mp.
incidence light work very well with black and white...you mesure or you evaluate once and then you keep it.
some of the old camera had speed and aperture synchronized like the roleiflex and hasselblad...
it was so simple with one mesure to do the day.
Christopher on Leica M-A – From digital, back to film – by Anthony Killeen
Comment posted: 24/08/2023