Pyrogallol (pyro): white crystals which oxidise quickly turning brown. Cautions for using the raw powder are extensive – I used to handle raw chemicals but now, for some reason, I value my health. I recommend that you don’t use powdered versions of pyro developers. If you do wear a mask and gloves and work in a well ventilated area as a minimum precaution.
Pyro based developers were common, “universally used” according to Anchell[1] , up to about a century ago. It produces a stain on the negative adding to the contrast of the silver image (more about this below).
Again from Anchell “There is nothing that can compare to a full tonal scale black and white negative developed in pyro. [They] exhibit exceptionally sharp edges and delicate highlight detail. [….] it simply means that a properly developed pyro negative is as good as it gets.”
[Addendum added just prior to publication] I recently visited a photography exhibition and there was a large format primt about 1.5m wide of mountains and clouds – clouds varying from dark rainclouds through the greys to near white fluffy clouds. My immediate reaction was “Wow! I’ve not seen any other print of clouds anywhere near as good as this.” I asked the artist [Paul Fumiere] what developer he used. As expected he replied “PMK Pyro”.
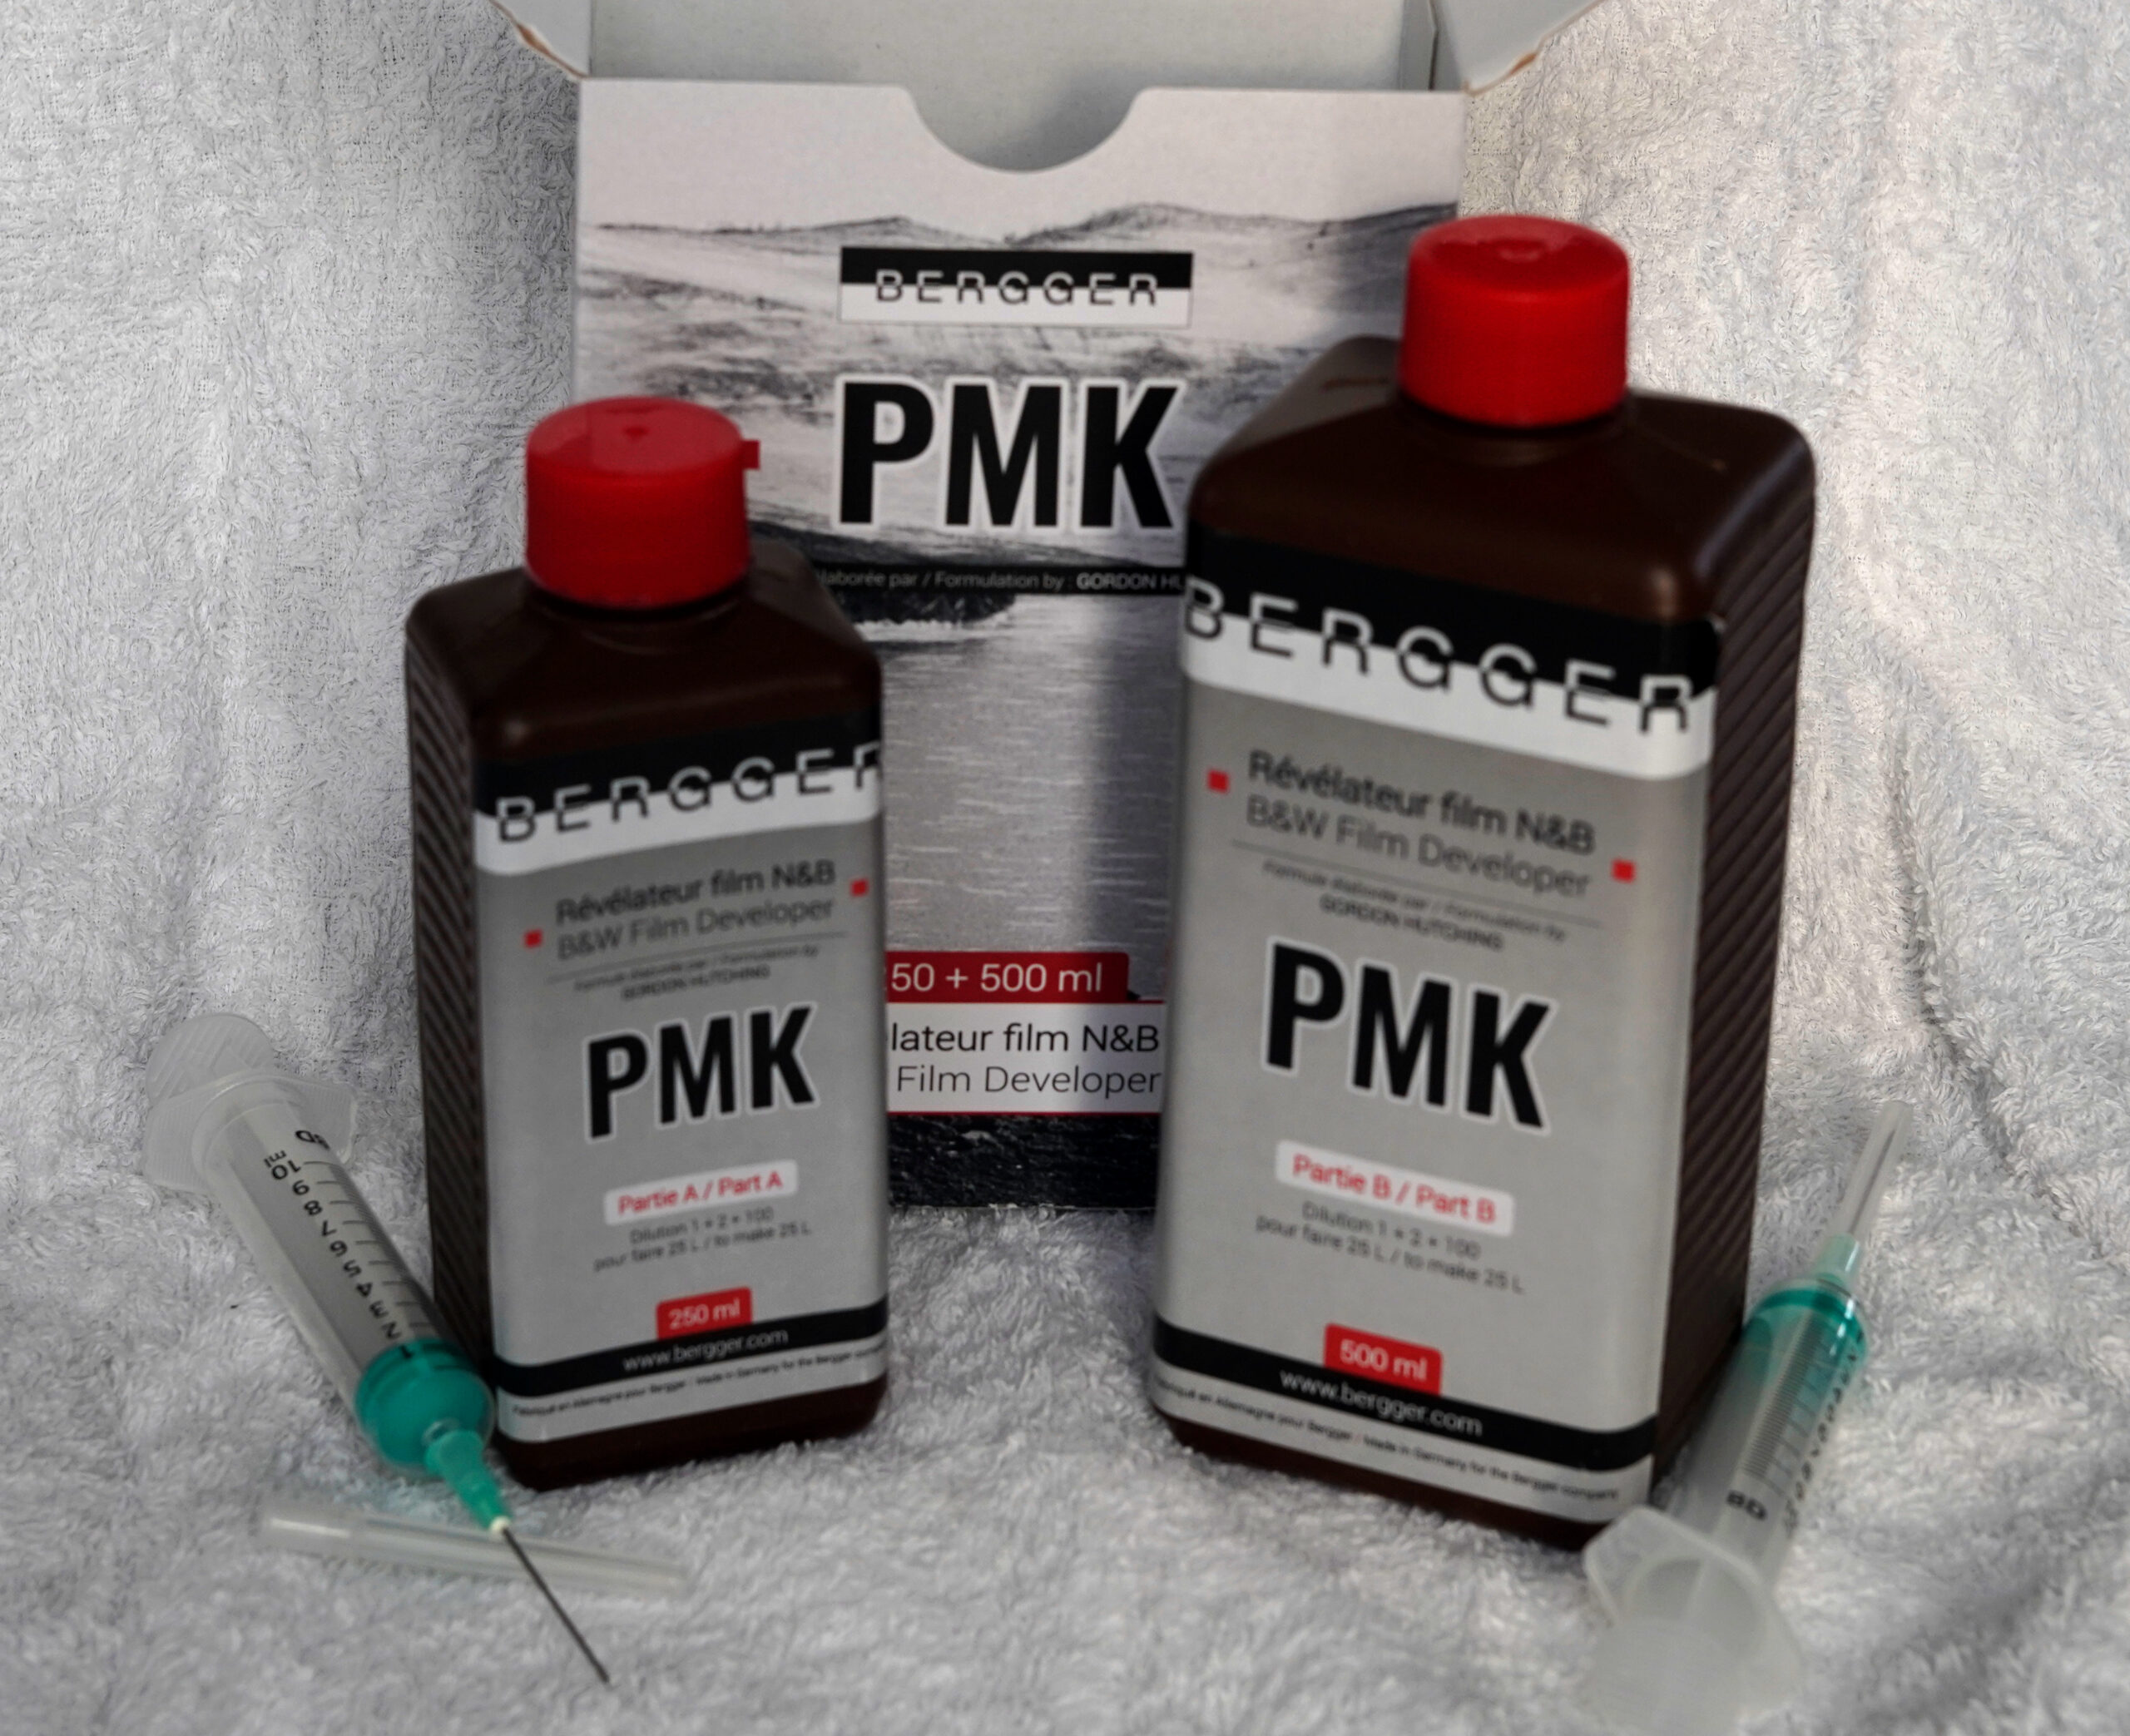
The Photographers Formulary has offered a two liquid version of PMK pyro for some years (and judging by the packaging is a made-up version of the chemical sets they used to sell), but this was not easily available where I live. You can imagine I was more than pleased when I discovered a pyro developer was available as two ready mixed liquids from Bergger.
PMK Pyro
There are many pyro based developers, Anchell lists five plus variations. Work done by Gordon Hutchings and John Wimberly led to the development of a new version, PMK (pyro-metol-Kodalk), which was created to be suitable for modern emulsions and to give maximum image stain but minimal general stain, plus half a dozen other factors in addition to long shelf life for the two liquid components.
For more information Hutchings book[2] is highly recommended.
Image Stain
So what is the point of image stain? The stain is seen by an enlarger or scanner as part of the image. Stain helps mask grain and contributes to the exceptional characteristics of the negative. In particular stain is minimal on clear areas of the negative but in the highlights inhibits development (automatic compensating effect) to some extent and reduces contrast so that highlights on the print are not blown out and show subtle differences in brightness which are easily lost with other developers. Stain is particularly beneficial when printing with variable contrast (VC) papers – see below.
Film Exposure and Development
The Photographers Formulary version appears to follow Hutchings recommendations both for film exposure, development, fixing, after fix bath, and washing. The Bergger version differs as detailed below.
Both Hutchings (H) and Bergger (B) recommend exposing film at a lower asa though the recommendations differ slightly, for example FP4 80-100H, 80B; delta 100 80H, 64B; delta 400 260-320H, 320B.
Pre-wash film for 3-5 minutes. This removes the anti-halation layer and the water may appear near black when you pour it away.
After squirting 10ml of solution A into a litre of water add 20ml of solution B; a colour change occurs, initially yellow, then grey, then a deep orange. The mixed solution needs to be used within one hour, and after use keep the developer if you want to re-soak the fixed film. The developer should then be discarded. If you get any concentrated solution on your hands (best to wear nitrile gloves) wash off immediately with soap and water, diluted developer can simply be washed off with water if it is only a tiny amount.
During development agitate the tank or tray once every 15 seconds. If you use a tank and tap the tank on the floor after each agitation this provides a perfect opportunity to perform 40-200 squats! The high agitation frequency prevents uneven development.
Stop: (H) Weak acid stop bath or plain water. (B) Non-acid stop bath. I used water.
Fix: (H) Use a non-hardening fixer. (B) Acid-free fixer. I think these statements are equivalent – the hardening component seems to be acetic acid. I used Ilford rapid fixer which has under 2% acetic acid – acidic but not much. I’ll use a non-acid fixer next time.
At this point there is a significant difference in the recommendations:
(H) Return fixed negatives to the used developer for two minutes and agitate every 30 seconds. Wash in running water or six water baths for 20-30 minutes.
(B) Wash in running water or six water baths for 20-30 minutes.
While I didn’t do any scientific tests the stain appeared to be stronger when I followed Hutchings’ approach albeit with only one out of all the films I developed. I asked Bergger why they did not recommend a re-soak in the developer but did not get a reply.
Scanning and Printing
I tried scanning and processing both as a colour and as a B&W negative and could see no difference in the results – my scanner (Epson GT X-900) seems to see the stain as density.
The yellow-green stain acts as a contrast reducing colour with VC papers – greatly assisting the printing of highlights (where stain is strong) while having minimal impact on the darks.
The characteristics of the developer are most beneficial for images where there is highlight detail, especially if you are wet process printing using VC papers. Jeffery Luhn has recently done some testing of Photographer’s Formulary PMK Pyro against HC-110 dilution B and concludes “Clearly the pyro did a much better job holding the highlights in check. I needed a 2 1/2 contrast filter to print the pyro negs and a 1 1/2 to print the HC-110 negs. The expanded mid-tone scale of the pyro makes it very easy to print. Very creamy mid-tones.” [Quoted with permission]
Bergger PMK Pyro
I have not performed side by side tests but so far as I can tell Bergger has implemented the Hutchings formula. The developer works, produces stain, and I had no problems getting consistent and excellent results from about 15 120 films and one 35mm film. The developer comes as two bottles A and B sufficient for 25 litres of developer (50 120 films). You will need two 10ml measuring syringes available from pharmacies (they will ask you suspiciously what it’s for) – keep one for A the other for B. I strongly recommend not accidentally stabbing yourself with either syringe during or after use – ideally use blunt needles.
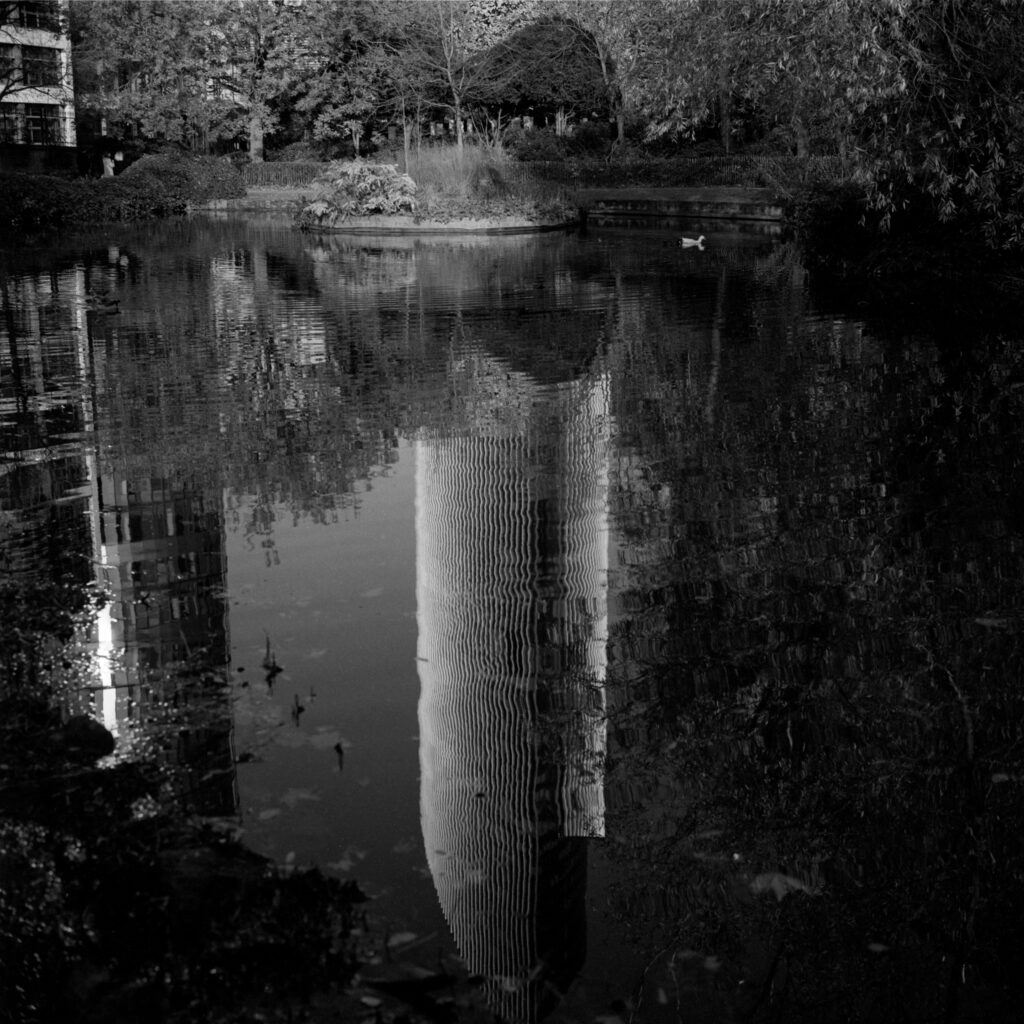
Starting in late 2024 I am now using PMK Pyro as my standard dveloper – example images are available in for example TLR Challenge 4 and Road Kill: this is one of my favourites.
[1] Stephen G Anchell, The Darkroom Cookbook, 2nd ed., Focal Press, 2001
[2] Gordon Hutchings “The Book of Pyro”, Bitter Dog Press, 1992
I bought this developer with my own money; I received no discount or sponsorship in any form for writing this review.
Share this post:


Comments
Daniel Castelli on Bergger PMK Pyro B&W developer Review
Comment posted: 07/03/2025
Is this the developer that Brett Weston used during his long career? I read that Weston’s finger nails permanently turned black as a result of a lifetime use of Pyro.
Comment posted: 07/03/2025
RichardH on Bergger PMK Pyro B&W developer Review
Comment posted: 08/03/2025
In my time with D76 and Rodinal, I have had some success, but I often have blown out highlights. I have been compensating for that by "exposing for the highlights" as if I was using positive film stock. Although I am rather fond of the hands-off process with Rodinal stand development, I think that PMK Pryro could be a solution for me.
Comment posted: 08/03/2025
Gary Smith on Bergger PMK Pyro B&W developer Review
Comment posted: 08/03/2025
Comment posted: 08/03/2025