I might say, pushing the boundaries of film in this case is more like returning to its roots.
When rock ‘n roll and hard bop burst through the famed and now widely regarded as the golden age of music, that is, 50s-70s, the highest ISO film available was around 400-1000 (B&W of course). It’s difficult to think this level of light sensitivity would be enough to capture musicians in their element, when one could assume live music = low-light. And yet some of the greatest concert photography I’ve ever seen were shot on these (now broadly perceived as general purpose) B&W film stocks, particularly Tri-X.
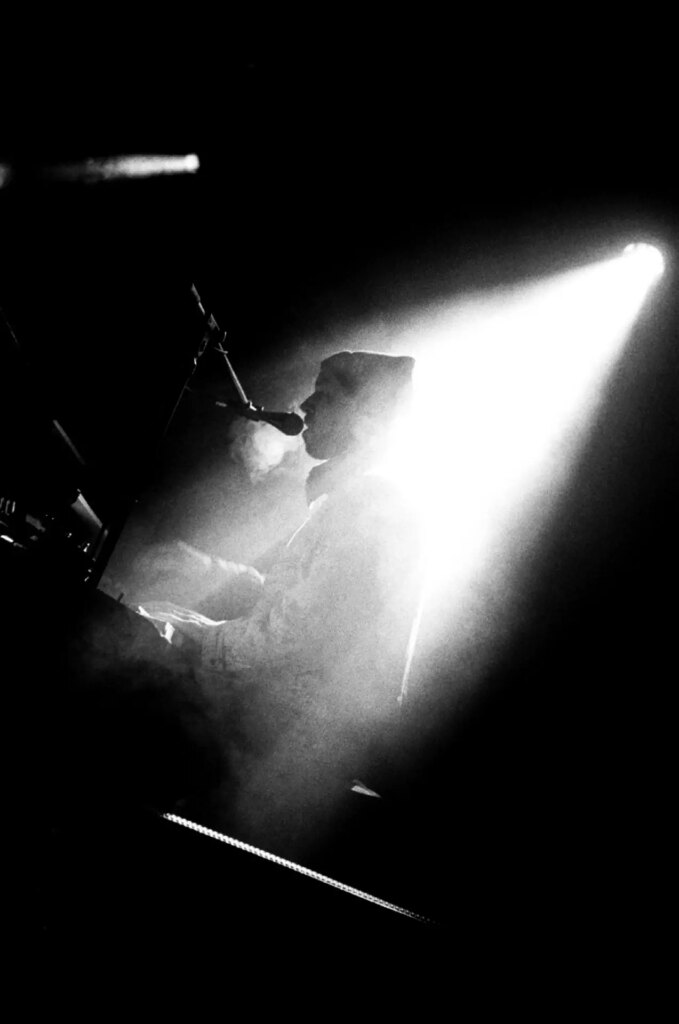
As a hobbyist photographer, I ventured into taking photos at gigs soon after the time I was able to start having a few beers whilst watching live music – the ripe age of 18. In my formative years, my photos of musicians and punters were extremely dark, blurry, and out of focus. At the time I severely lacked the understanding of film photography, and alcohol certainly didn’t help. Due to my diastase for high ISO film, I used ISO 400 film – yet I’d get scans back, be disappointed, and due to my indifference to theory, I could never quite figure out how legends such as Jim Marshall, W Eugene Smith, and Guy Le Querrec were able to capture such stylish photos in low-light settings with film that probably topped out at the same speed (this guy who recently resurfaced seems like a legend too).
Fast forward a few years: I’d largely given up gig photography and was fascinated by street photography with that classic gritty, contrasty look that was so not used by everyone else (sarcasm). I used contrasty film, a sonnar-type lens, chucked a yellow or orange filter on said lens, underexposed then push-processed. I’d still attend gigs but without a camera, and it hit me one night out of the blue that this method I was practising was probably similar to how these clean, punchy, sharp photos of Cash, Zeppelin, Coltrane, and Davis came to exist.
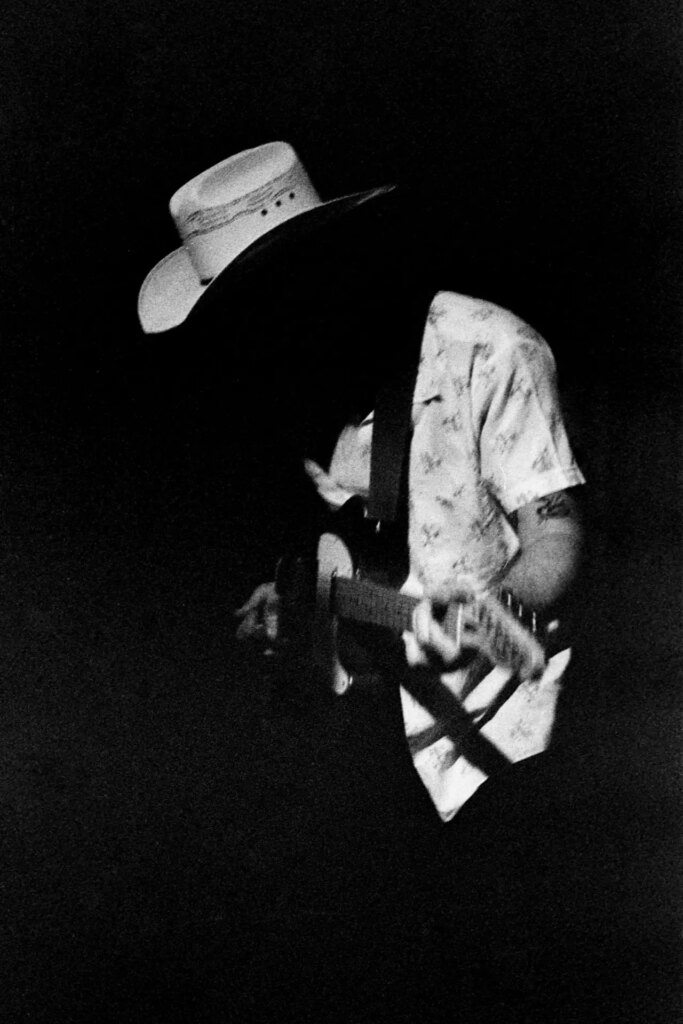
I dug through the www for hours trying to find some leads to how these old photos were shot and processed. I didn’t find much but I found some articles and forums regarding pushing some B&W film to its extreme boundaries – pushing 4-5 stops from the native speed for example. After personally having shot dozens of rolls this way, I’m pretty convinced this is how the old dogs got around to shooting musos back in the day.
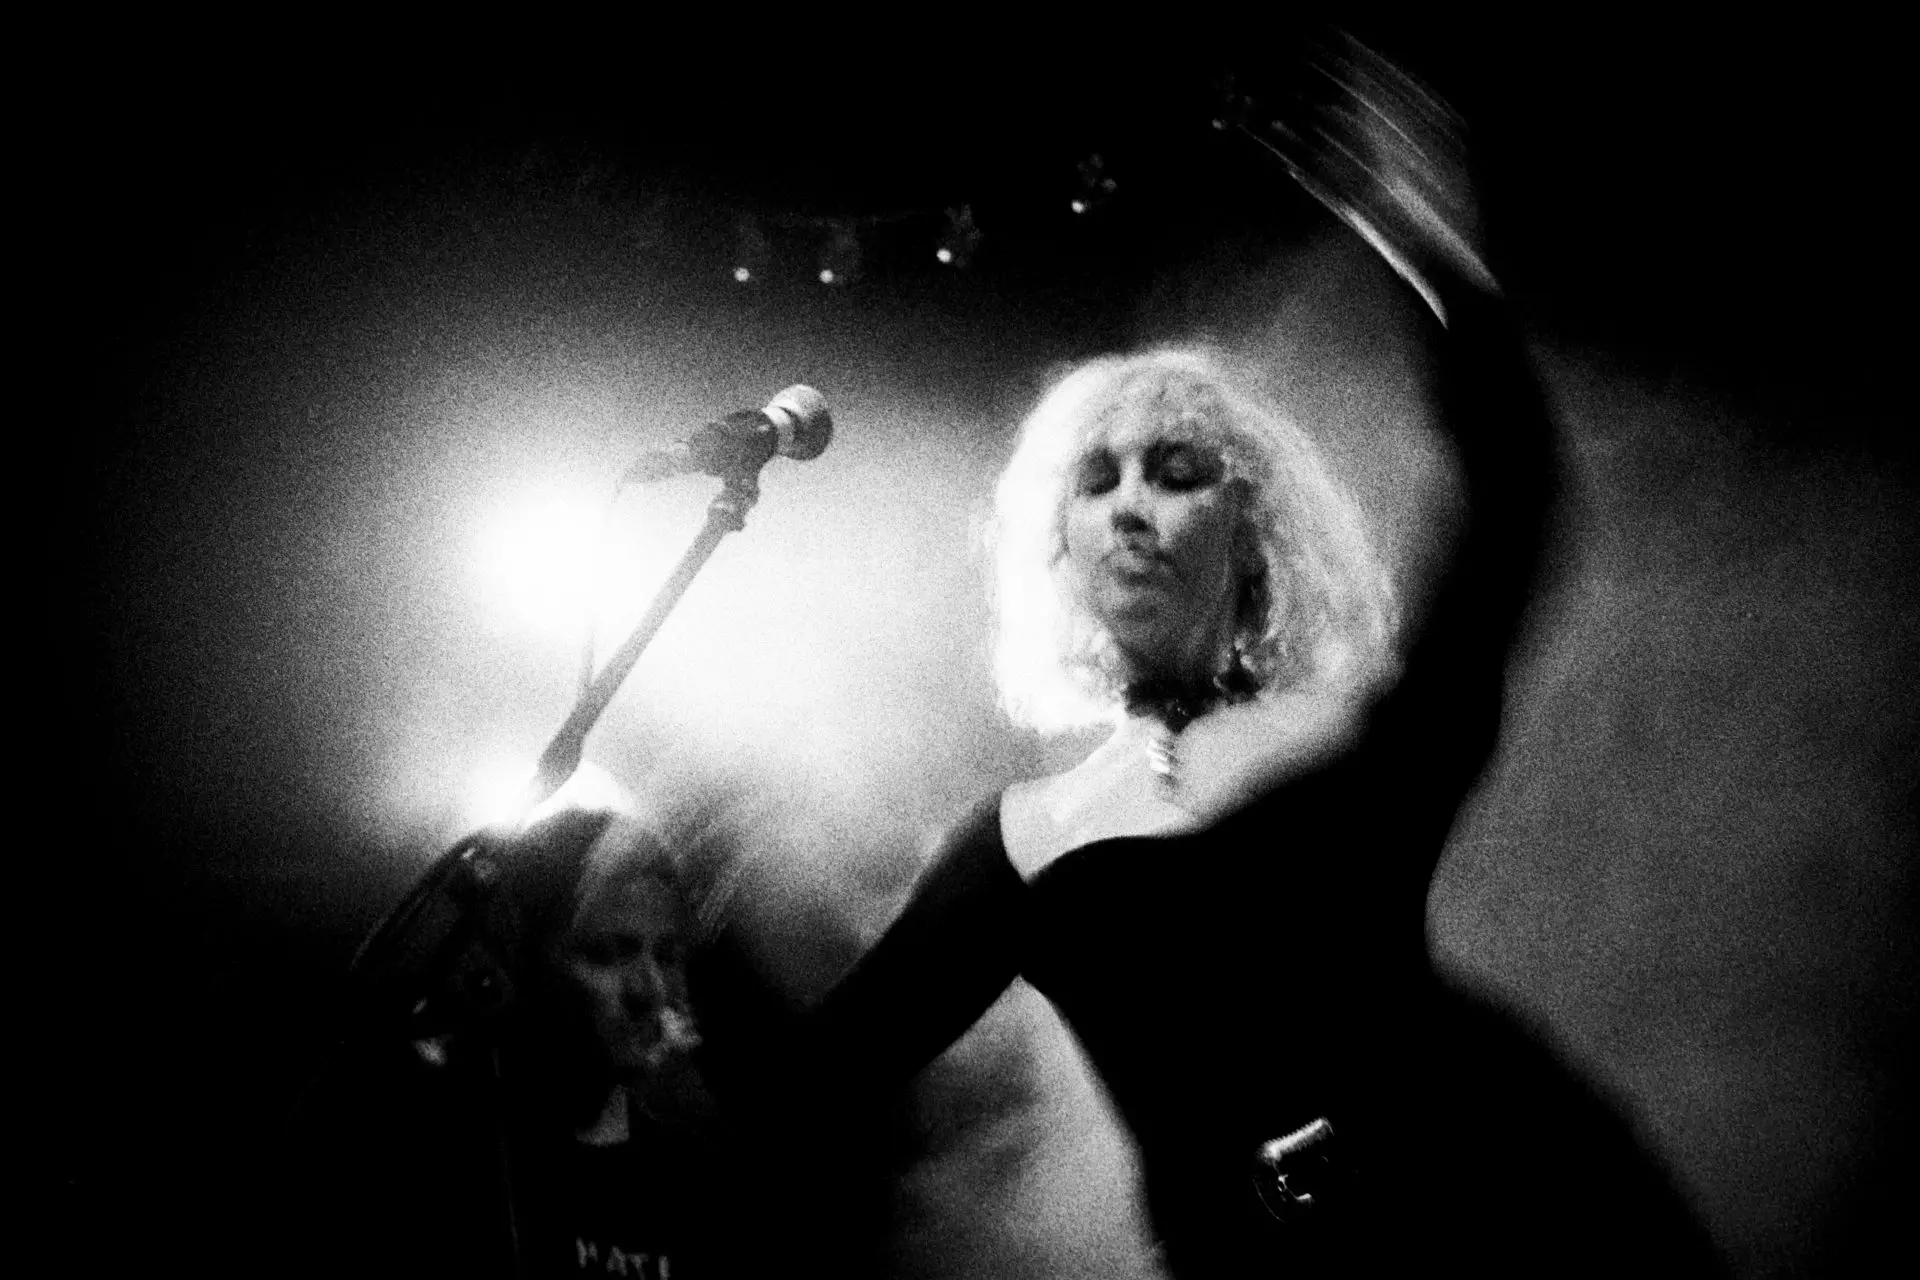
In a local bar/pub or a run-of-a-mill live music venue which I frequent, I’ve found that lighting is the main obstacle and it’s difficult to shoot at 1/30 or faster with ISO 400-800 film in such settings, particularly when you want a min. aperture of f2-2.8 for some sharpness and leeway in depth of field. Hence I’ve come to use a method of shooting Tri-X rated at 3200 or 6400, which usually gives me anywhere between 1/15 – 1/60 at f2-f5.6 in low-light venues. Compensating for the lack of exposure is done in developing – Rodinal at 1:100 for 2-3hrs (stand). I assume Foma 400 or HP5 would also work, however it seems Tri-X has proven track record of being extremely versatile. Also, from (limited) comparisons between my photos (pushed Tri-X) and photos taken by others using a film of higher ISO (P3200/Delta3200), I’ve found that Tri-X retains more detail, is punchier in contrast, and has a more appealing grain.
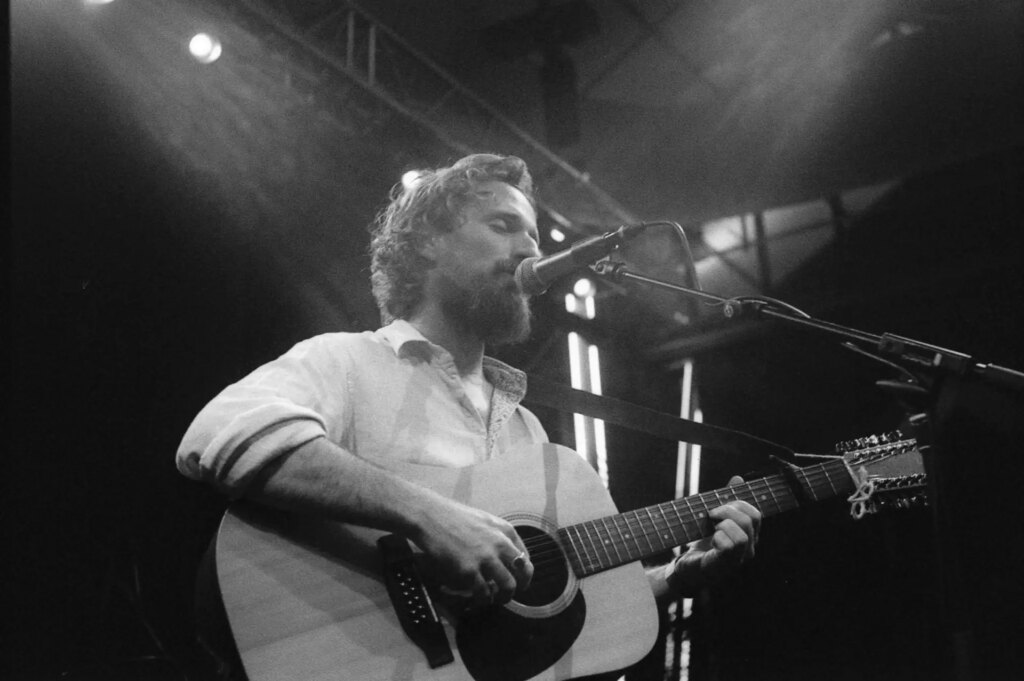
I’ve been asked several times regarding the use of flash, as I suppose people are intrigued why some might not take advantage of the extra light provided by an onboard camera or external flash unit. I used to use them, but I found no-flash gig photos are more aesthetically pleasing, but more importantly, I’m confident the performers on stage dislike being blinded for a split second several times during a set. However I’ve come across some musicians who don’t mind it, so it’s worth asking if you’re ever wanting to try gig-photography with a flash.
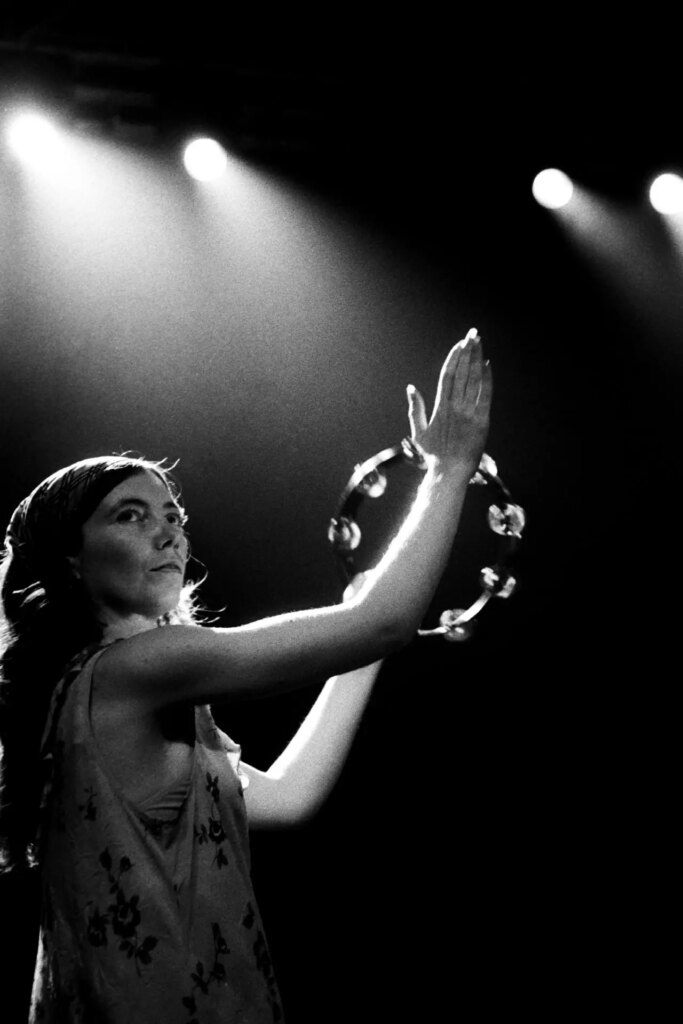
On that note, here’s some extra tips based on my personal experiences:
– Use a Manual Camera
Full control over all (or at least one) functions of a camera is almost a prerequisite. Rangefinder > SLR, because you don’t get the nasty mirror slap.
– Choose The ‘Right’ Film
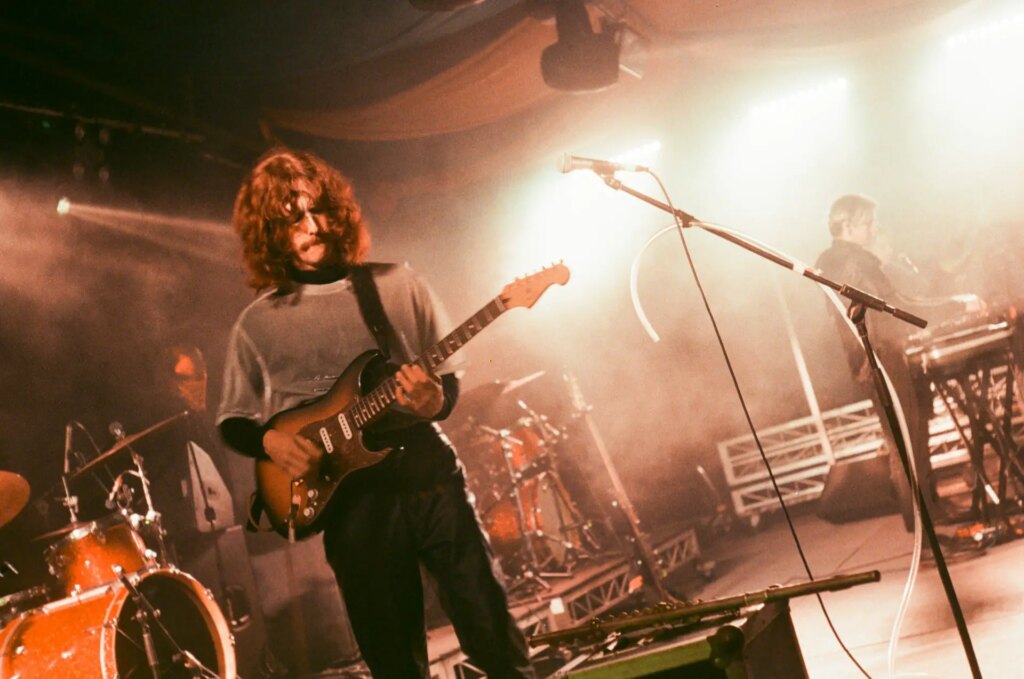
I say aim for an ISO of at least 1600/3200 when shooting. So choose stock that handles pushing nicely (Tri-X, HP5 for B&W, Ultramax, Portra for Colour), or use a native high-speed film (P3200, Delta3200). Modern E6 films are set at ISO 100, and they of course tend to need perfect exposure. Not saying don’t give E6 a go, but be prepared for some difficulties. (Then again, there are some cracking shots by Jim Marshall on good ol’ Kodachrome which was ISO 64!. Kodachrome+available light… Go figure)
– Use a Light Meter
Anything that’s semi-accurate will do. Got a phone? Great, use that. Most light meter apps function as spot meters which is nice.
– Settings
Aim for 1/15 – 1/30 or faster, minimum aperture of f2-2.8. This is if you want crisp ‘frozen’ shots, but if you want blur, go nuts and have a play.
– Dev’ing to Editing
The general consensus for push-processing B&W is to use the stand-developing as opposed to the classic regular agitations. Any of the popular developers like D-76,HC-110, Rodinal will do. For C41, just bump the time by a bit. From memory it’s around 45sec extra per stop. However I’ve seen some people out there play with the temperature instead, or changed both. Scans are likely to be a mixed bag so editing is pretty important. Muddy shadows are common, so lowering shadows & blacks works nicely I’ve found. It can help with ‘removing’ some unwanted detail too – amps, leads etc.
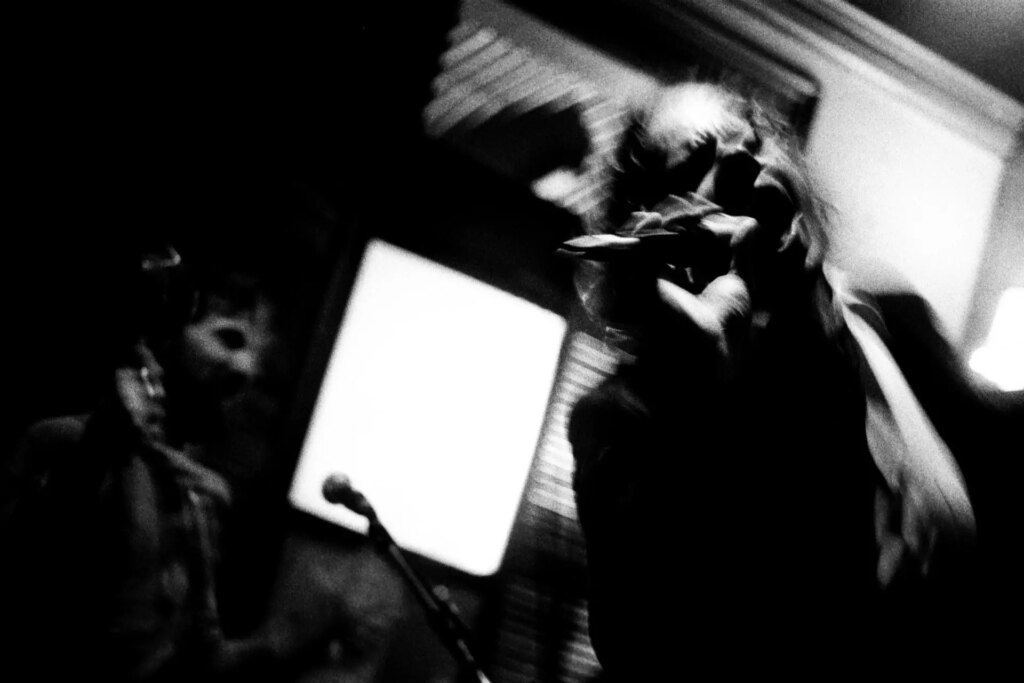
That’s about it, really. Film can really be pushed to its limit, and that is one of the loveliest qualities of such medium. Thankfully the many photographers before me have paved the way in experimenting and finding methods that are simple to follow.
You can find my music-photography here, my personal work here. Website is here!
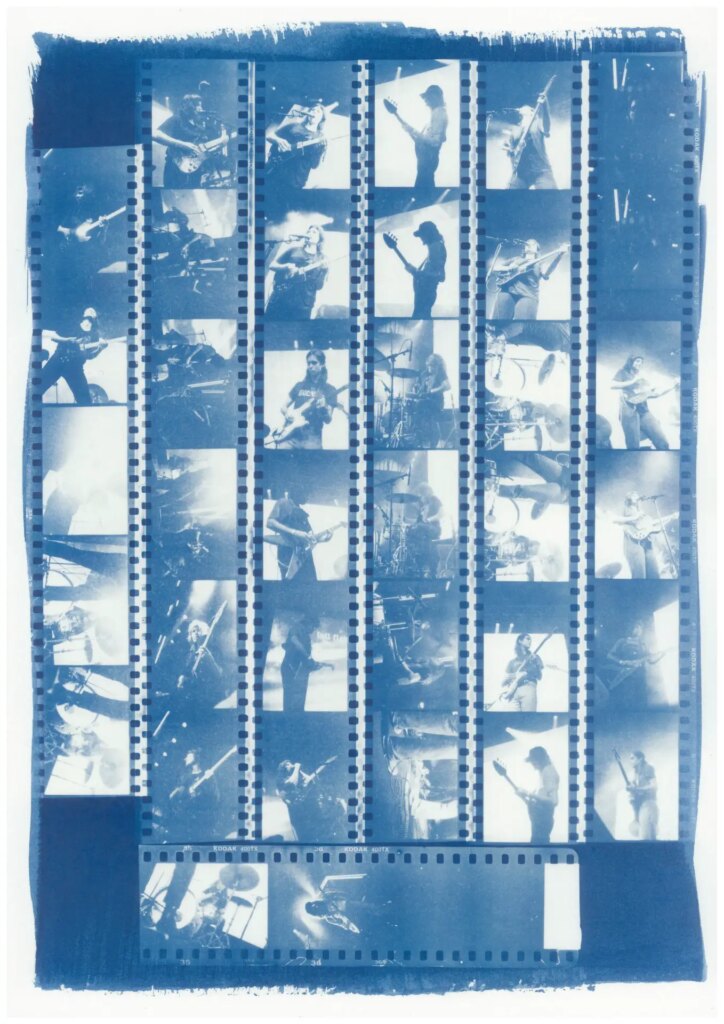
p.s. making prints is always fun
Share this post:


Comments
Kurt Ingham on Shooting Gigs – Pushing The Boundaries of B&W Film – By Tom Schulte
Comment posted: 10/05/2022
Comment posted: 10/05/2022
Alistair Hamilton on Shooting Gigs – Pushing The Boundaries of B&W Film – By Tom Schulte
Comment posted: 10/05/2022
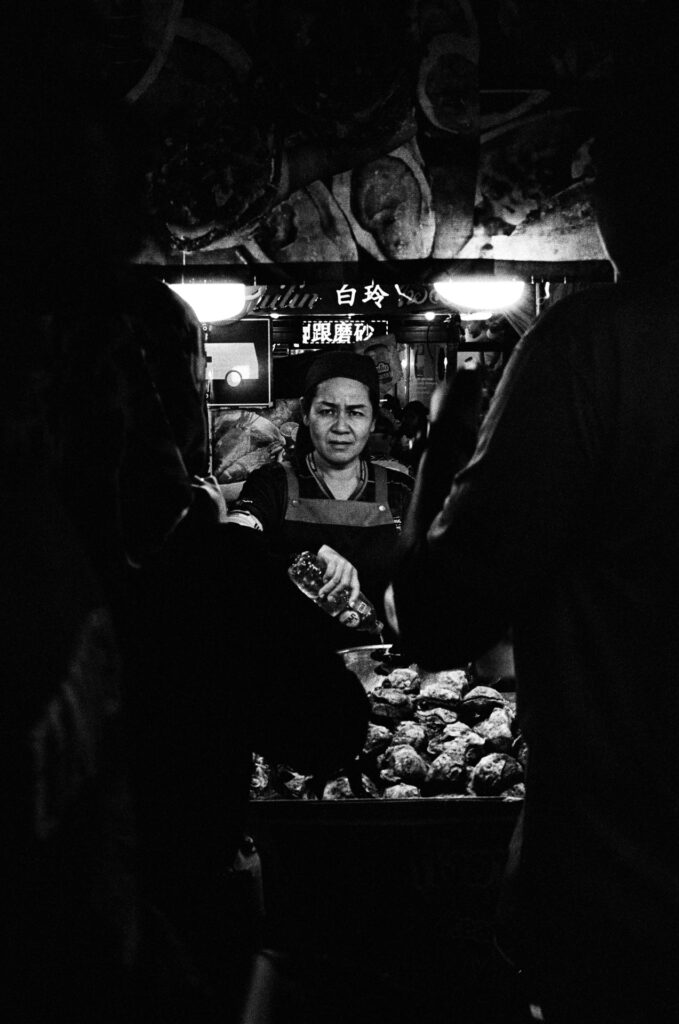
These are stunning! Especially the one at the top of the article.
I think the rule we all need to abide by is: it does not have to be in focus, or anything else, for that matter, such as sharp/well exposed/fine grain/... Good photographs do not have to be *anything* except good to look at, and all of your images certainly are good to look at!
In low light, Tri-X exposed ISO 400 and developed normally is a great combination, but to my eye film always looks better printed through an enlarger onto light-sensitive paper. I used this combination for donkeys, and never thought of "pushing" the film. Maybe it does not work so well with scanning, I do not know, but whatever you are doing, it seems to be right!
Everyone, especially photo-geeks, should look at your images. They show every fault known to a photo nerd: they are grainy, have blocked shadows and highlights, and have all sorts of blur. But they are just superb images and absolutely great to look at!
All the best
Alistair
Comment posted: 10/05/2022
Comment posted: 10/05/2022
Comment posted: 10/05/2022
Arne Heeringa on Shooting Gigs – Pushing The Boundaries of B&W Film – By Tom Schulte
Comment posted: 24/07/2022
Comment posted: 24/07/2022
Ted Ayre on Shooting Gigs – Pushing The Boundaries of B&W Film – By Tom Schulte
Comment posted: 30/12/2022