A little while ago I loaded a roll of Kodak P3200 into my Leica M4-P and proceeded to shoot a few frames one evening down the pub. I then forgot I’d loaded P3200 and thought I’d loaded a roll of Ilford HP5+. Now, at this stage I should probably tell you that I treat HP5+ like crap. I often shoot it lackadaisically between EI400 and 1600 and then have it pushed a couple of stops by a lab. I like the flexibility this approach gives me, and find the resultant negatives perfectly usable within my workflow. This lackadaisical approach was how was how I accidentally shot a large chunk of the rest of the roll of P3200. It could have been a disaster, but as it turns out P3200 is also forgiving enough to deal with my slapdash approach to exposure… so, I thought I’d pen a little post showing how well the results came out via a little tour of my 35mm workflow.
I actually realised what I’d done quite late in the roll. Having not shot a lot of P3200, I went onto twitter in a bit of a panic to seek advice. I got lots of sensible suggestions about pull processing it slightly, but whilst I appreciated them, I ended up ignoring it all and decided the best bet would to have it processed as normal. I decided that I wanted see how well I could deal with the negs in the scan and Lightroom as I do with HP5+.
I’m no purist
Now, I should probably also add that I’m no purist when it comes to shooting film. My workflow is far from traditional, and will probably have a few folks rolling their eyes. I’m fine with this too – I can’t often be bothered with developing my own 35mm film so I’ve found my own ways to deal with the compromises this brings.
My 35mm workflow
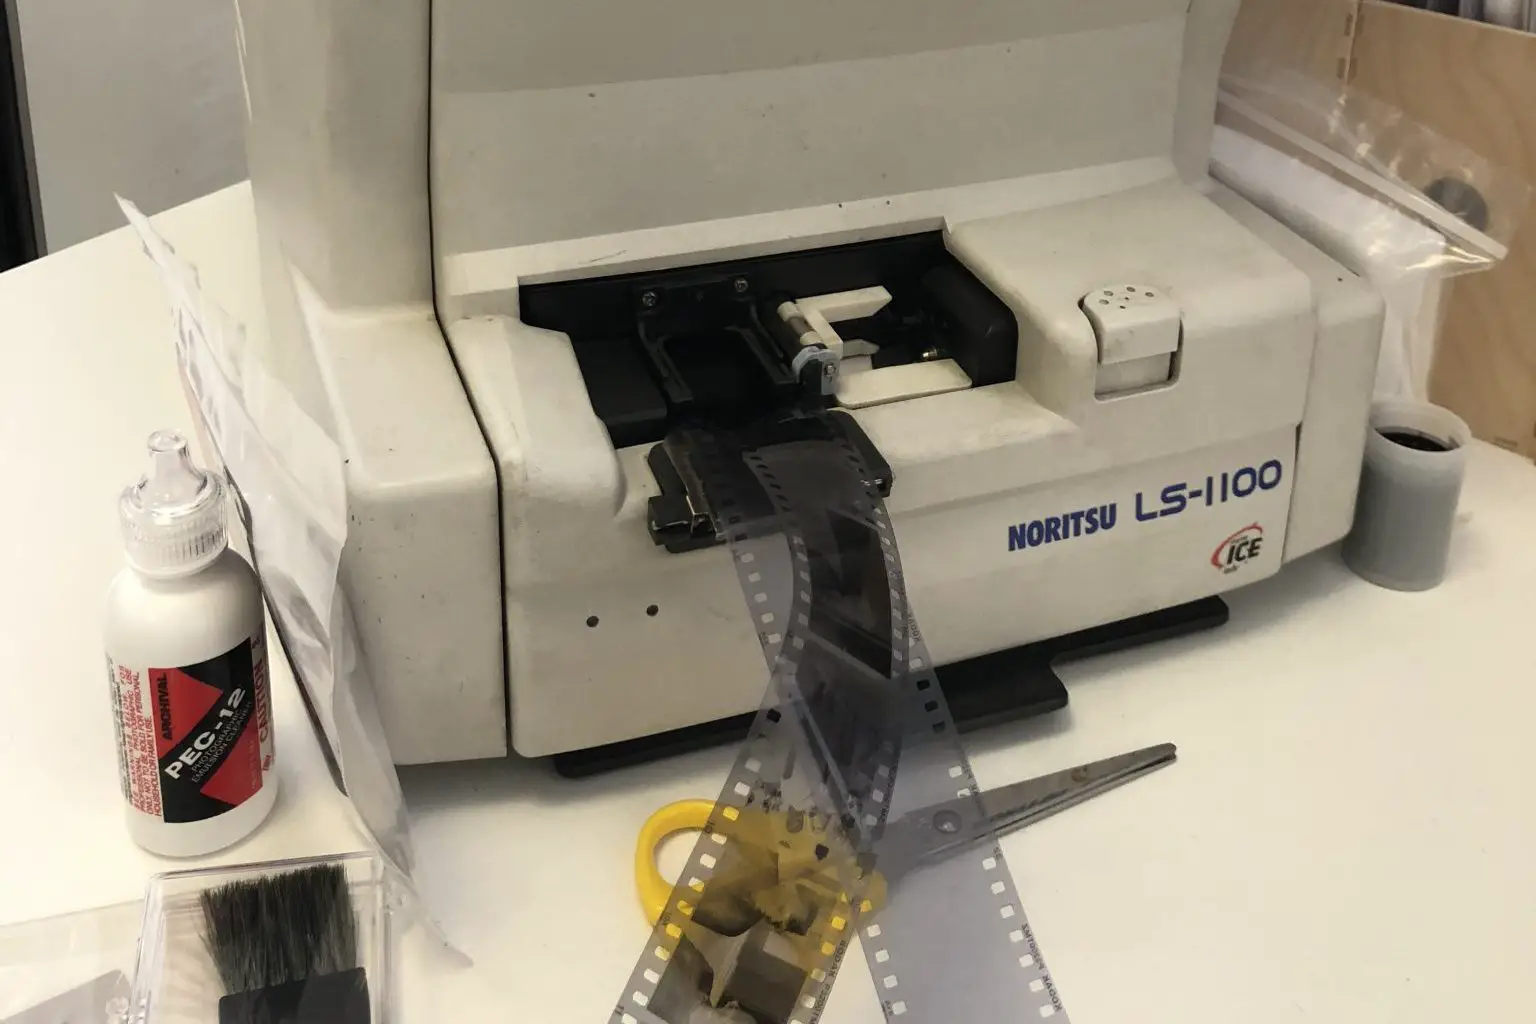
My 35mm workflow involves sending my film off for dev, scanning the negs flat (low contrast) myself with my Noritsu LS1100, then tweaking them in post process in Lightroom. Part of the reason for working like this is down to how I have my Noritsu LS1100 scanner set up. I use it in stand-alone mode which involves making use of some pretty small preview scan windows.

To use it as a lab would – and get the slightly larger previews (and much greater control) – I’d need to spend a lot of cash on a USB dongle thing that would activate the full software, and for the time being, that’s just not something I’m prepared to do. Because of the small previews, I’ve developed a process of using a standard set of settings that I apply to every frame to lower the contrast and sharpening.

Once these settings are applied, I go through the frames one by one overriding the automatic density correction where it needs to be. To be fair, provided I’ve achieved a half-reasonable exposure, more often than not the automatic density correction does the job perfectly well enough for me to tweak my flat files in Lightroom.
One of the advantages I see in this approach is that I’m essentially controlling a bunch of the variables. I almost always use AG – a lab I’ve visited and have seen how they work. They use the same lab-chemicals in the same machine regardless of the film. So when I get my negs back and scan them with the same settings through the scanner, I get consistent results. I have a fairly standard approach to post process too – that is to say that I only tweak the “basic” controls and sharpness.
It’s only when I’ve made a mistake or am attempting to rescue a badly exposed neg that I resort to things like “clarity” and curves. As such, I’ve found my way to know where I am at with any given film… not that I shoot much of a variety of films, but I know where I’m at with the films I do shoot, and when I introduce a new film into the mix I get a good feel for it relative to the films I’ve used previously.
The benefits of a forgiving film
Because I expose most of the films I shoot in a fairly lackadaisical way, it’s pretty much essential that I shoot forgiving films. In fact, because I shoot forgiving films, I don’t often even notice the variation in density of the frames within my workflow. Some frames can seem harder to tweak in Scan/Lightroom – these are obviously the thin or overly dense negs – but because my exposure is usually just about within the manufacturer stated latitude of the film, I rarely have issues. If I were to shoot less forgiving films, this whole process would fall apart… unless of course I pulled my finger out, and paid more attention to “correct” exposure – again, something I can rarely be bothered to do.
Retaining consistency
To retain some consistency in my results, a lot of this has meant that I’ve had to wed myself almost entirely to Portra 400, with which I err on the side of overexposure, and HP5+ which I shoot as explained above – again, this is about controlling variables. I have dipped my toe into other films: Streetpan for eg, and TMAX 400. Streetpan I have to send to a different lab, as it comes back underdeveloped from AG, and TMAX 400 just seems harder to work with – though I am persevering as part of a process to get me out of this comfort zone once in a while. P3200 was initially just an experiment – Alaris were kind enough to send me some to play with, so I shot it. I didn’t have any expectations or even desires that it would suit me and my workflow…
P3200 within my workflow
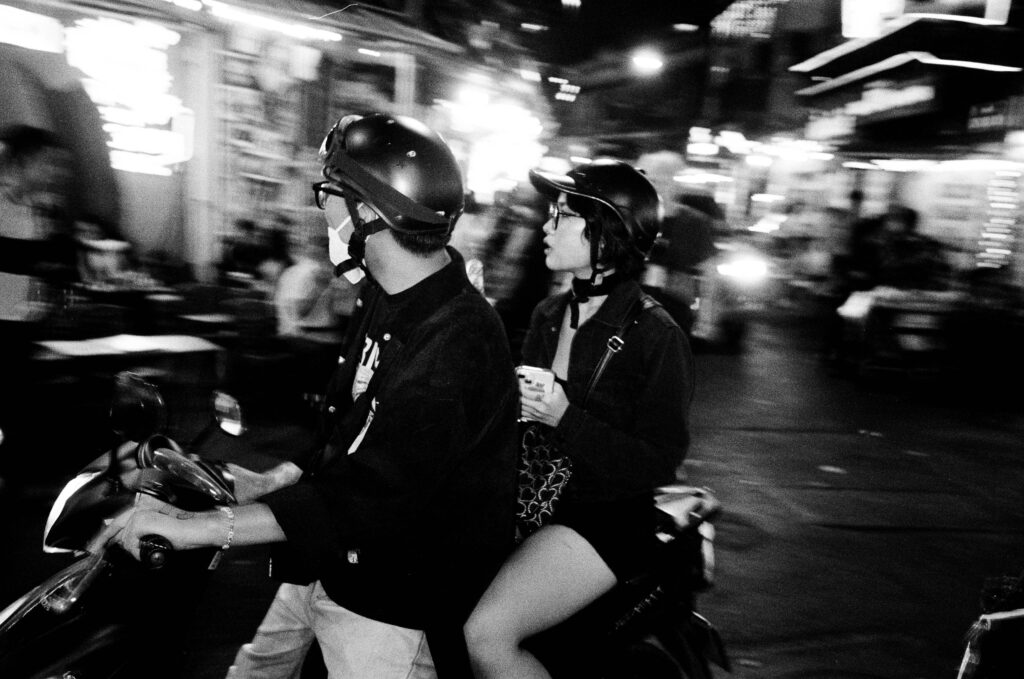
Shooting Kodak P3200 at somewhere between EI400 and 3200 across a single roll did have me worried. As I said, I went on to twitter to get advice, but in the end, my balls-up encouraged me to see how well P3200 could fit into my normal workflow. Happily, it turned out just fine… in fact, more than fine, some of the results have come out really quite wonderfully!
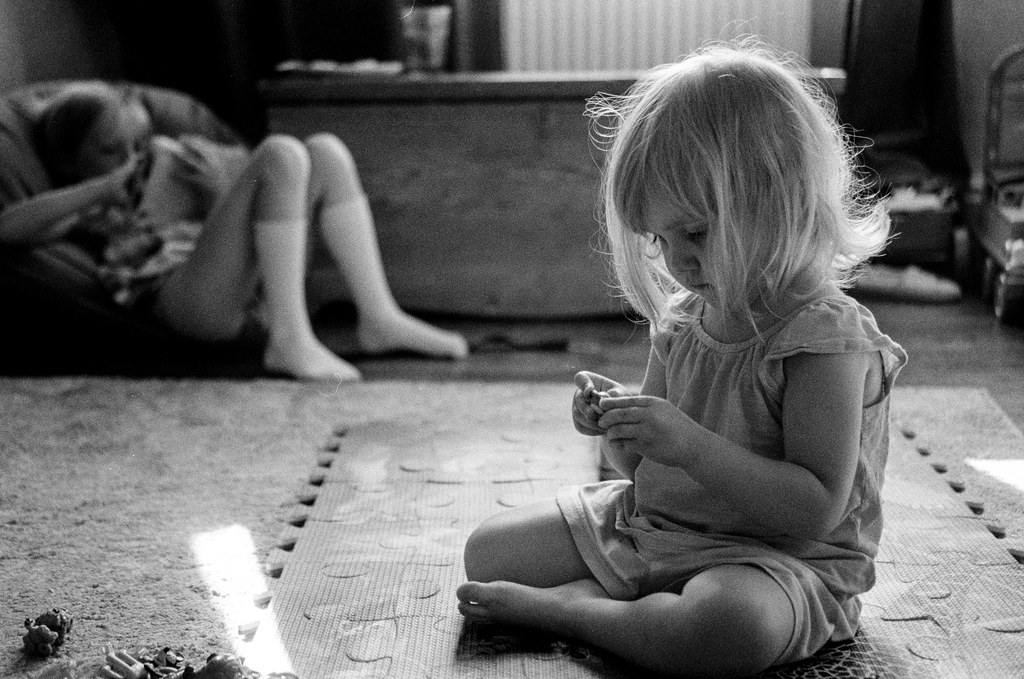
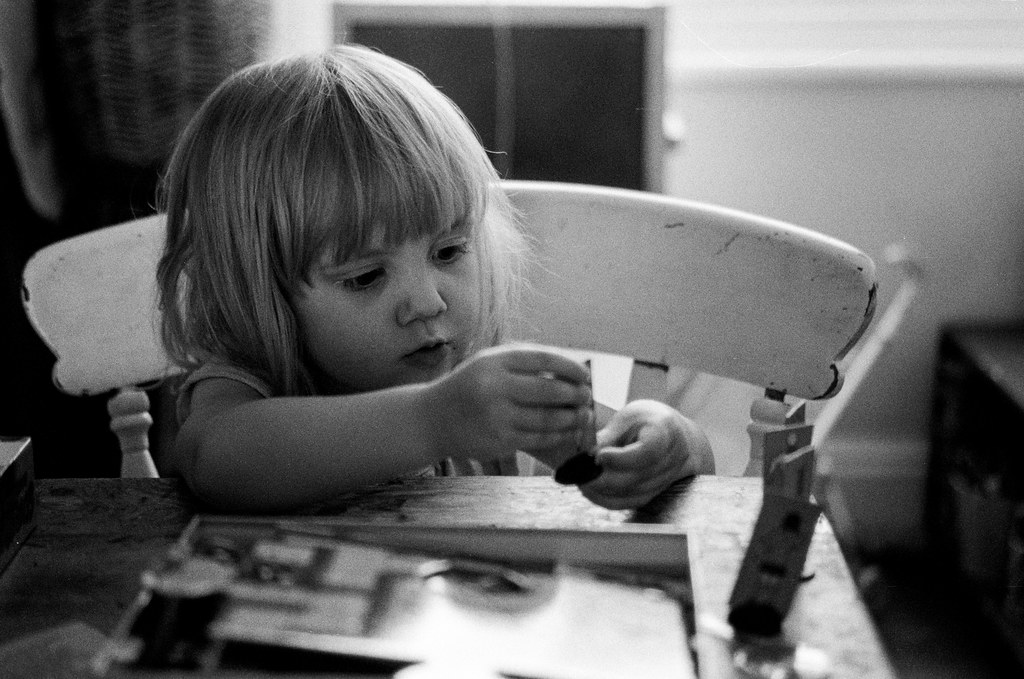
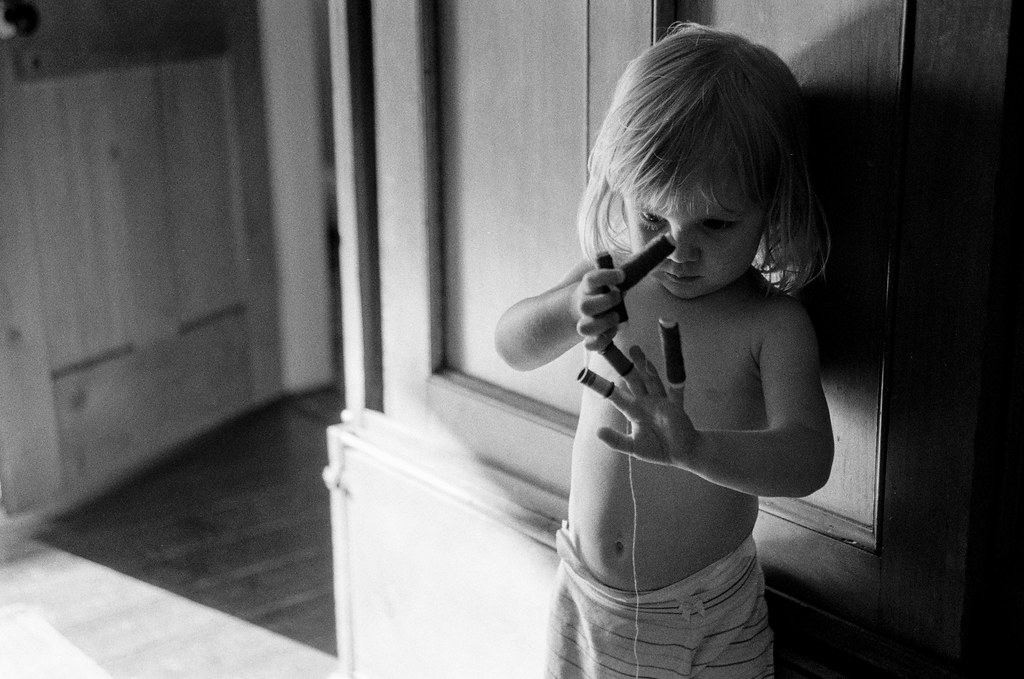
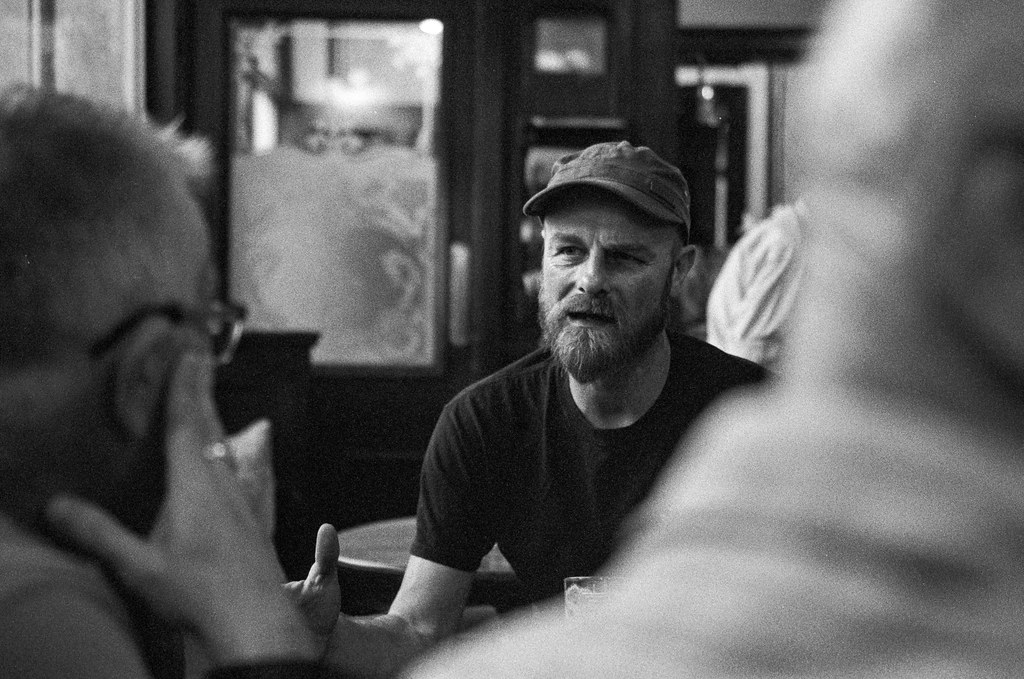
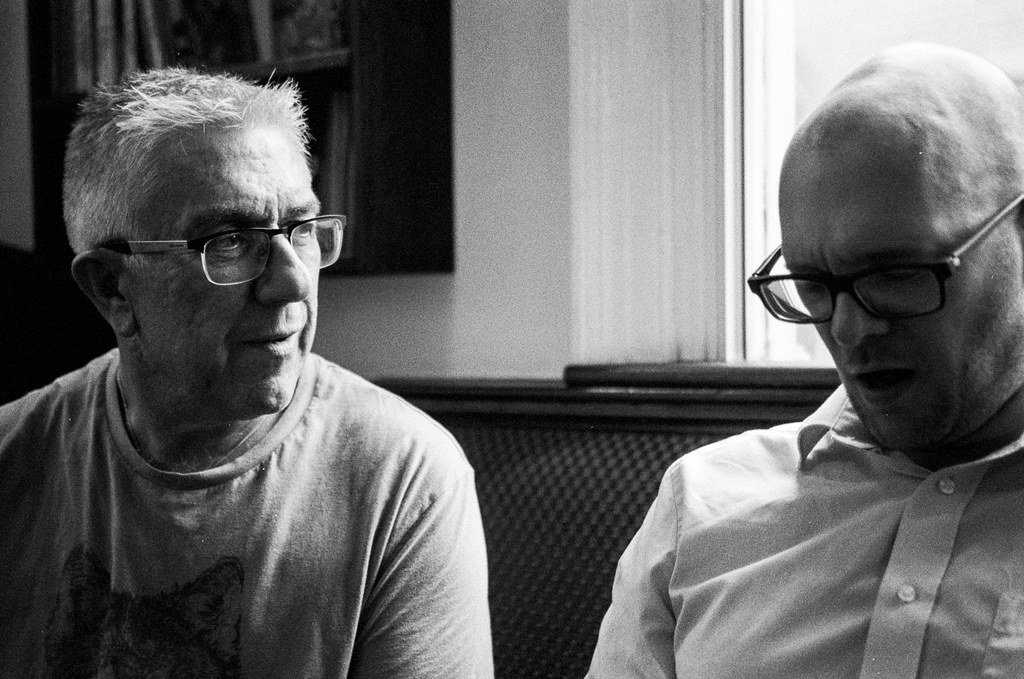
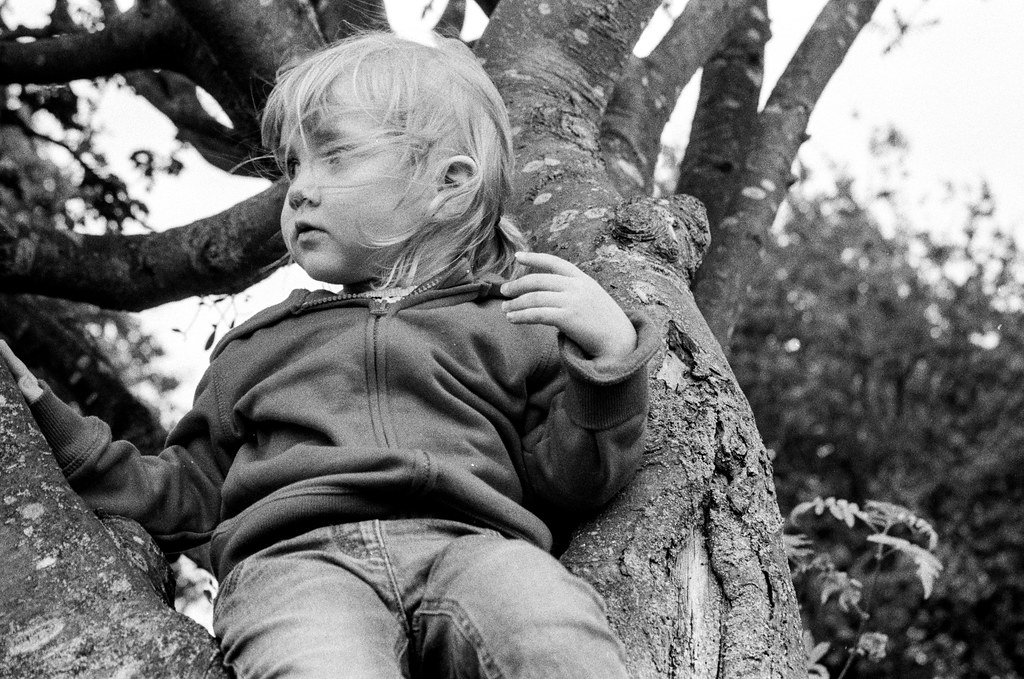
I was chatting to EM from Emulsive the other day about P3200, and he commented on the creamy highlights. I can see exactly what he means here – and I must say, I’m somewhat enamoured with the look. It’s somehow feels warmer than the results I get from HP5+, and I like it a lot. Just to reiterate, this difference – alongside the obvious increase in grain – was very apparent to me in my workflow when compared to shooting with HP5+
Checking the film
After the success I had, I thought I’d take a look at the negs – something I rarely do – to see just how dense they were. Actually, to my relatively untrained eye, most of them look fairly normally exposed – perhaps a little dense, but nothing that would be inappropriate for the exposure/desired result.
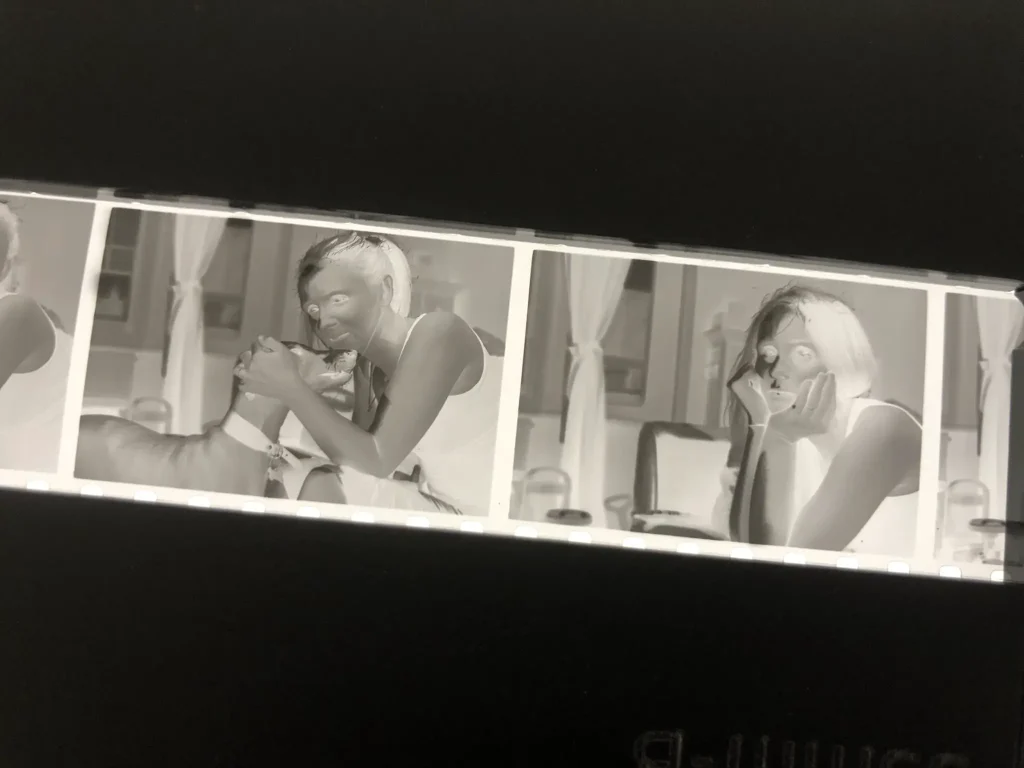
That is apart from one or two frames. Funnily enough, only when I saw the one frame did I remember how I shot it. I’d taken the photo without really thinking about the camera settings at all – I can’t remember exactly what they were, but the photo was taken in my bedroom with the evening sun flooding the white painted room with light. Just look at the neg…
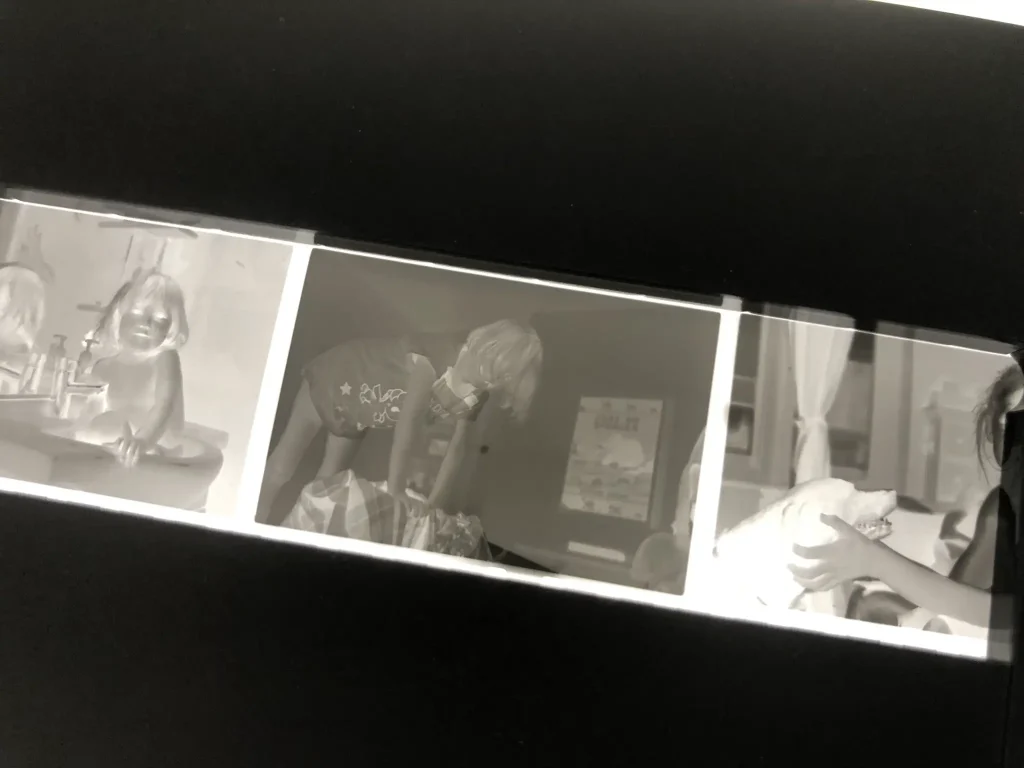
…you could wedge a door open with that! Despite the huge overexposure, I still got an ok scan. It is a little grainy, I admit, but still, I think this says a lot about both my lackadaisical approach to shooting film and the forgiving nature of Kodak P3200.

A workflow that works for me
As I say, I’m sure the purists out there will be rolling their eyes at some of this – I’m sure to some it seems daft or possibly even naive. It probably is too – I’m certain that abusing the film like this means that I’m not getting the “best” out of it. I could develop my own film, I could meter it better too – neither of these processes are outside of my capabilities as a photographer – I do both when I shoot large format for eg…
The point is though, I enjoy shooting 35mm like this. I enjoy the freedom and flexibility a forgiving film brings me, and I’ve found a satisfying and easy way to still get images that I personally like the look of. It’s taken most of the time I’ve been writing 35mmc to get to this stage too. This process isn’t entirely born out of laziness and a complete lack of understanding – though I certainly don’t claim to know a great deal about the nature of film etc – it’s born out of a lot of experimentation to find the balance between getting results I like, but also in a way I am comfortable and happy getting them.
Ultimately, I’d encourage everyone to follow suit – but don’t get me wrong, I’m not telling you what to do or how you should do it! all I’m encouraging you to do is to not forget to do what you do in a way that you enjoy it!
That said, you should shoot a roll of P3200 – it’s bloody lovely film!
(The next film I’ve been chatting to Alaris about is Ektachrome – I’ll have to buck my ideas up for that won’t I?!)
Share this post:


Comments
James W on Kodak P3200 & Happiness found in my (lazy) Hybrid 35mm Workflow
Comment posted: 11/08/2018
Q.E.D., I think.
Comment posted: 11/08/2018
Comment posted: 11/08/2018
Dale Willetts on Kodak P3200 & Happiness found in my (lazy) Hybrid 35mm Workflow
Comment posted: 11/08/2018
John Lockwood on Kodak P3200 & Happiness found in my (lazy) Hybrid 35mm Workflow
Comment posted: 11/08/2018
Dave Walker on Kodak P3200 & Happiness found in my (lazy) Hybrid 35mm Workflow
Comment posted: 12/08/2018
Sunny on Kodak P3200 & Happiness found in my (lazy) Hybrid 35mm Workflow
Comment posted: 12/08/2018
Des McSweeney on Kodak P3200 & Happiness found in my (lazy) Hybrid 35mm Workflow
Comment posted: 12/08/2018
Des
Comment posted: 12/08/2018
Phil on Kodak P3200 & Happiness found in my (lazy) Hybrid 35mm Workflow
Comment posted: 15/08/2018
Comment posted: 15/08/2018
Matthew Dodwell on Kodak P3200 & Happiness found in my (lazy) Hybrid 35mm Workflow
Comment posted: 15/08/2018
Alvaro on Kodak P3200 & Happiness found in my (lazy) Hybrid 35mm Workflow
Comment posted: 15/08/2018
Matthew Dodwell on Kodak P3200 & Happiness found in my (lazy) Hybrid 35mm Workflow
Comment posted: 21/08/2018
Quick question regarding how you got this film developed. I understand that you're rating was around 400 ish due to mistakingly thinking you'd loaded HP5, but you say in your post you asked for it to be developed 'as normal', is as normal to 3200 timing?
I understand P3200 to be a natural 800 film, and the P means it can be pushed to 3200. So I am just trying to work out whether normal really means rate at 800 develop to 800, therefore anything longer is pushing it up through 1600 to 3200.
Comment posted: 21/08/2018
My first roll of Kodak Pro Image 100 - 35mmc on Kodak P3200 & Happiness found in my (lazy) Hybrid 35mm Workflow
Comment posted: 05/09/2018
My Colour Film Photography Workflow, or: A Rant about how Software isn’t the Enemy! - 35mmc on Kodak P3200 & Happiness found in my (lazy) Hybrid 35mm Workflow
Comment posted: 08/04/2019
Own Your Workflow and Goals (and don’t get too distracted by the mantras of others) - 35mmc on Kodak P3200 & Happiness found in my (lazy) Hybrid 35mm Workflow
Comment posted: 03/02/2020