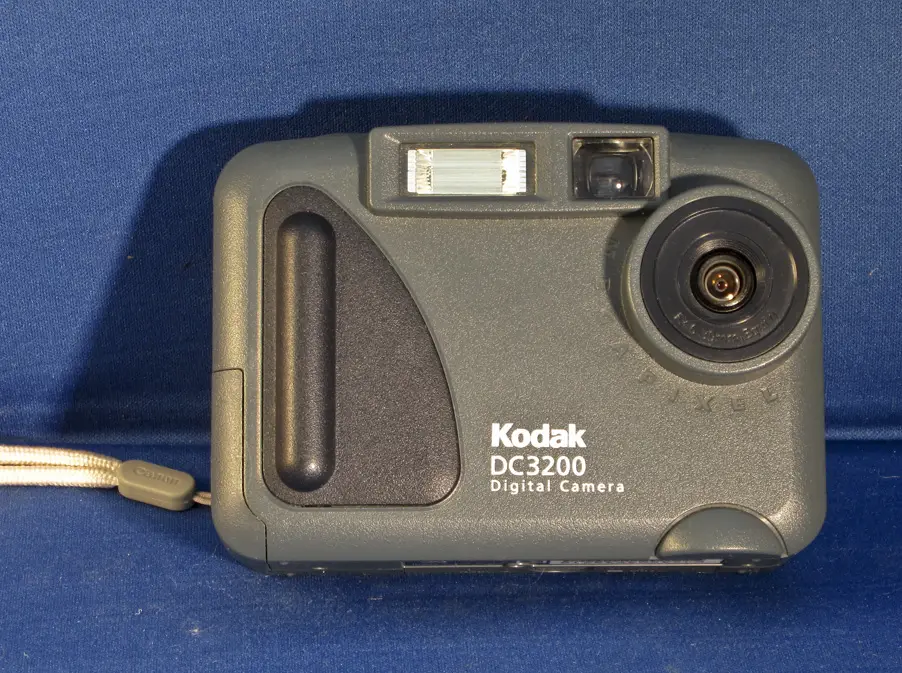
Join me on my trip in the Way-Back Machine to the year 2000. I am wandering through the aisles of a big-box retailer and naturally gravitate to the camera department. There I see a camera that does not require film – A Kodak DC3200. The latest thing in camera design – the embossed word “M E G A P I X E L” is wrapped around the lens. No need to say how many megapixels since reaching ONE megapixel was understood to be quite a milestone back then! I purchased the camera including a service policy. The salesperson convinced me if the camera ever broke down in the future, it would most likely not be repaired but replaced by a camera with an even higher MP value. Higher than 1 megapixel? Was that even possible? The total price – about $300. And as with my many GAS acquisitions, it was closely examined, test fired, and put in a drawer with thoughts of being used sometime soon. Translation: forgotten.
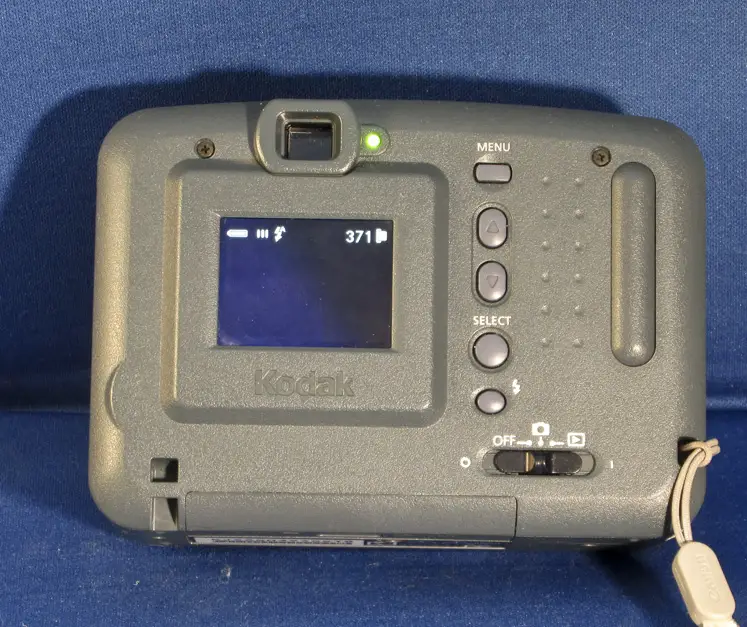
The Kodak DC3200 reminds me of their iconic Bakelite Brownie Hawkeye camera made during the 1950’s. I like the retro design and for me most times design overrules function. But let’s get to the functions. Can you adjust the shutter speed or f-stop? No, the camera will do both automatically within the range of ¼ – 1/500 second and f/3.6 – f/8. The ASA/ISO remains constant at 100 and it shows up on my metadata as 1. The lens? It is a 39 mm (35 mm equivalent) fixed focus (2 ft. – infinity) glass lens or as the manual says, “Optical quality glass.” How many lens elements? Doesn’t say but at least one is optical quality. The sensor is CCD but no mention of its size. You can control the jpeg output quality – Good, Better, or Best but only Best will return a 1 MP capture with limited compression. There is a 2x telephoto option which can be used with the “Good” quality setting. White balance can be controlled with choices – AUTO, Daylight, Fluorescent, and Tungsten. Preview (on/off) will turn on the LCD screen before capture and Quickview (on/off) will display the capture for a few seconds afterwards. However, the LCD screen in daylight is unusable. There is a built in flash with selections, AUTO, Off, and always fire. Close to the lens, limiting parallax, is an optical tunnel viewfinder. There are some websites claiming the DC3200 has +- 2 stops exposure compensation – the manual does not mention this and it does not appear in the menu choices. The camera uses compact flash cards and also has 2 MB internal memory. A serial cable along with software would have transmitted the files to a computer and a special video cable would allow you to view the captures on your television.
Back to the present time. After 23 years, I was curious to see what kind of results could be obtained with the DC3200. The camera takes 4 AA batteries. No problem – I have batteries. The serial cable and software are out of the question with my computer of the future – but I do have a 4 GB compact flash card. This caused the camera much agitation – it refused to recognize such an impossible storage size – there must be some mistake! Next step – purchase a 128 MB card which gives me the ability to take close to 400 snaps using the “Best” setting. All systems GO. Onwards!
Here are some captures (all using the “Best” quality feature). Camera determines f-stop and shutter speed with ASA/ISO constant at 100:
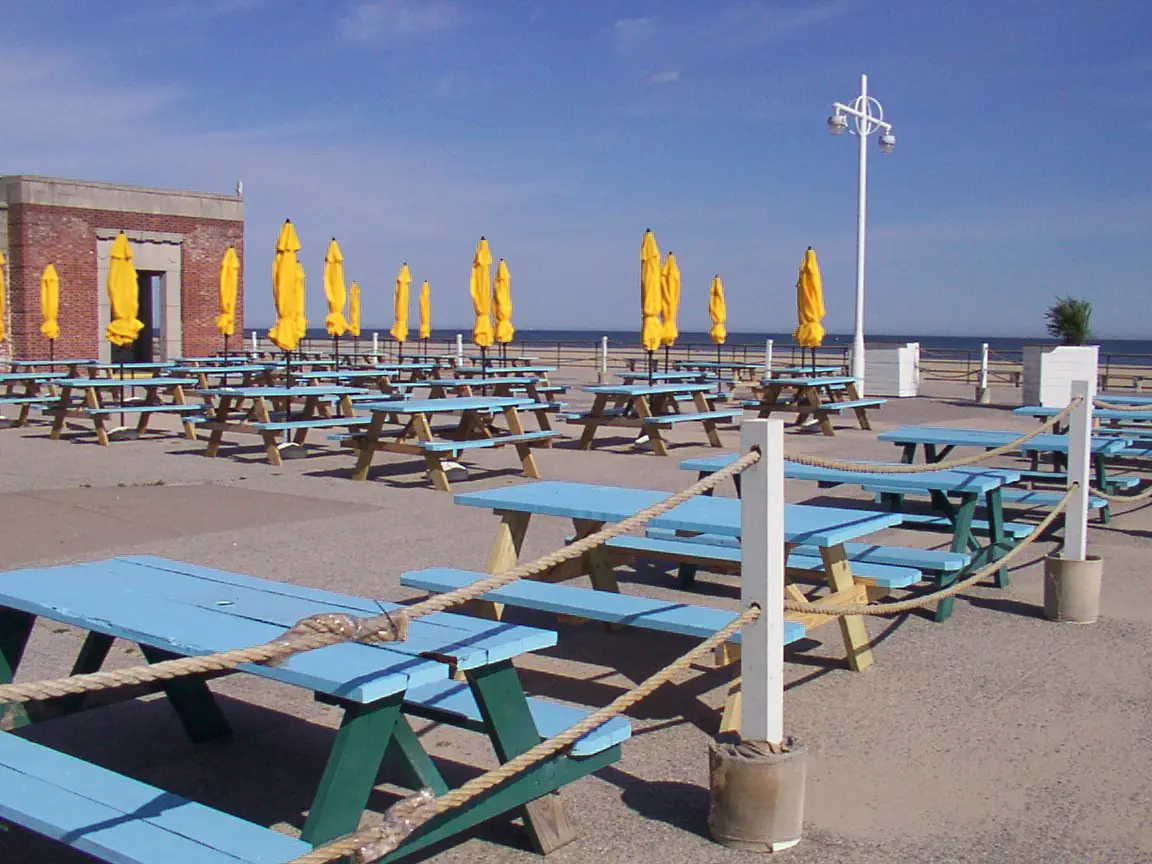
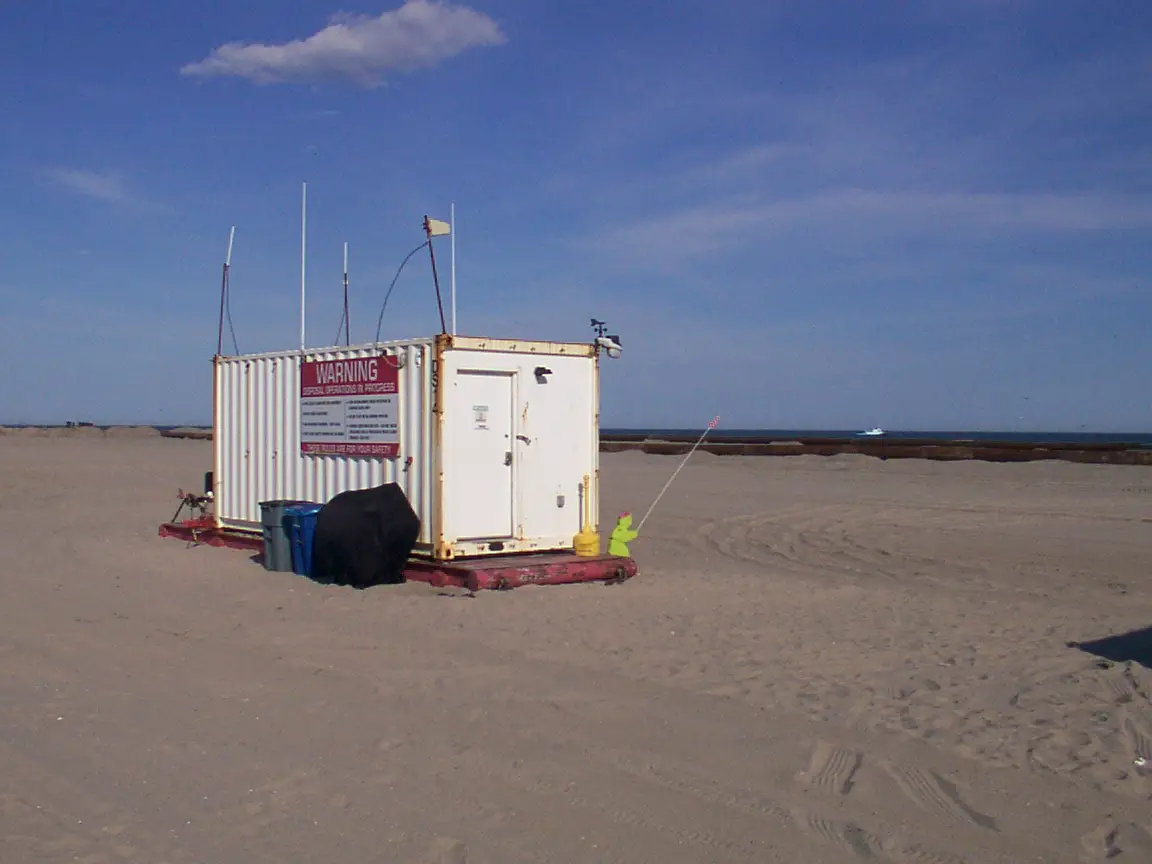
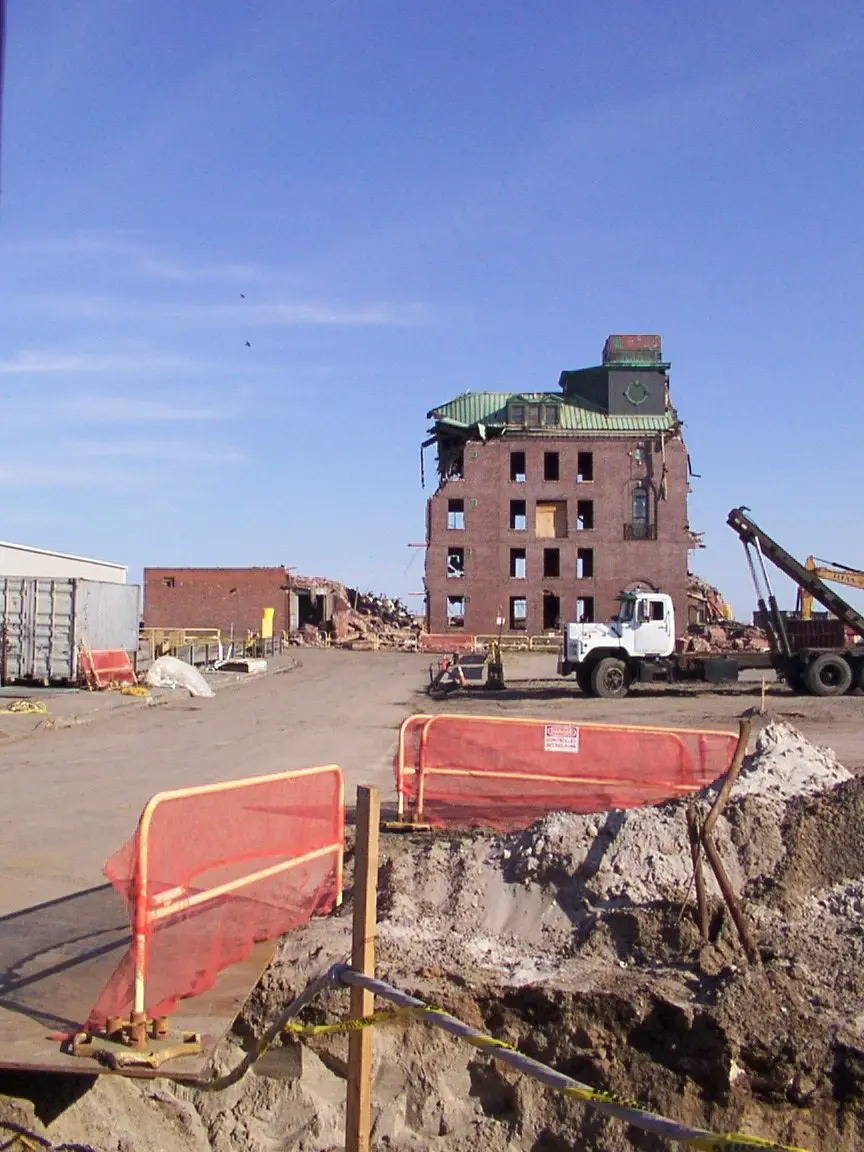
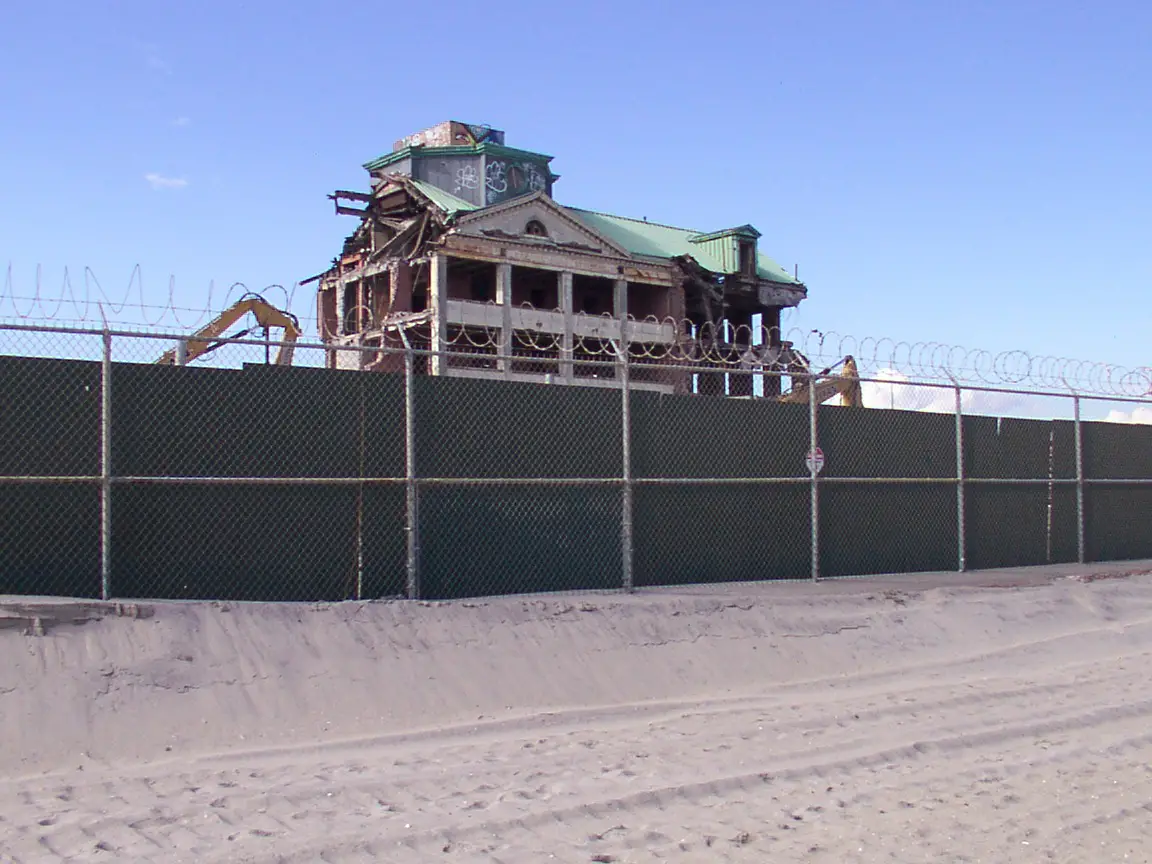
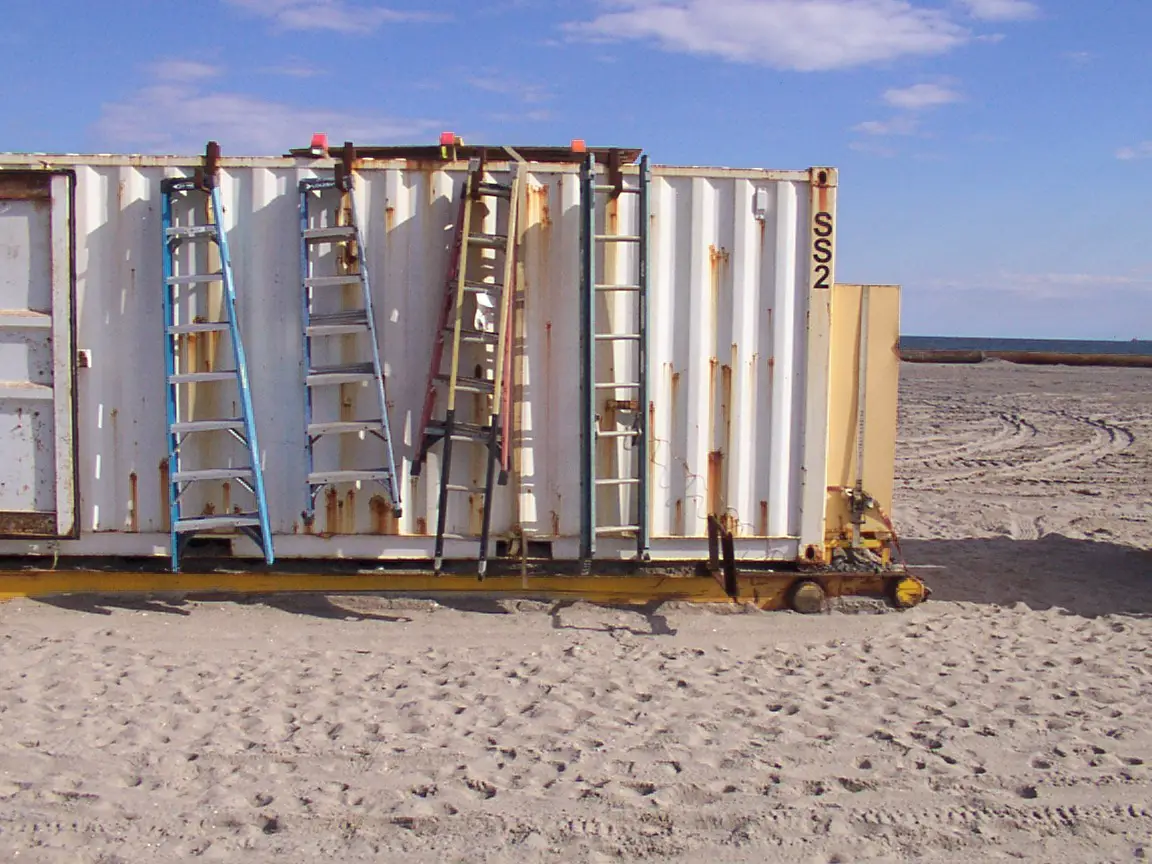
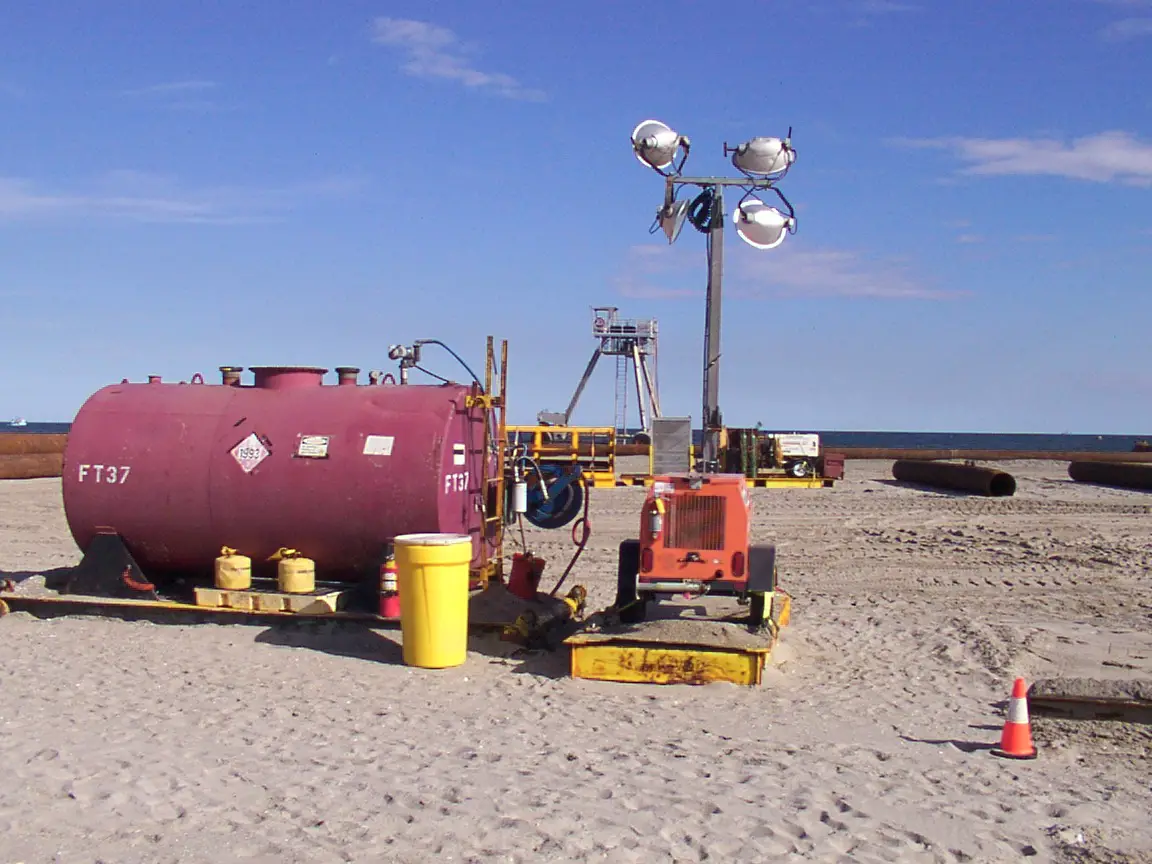
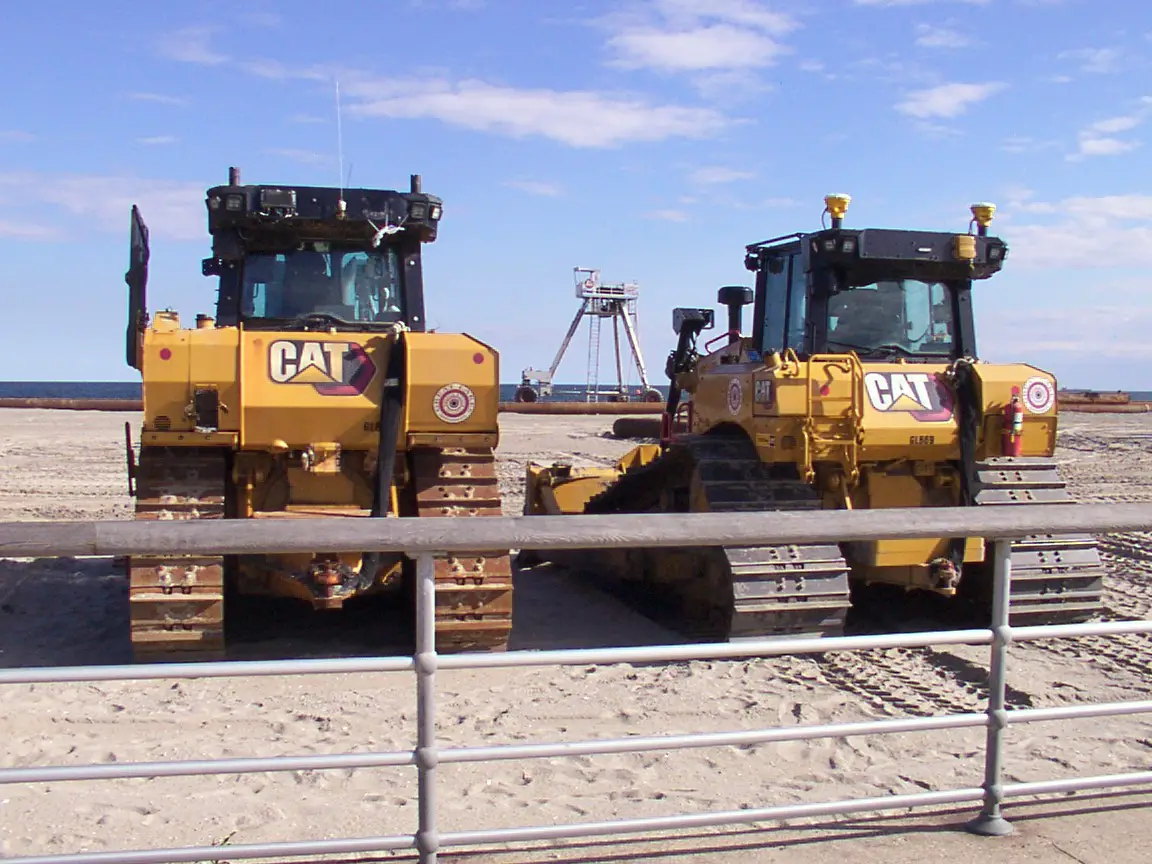
Some afterthoughts: Normally, I like taking pictures in RAW format and then making adjustments afterwards using Photoshop and sometimes film emulation software. But there was something about these jpeg files – I did not want to make any adjustments other than “Recovery” on the histogram’s right side. The captures seem to have a pleasing light airy feel about them with a slight magenta cast. As is, a print would be about 3.5 x 4.5 inches which led me to do some research on how to get larger prints without pixilation. One technique is to print the original file, then scan the print, and let the scanner increase the resolution. Another idea is using an image editor (I use Photoshop CS4) and change the image size to 300 ppi and then adjust the dimensions. I picked 8.5 x 11 inches and on screen it seems OK but I need to experiment more.
So there you have it. Kodak’s digital automatic box camera presented for your enjoyment. If you would like to view more of my captures using other cameras, I am on flickr: https://www.flickr.com/photos/sgitlin/albums
Kind regards.
Share this post:


Comments
Mike on Kodak DC3200 – Kodak’s Digital Automatic Box Camera
Comment posted: 14/07/2023
Thanks for sharing!
Comment posted: 14/07/2023
Comment posted: 14/07/2023
Comment posted: 14/07/2023
Brian Nicholls on Kodak DC3200 – Kodak’s Digital Automatic Box Camera
Comment posted: 14/07/2023
Comment posted: 14/07/2023
Rob on Kodak DC3200 – Kodak’s Digital Automatic Box Camera
Comment posted: 14/07/2023
Thanks Scott for the trip down memory card lane.
Dave Powell on Kodak DC3200 – Kodak’s Digital Automatic Box Camera
Comment posted: 15/07/2023
I too love old digicams, and the ones with CCD sensors seem to produce wonderful images like yours. I mentioned one comparable to your Kodak DC3200 at the end of this article for 35mmc:
https://www.35mmc.com/03/08/2022/5-largely-unknown-digital-infrared-gems-by-dave-powell/
I bought the 0.8MP Polaroid PDC-700 from the company's store when I was writing their digicam user manuals (just before they declared bankruptcy). And though the camera's resolution is under 1MP, I was still able to print, exhibit and sell prints of its files up to 16x20 inches in size. There were a couple reasons for this:
* They were black-and-white infrared images, and the camera's complete lack of an IR "hot-mirror" meant that its output was extremely clean and sharp... even when hand-held.
* And through a lot of testing, I determined that the best way to upsize its tiny files into bigger prints was to first convert them to 32-bit mode (which helped prevent "tonal banding" and "image breakup" during the up-scaling process)... and then upsize them in approximate 10-20% steps, rather than all at once. (Of course, I had to return them to 8-bit mode for printing... but tonal banding didn't appear.)
And even today, when people visit my basement photo gallery, the first print they approach is the 12x18 from a 0.8MP source. These old lower-tech cameras can still be quite useful!
It would be interesting to see if your Kodak also lacks an IR hot-mirror. If it's absent, then you could take hand-held IRs by simply holding an appropriate bandpass filter in front of the lens. (And if you don't have an IR bandpass filter, a good temporary substitute might be a piece of black lawn-bag plastic stretched in front of the lens. The results will be dark and soft... but they may at least indicate if the camera can do hand-held IR through a glass filter.)
Again... great work Scott!
Dave
Comment posted: 15/07/2023
Simon Cygielski on Kodak DC3200 – Kodak’s Digital Automatic Box Camera
Comment posted: 16/07/2023
But these show the truth of the old adage that it's the photographer and not the camera that makes the image. Congrats on taming a seriously unwieldy best and getting something really nice out of it.
Comment posted: 16/07/2023
Ben on Kodak DC3200 – Kodak’s Digital Automatic Box Camera
Comment posted: 21/12/2023
I remember the flash had two settings, off and over-exposed.
Really wondering if I ended up tossing it out or if it's still languishing in a box somewhere at my parents place.
Comment posted: 21/12/2023