The Keks KMQ has actually been reviewed on the website before, though that previous review was on the first version of this meter. The review looks at the subtly updated version 2 KMQ. The difference being a couple of extra features and slightly bigger buttons, whilst still retaining the tiny size.
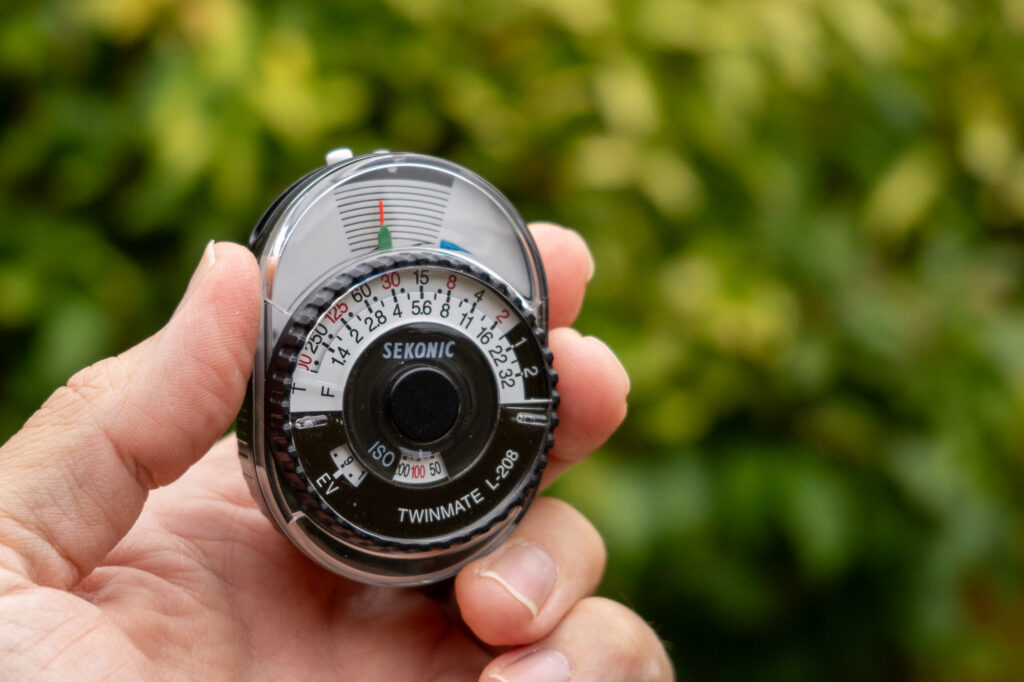
Hot shoe light meters are, in my opinion at least, a brilliant solution to the problem of needing a light meter to for shooting with old meter-less film cameras. A lot of film is fairly accepting of a little bit of exposure variance, and so the simple method of metering shoe meters provide is usually accurate enough. The problem is, very few shoe mount meters fit on every single camera any individual might want to mount one on. Up until a few years ago, there wasn’t actually much choice out there either. The Voigtlander VC meters offered the smallest option as a dedicated shoe mount meter, and then there always meters like the recently reviewed Sekonic L-208.
Then came along a slew of shoe mount meters – starting with the Reveni. The Reveni was a clever idea. The idea was to keep the meter not much bigger than the shoe mount itself. The upshot of this is that it would fit on pretty much any camera shoe mount making it highly compatible and versatile. The downside was the fact that it was a little slow to use and a bit fiddly.
Since the Reveni hit the market, there have been a lot of other shoe mount meters released, many of which I have reviewed. Many have successfully solved the issue of being fiddly with larger controls, and some have also solved the speed of use issue allowing the user to flick through settings at speed with control wheels etc. None have come close to the small size of the Reveni though. That is until the recently released Keks KMQ.
I say recently released, but the KMQ has actually been around a little while. In fact, the version I am reviewing here is a 2024 version that has a few updates since the original release (which also been reviewed on 35mmc here). Regardless of the version though, the main feature of the KMQ is its small size. Like the Reveni, it’s only a little bigger than a shoe mount and is therefore highly versatile when it comes to how many different cameras it can be mounted on… which I suppose leaves the question as to whether or not it suffers the same shortcomings as the reveni…?
The size compromise cons…
Unfortunately, the answer is that yes it does. Because it’s so small, it is a little fiddly to use, and indeed a little slow. Though I should quickly add that I don’t think that’s quite the end of the story. To begin with, whilst it is a little fiddly, compared to the earlier version of this meter the buttons have been made bigger and easier to press. Compared to the Reveni the buttons are a lot easier to press – less pointy on your finger too.
The issue is, the ease with which the buttons can be pressed doesn’t solve the issue of how fiddly it feels to use. The smaller size of the meter as a whole means the buttons are close together, and the layout of them on opposite sides of the the meter makes for a user experience that just feels like you have to be careful how you grasp it to press the buttons at all.
It’s also quite slow to use. Because of the way it handles, it feels more tricky to cycle through the settings quickly. I have found myself poking at the side of the meter with the tip of a forefinger trying to cycle the settings quickly and getting a little frustrated at my finger just feeling like I’m moving the whole camera it’s attached to. it’s also slow to turn on, as when you initially start it up it takes a second or so to show you the set ISO as the screen is to small to show this information alongside the shutter and aperture settings. Though this can be cancelled and settings displayed by pressing one of the buttons on the right of the meter (as you look at it from the back).
It’s also fiddly in terms of finding the ways to change the various settings. In fact, all of the range of Keks meters are a bit like this. Unlabelled buttons that need to be pressed in combination to change various settings need remembering before using the meter becomes second nature. I’ll describe these various combinations in a moment, but for now you just need to know that they aren’t massively intuitive.
…and pros
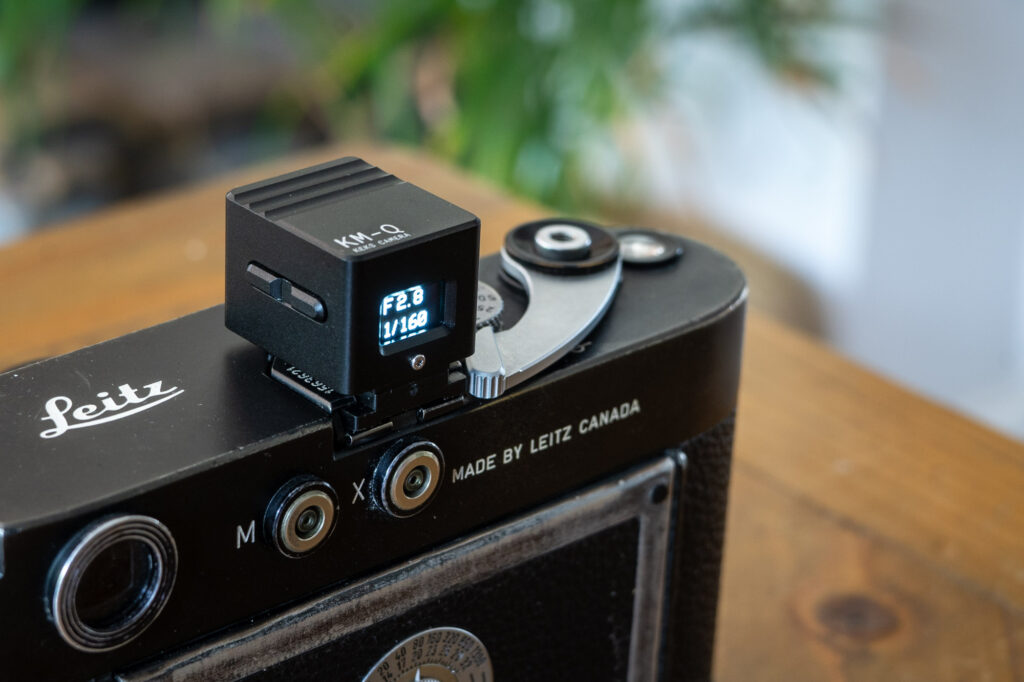
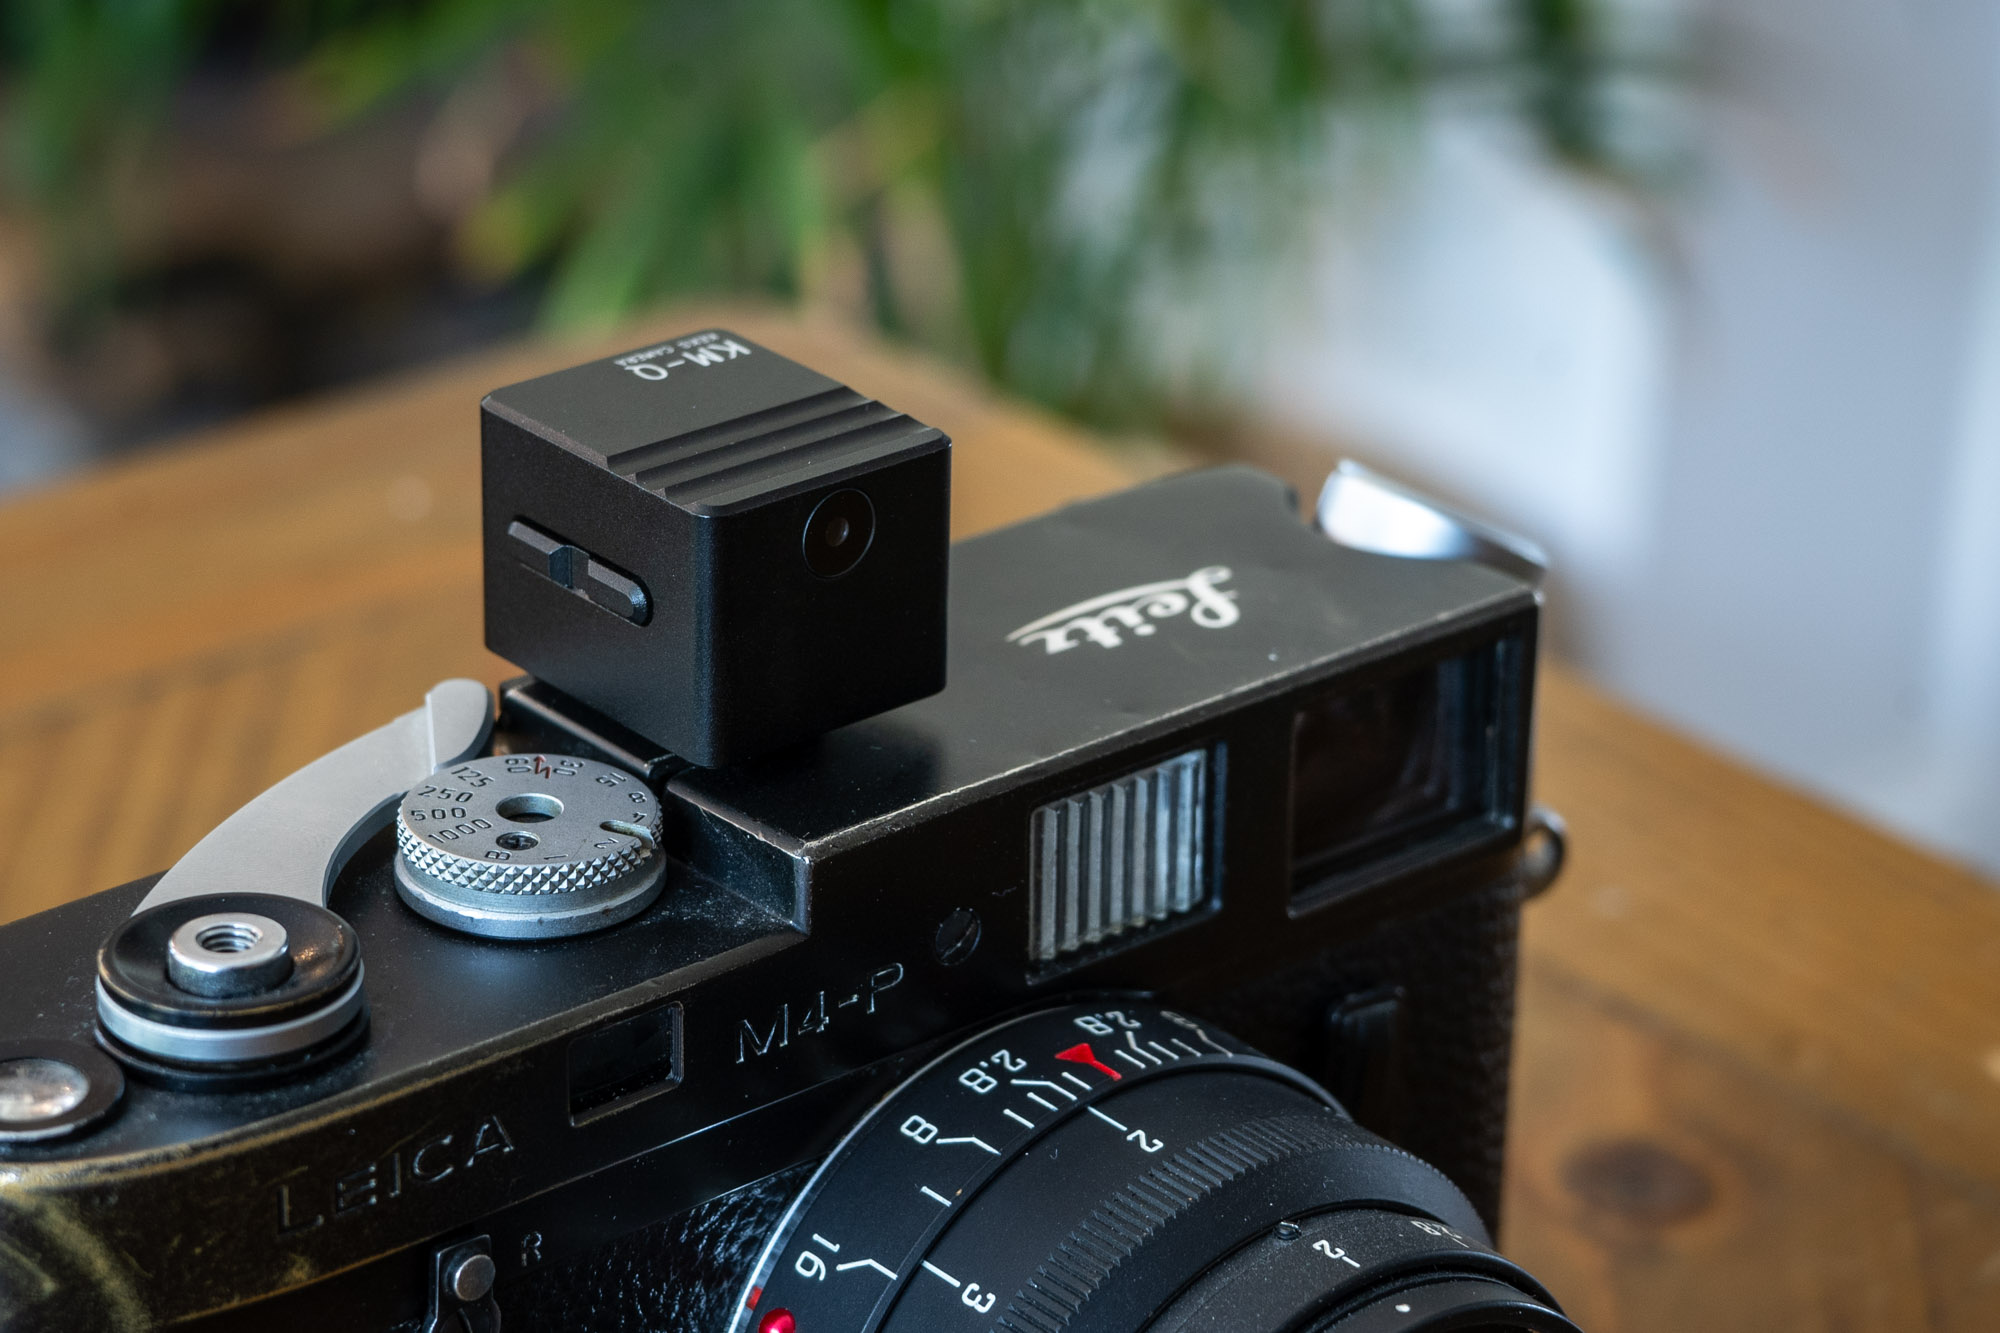
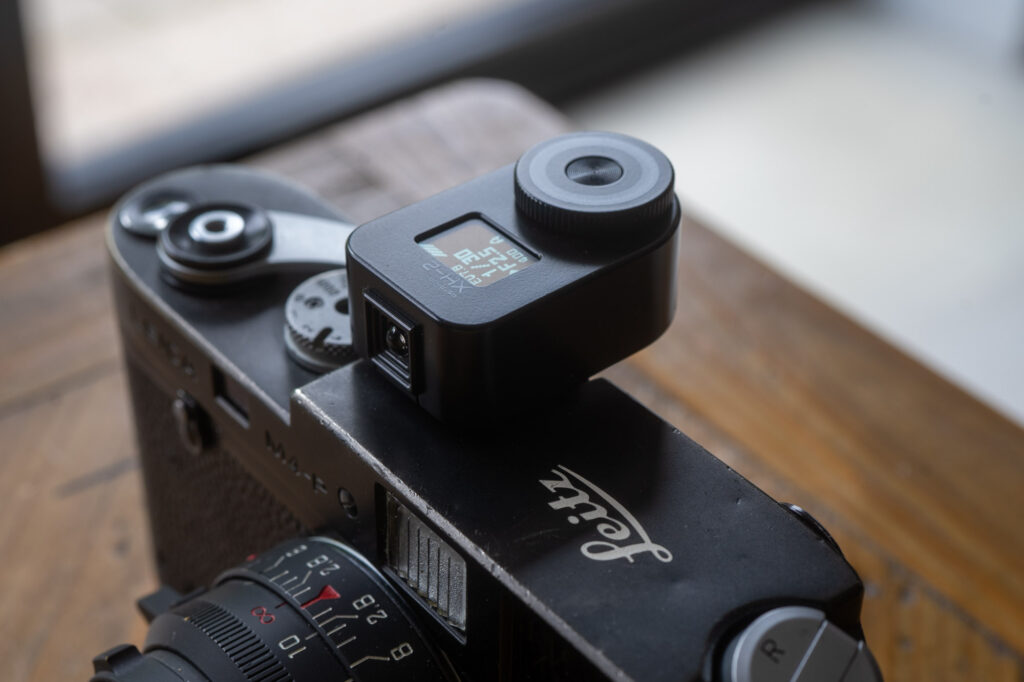
This all might sound quite bad, but that’s the nature of a compromise. Fortunately, with those cons come pros. The first is the biggy… or perhaps “smally” is the right (non)word. The Keks KMQ is very small. I wish my Leica Ic still had both of its shoes as that would allow me to demonstrate the fact that it would fit alongside a viewfinder even with such a small amount of real estate. That said, it probably doesn’t really need demonstration, it’s pretty obviously small. It’s also lightweight, and despite this feels well made. I’ve said this before, I’m a big advocate for the use of 3D printing within product manufacturing, but it’s hard to deny the added feel of quality a metal product brings when sat next to a plastic one. Mounting a metal meter on a metal camera feels more right too.
And then there’s the three versions it comes in. There a version with a screen on the top, a version with a screen on the back and even a version with a rear screen where the display shows the information upside down for use on the bottom of a Rollei 35 camera, and any other camera where this might be useful I guess. Though I feel a little like this latter option might be better implemented as a something that could be achieved via a combination of button presses on the standard version. For its size, it’s also pretty well feature packed.
Features and use
Before I get into this, just to make things easier – when I refer to buttons on the left or right I mean as you look at the meter from the back. When I say back I mean buttons toward you, and when I say front I mean buttons away from you.
To switch the meter on, press the back left button. This will display the ISO on the screen for a second or two. As mentioned, this can be overridden by pressing one of the right buttons to speed up the start-up time. The meter is switched off by pressing and holding the same button.
As with most of these shoe mount meters it has the ability to be switched between shutter speed and aperture priority modes. Once the meter is switched on, the front left button switches through the modes. Once selected, the buttons on the other side scroll through the settings. Press and hold and the settings are cycled quicker.
The exposure index (ISO) is set by holding the front left button then using the buttons on the other side to scroll through the settings.
The meter reads continuously, but the settings can be paused/locked temporarily by clicking the front left button. Clicking again returns the meter to continuous mode. Settings can also be scrolled through once the reading is paused too.
There is also an exposure compensation mode. This is accessed by switching the meter off by pressing and holding the front right button then the usual back left button. When the meter is switched back on, a 0 is initially displayed indicating that there is no exposure compensation applied. Pressing the right side buttons allows +/- 1 stop of exposure compensation to be applied to the settings. Press the back left button again to lock the settings. Useful for tweaking the meter’s accuracy to taste etc.
Specs
Product dimensions: 21 x 25.5 x 22mm
Metering angle: 30° average metering (Approximately 50mm Lens view), Reflective light
ISO: 50-8000 (in 1/3rd stops)
Aperture: f/1.0-f/64 (in 1/3rd stops)
Shutter speed: 30s-1/6400s (in 1/3rd stops)
Display: 0.42” OLED Display
Battery life: Over 20 hours with display on (Over 6 months without use)
Battery: 3.7v 120mAh
Charging time: ~30min
Charging port: Type C
Weight: 18.5g
Battery
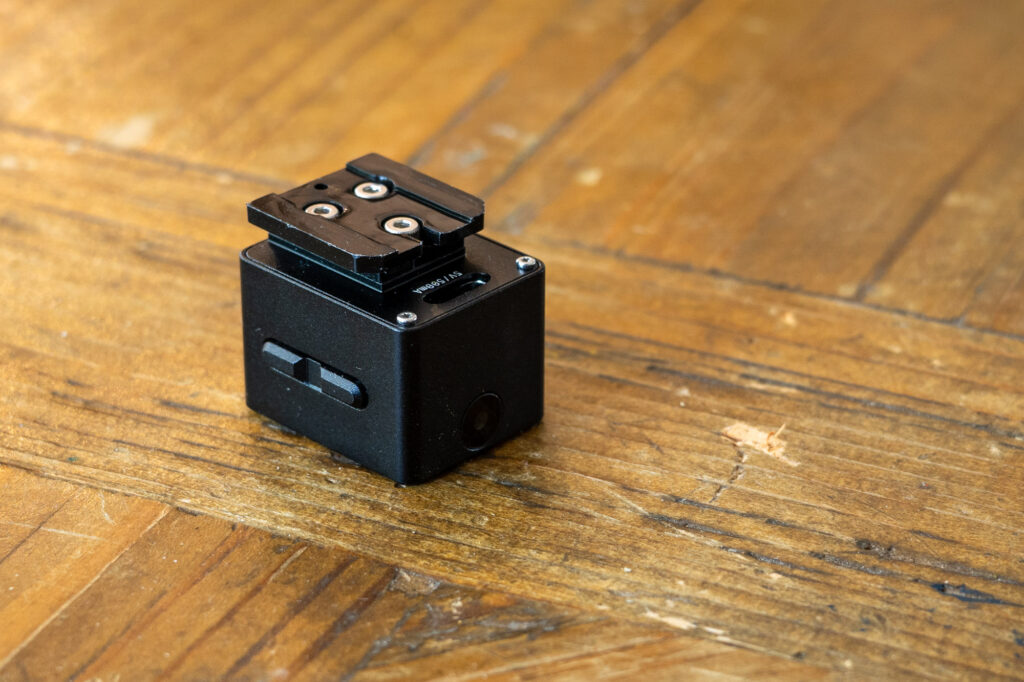
Always something of a bone of contention with some, but like a lot of meters – though unlike the Reveni – the Keks KMQ has a USB-C rechargeable internal battery. Personally, I am happy with this, but I know many worry about the e-waste issue – feel free to have this argument in the comments… …
Camera mount
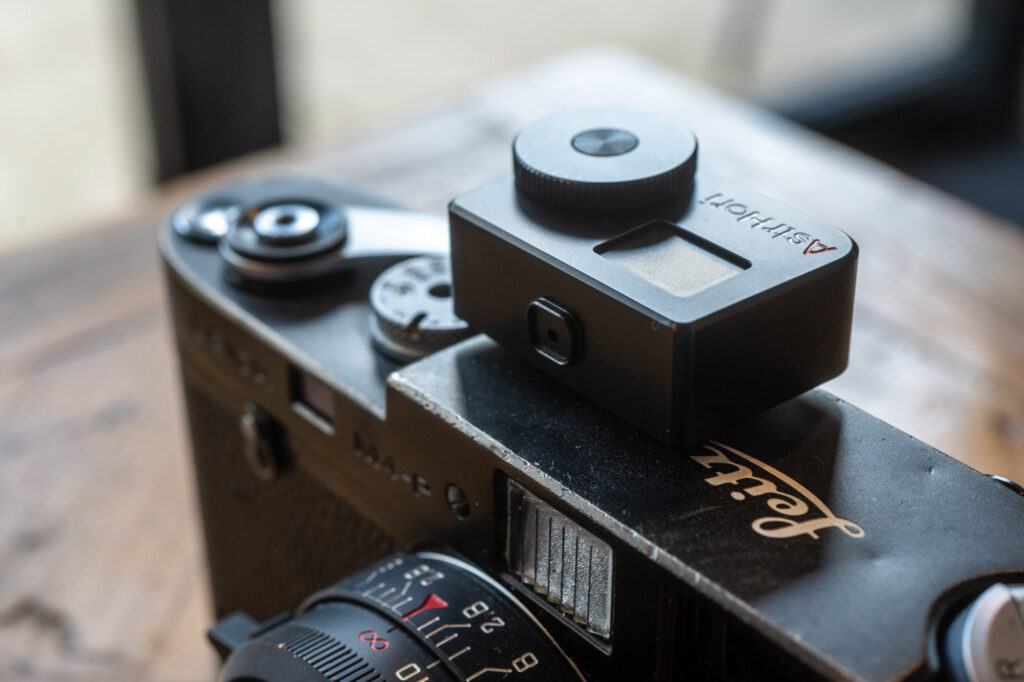
Possibly the only less-premium feeling part of this meter is the shoe mount which is plastic rather than metal. I feel a little spoiled by the mount on the recently reviewed Astrhori meter which was sprung and felt like a great fit on all the cameras I tried it. I often think, quite fairly I believe, that Keks are possibly the most premium brand of shoe mount meter, but I think they could learn from the Astrhori shoe mount here.
Accuracy
As with all the Keks meters I have tried, I can find no fault with the accuracy of the Keks KMQ.
Final thoughts
You can probably tell reading this review that the Keks KMQ isn’t my favourite shoe mount meter. But, that’s definitely not to say that I don’t see the merit in it – it’s just not for me. I also really liked the Reveni when it first came out, and I think the Keks is overall a better meter due to its slightly nicer build quality and easier to press buttons. This issue for me is that I just don’t need a meter to be this small. I don’t even have a camera to demonstrate the advantage of its smaller size. As such, in use, I feel like I am just working against the compromises that the smaller size brings.
Of course, if you have a camera that this meter will suit – a camera that no other meter will fit on, then it is hard to argue with the advantages it brings. Just like the Reveni, the Keks KMQ answers the question of the need for a tiny meter, but it does it in a way that feels more robust, arguably looks nicer on the camera and has buttons that are easier to press.
Share this post:


Comments
Louis A. Sousa on Keks KMQ – a new answer to the need for tiny light meter?
Comment posted: 14/10/2024
Alan Simpson on Keks KMQ – a new answer to the need for tiny light meter?
Comment posted: 18/10/2024
Comment posted: 18/10/2024
Andrew Thompson on Keks KMQ – a new answer to the need for tiny light meter?
Comment posted: 30/12/2024
I can’t for the life of me get the exposure compensation setting to appear, anybody help? My other criticism is the total lack of any manual. Just a short video on YouTube which isn’t very useful out in the field.