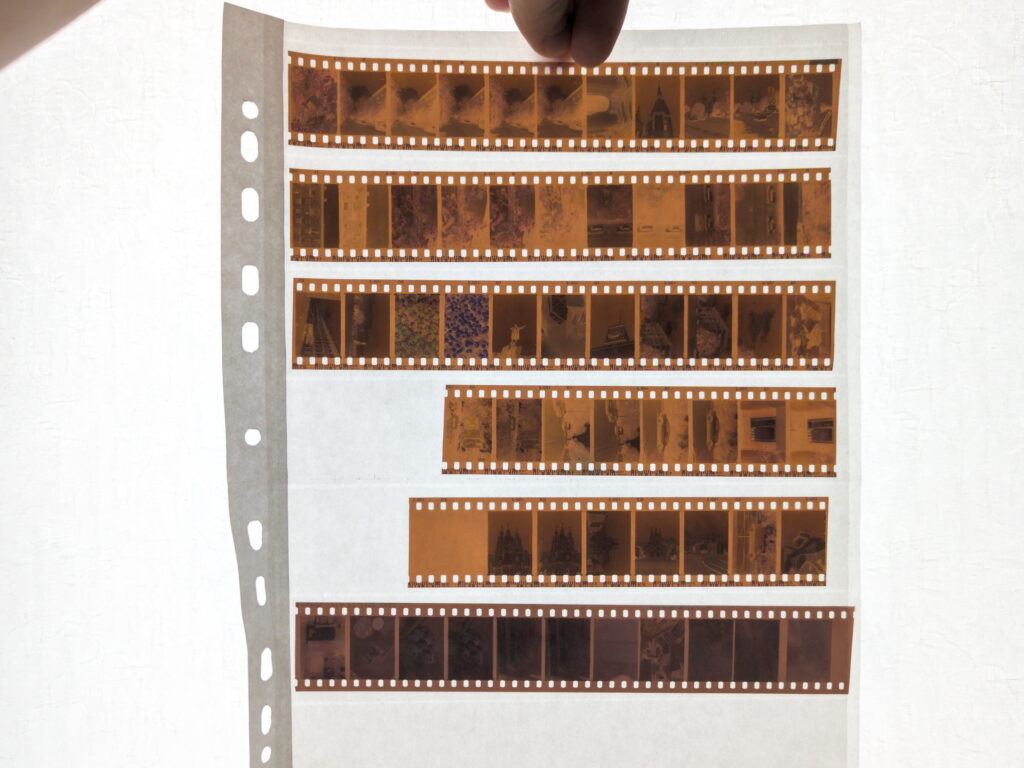
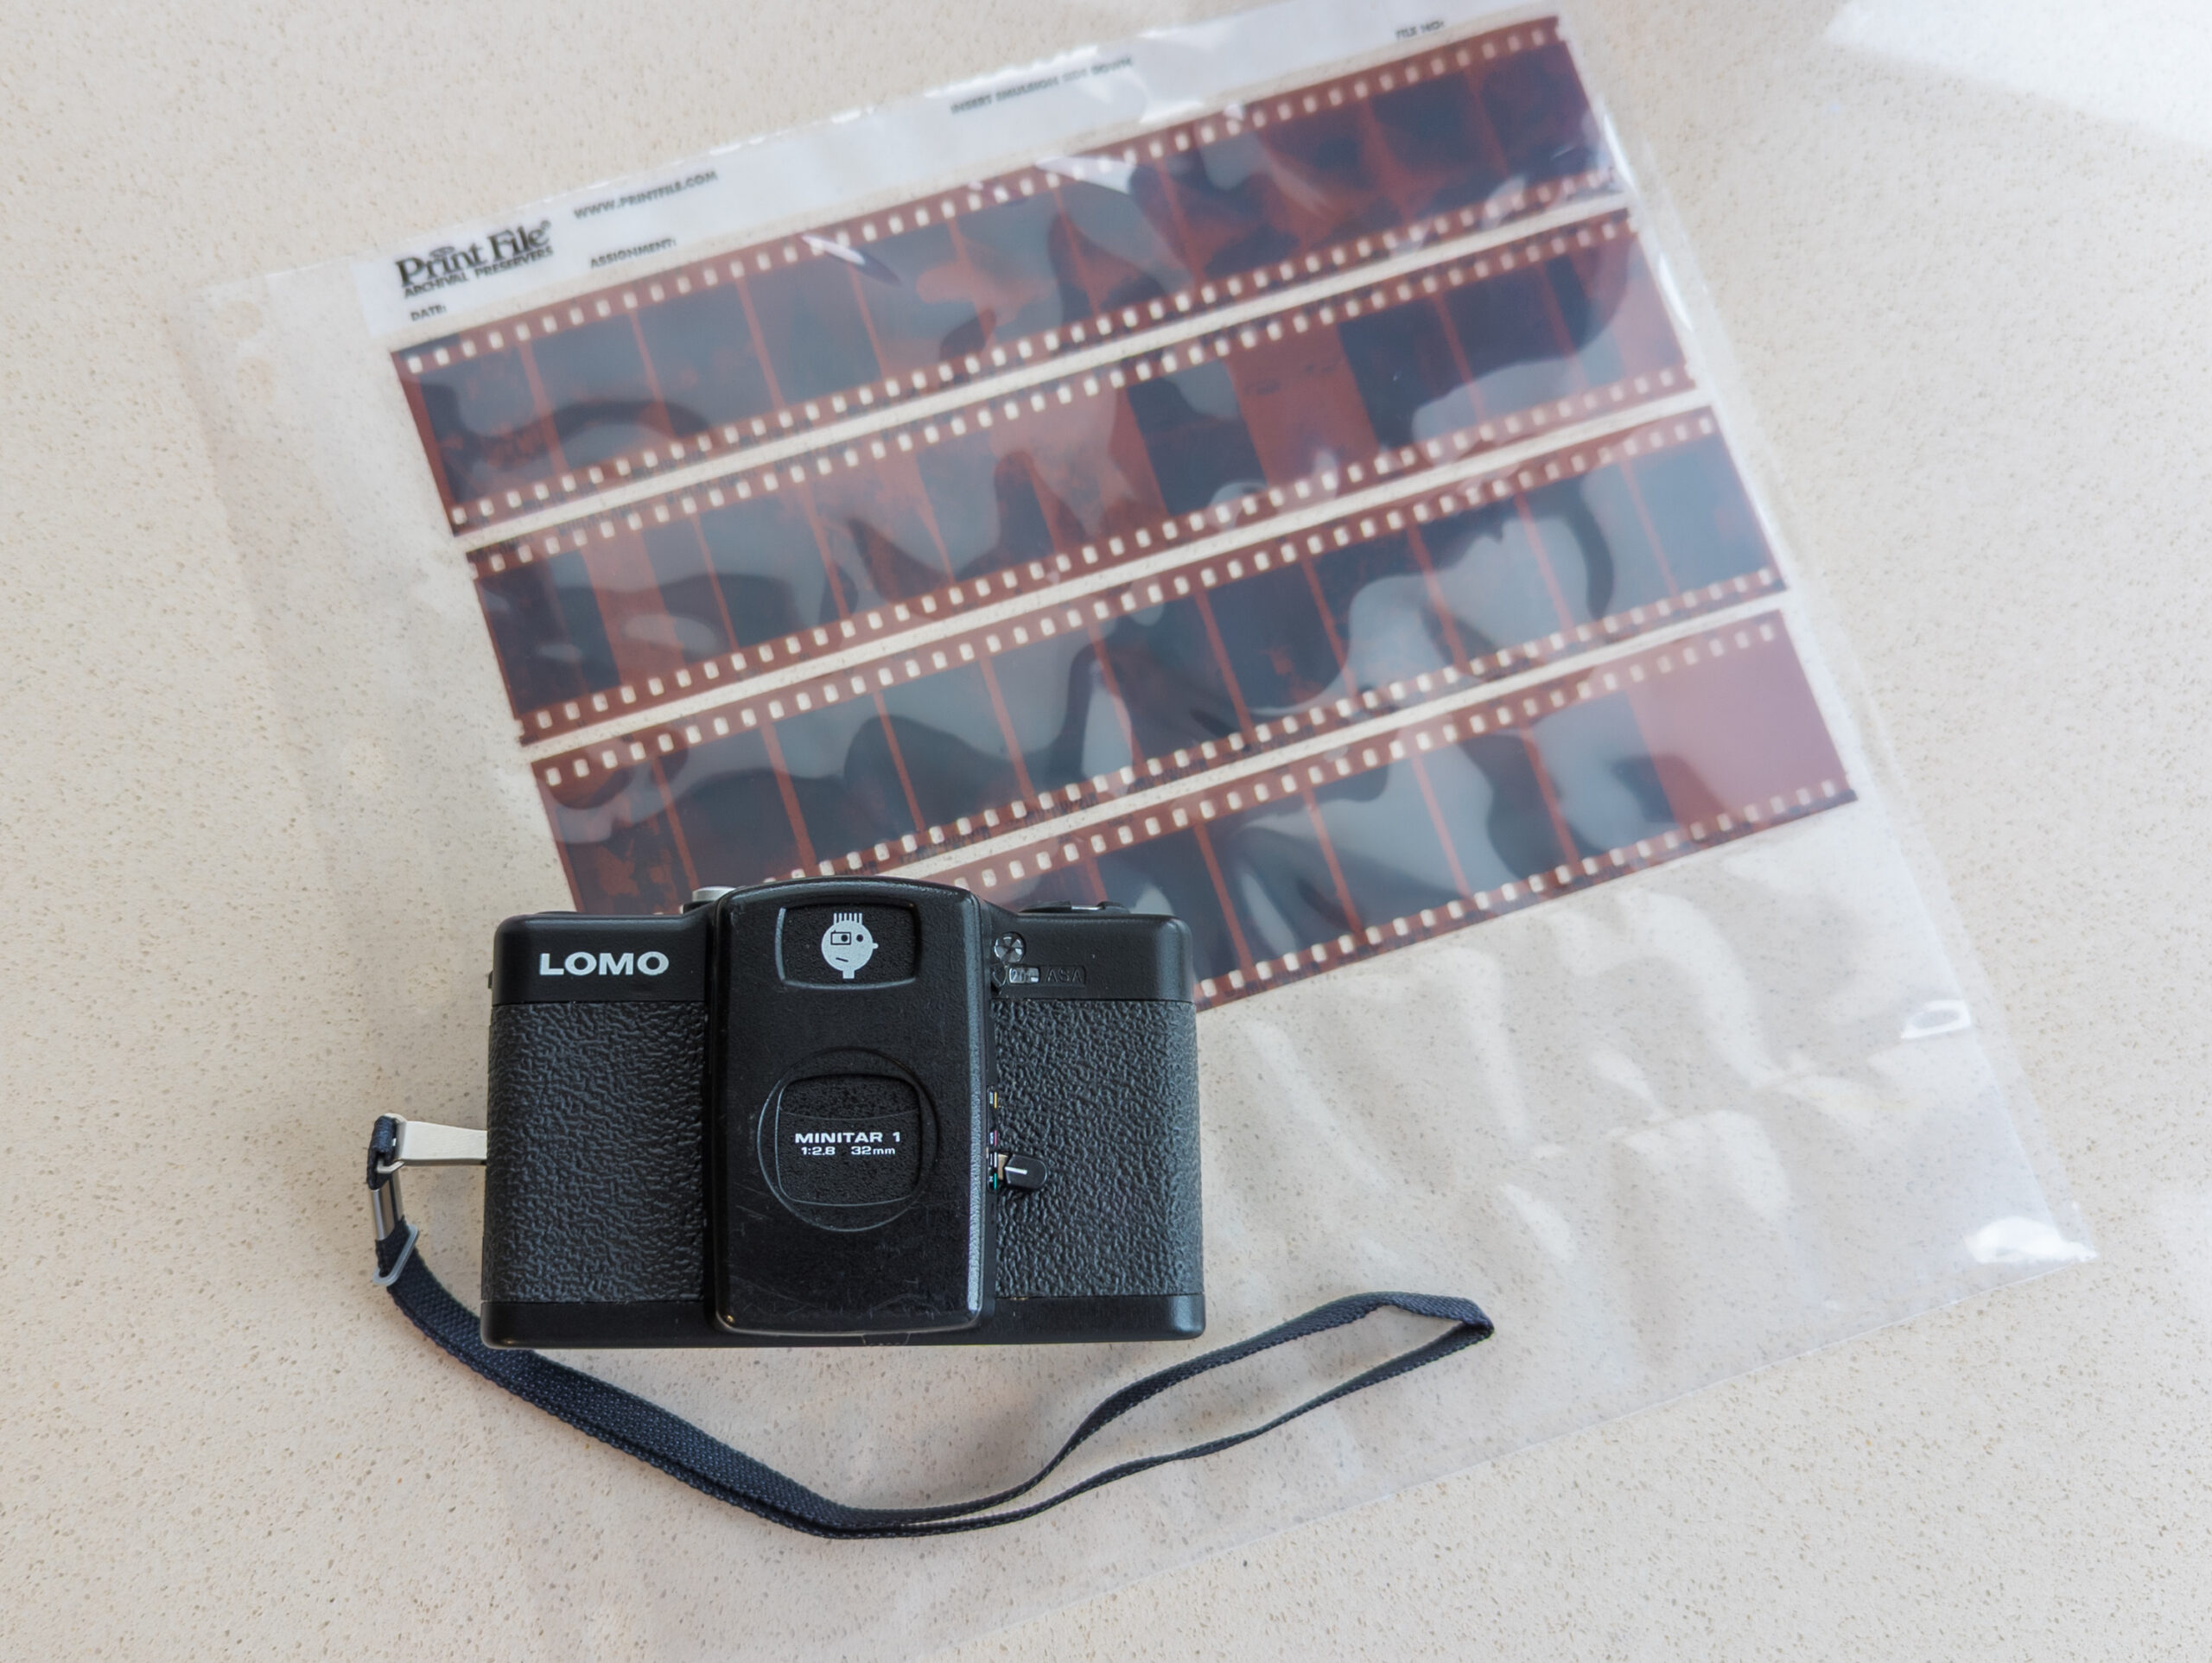
I made a half-frame mod for the Lomo LC-A and LC-A+, inspired by a clipping from the Russian magazine “Foto&Video,” issue #8 from 1999. This mod has been brewing in my backlog since mid-2015, when I first came across it, and up until fall 2023, when I spent a couple of weeks making the prototype and shooting the first roll of film with the modified camera.
Sample photos can be found in my LomoHome, under the tag #lcahf (clickable).
This is an advanced-level project that requires fabricating new metal parts and 3D printing. Besides the camera itself, you’ll also need a screwdriver, tweezers, and two small pieces of opaque black electrical tape.
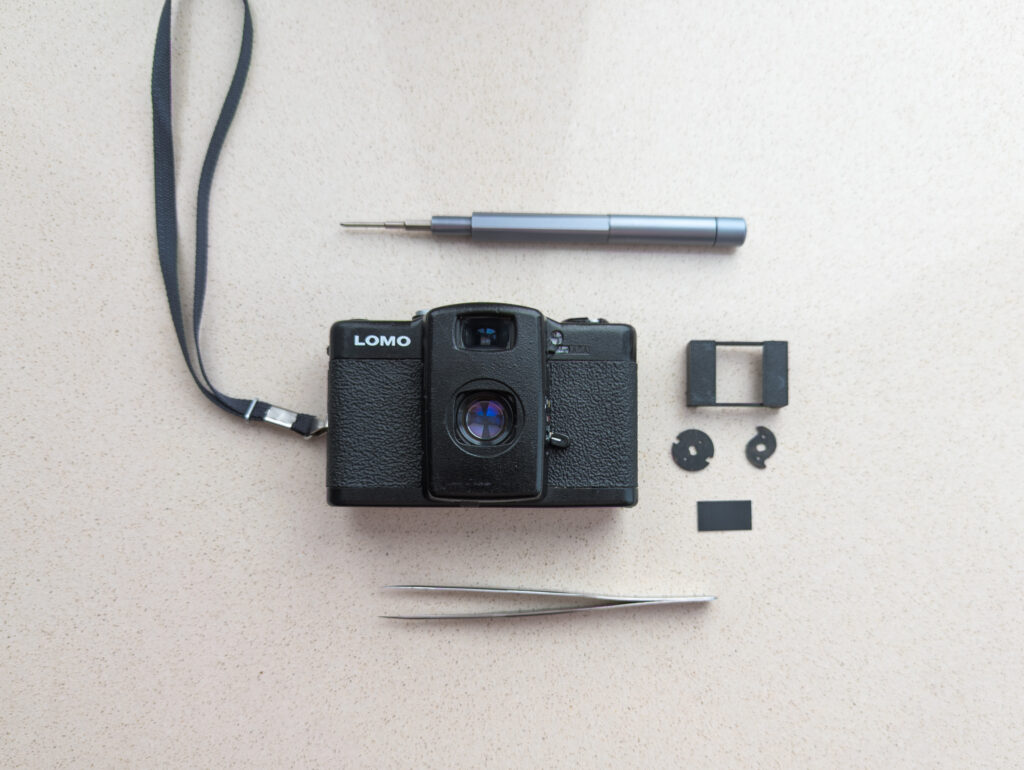
Step by step, I’ll describe the modification process using my Lomo LC-A+ Russian Lens as an example. Thankfully, you don’t need to do a deep disassembly of the camera; you only need to remove the front and bottom panels. I divided the process into 3 main steps, from most difficult to easiest:
- Shutter cocking and film advance locking mechanism.
- Masking the frame window.
- Masking the viewfinder.
Shutter cocking and film advance locking mechanism
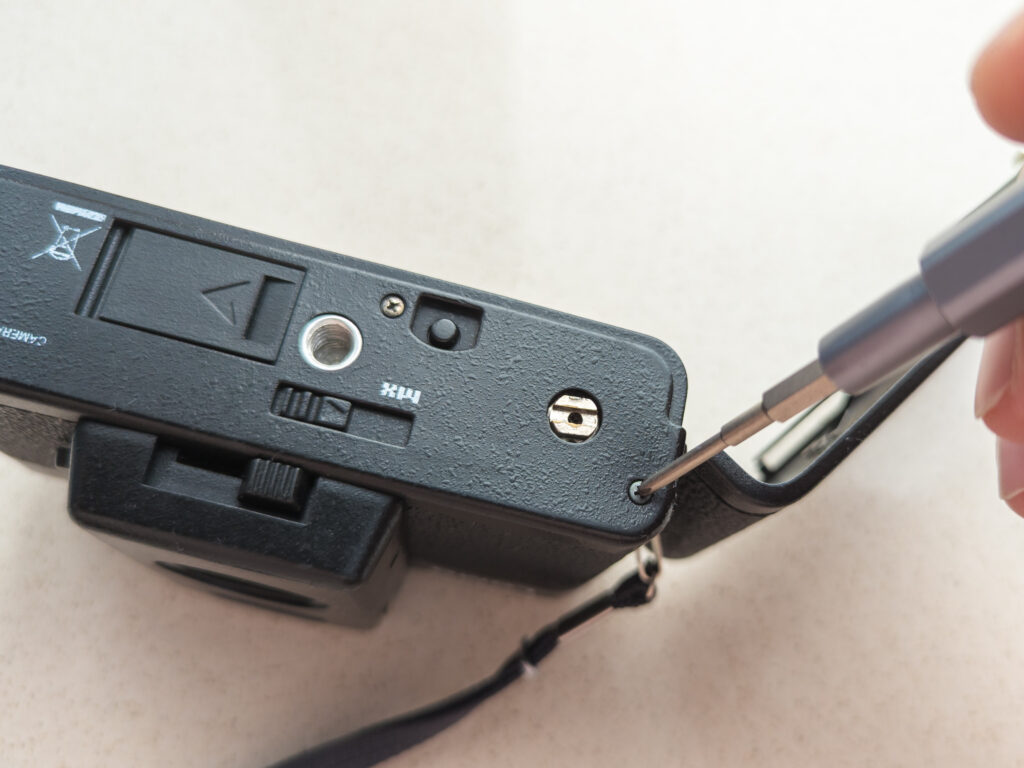
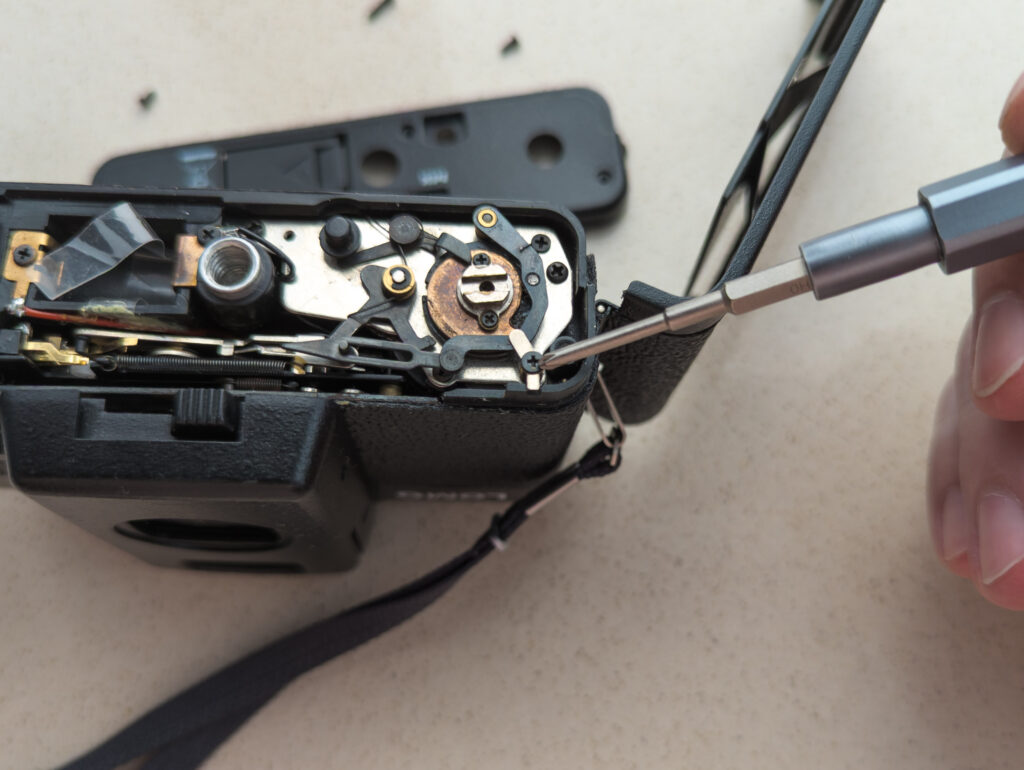
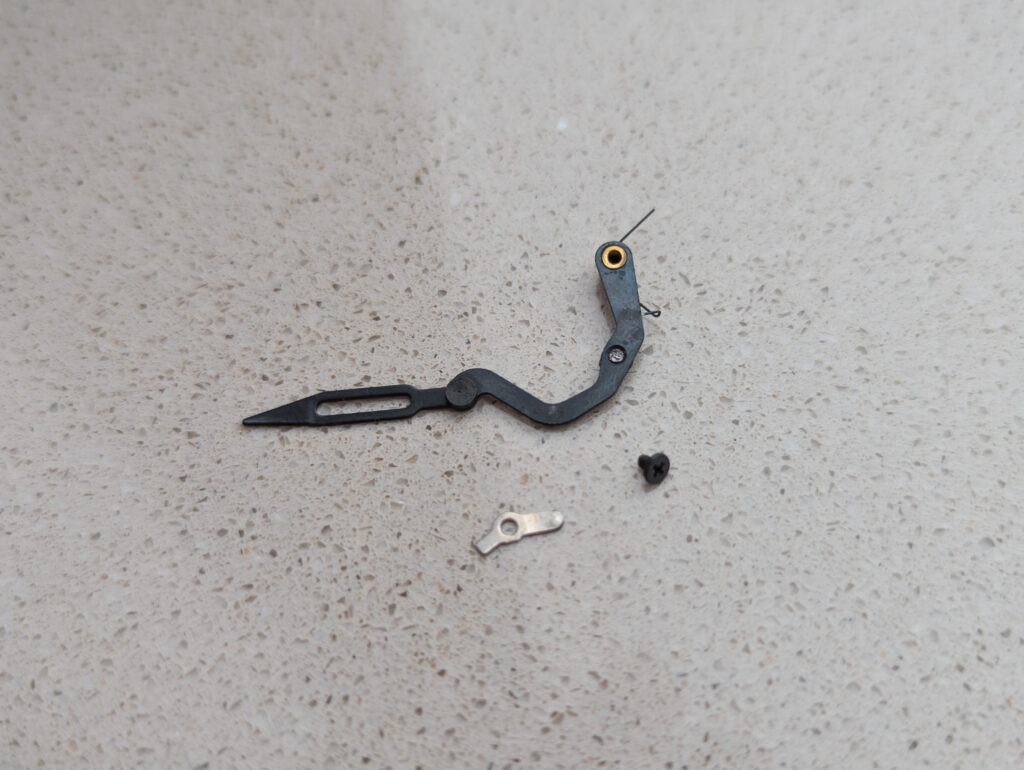
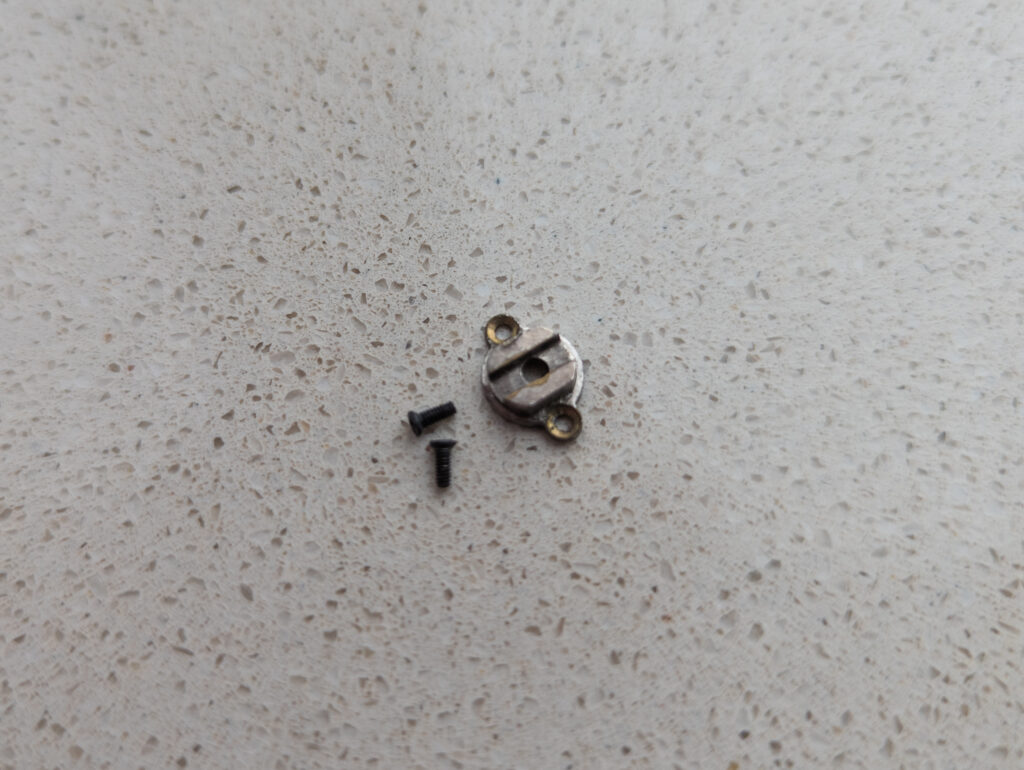
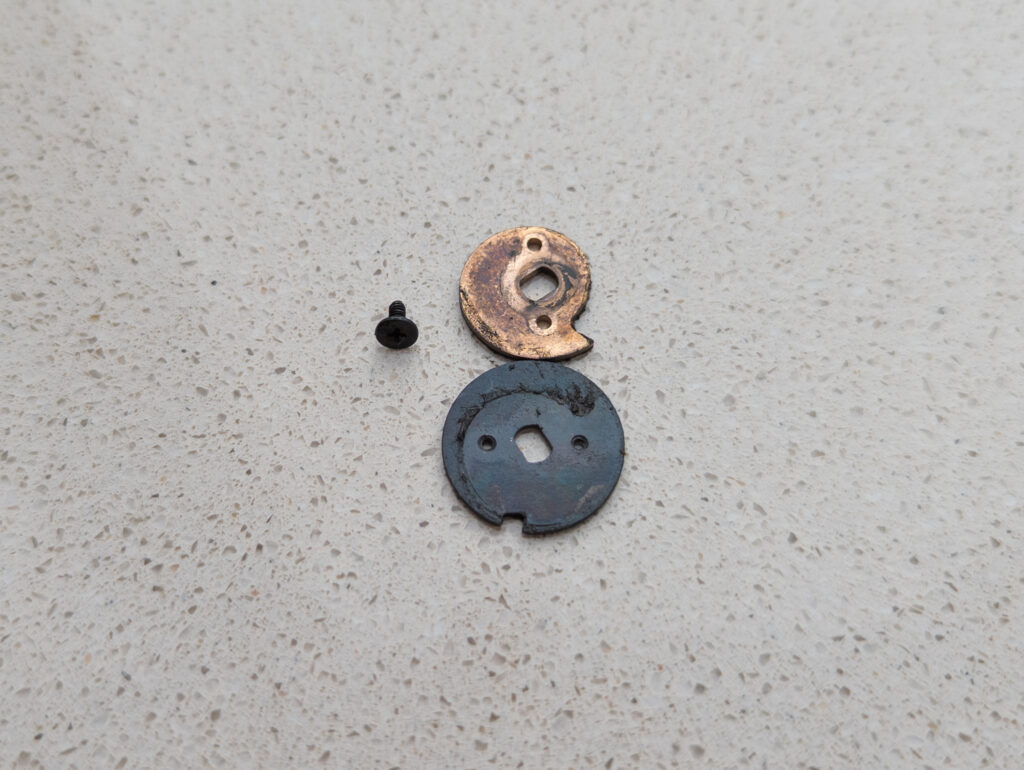
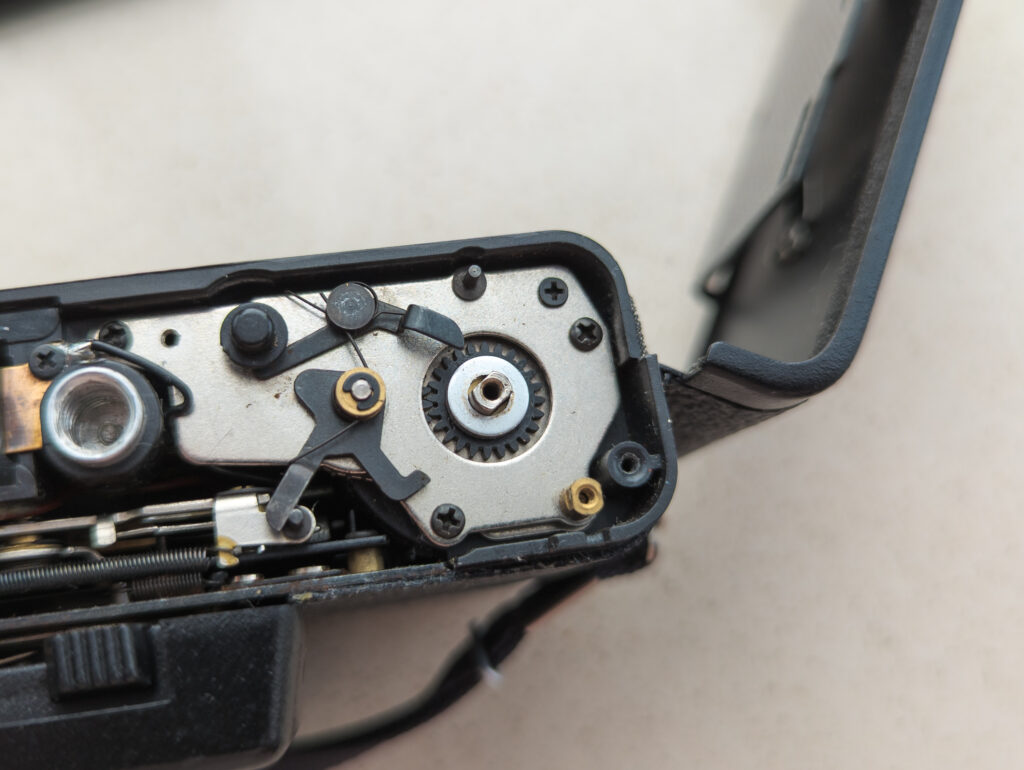
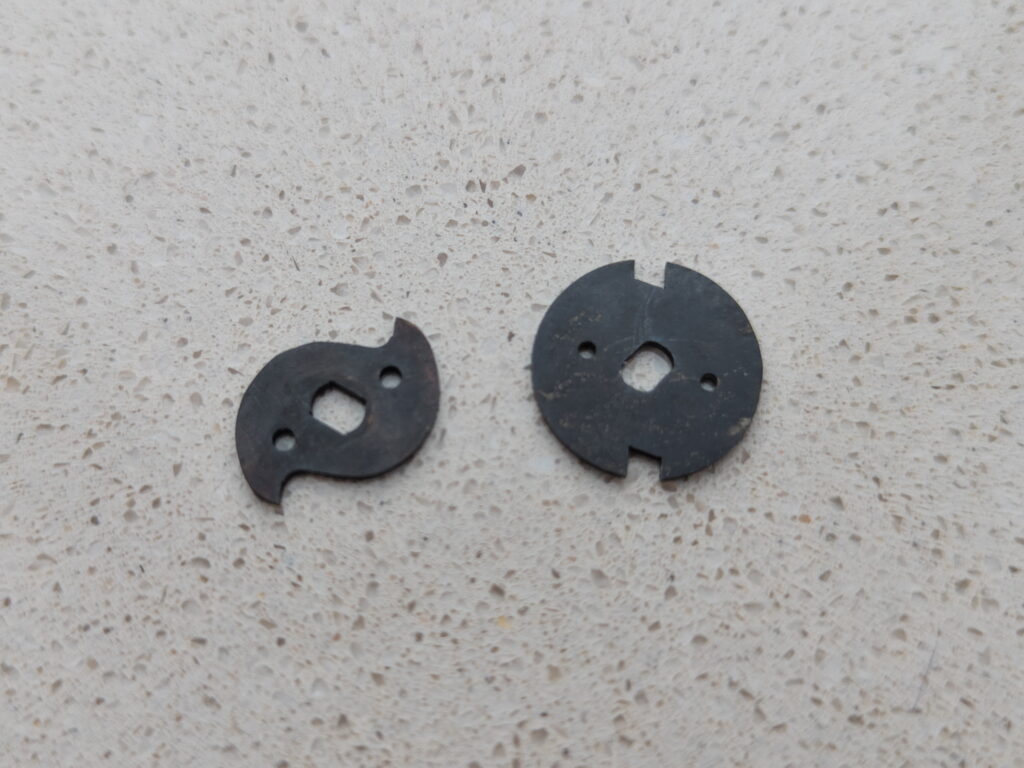
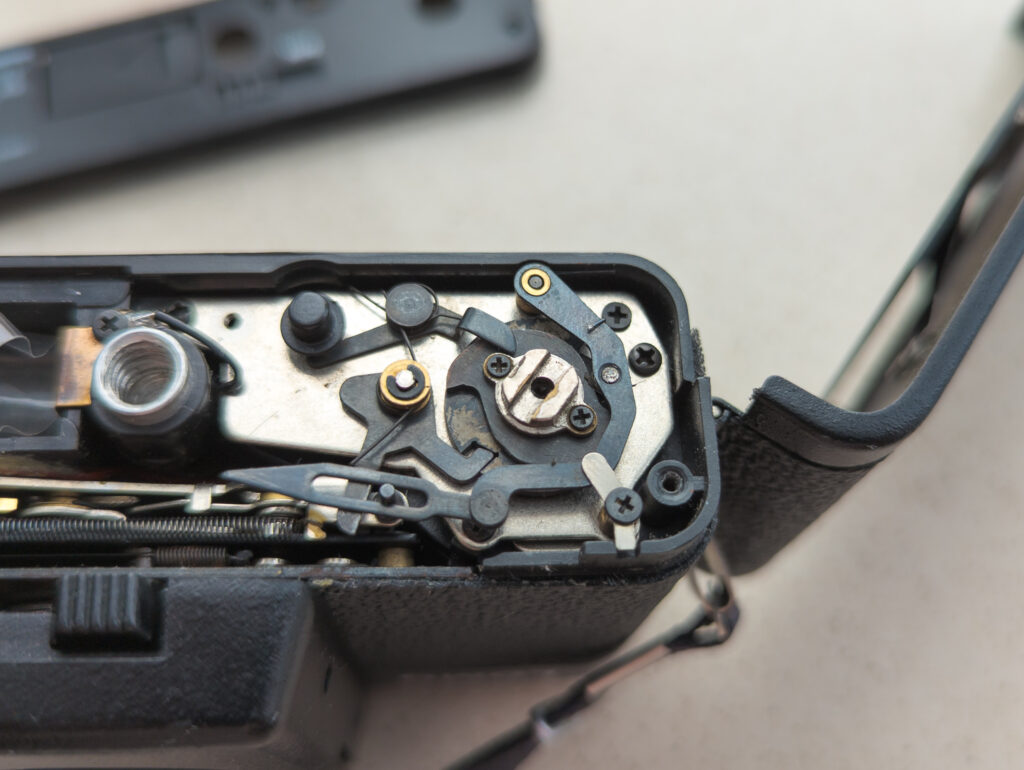
The most complex and difficult part of the modification is creating a new shutter cocking cam and a film advance limiting wheel. The cam is needed so the shutter cocks with half the movements compared to the full-frame version, and the locking wheel ensures the film advances correctly with the new frame size while maintaining stable inter-frame spacing. These are metal parts in the original, so the new ones should also be made of metal. I used laser cutting followed by manual adjustment, such as threading, grinding, polishing, and blueing of steel with rust protection. Both parts are located under the bottom cover of the camera; you need to unscrew 3 screws, install the new parts, and screw them back in place.
Masking the frame window
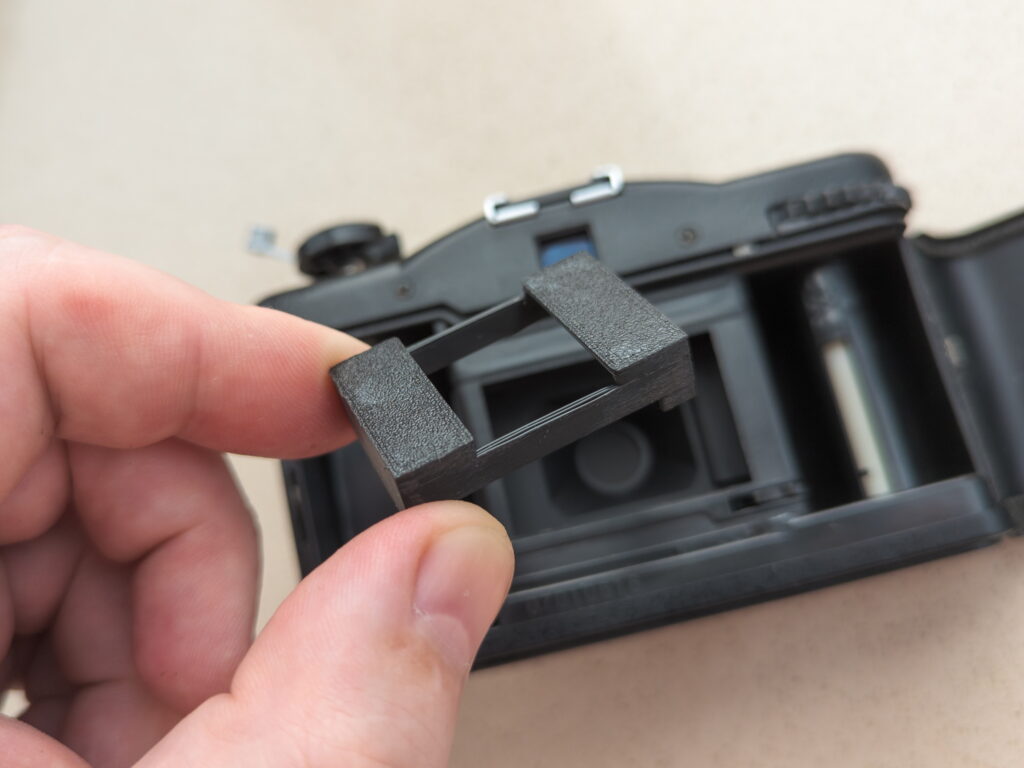
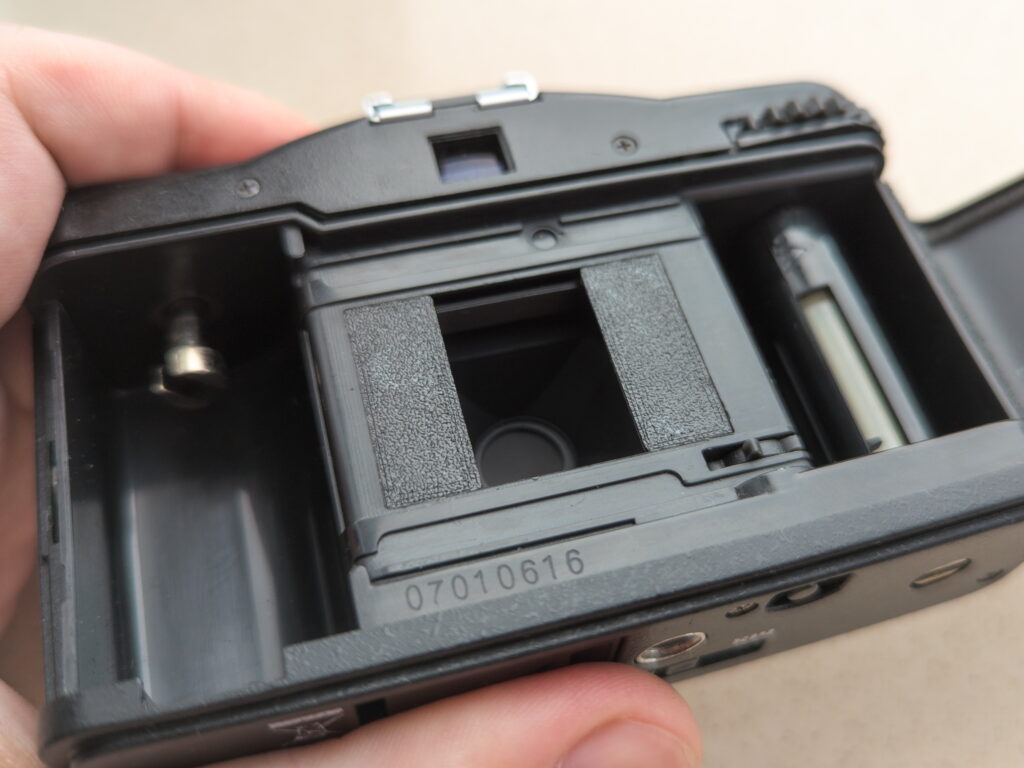
Next, you’ll need an insert for the frame window to set the new frame format, 17 x 24 mm instead of 36 x 24 mm. I was inspired by a part from my Lomo LC-W to create a new one for the LC-A, with minor adjustments considering the camera’s internal structure, but it’s essentially the same part. No disassembly required; just open the camera’s back door.
Masking the viewfinder
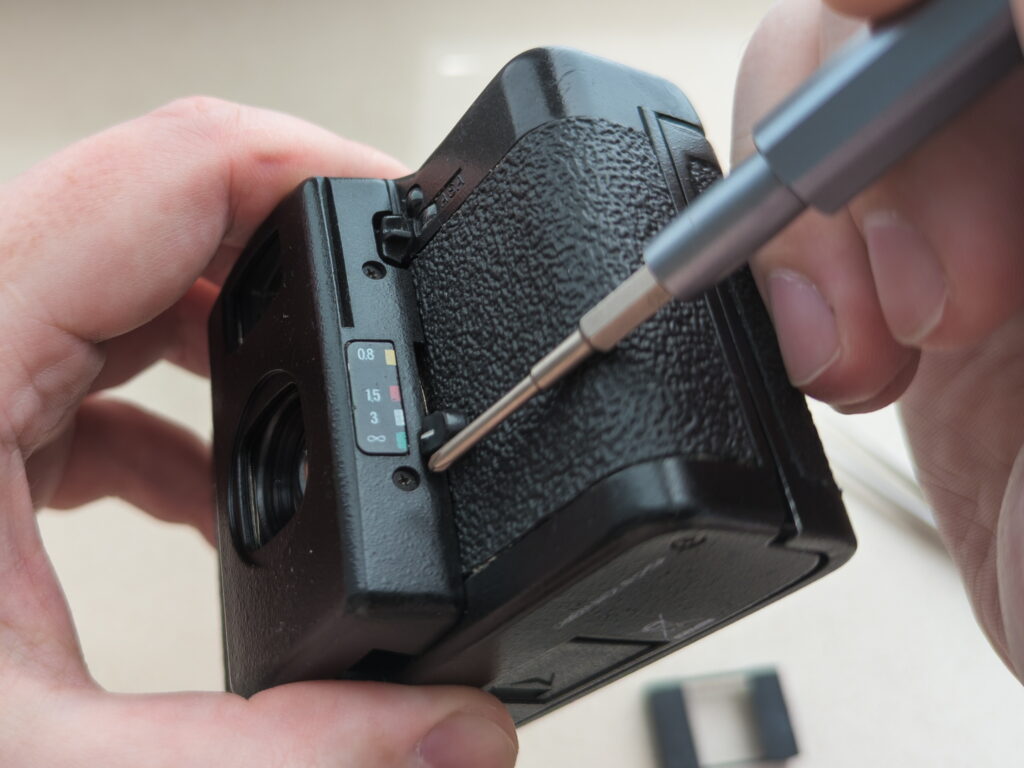
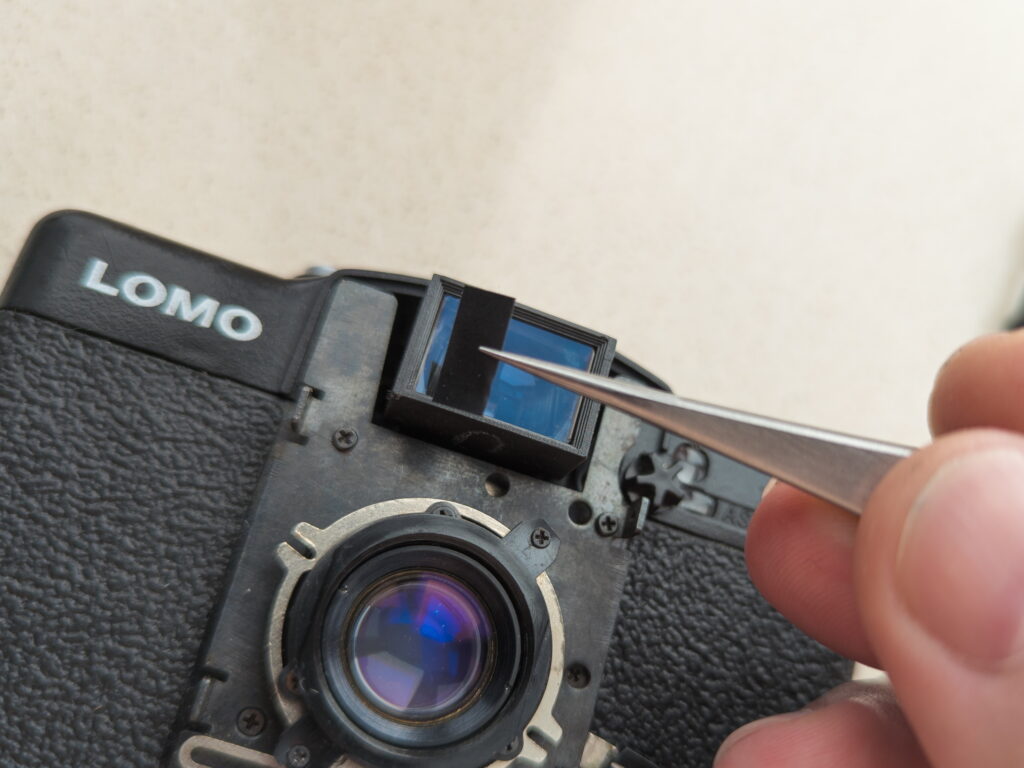
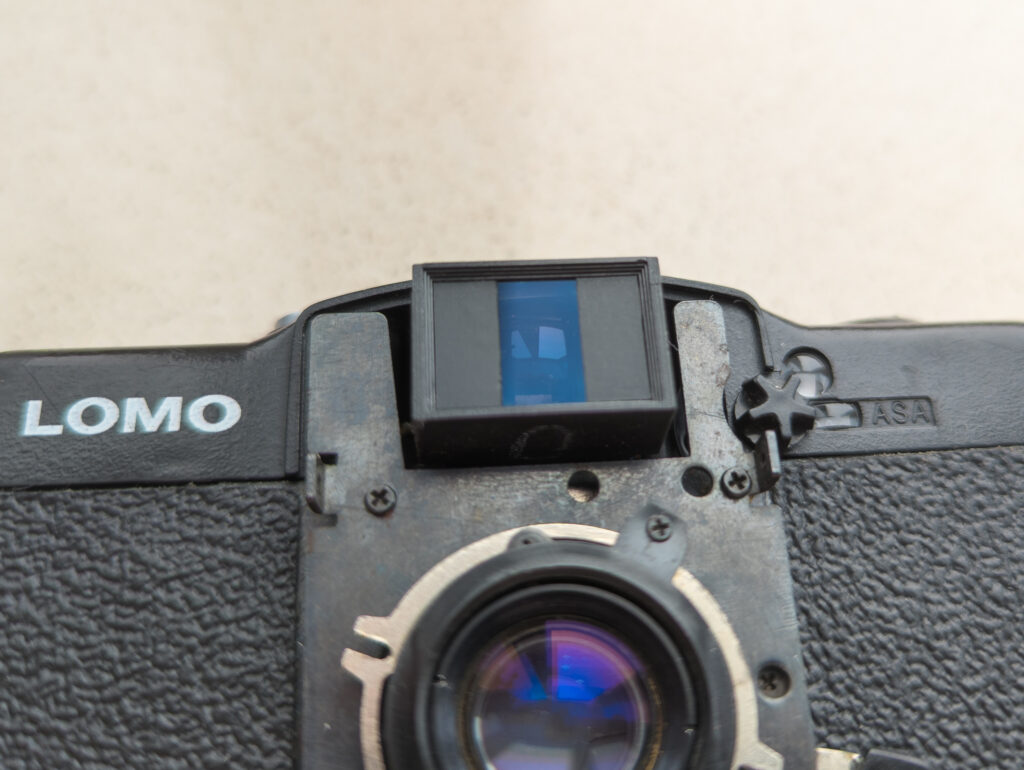
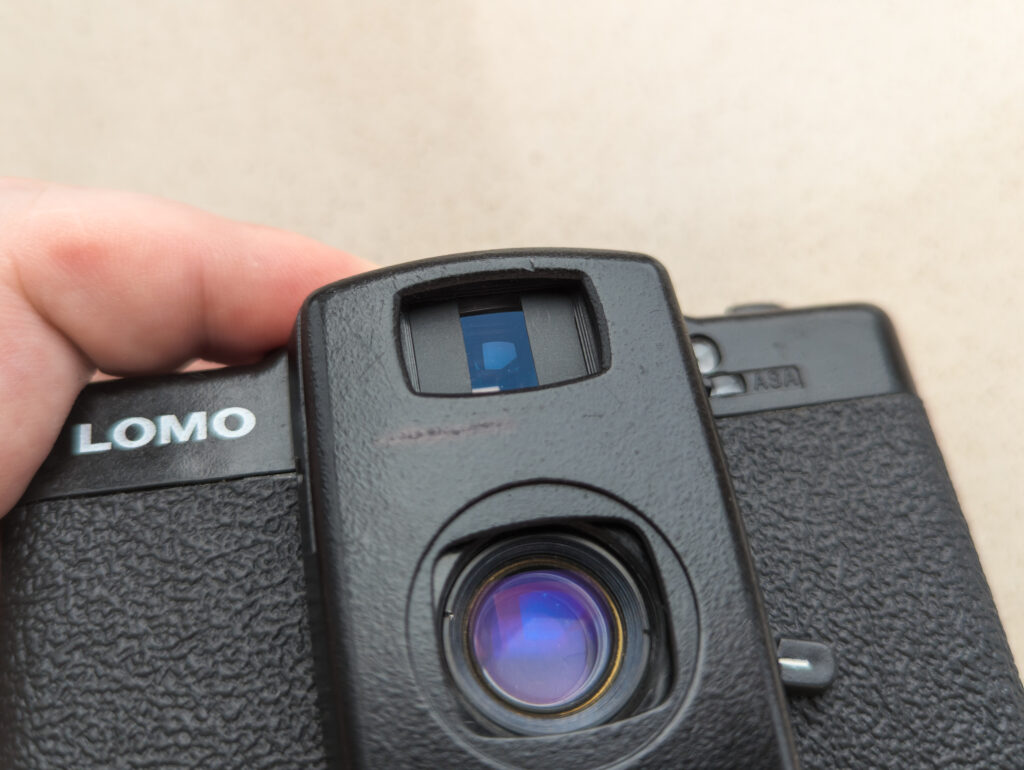
The final, easiest step is masking the viewfinder. You’ll need 2 pieces of electrical tape, 5 x 11 mm each (I used Oracal self-adhesive film). For convenience, temporarily remove the front panel. Stick tape to the edges of the viewfinder as shown in the photo. This will create a fairly accurate frame for the new format.
Finally
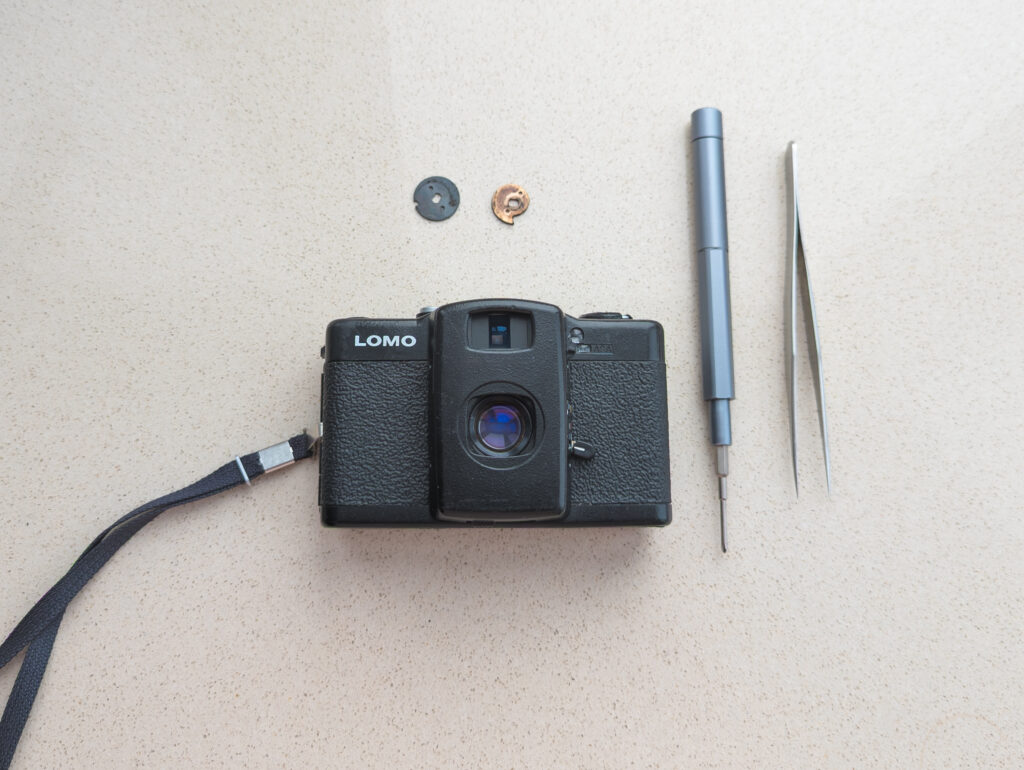
In the end, now it’s half-frame camera, it has a new frame size, 17 x 24 mm instead of 36 x 24 mm. This affects various properties and qualities of the cult compact camera:
- Number of frames: This is the most notable feature; now there are twice as many frames. You get 72 (almost 80 in-fact) frames from a 36-frame roll, around 50 on a 24-frame roll, etc.
- Lens performance: The most sharp, central part of the lens is now used for shots. Its resolving power is sufficient for good-quality shots, even with the reduced frame size.
- New focal length: Technically, it’s the same Minitar-1 lens with a 32 mm focal length, but the angle of view is now equivalent to 48 mm, almost 50 mm familiar to many in the film photography world. A new experience in framing for compact camera lovers, accustomed to an wider angles, from 40 to 28 mm.
- Vignetting: The signature vignetting is lost, as it falls outside the new frame. For some, this might be a significant loss, but ultimately, the shots come out better lit across the entire frame.
- Default portrait orientation: For landscape shots, the camera now needs to be rotated to a vertical position. You get used to it naturally, thanks to the masked viewfinder.
- Faster shutter cocking: The camera is ready for the next shot with fewer movements, as the shutter cocking wheel previously needed to be turned twice as much.
- New usage scenarios: I’m talking about shooting diptychs and triptychs. These shots can be easily scanned in any photo lab, as they fit into standard frame sizes of 36 x 24 mm for diptychs or panoramic 58 x 24 mm for triptychs. Just make sure to inform the lab of your preference before handing over the film.
- Frame counter: Its operation hasn’t really changed; it’s still related to the physical length of the film and counts full frames, shifting by 1 division every 2 half-frames.
Feel free to ask any questions.
You can find me on Lomography and Instagram.
Share this post:


Comments
Michael Zwicky-Ross on How I modded Lomo LC-A+ into half-frame camera
Comment posted: 14/12/2024
Comment posted: 14/12/2024
andy hertig on How I modded Lomo LC-A+ into half-frame camera
Comment posted: 15/12/2024
I still have LC-A's... how brilliant to have them as a half frame.
Regards, Andy
Comment posted: 15/12/2024
Alexander Seidler on How I modded Lomo LC-A+ into half-frame camera
Comment posted: 17/12/2024
Lennu Jansson on How I modded Lomo LC-A+ into half-frame camera
Comment posted: 08/01/2025
Comment posted: 08/01/2025