Most of my other lens reviews have been pretty straightforward. I’d offer a little bit of their history followed by physical characteristics, compatibility issues, and finally my subjective impressions on the images they create. I try to stay down to earth, especially when writing about Leitz/Leica lenses or those with cult-appeal, in order to demystify them. I figure in a time when the prices of vintage lenses are skyrocketing, the last thing we need is snobbery.
But how do I approach reviewing the lens that “the most influential photographic camera ever made” came equipped with? As far as I’m concerned, there are two major aspects that need to be covered. First – how does a 100+ year old lens design hold up on modern digital cameras, second – its conversion to M-mount. Its history might be key to some and from a marketing perspective might even be this lens’s main selling point, however once you start shooting with it other aspects start to matter much more.
Background
Unlike Nikon, Leica offers very little official vintage lens information online. This leaves you having to rely on articles, blog posts, and forum threads. If you spot any inaccuracies please shout in the comments. I’ll try to keep this brief (it’s not going to be brief) as the history of this lens as a stills photography tool is tied to a camera that’s been written about a lot so no need to repeat all of it here.
Before getting into cameras, Ernst Leitz GmbH was in the business of manufacturing microscopes and so the lenses they were designing were meant for this purpose. According to the information I compiled from various sources, the origins of the Summar 42mm lens design at Leitz date back to 1898 when Carl Metz first utilised the double Gauss design.
The design was further developed by Ernst Arbeit who in 1901 became head of the Photo-Optik division of Leitz (where Metz was employed). It was he who designed the Summar 42mm f/4.5 based on an earlier air-spaced Dagor lens. Some sources say this happened around 1907, others state Summar lenses were mentioned in a Leitz brochure as early as 1905. The Summar 42mm is a symmetrical design and features 6 elements in 4 groups. Due to their similarity, the Summar design was sometimes referred to as the Planar.
In 1911, tempted by the prospect of enjoying more creative freedom, Oskar Barnack left his job at Zeiss and began working for Leitz. A year later he was tasked with developing an aluminium bodied motion picture camera that was to use perforated 35mm film, back then known as Kine (cinema) film. One of the more challenging aspects of this job was the fact that at the time film emulsions were very inconsistent. Incorrect exposure could potentially mean wasting a lot of film.
Here’s where that “creative freedom” comes into play. The solution Barnack came up with to resolve this was building a single frame exposure tester that would then allow him to calibrate the cine camera for the particular film stock. But that “tester” was in fact a small stills camera, one he’s been hatching a plan to build for several years. See, Barnack was an avid photographer and hiker but had trouble lugging heavy cameras due to his asthma. He needed something much smaller and lighter. Not sure whether all this is merely anecdotal but I’d really love this to be true as it’s a pretty ballsy move – to use one’s job and its resources to bring your dream pet project to life.
Not sure what happened to the cine camera, but the exposure tester ended up what we now know as Ur-Leica, the first prototype of what would later become the Leica rangefinder camera. Barnack built three of them of which two survive, one body only and one with a built-in lens. For decades it wasn’t clear which lens was used for this purpose due to the lack of any external markings. Finally the opticians at Leica performed tests on it and determined the focal length is 42mm and the only 42mm lens in Leitz’s catalogue in the first half of 1910s was the Summar.
The camera was developed some time between 1913 and 1914. The first known photo taken with it in 1914 was of the Eisenmarkt building in Wetzlar. There’s still a commemorative manhole cover marking the spot Barnack stood when taking it. It would take almost a decade before the project could be taken further due to the eruption of The Great War.
While Ur-Leica definitely wasn’t the first stills photographic camera that used 35mm film, lenses that would cover this format weren’t all that common. Cine lenses were designed to only cover half-frame, and medium format lenses were large and bulky. However, while the 42mm Summar was designed with microscope use in mind, it turned out to be a great fit for this new purpose. It comfortably covered the entire frame without any hard vignetting and was very small which complimented the form-factor of this new device.
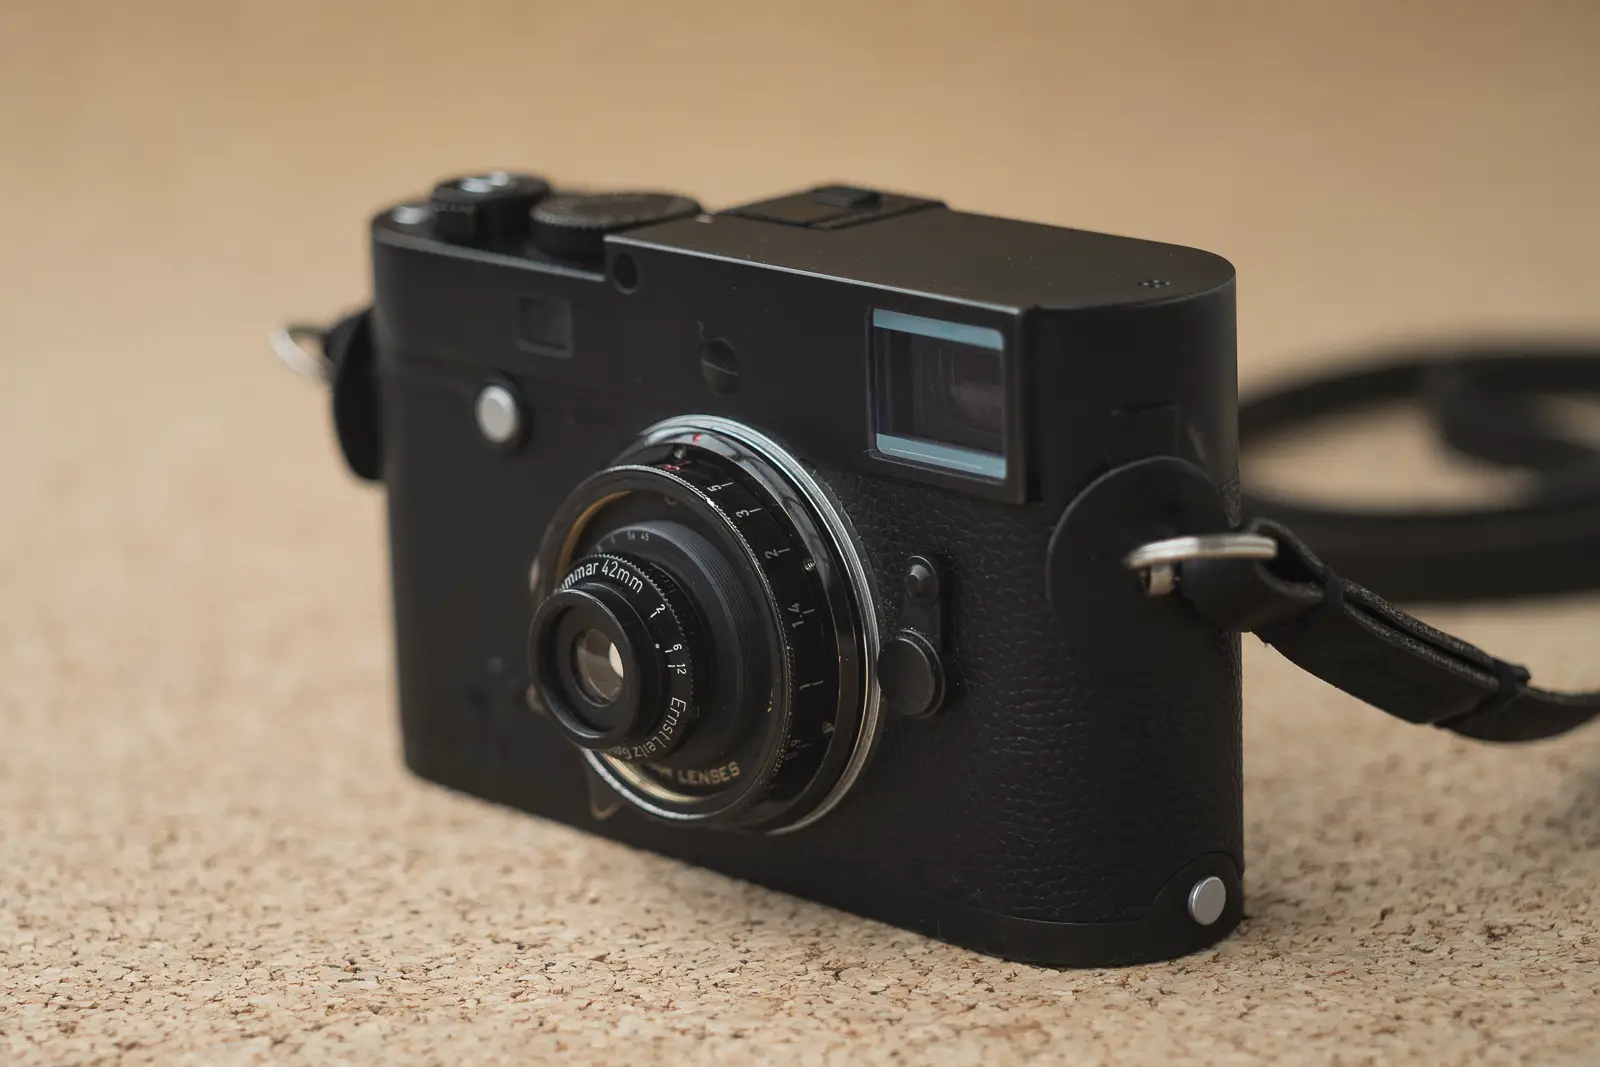
Total production numbers of the lens are anyone’s guess. But they were likely released in dribs and drabs until as late as the 1980s based on the relative scarcity of this lens nowadays. Early copies were brass and starting around 1950 they were painted with black lacquer. While the optical design remained unchanged, coatings were later added. My particular copy is estimated to have been released in the early to mid 60s. It features amber and purple hue coatings on some of its elements in line with other Leica lenses from that period. Most of them were likely purchased by universities and research labs where perhaps they still sit on a shelf somewhere.
Those 42mm Summars that ended up in photographers’ hands were either used for macrophotography on a bellows/extension tubes, custom-converted (Sadayasu Miyazaki of MS-Optics definitely did at least one), or used in custom-made replicas of the Ur-Leica. They remain relatively unknown to this day, although they definitely get more exposure since it was uncovered they were used in the Leica prototypes and of course thanks to Skyllaney’s effort to convert a batch of them to the M mount.
Build and handling
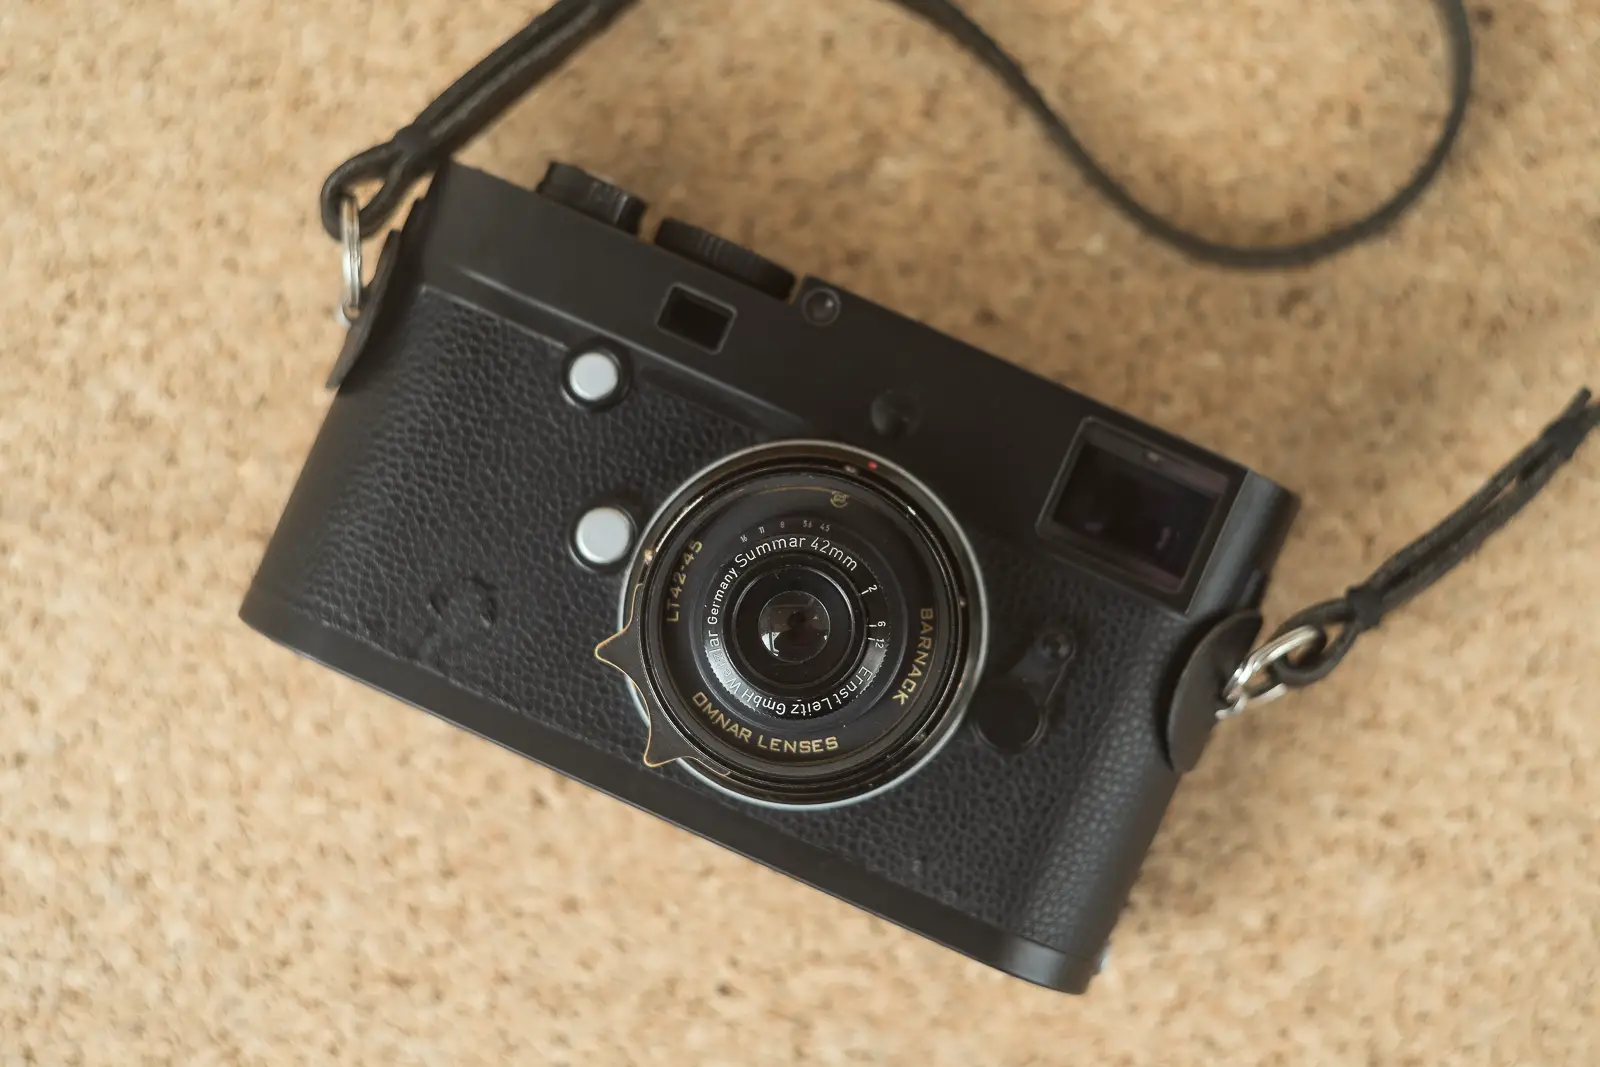
The copy being reviewed is the Omnar LT42-45 Barnack – Skyllaney’s conversion using the Omnar lens conversion platform. Therefore the majority of remarks on usability will be about the conversion and not the lens itself. The Omnar is made from brass and painted in black lacquer by Camerakote. It features a brass focusing tab but no infinity lock. The base of the lens is about 11mm thick and extends to 15mm when focussed at minimum distance. It’s roughly the same diameter as the mount. The lens itself sticks out by a further 7mm. The mouth of the lens is a mere 20mm. It weighs 127g. Suffice to say the lens isn’t visible in the viewfinder of the Leica M.
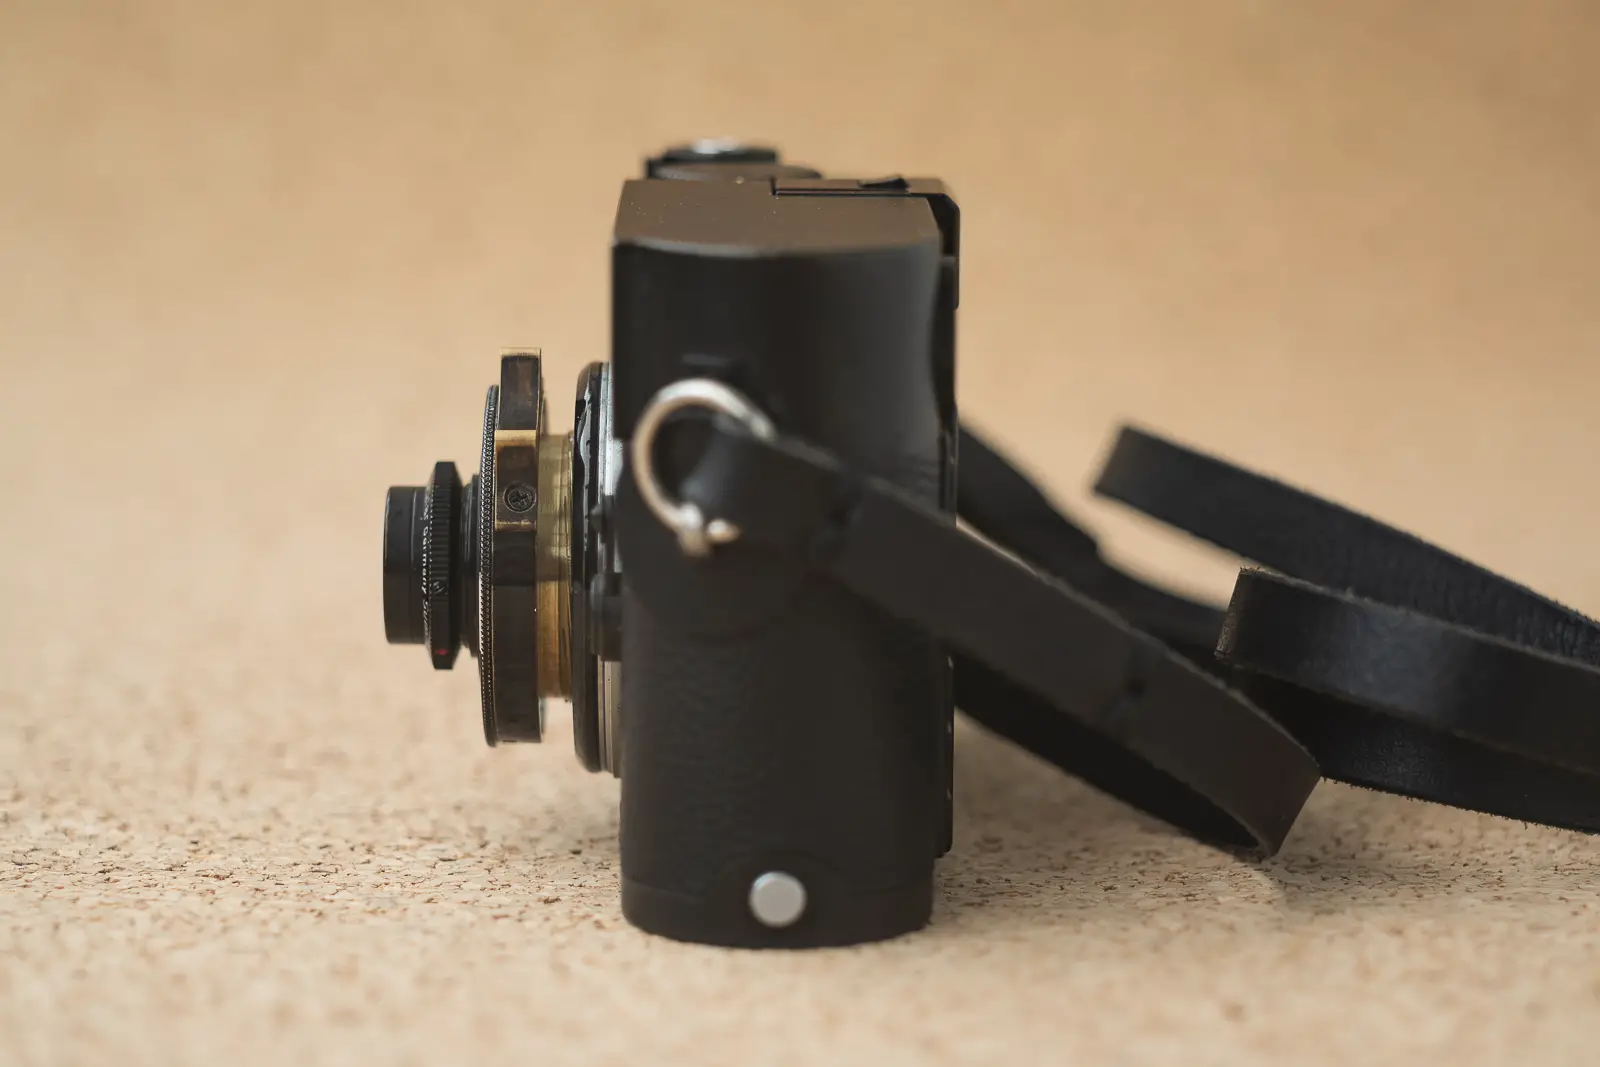
The lens feels extremely solid and has a nice heft to it. It’s clear that Skyllaney prioritise build quality over size. Not to say the lens isn’t small, it’s by far my smallest normal rigid lens. I’ve had some small-batch pancake lenses in the past and they felt a lot flimsier and would often require recalibration because they were held together with glue. The Omnar is built to last and it shows.
Not that it isn’t without its quirks. When mounting the lens for the first time, I fully expected the red dot to align with the dot on the camera body. It does not and only serves as a focus indicator. There is no other indicator that I can see to help me mount the lens in the correct position. Also, I’m badly used to infinity locks. The focusing tab is nice and comfortable to use, however the infinity lock is also very handy when mounting and un-mounting small lenses and I miss it more than I expected.
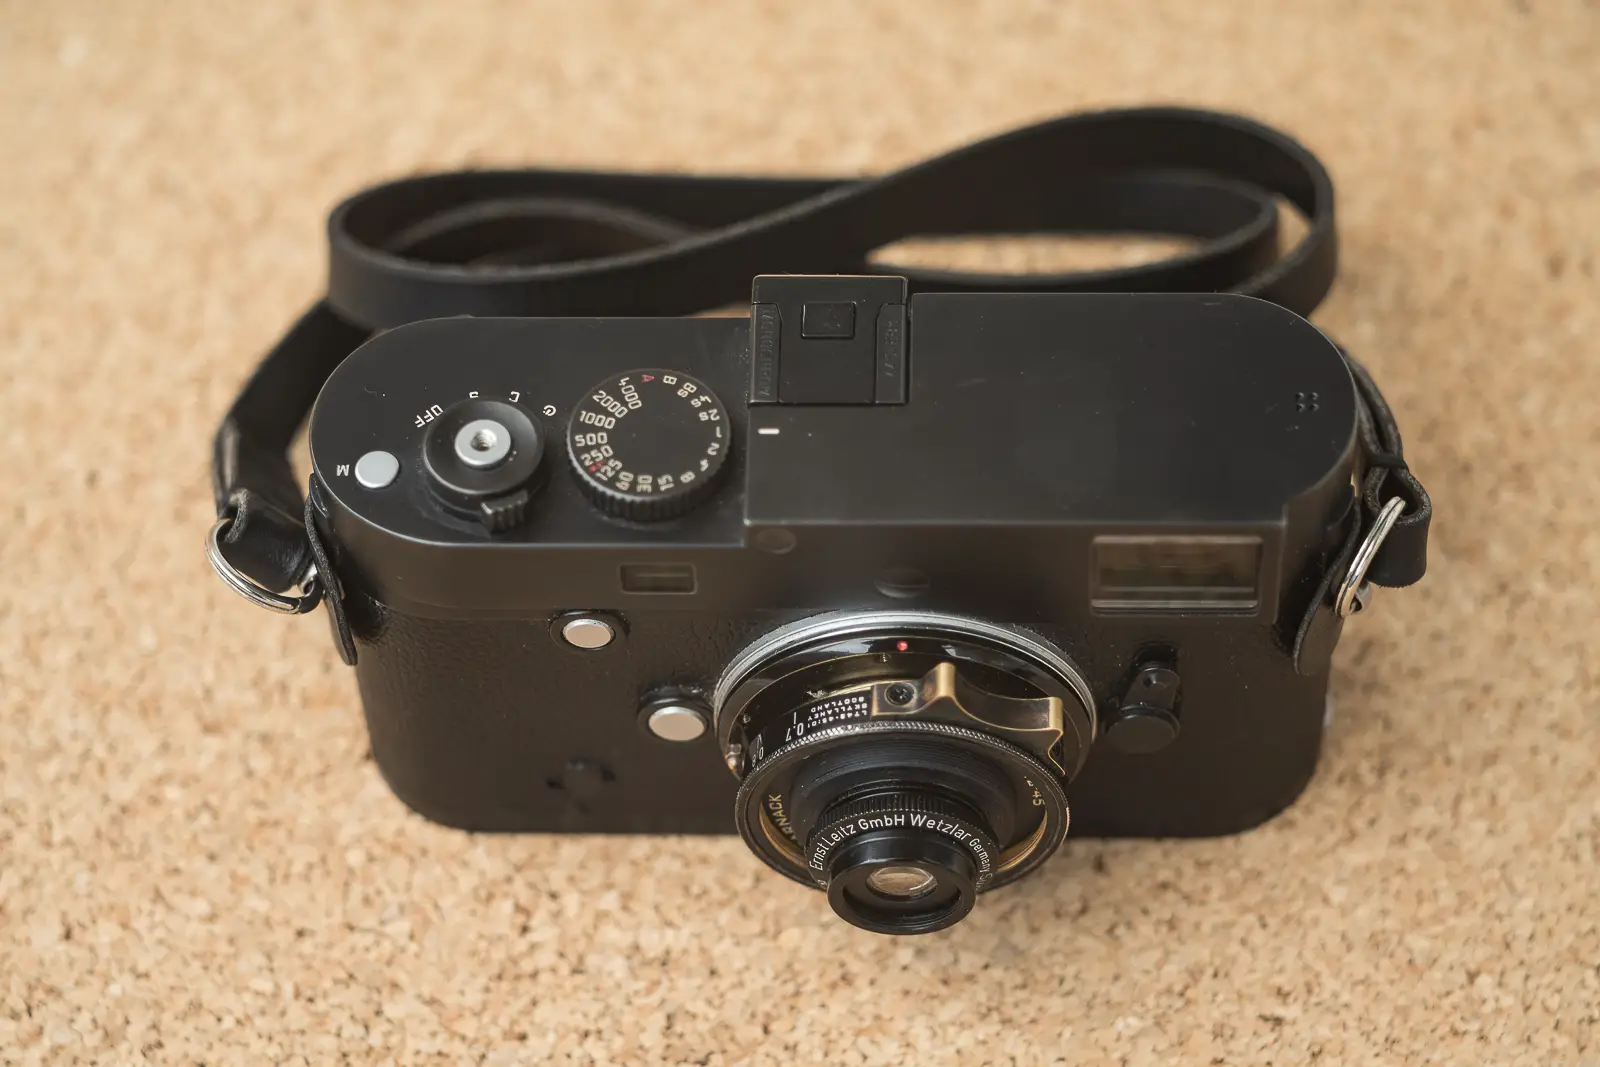
The focus throw is just over 180 degrees. The focus itself is very smooth but with the right amount of resistance. Officially, the lens focuses down to 0.67m. However, once it enters the rangefinder uncoupled zone, it appears to travel a little further than a mere 3cm. It might just be my impression. The focusing scale markings are decent size and easy to read. There is no depth of field scale or an infra-red marking.
As far as the lens itself is concerned, it has its original aperture scale (2, 6, 12) and an added more traditional one (4.5, 5.6, 8, 11, 16). These markings are absolutely microscopic, it’s very handy that they’re there but I can barely read them. I basically just remember which end 4.5 is and count the markings. If I’m not mistaken (they are teeny tiny), the clickless aperture features 10 curved blades. The aperture ring is easy to grip, the aperture value indicator dot is well visible. The front of the lens unscrews, exposing the aperture blades.
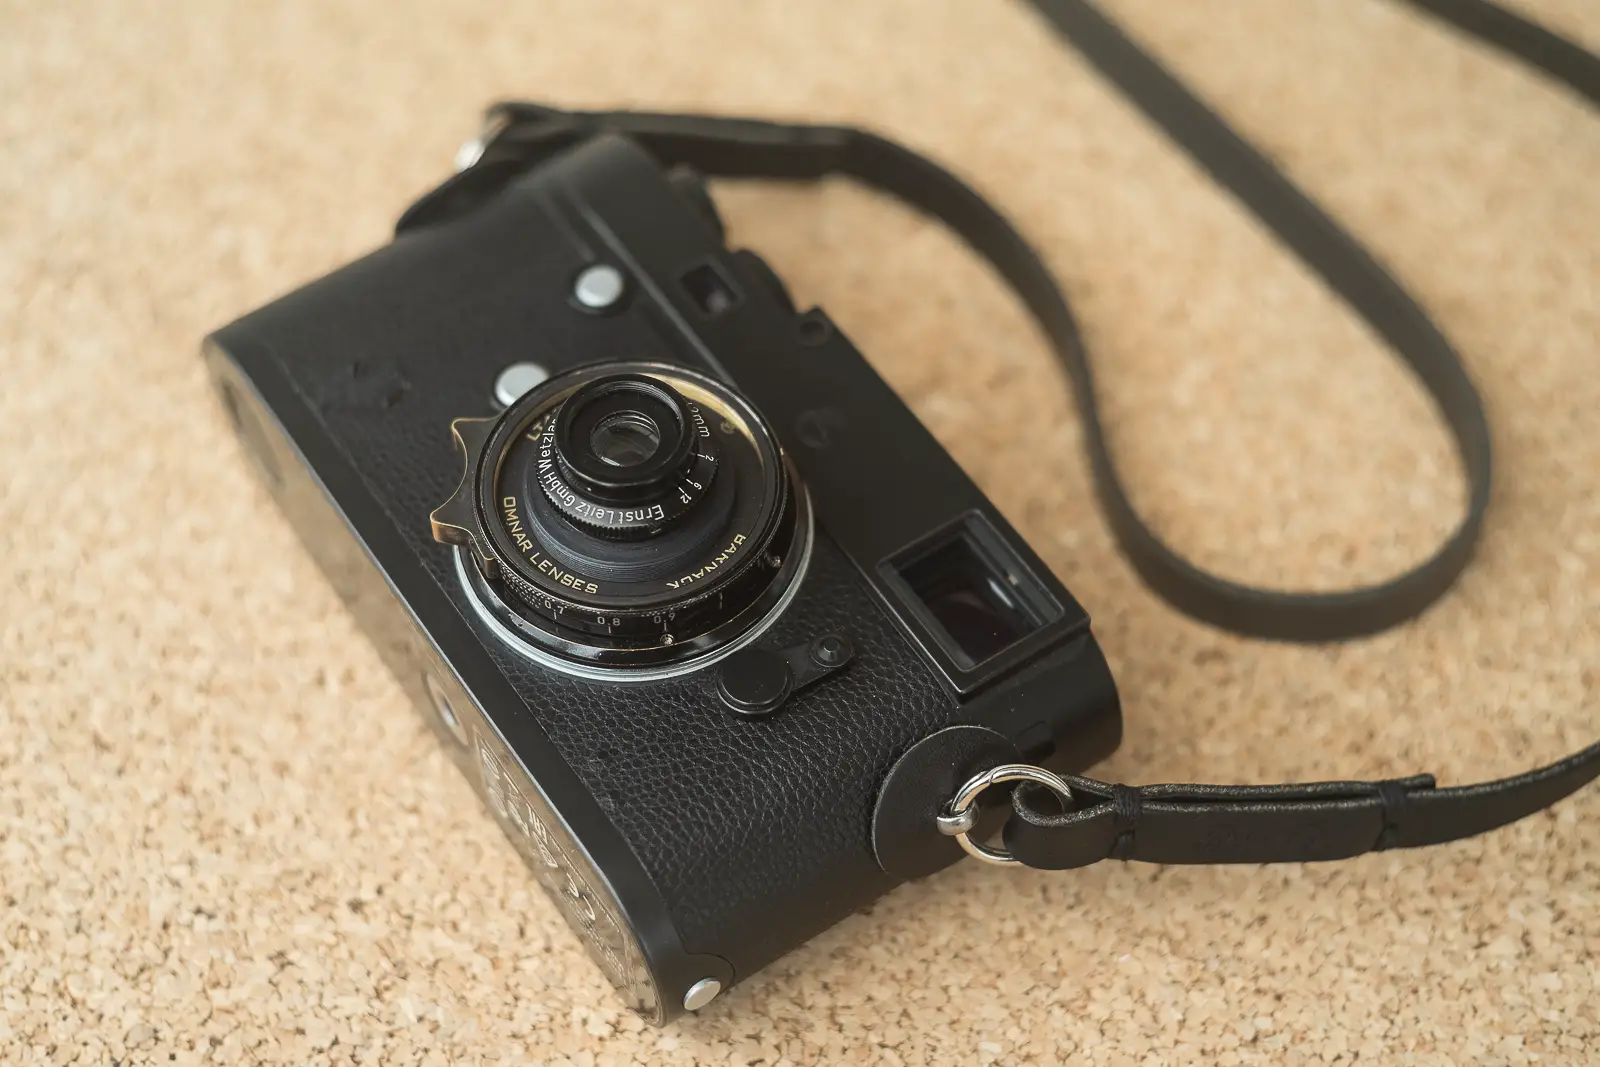
The focal length takes a little getting used to if you’re using a rangefinder without the 40mm framelines. But with a little practice it becomes much easier, especially if you can preview your shots right away. At close range the 50mm framelines actually almost match the angle of view of the lens. At longer distances you can quickly get into the habit of framing a bit tighter than you would otherwise. It’s no more difficult than using the 28mm framelines when shooting with a 25mm lens. That is to say, you probably won’t miss a dedicated external finder.
Filters and hood
I love filters, I do an annual inventory of all of my filters (I have over 100 of them) and I suspect when I do the next one I will clear out a second drawer to keep them nicely organised. To me, using vintage filters on vintage lenses is part of the whole experience. So when the prospect of trying out the Summar 42mm came up, one of the questions I asked was does it take filters. If filters aren’t your thing, do yourself a favour and scroll through the following five paragraphs.
The lens comes with a dedicated metal hood that screws into the 39mm thread of the Omnar. The hood is 35mm deep and its diameter is 53mm. The hood features a filter thread of 52mm which is great because I have a set of Nikon filters so I was able to just jump in and start shooting with them right away. There is a but here, a literally big but. The hood is absolutely huge compared to the size of the lens. It invades the corner of the 50mm framelines when the lens focus is set to infinity and the 75mm ones when it’s at its minimum focusing distance. Just to give you a frame of reference, 52mm is the filter size of the Nikkor-P 10.5cm f/2.5. What’s the point of having a beautiful tiny lens if you’re going to put a metal can around it? On top of this, with a filter on you can’t access the aperture ring so in order to adjust it you have to take the whole thing off.
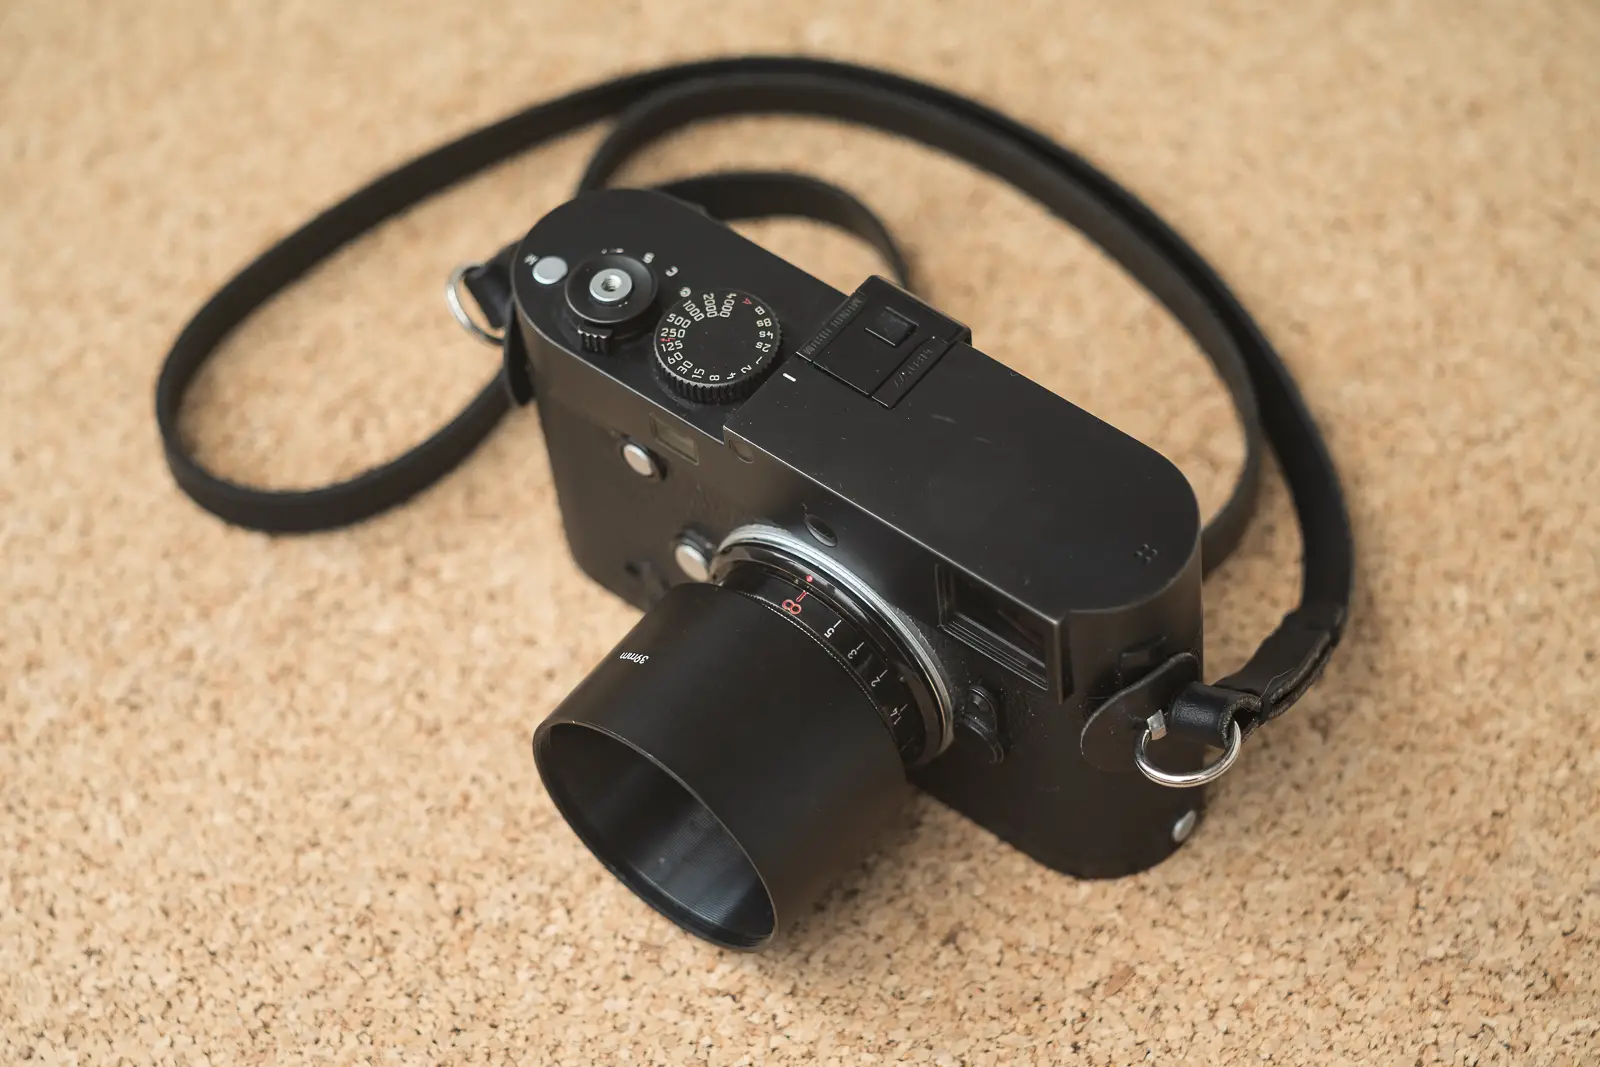
I began investigating alternative solutions. The Summar appears to feature its own little filter thread that I think is 17mm. It turned out to be a dead-end due to the fact I was unable to find any interesting 17mm filters. I then looked for 20mm slip-on filters, there were some but they were a bit too pricey and too far to just try out. And there wasn’t a red among them and that’s the one I really want.
I’ve seen series filters mentioned in the past but never really got how they worked. To me they were just some tables with non standard threads listed. I was also completely unaware of the Filter Rings & Holders category on Ebay. But it quickly became apparent that I’m on the right track once I saw how many mount sizes they offered. I pulled the trigger on a Kodak Series V 20.5mm slip-on adapter and a matching hood.
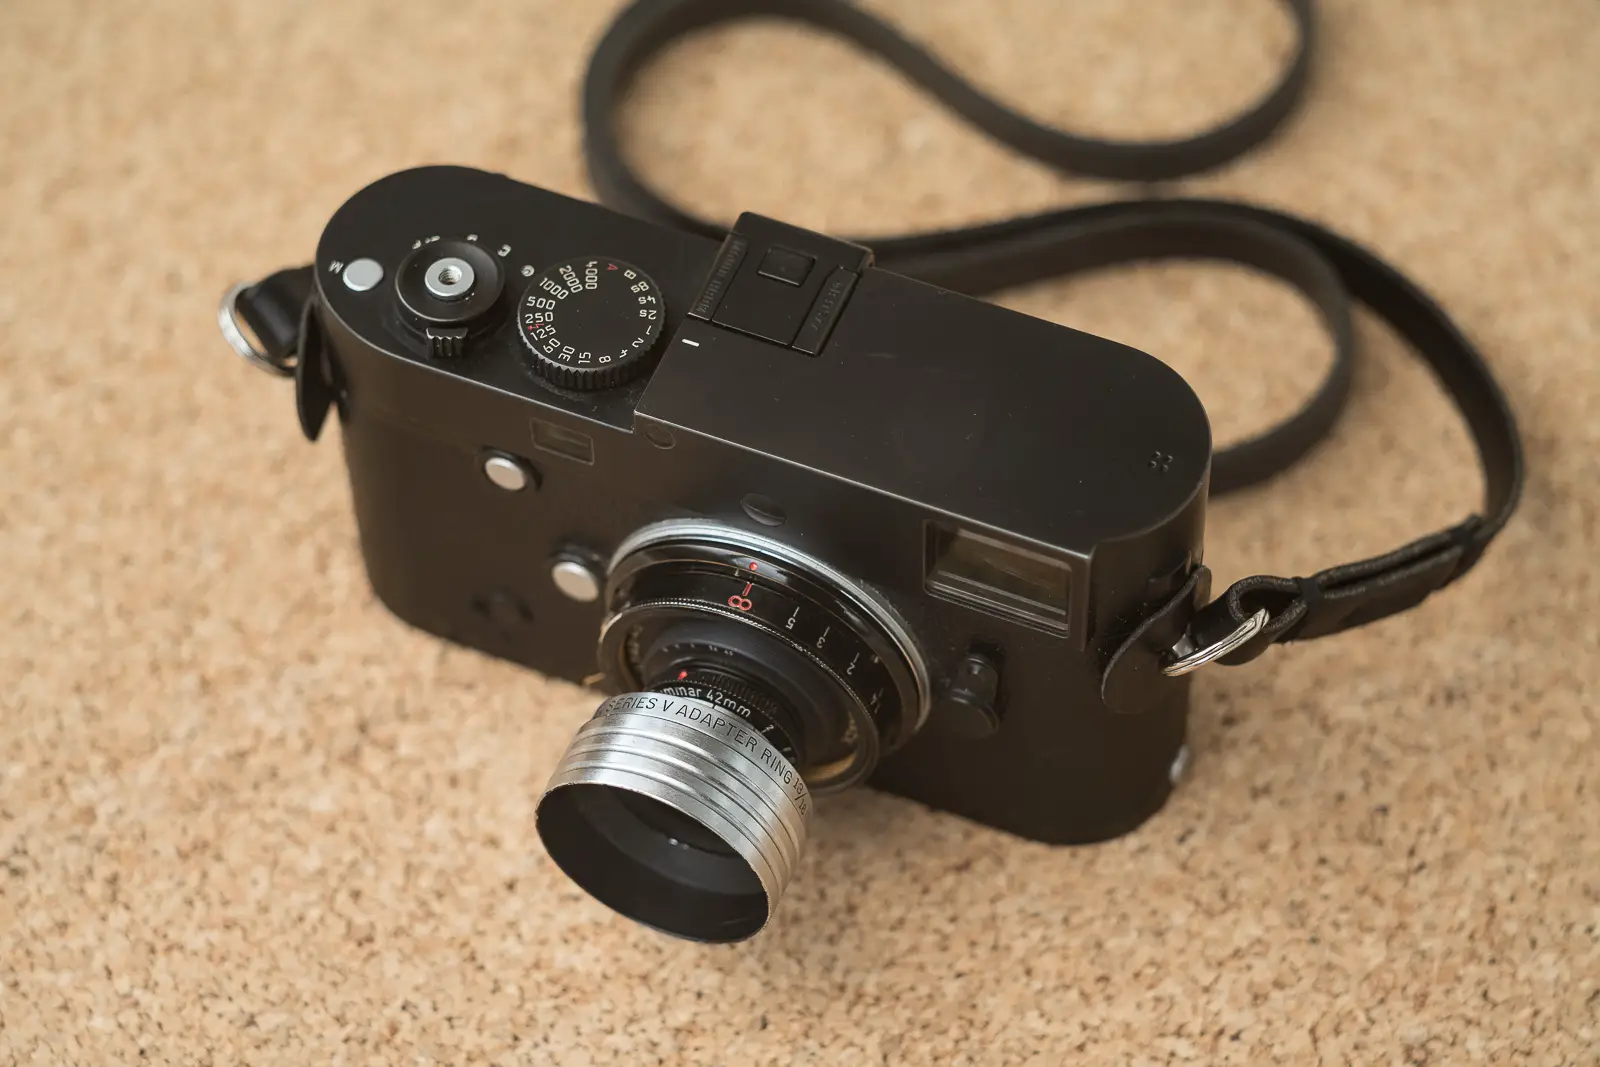
Once they arrived I was so impressed with the build quality. These are some stunning chromed brass accessories, beautifully made and solid. 20.5mm is a little too large for the 42mm Summar and while the adapter can be adjusted to be smaller by bending the petals inward, instead I opted for adding a layer of thick one-sided gorilla tape on the inside of the adapter to make the diameter smaller and avoid the risk of it scratching the lens. Now it’s a near perfect fit. And the best part is it doesn’t obstruct the access to the aperture and doesn’t cover the value markings.
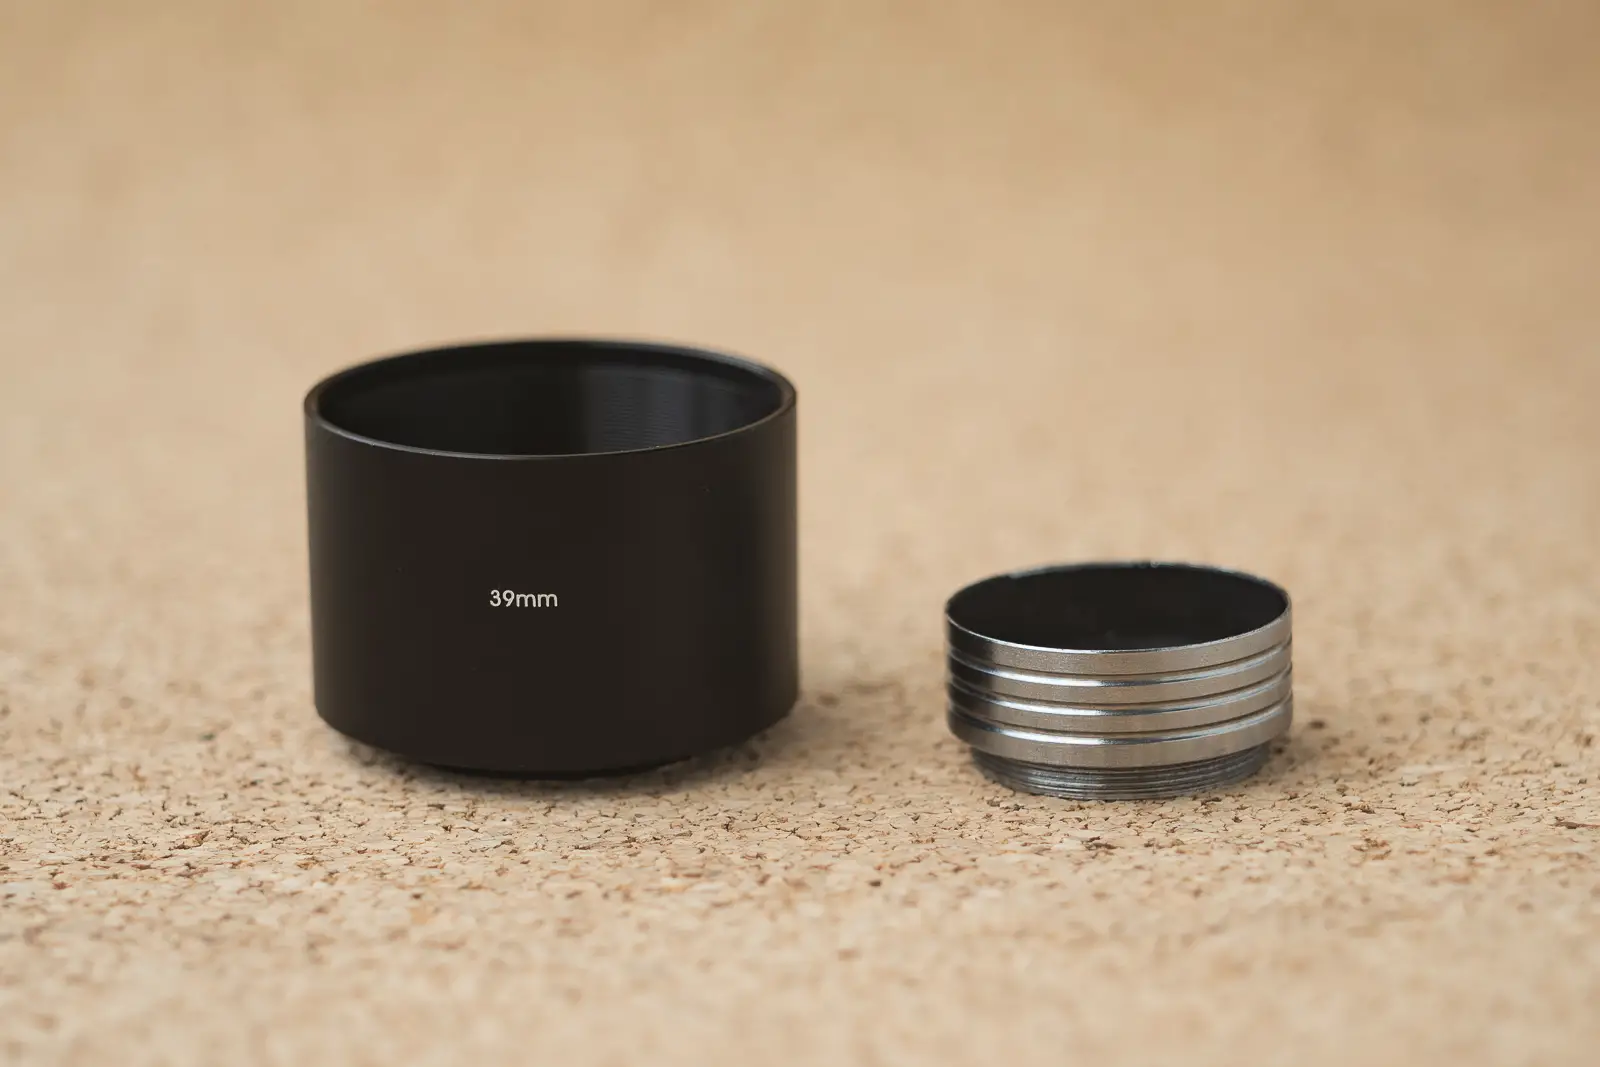
The hood, I’m guessing, is intended for a normal lens and it doesn’t cause issues such as blacking out the corners. It’s way smaller than the hood that comes with the lens at 13mm depth and 38mm diameter. It shows up in the viewfinder but doesn’t come anywhere near the 50mm frame lines. Now I just need to acquire some Series V filters! But there was another pleasant surprise. The hood is too large for that but the adapter on its own is a perfect fit to allow the use of Leitz A36 clamp-on filters and accessories. I thought it was so weird there was no solution in the Series system that allowed mounting other filters. But I don’t think this was a coincidence. I’m sure I bored some of you senseless with this filter essay but if you’re into this as much as I am, spread the word!
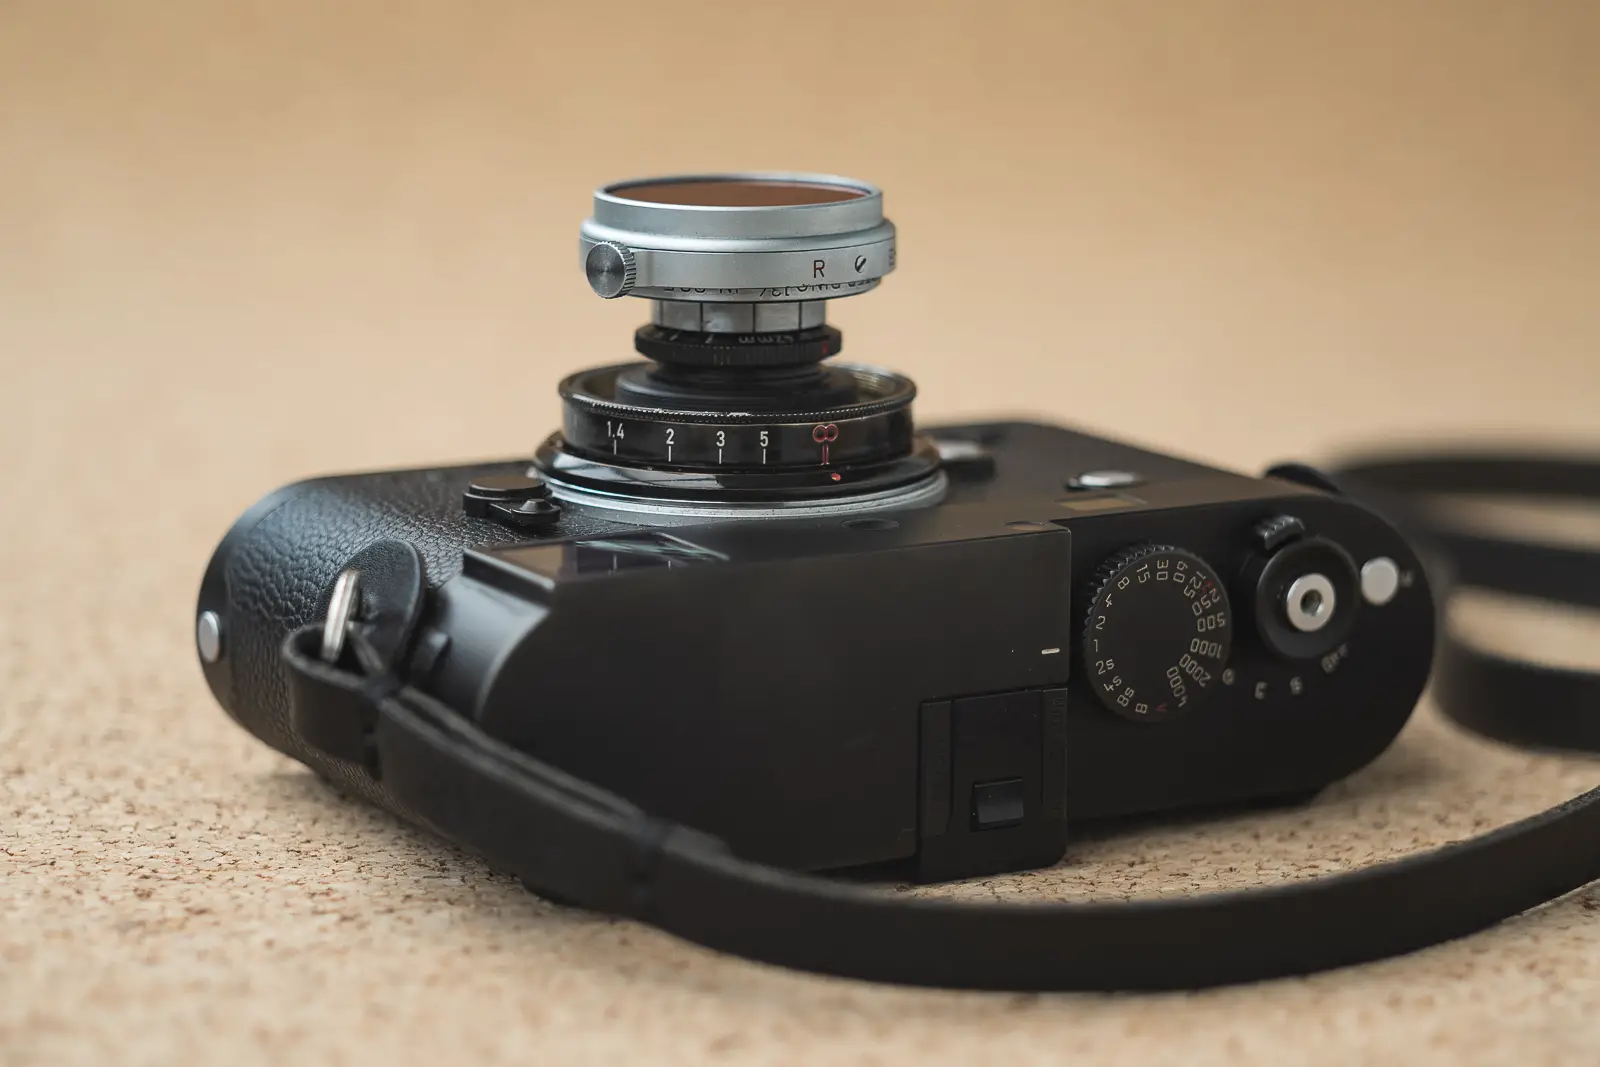
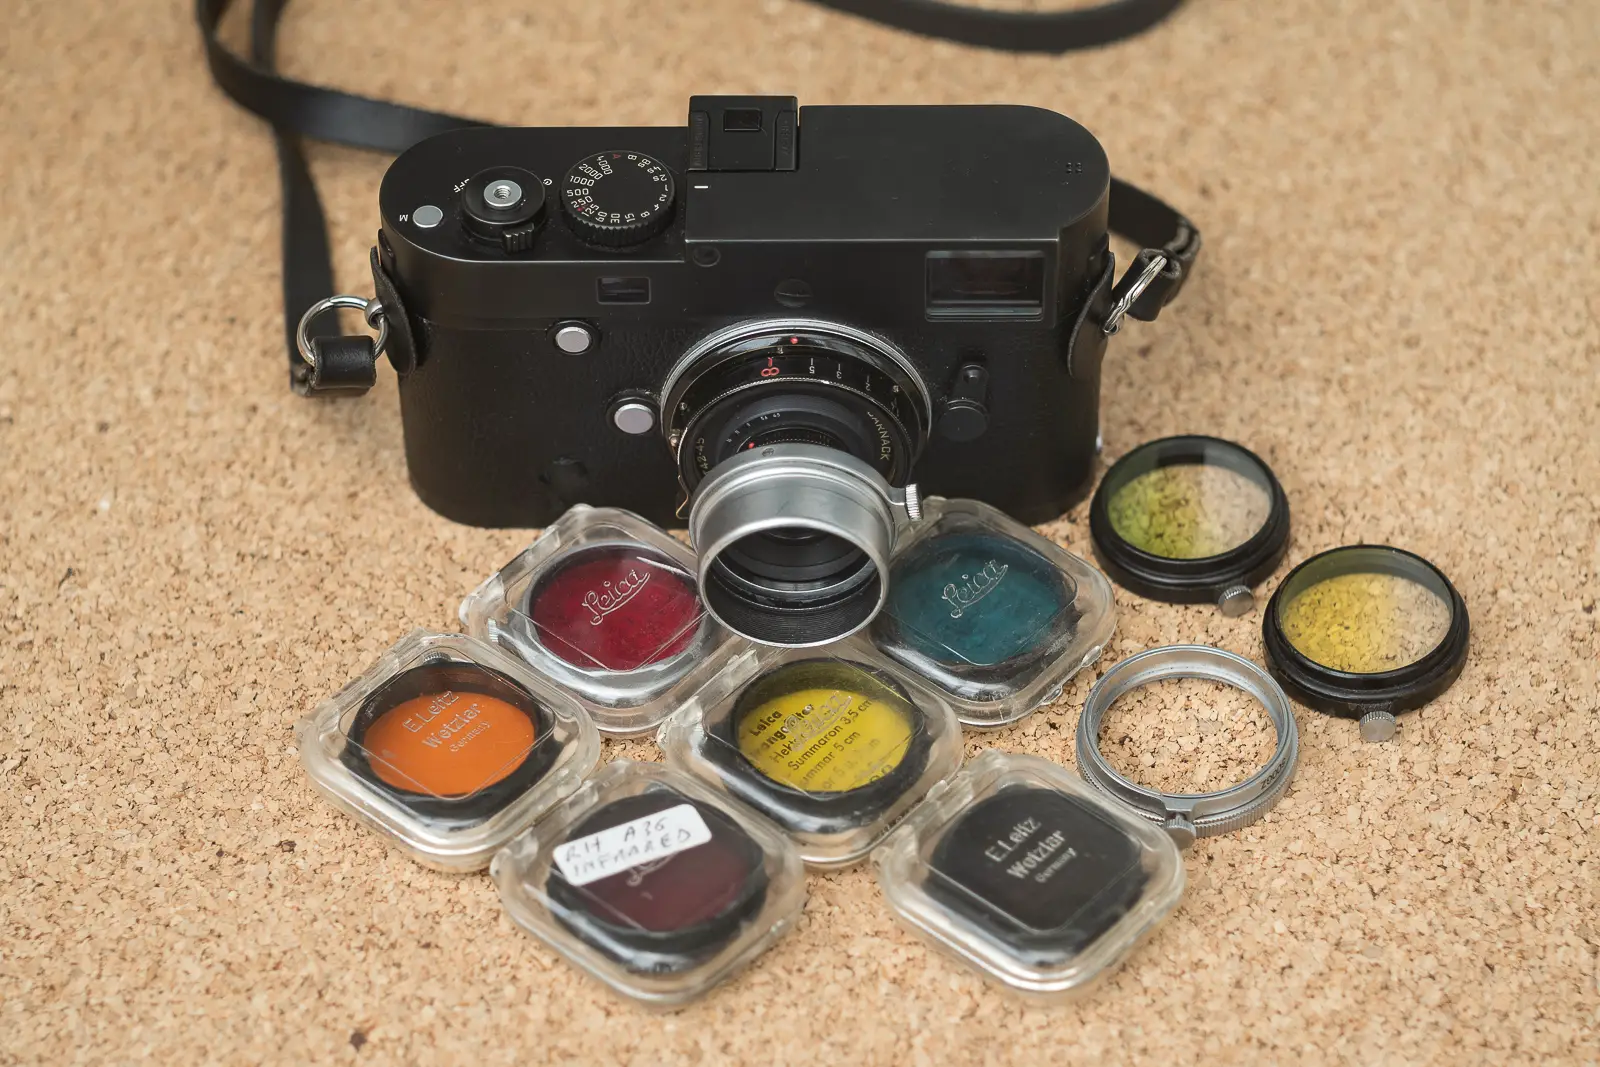
Image quality
I’ve had this lens for about 5 weeks now which is less time than I’d usually like before attempting to review it. On top of that spring this year has been the dreariest that I can remember, not giving me as much opportunity to go out and shoot. But I gave myself a deadline to see if I can take a lens completely unknown to me and review it in a reasonable amount of time.
With that in mind, the first day I took the Summar 42mm out I mounted it on the Leica SL. I wanted to try it au naturel – no filters, no hood, wide open, in colour. Using a mirrorless camera rather than a rangefinder gave me a better assurance that the focus will definitely be accurate. I did try to be a bit more strict with myself and keep the review in mind when shooting but also to simply do my usual thing. No lens review is worth taking test shots for as far as I’m concerned.
Having shot with several pre-war lenses I already knew they are capable of producing sharp images. And this being a slow lens I fully expected it to be able to produce a reasonably sharp image at least in the centre. And it does, I’d say more than reasonably. It’s not a razor but you don’t get yourself a lens this age for pixel-peeping. It works very well on close-up subjects and those further away. What surprised me more is the drop in sharpness towards the edges of the image is much smaller than I expected. I was getting away with shooting architecture at f/4.5. This wasn’t ideal of course but a good way to assess the lens’s capabilities.
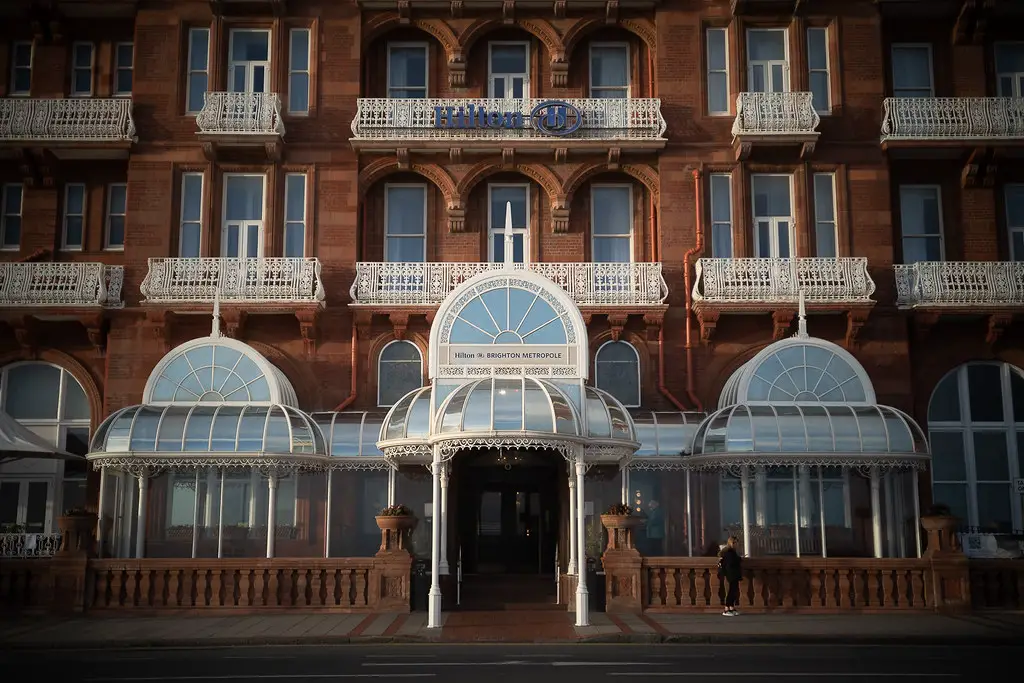
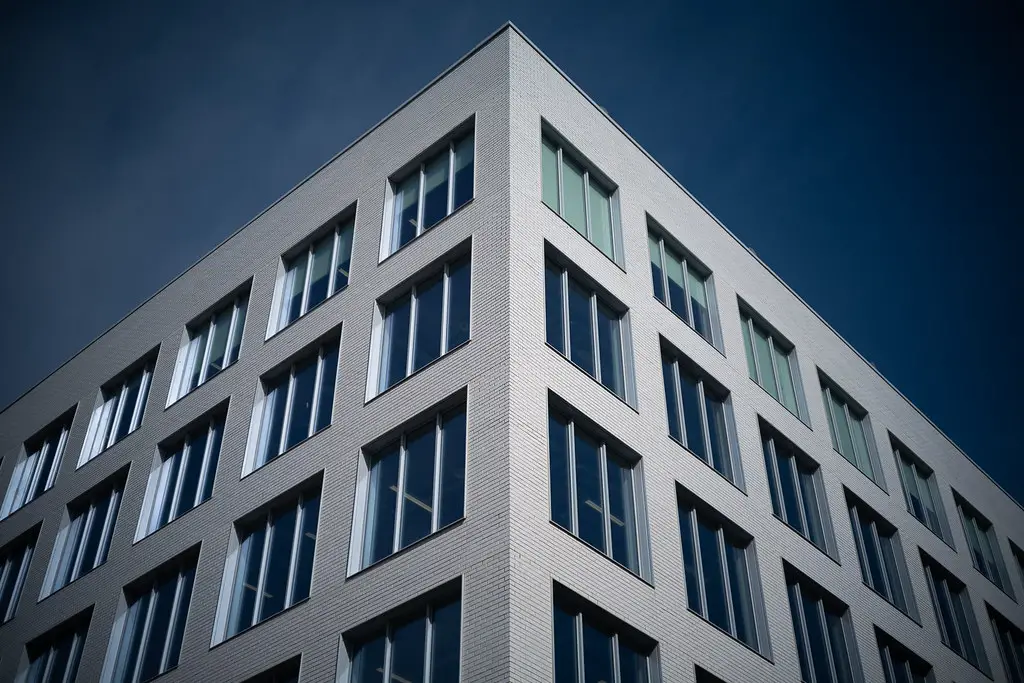
Speaking of architecture, distortion produced by the Summar 42mm doesn’t appear to be a big issue. I’m generally not overly paranoid about it and never check it with a ruler. If I can see it with my naked eye then I correct it. I am yet to find myself in a situation where I needed to correct it in a shot taken with this lens. That’s pretty admirable considering this lens was never intended for general photography. It’s also a lot better than at least a couple other normal lenses I own. Admittedly, I’m not sure how important this aspect is in a lens designed to be used on a microscope and whether this was ever a concern during the design process.
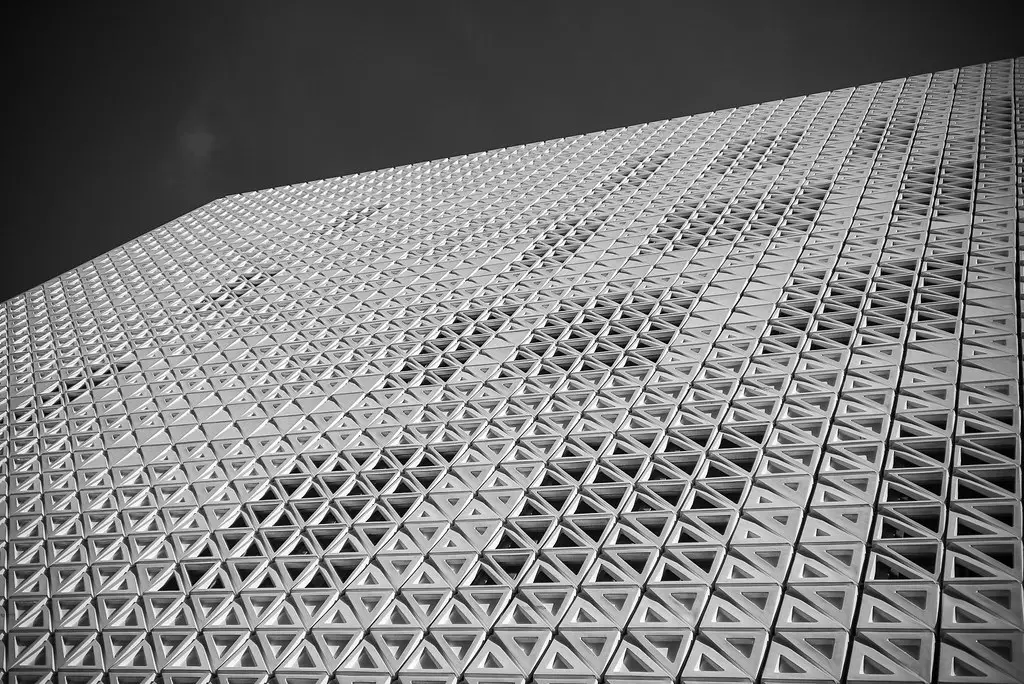
The shortcoming of this lens is vignetting, especially when shooting wide open. I do enjoy a heavy vignette in black and white, especially in moody shots taken with a red filter, however in colour photography it seems excessive more often than not. By f/8 the vignette decreases in strength but is still visible. I guess in a normal lens this size, even one as slow as f/4.5, it’s difficult to avoid it.
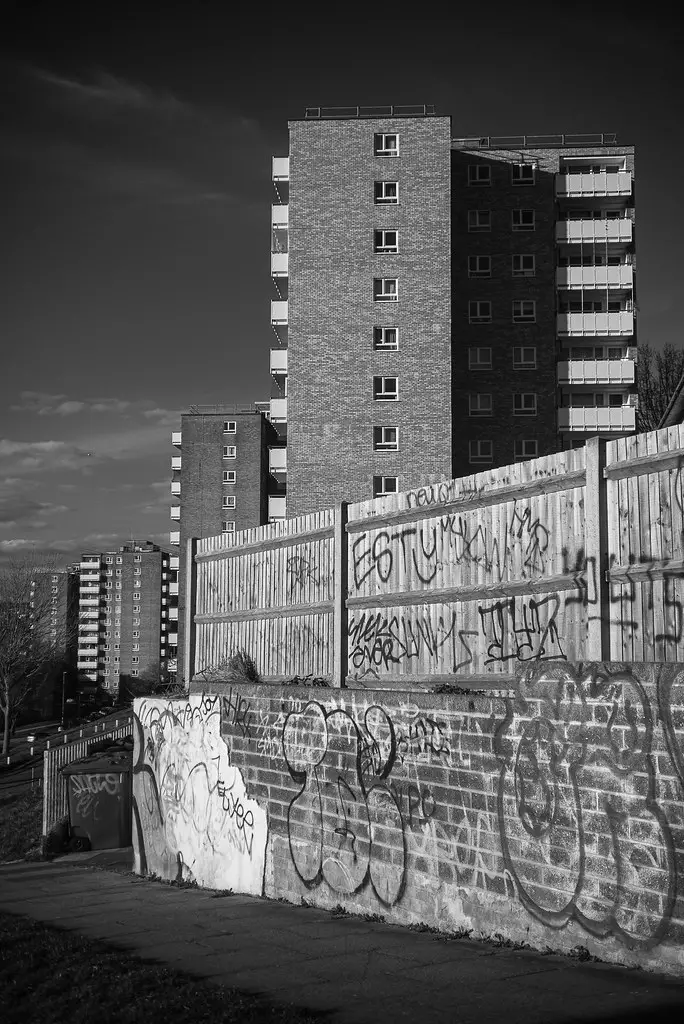
What I found particularly curious about this lens is that it exhibits flaring in pretty much the same way whether you’re using a hood, a filter, or nothing at all. I first noticed it in a colour shot and if it wasn’t for that, when I saw it again in a black and white shot taken with the dedicated hood and a red filter I would have assumed it was definitely the filter. After all, if that well of a hood couldn’t stop the flare nothing could.
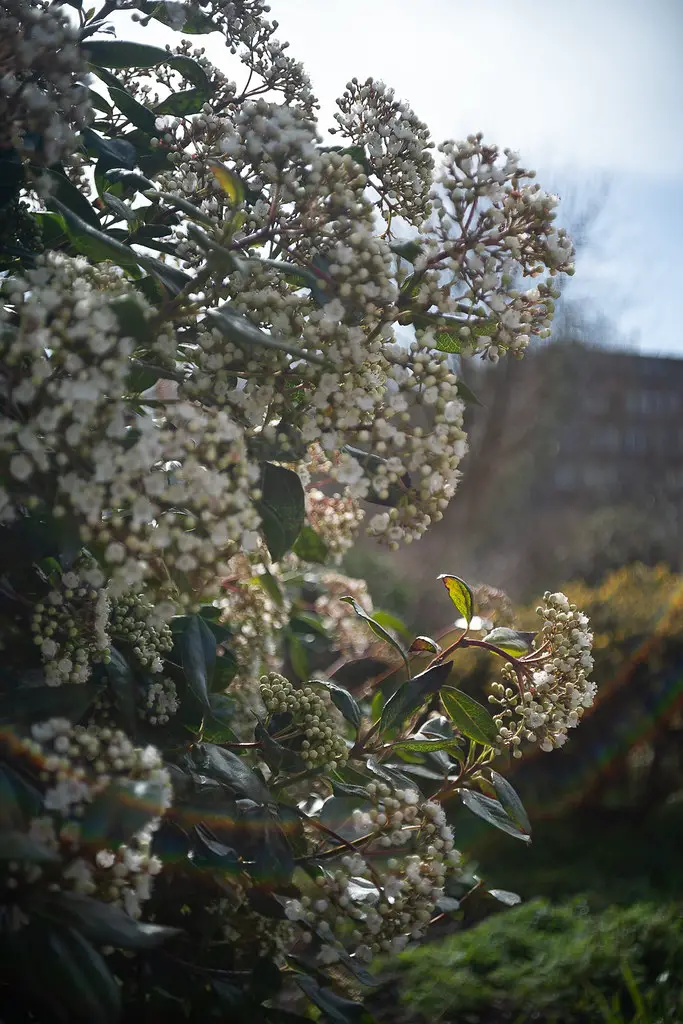
The flare displays as a double rainbow, usually when the sun is just outside the frame. I quite like it, I can’t think of another lens that flares in this way. It looks pretty cool in black and white too. Under certain circumstances the flare becomes a lot more blotchy. On other occasions, it forms a pretty neat circle. I haven’t tested or verified it but perhaps this has to do with the aperture used. It might be that it’s the aperture blades that cause the reflections and when the lens is stopped down the pattern changes.
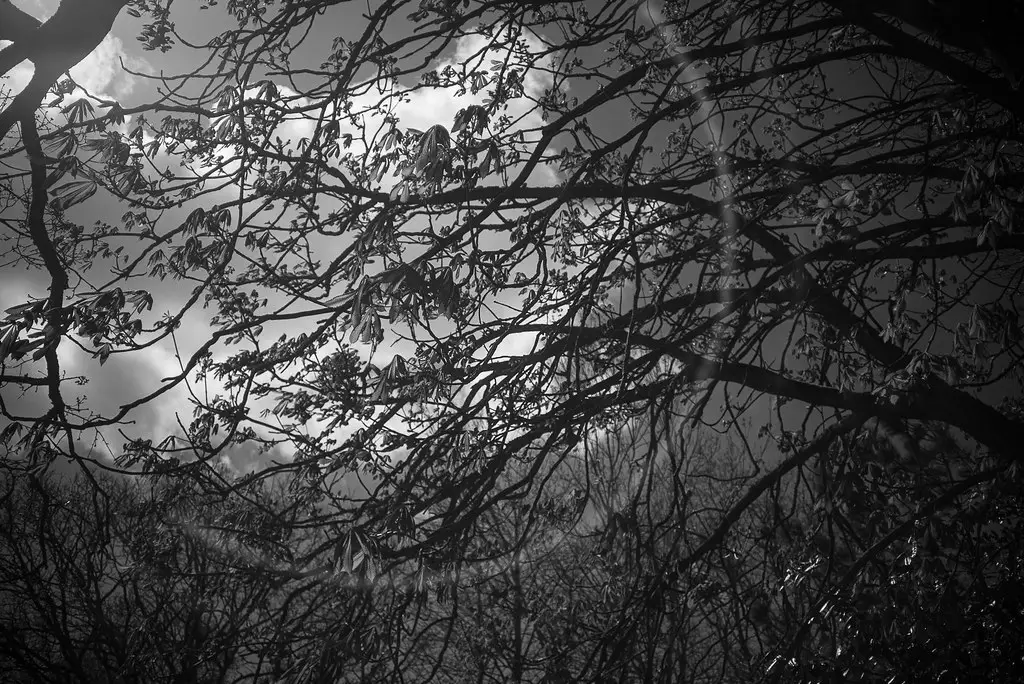
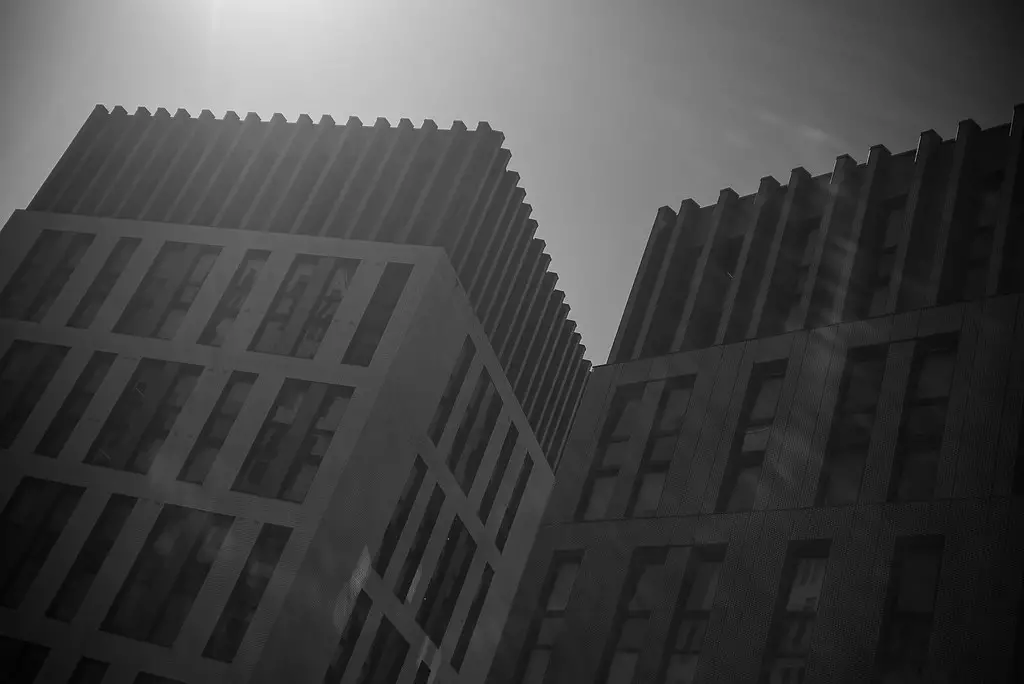
The bokeh of the 42mm Summar has very similar characteristics to my pre-war Kodak Anastigmat-Ektar 5cm f/3.5. Not sure whether the term is already taken but I call it the fish scale bokeh. It looks like small, tightly packed, overlapping circles. The circles’ edges aren’t clearly defined as in the case of the so-called soap bubble bokeh. There is a slight swirl in the corners of the image. These two old, slow, normal lenses definitely share the same signature look.
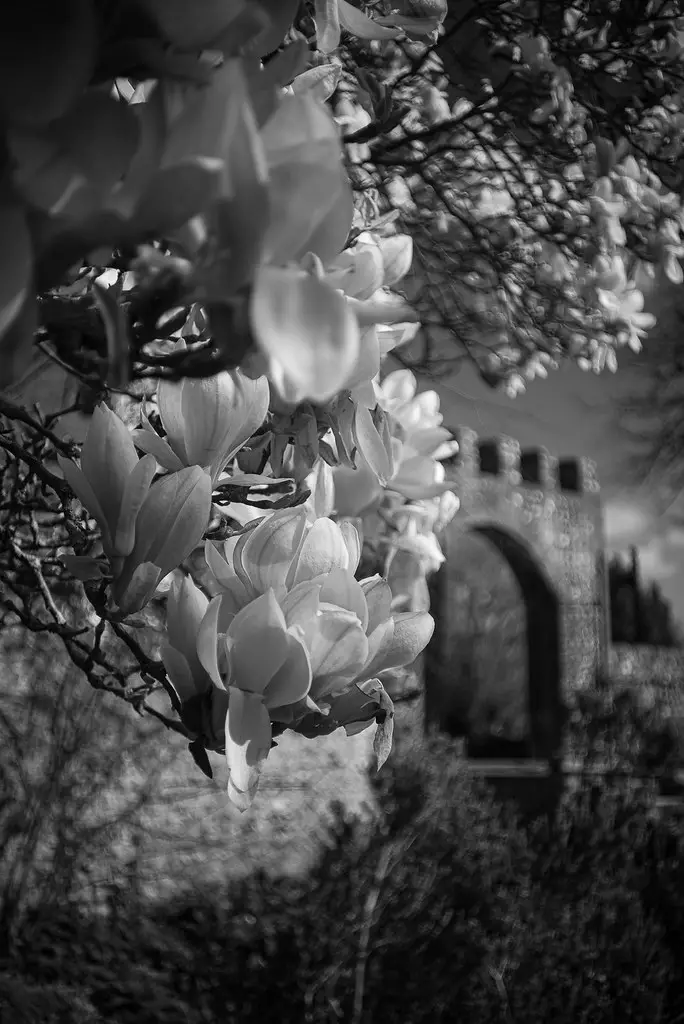
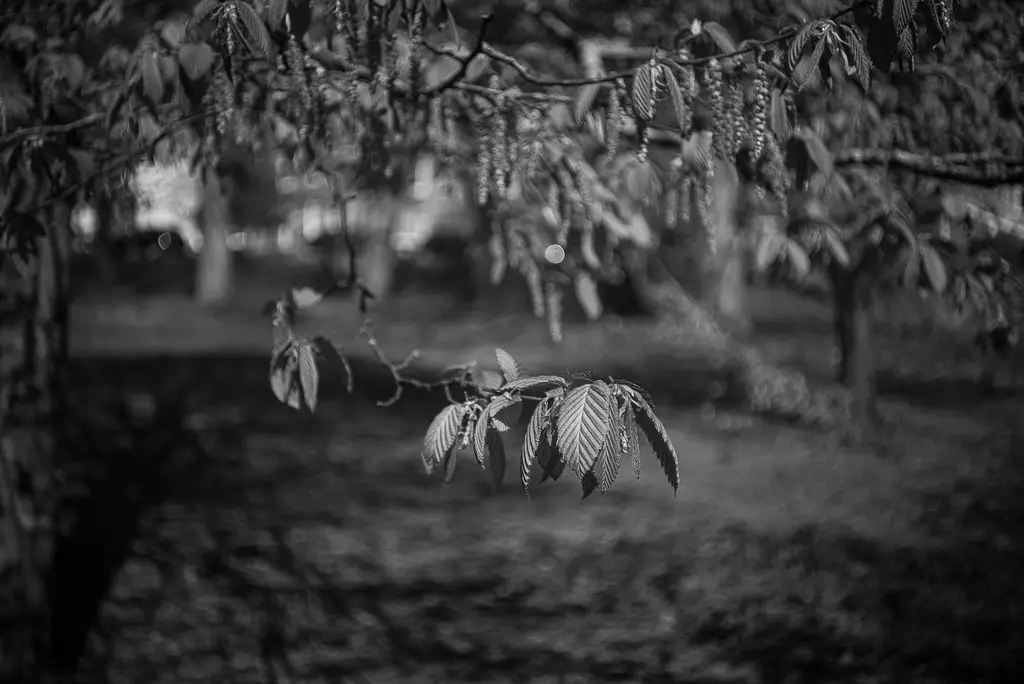
Contrast is generally on the moderate to low side and colours are quite subdued. In low contrast slightly hazy situations it will produce dreamy looking images. However, it handles bright sunny scenes very well and produces nice, natural looking tones both in colour and in black and white with a red filter. This is all simply part of the package when you decide to use a lens this old. It’s all about the quirks and oddities.
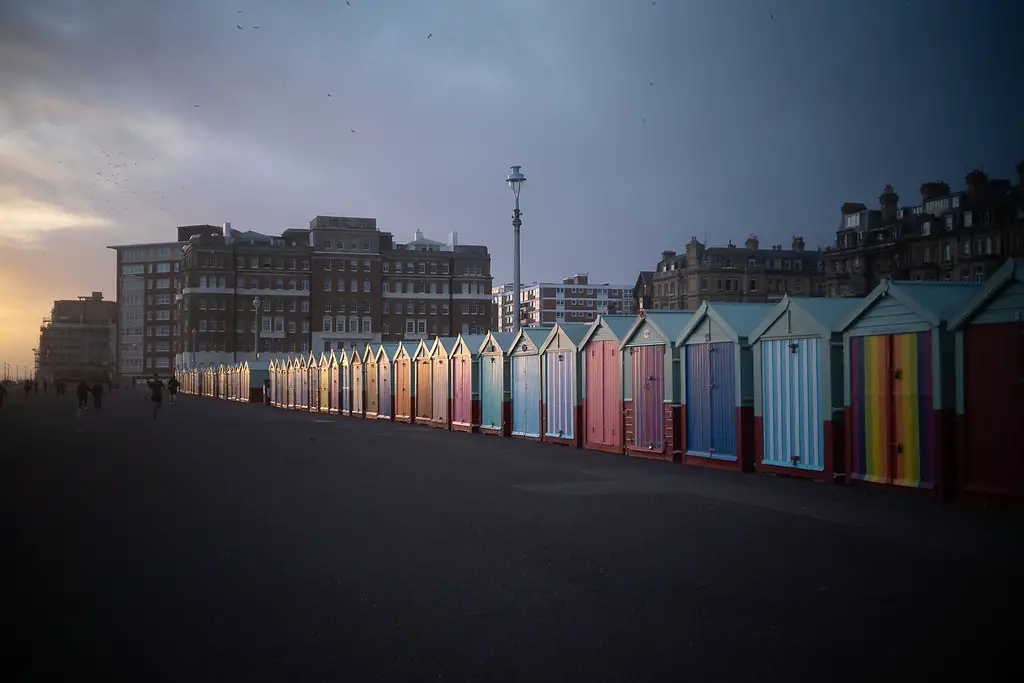

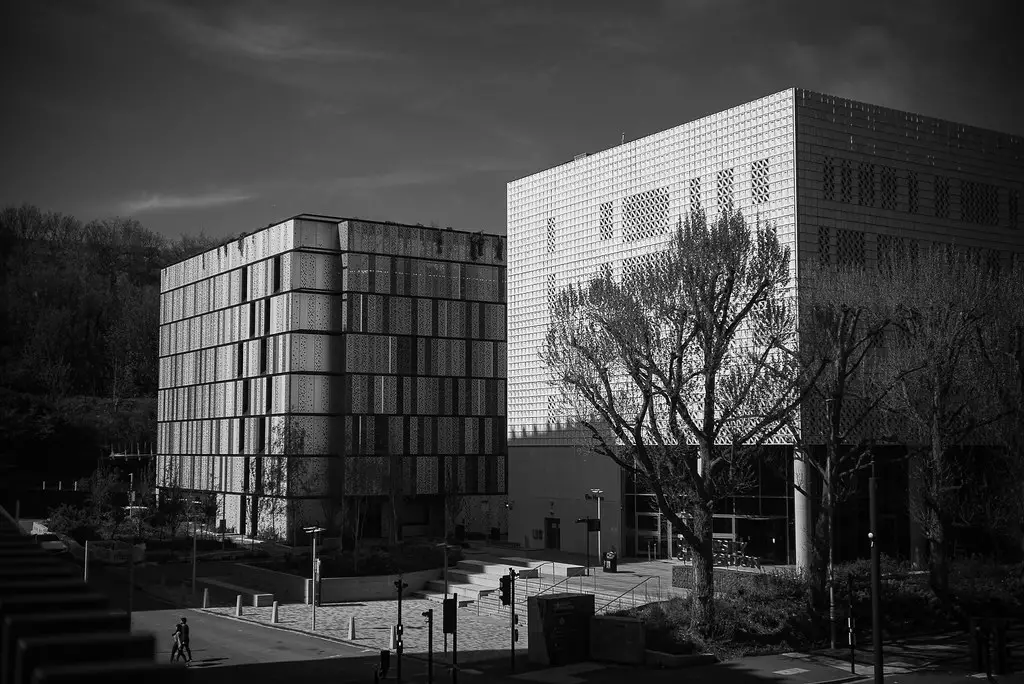
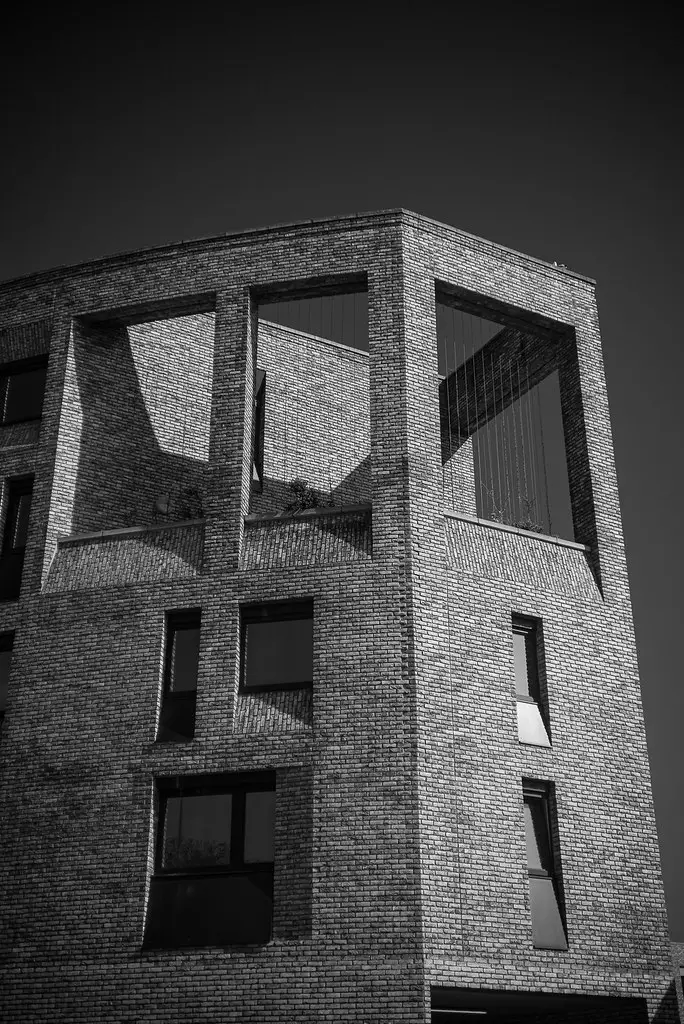
As I was almost done with this review and there was still a bit of spring and sunshine to be enjoyed, I decided to perform a little experiment – I once again turned to the Leica SL for that unadulterated look, set the white balance to sunny, and later in Lightroom I didn’t tweak the colours in any way. No changes to temperature, vibrance, saturation, contrast, or clarity. No cropping besides very occasional straightening of architecture shots. A bit of extra sharpening and that’s it. I wanted to see if I could get away with only the very bare minimum of post-processing.
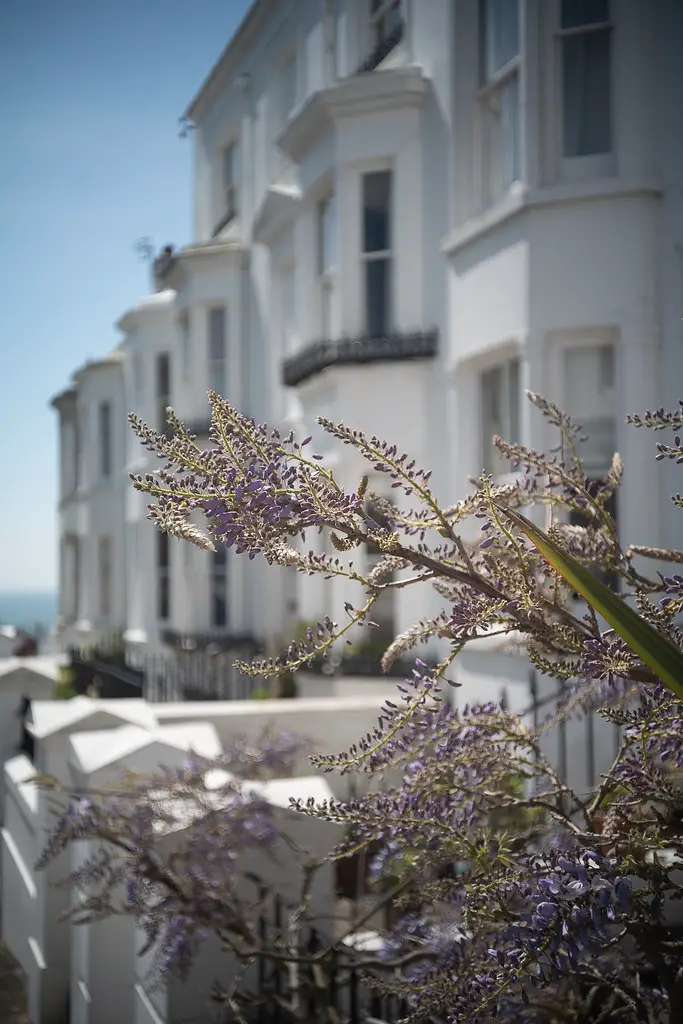
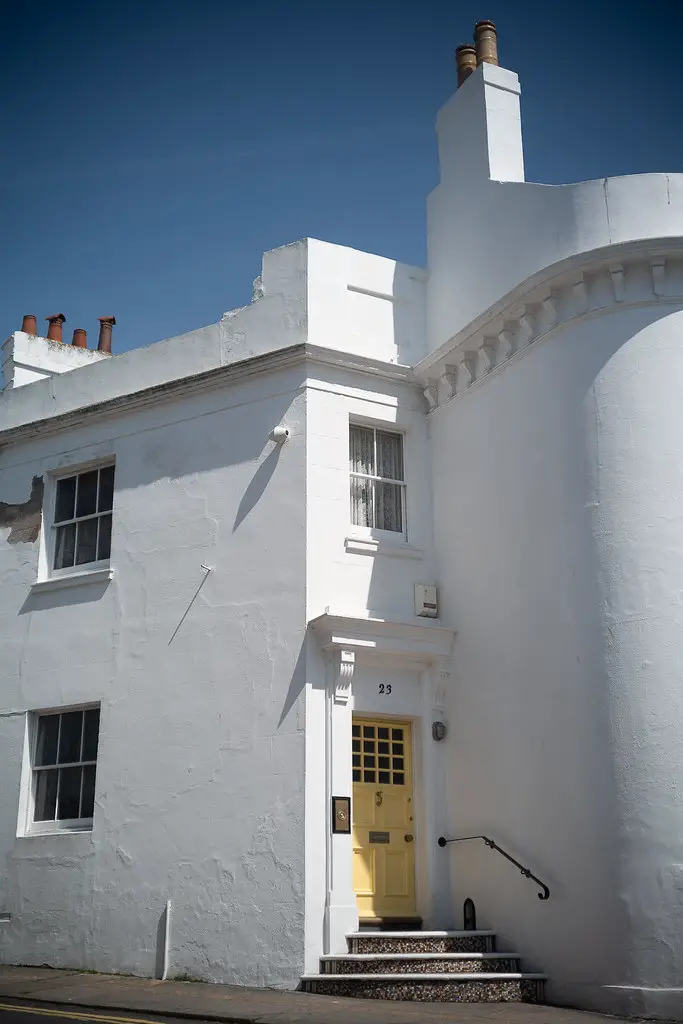
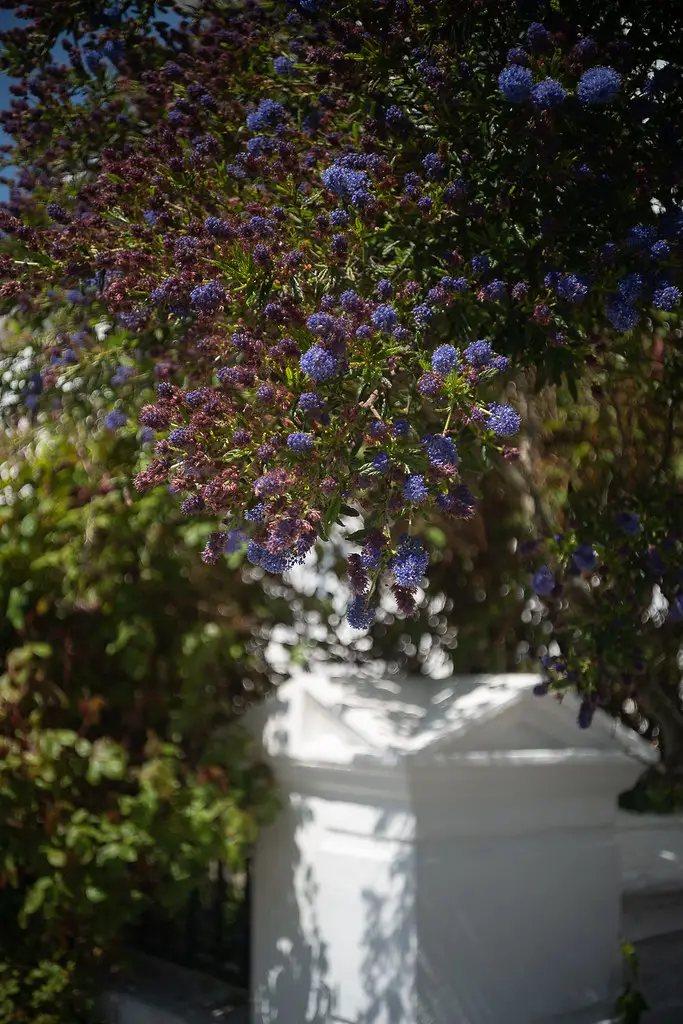
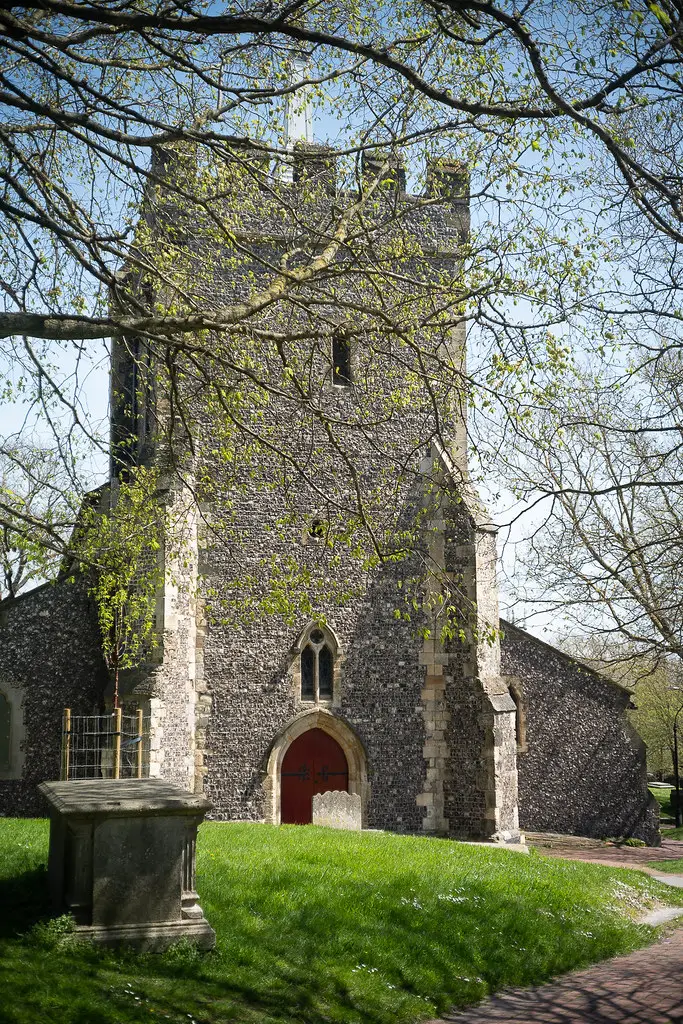

You be the judge but as far as I’m concerned making the colours more vibrant is a matter of personal taste here, not necessity. I have much newer lenses that produce a duller, flatter image straight out of the camera. These shots went straight on my Flickr without any further edits. I am yet to decide what my thing is when shooting colour. I might just make it “keep post-processing to a minimum”. I say well done Summar!
Final thoughts
I like small lenses and I cannot lie. The Omnar LT42-45 rehousing of the Leitz Summar 42mm f/4.5 has got a lot going for it. Despite its minor quirks, it’s got great ergonomics and turns invisible when you’re shooting with it. Skyllaney did an amazing job converting it to M mount. Once you forget about the comically large hood and get your hands on some of those lovely Kodak accessories, it becomes even sexier and more enjoyable to shoot with. Image quality wise it performs better than one would have guessed based on the age of its design and the size of the optical elements as well as the fact it was never meant to be used for general photography. And to top it off it’s got a great history and will surely be a conversation starter for all of its lucky owners.
Share this post:




Comments
Chris Andreyo on Omnar LT42-45 Barnack – Leitz Summar 42mm f/4.5 – Lens Review
Comment posted: 15/05/2023
Its awesome you were able to pull together much of the fragmented data spread across forums and the web about the optics and articulate it so well into a centralised article. I’m still amazed it covers the full frame also consider its small size.
I’ll have to search some online for sites that sell these Kodak filter/ hood accessory set you found. Clearly they work much better in size and function. If we do another batch in future, I could see about making a ~17mm to Series V screw on adapter that would go on the front of the Summar, which could allow 20.5mm thread filters/ hoods to be used.
Comment posted: 15/05/2023
Eric on Omnar LT42-45 Barnack – Leitz Summar 42mm f/4.5 – Lens Review
Comment posted: 15/05/2023
Kurt Ingham on Omnar LT42-45 Barnack – Leitz Summar 42mm f/4.5 – Lens Review
Comment posted: 15/05/2023
Arthur Gottschalk on Omnar LT42-45 Barnack – Leitz Summar 42mm f/4.5 – Lens Review
Comment posted: 16/05/2023
Comment posted: 16/05/2023
David Dutchison on Omnar LT42-45 Barnack – Leitz Summar 42mm f/4.5 – Lens Review
Comment posted: 16/05/2023
Comment posted: 16/05/2023
Gary Smith on Omnar LT42-45 Barnack – Leitz Summar 42mm f/4.5 – Lens Review
Comment posted: 22/03/2024