I ran into this lens during a trip to bop around the local thrift store with friends one afternoon. I picked it up off of a Revere 553 Projector, of which I have, surprisingly, run into several copies of since then. I was really excited when I first picked it up, and I was excited to adapt it onto some of my own cameras. The lens, much like most of my projects, proceeded to sit untouched for a few months as other things got in the way. As of late, however, I finally had easy access to a 3D printer, which I figured would make adapting the lens a much more feasible prospect.
Before modeling and printing an adapter, I decided to do some test shots by simply holding the lens in front of my camera (Canon M50 MkII) while covering the area between the mount and lens with some cloth. Results here were promising to me, the telephoto focal length (~200mm on APS-C in these test shots,) as well as the ability to focus very close allowed for some creative work. The character on the lens was also fun to work with, especially with how it managed highlights. All said, the cloth “adapter” was a pain to work with and I was looking forward to adapting the lens properly.
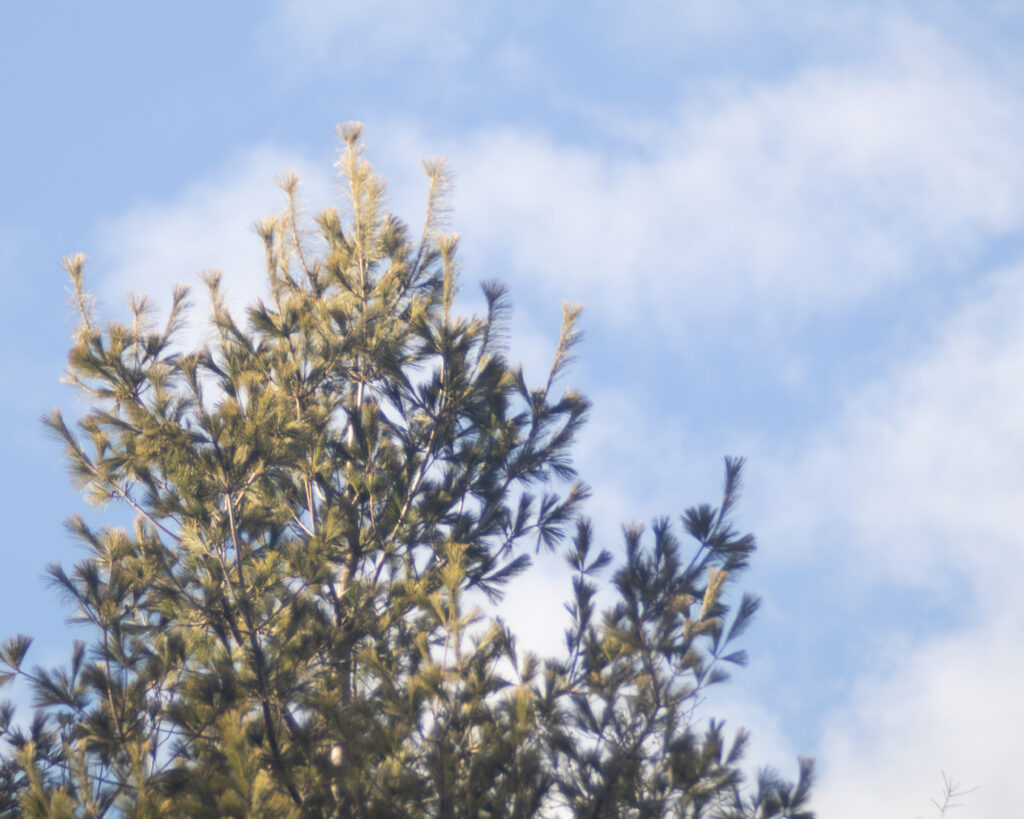


In my time with the lens I noticed that on my mirrorless M50, I often had a fairly large amount of space between the end of the lens and the mount. Without doing any measurements I decided I would just adapt the lens to EF-mount as I assumed said distance would accommodate the longer flange distance of EF-mount. Adapting to EF mount would also mean I could use the lens on my preferred digital camera, (with a slightly larger sensor,) the Canon 1D MkII.
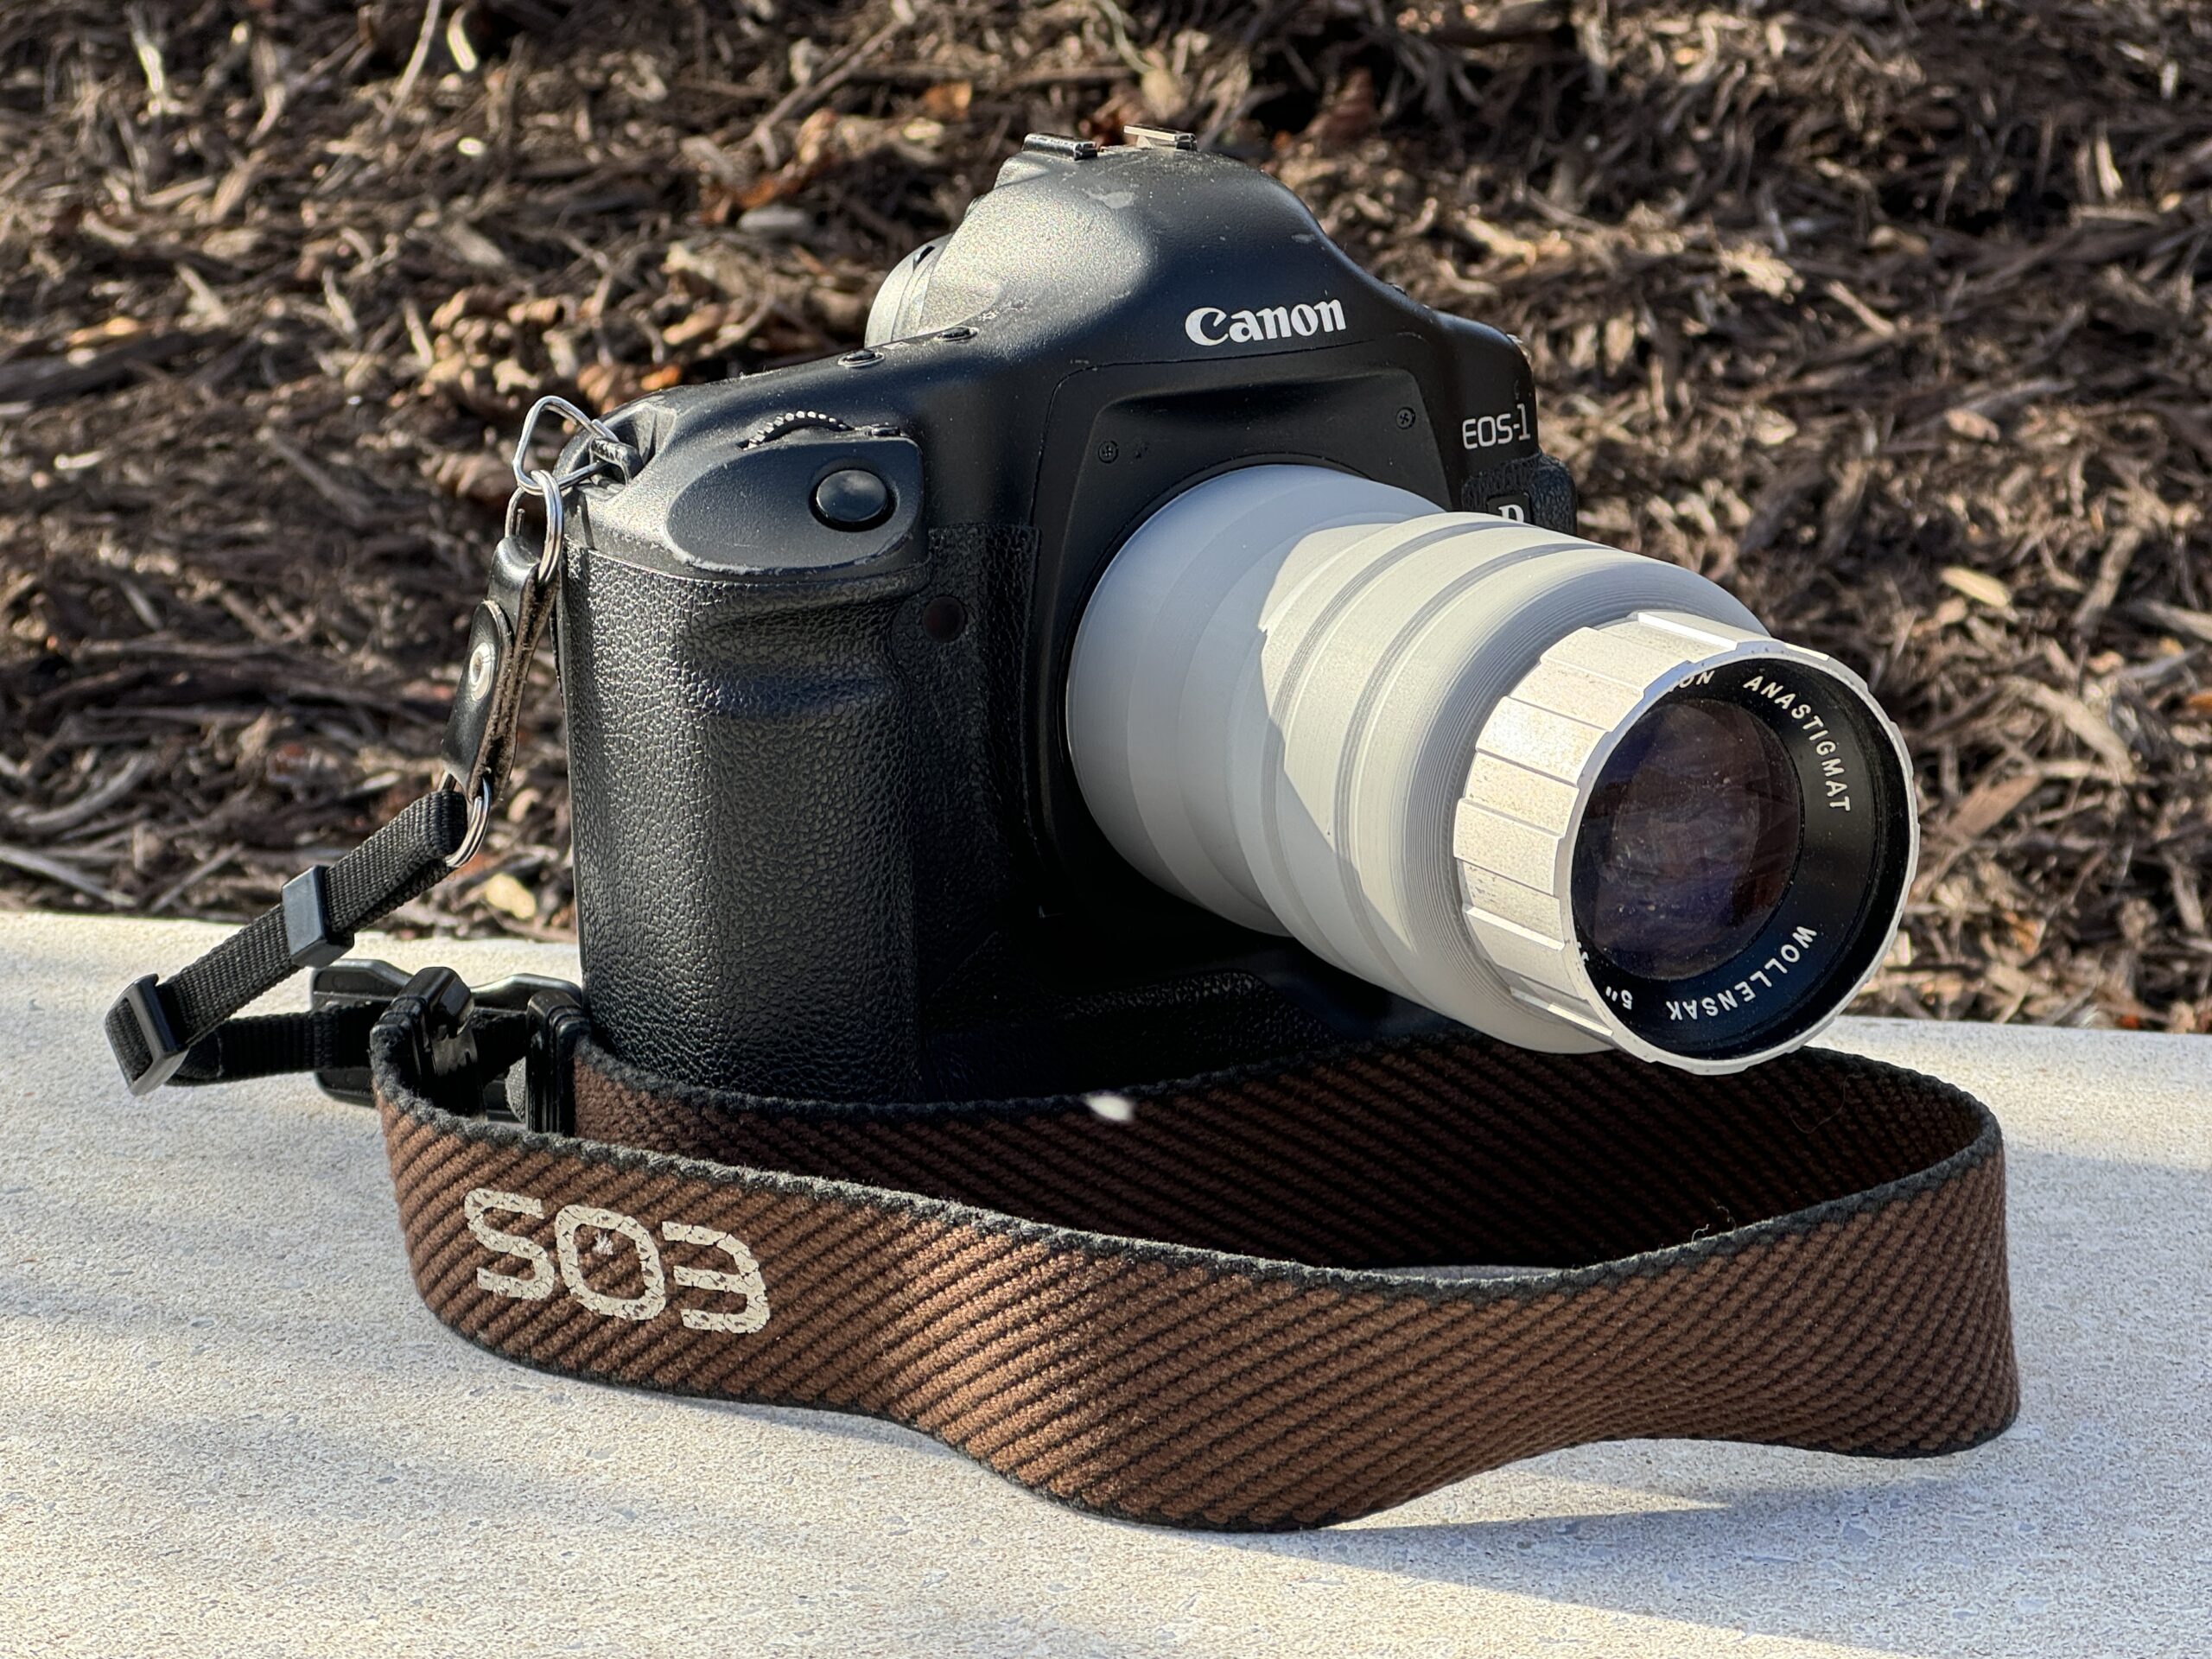
After downloading an EF bayonet mount made by Thingiverse user joar_funaya I started working on making an adapter for the lens. Measurements, much like my flange distance assumption, were imprecise at best. On my first attempt, the projector lens did not fit within the threads due to an error measuring. After printing a second model where actual measurements were made, the lens fit, though a bit loosely. (It worked fine once I wrapped one layer of masking tape at the very bottom, although it occasionally makes a terrible screeching noise. At least the threading works though.) After adding some design elements to the outside of the second model to make it look less boring and cylindrical, I was off to shooting.
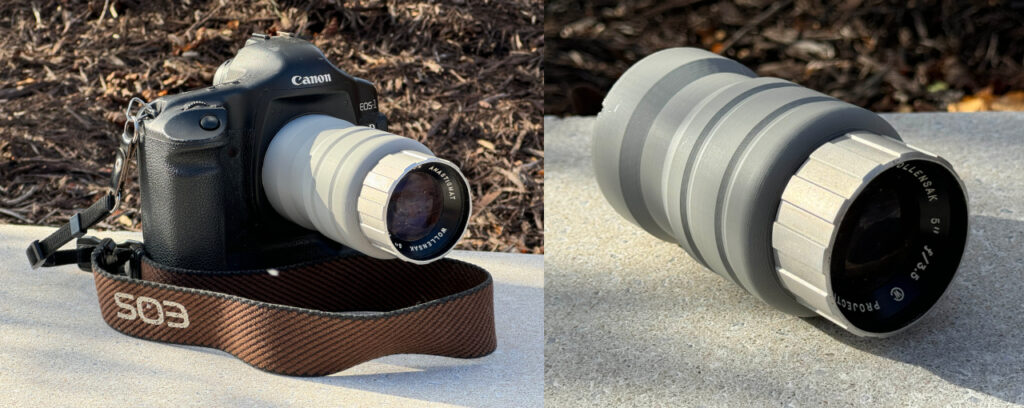
As excited as I was to have the adapter work, I quickly realized my assumption that EF mount could accompany the lens to allow infinity focus was a mistake. With my EF mount adapter, the furthest the lens was able to focus was around 7-8 feet, and with the lens being equivalent to roughly 170mm on APS-H, this was pretty limiting. Nonetheless, I decided to get out and do some test shots, even with the heavily constricted range of focus.

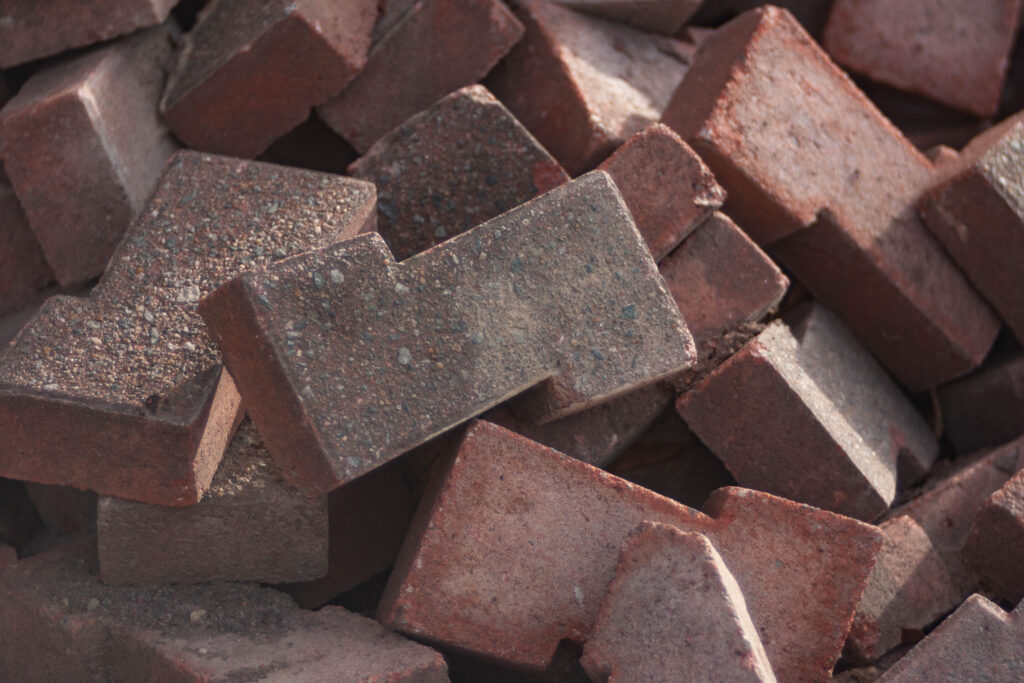
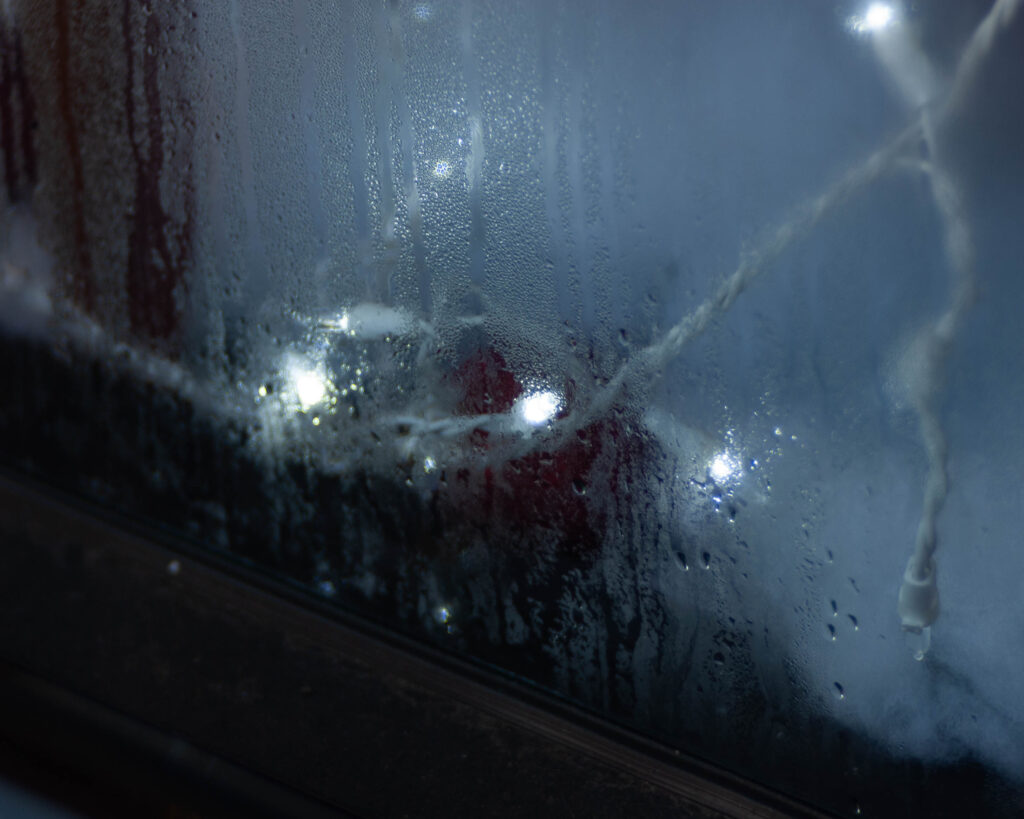


I figured I would quickly just change the mount of the adapter to EF-M and reprint it for use on my M50 Mkii. This would allow for infinity focus at the cost of some close focusing, but considering the lens already focused way closer than I could ever use, this didn’t trouble me. This would also have the benefit of not needing to deal with my 1D’s distaste for lenses without electronics.
This is where some disappointment strikes, the adapter mounted properly, but something odd started to happen. At high shutter speeds a visible black bar would appear on the frames of the photos. My first thought was, oh shit, shutter failure, but this only seemed to occur with this adapted lens… I wasn’t surprised initially, I had often used this camera for sports photography for the whole time I’ve owned it. The strange thing was I quickly discovered high-speed shutter photos on native, third-party manual, and adapted EF-mount lenses are all unable to replicate this. Maybe at some point, I will come back to this project and attempt to figure out exactly what the issue is, but in the meantime, this project will be on hold. Maybe at some point, I’ll adapt it to a different mirrorless system, or cut the rear tube part of the lens shorter to allow for adaptation onto mirrored mounts (as the optics are only in the very front,) but for now, this is the end of the road for this project. Here are a few more test shots:

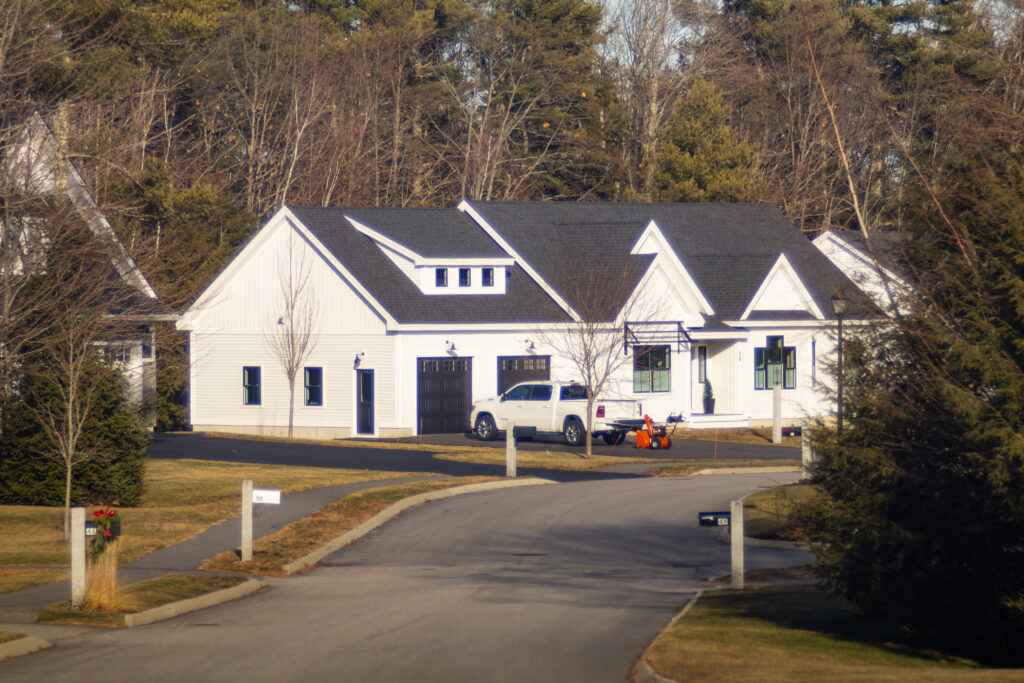
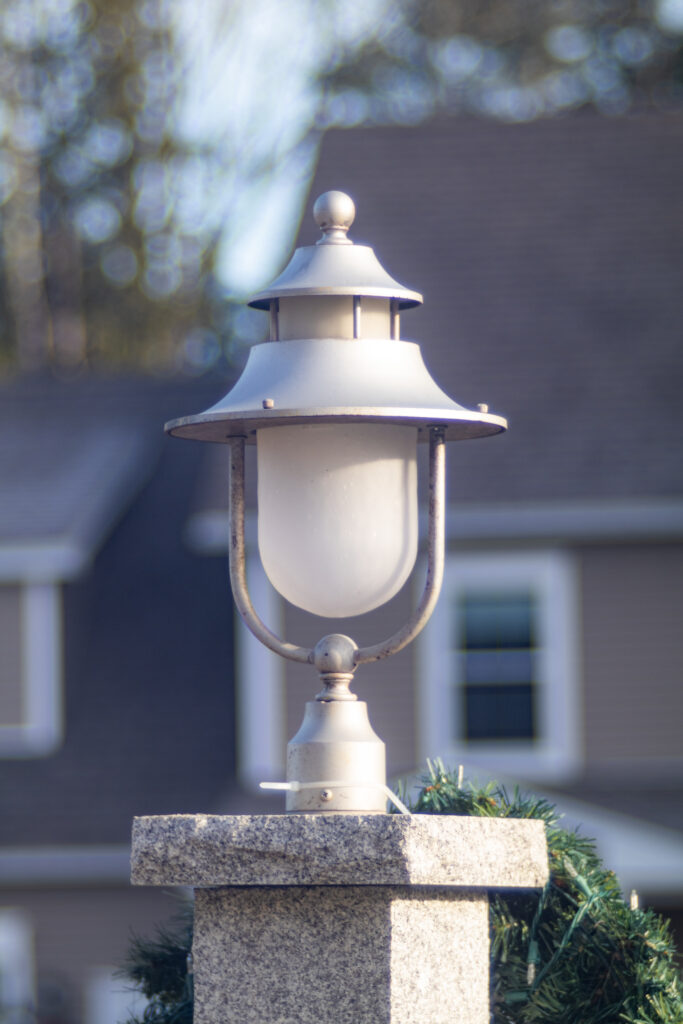
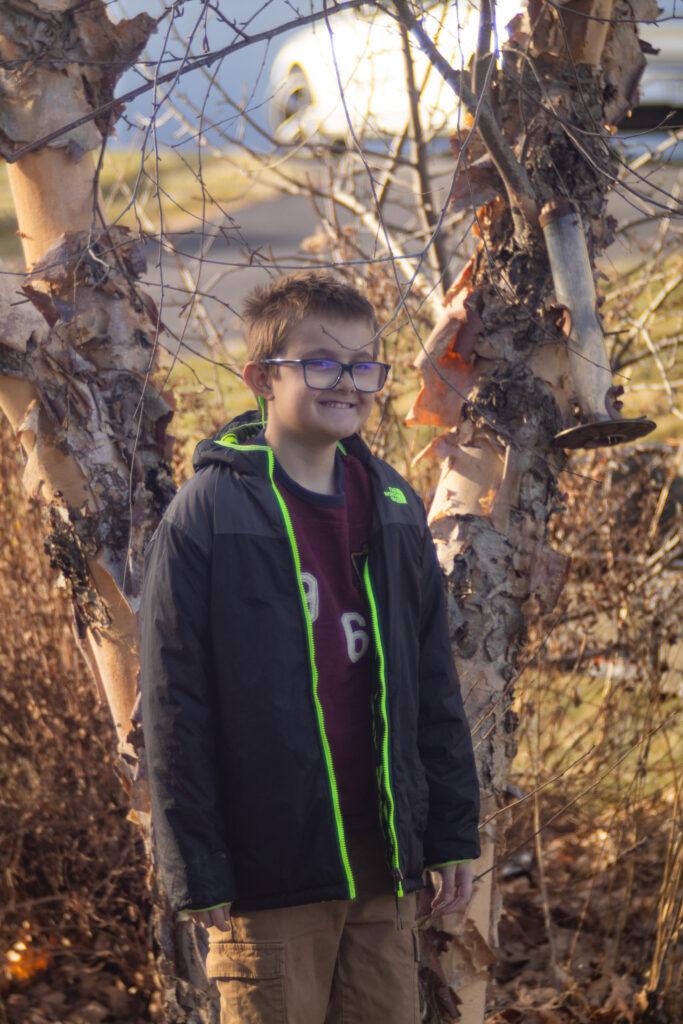
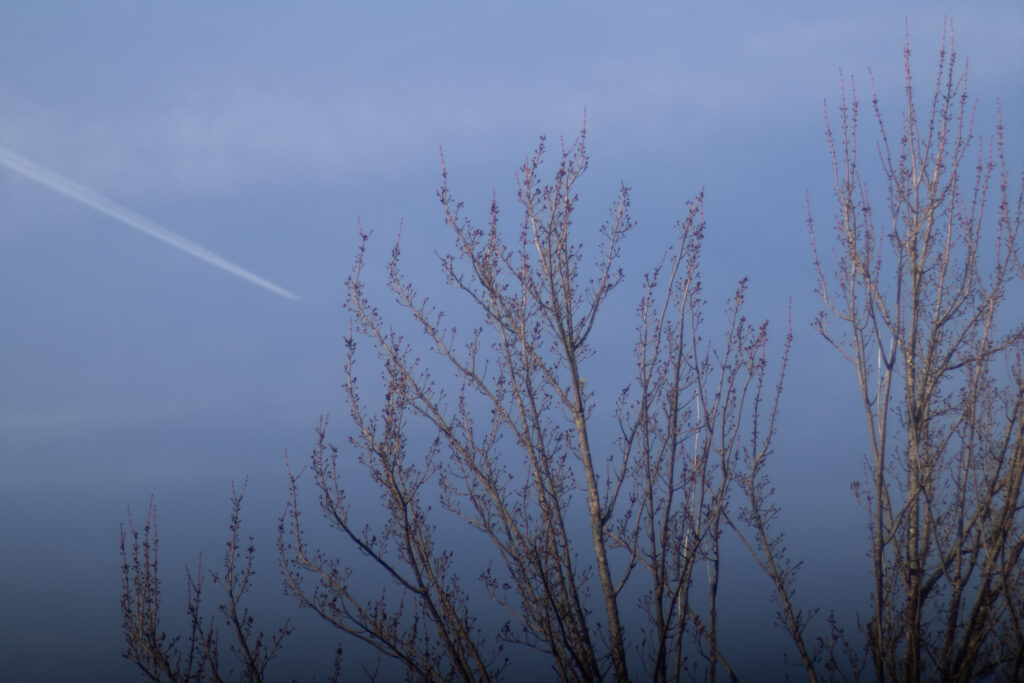
Thank you for reading, if you enjoyed this, check out my Instagram! Sometimes I do similar things
Share this post:


Comments
murray leshner on Wollensak 5″ f/3.5 Projector Lens Adapting Journey (and Failure)
Comment posted: 17/01/2025
I started out 'freelensing', then, using an M42 extension ring on an M42-NEX adapter, with the long threaded metal tube that served as helicoid in the projector. Just shuffle focusing.
I occasionally unscrewed the lens from the tube & pondered a shorter adaptation but there was too large a gap to fill.
Eventually I put machine screws through the tube and the M42 '1' adapter. Then added a purchased M42-M42 helicoid. I don't have your 3D ability.
Gary Smith on Wollensak 5″ f/3.5 Projector Lens Adapting Journey (and Failure)
Comment posted: 17/01/2025
Ibraar Hussain on Wollensak 5″ f/3.5 Projector Lens Adapting Journey (and Failure)
Comment posted: 18/01/2025
Interesting with pleasing photos
Jeffery Luhn on Wollensak 5″ f/3.5 Projector Lens Adapting Journey (and Failure)
Comment posted: 01/04/2025
That's a fun project to read about and view the results. I'm not a very good DIY guy these days because I don't have a decent place to spread out, so I enjoy reading about the explorations of others. Misapplication of elements can have serendipity. Using digital cameras gives the explorer instant feedback. Last semester I fashioned a lens from some +2 reading glasses onto a cardboard toilet paper roll and taped it to my Nikon D-300 to show students how a simple set up could yield interesting results. It worked surprisingly well, until a kid got caught in a rainstorm with it. No harm done to the camera, fortunately!