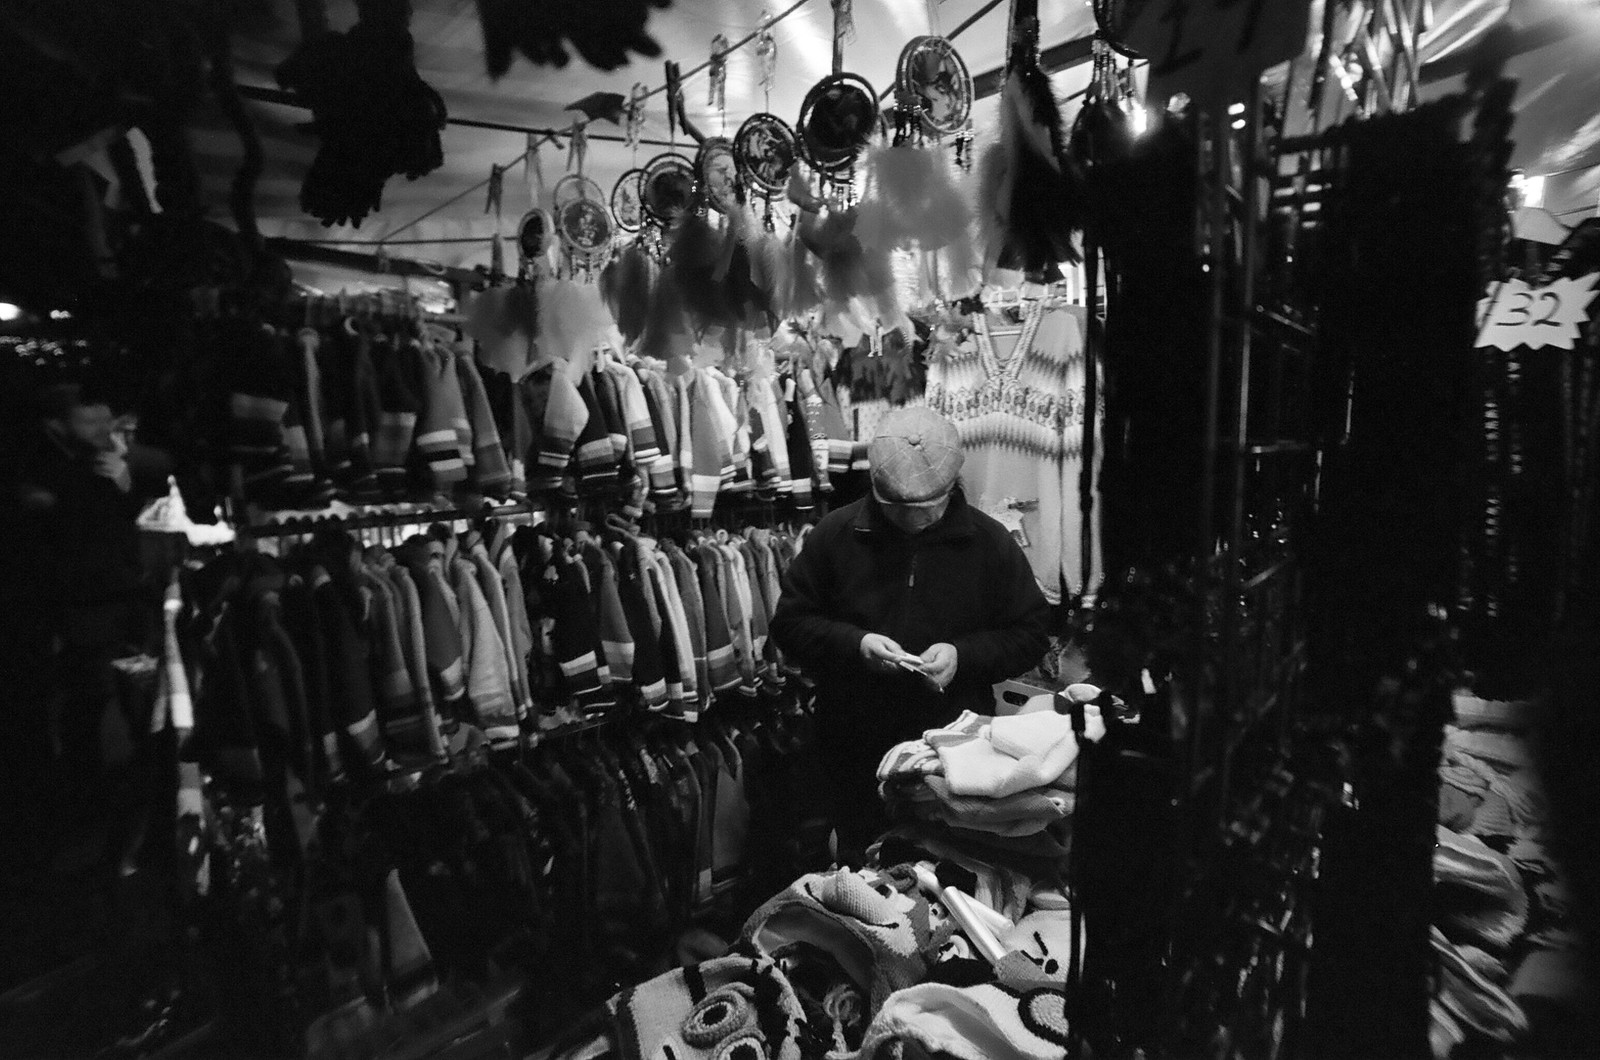
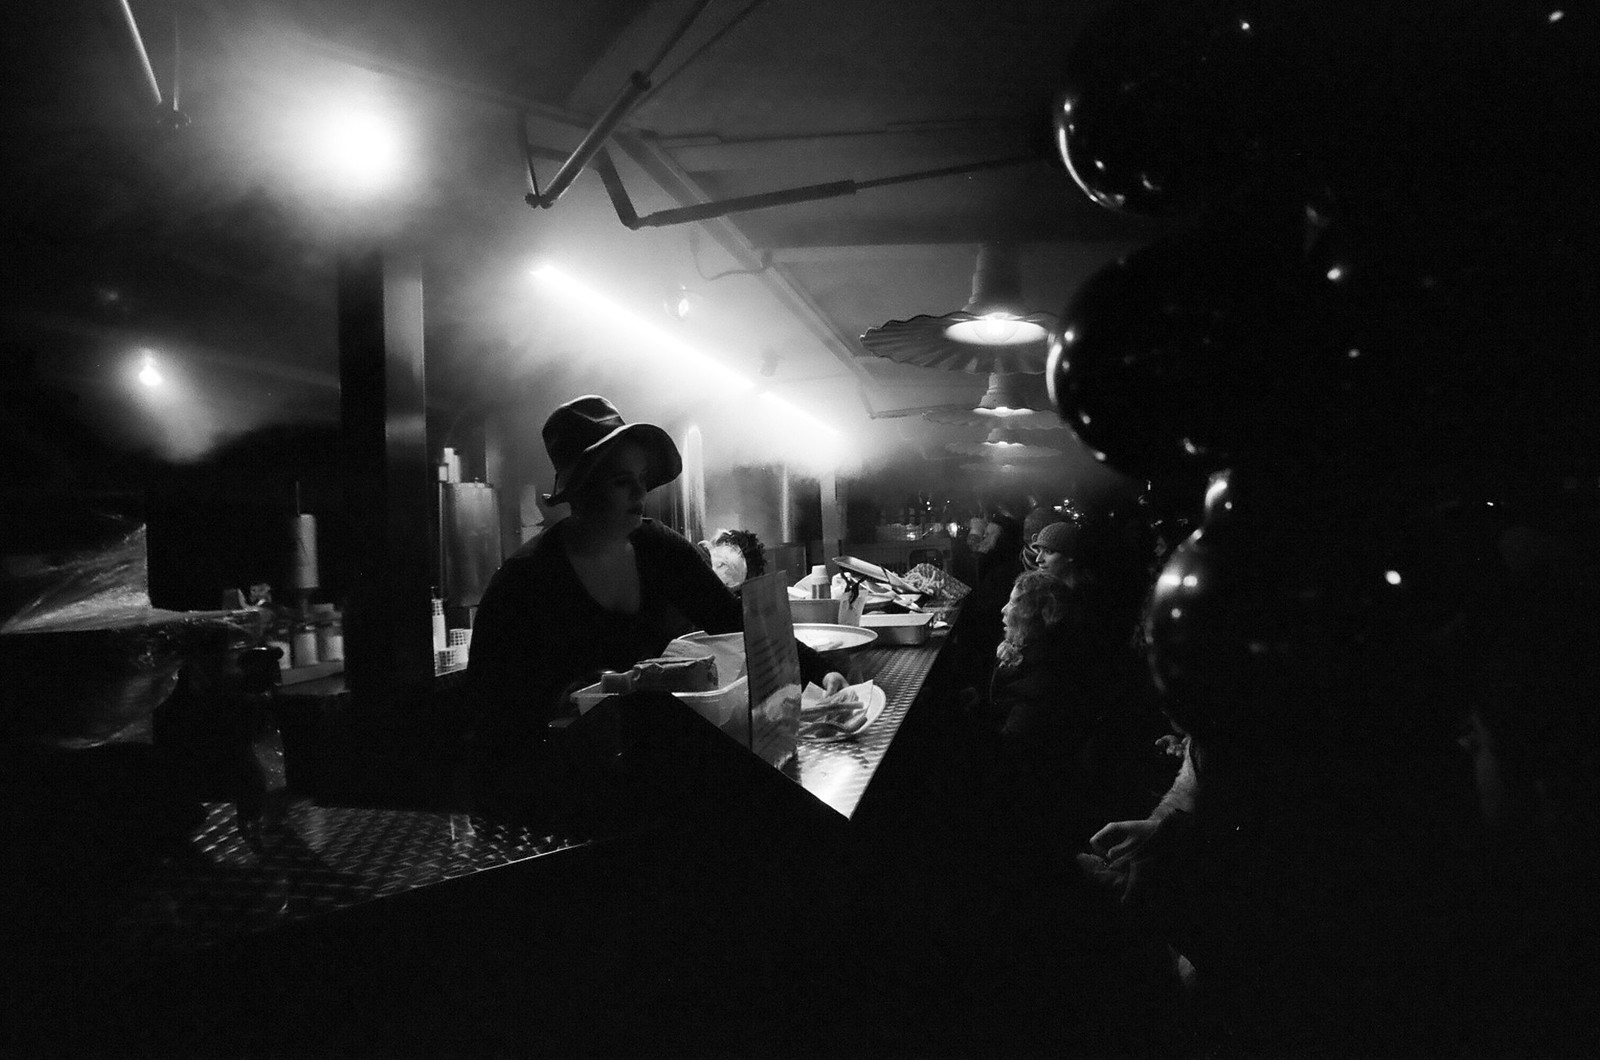
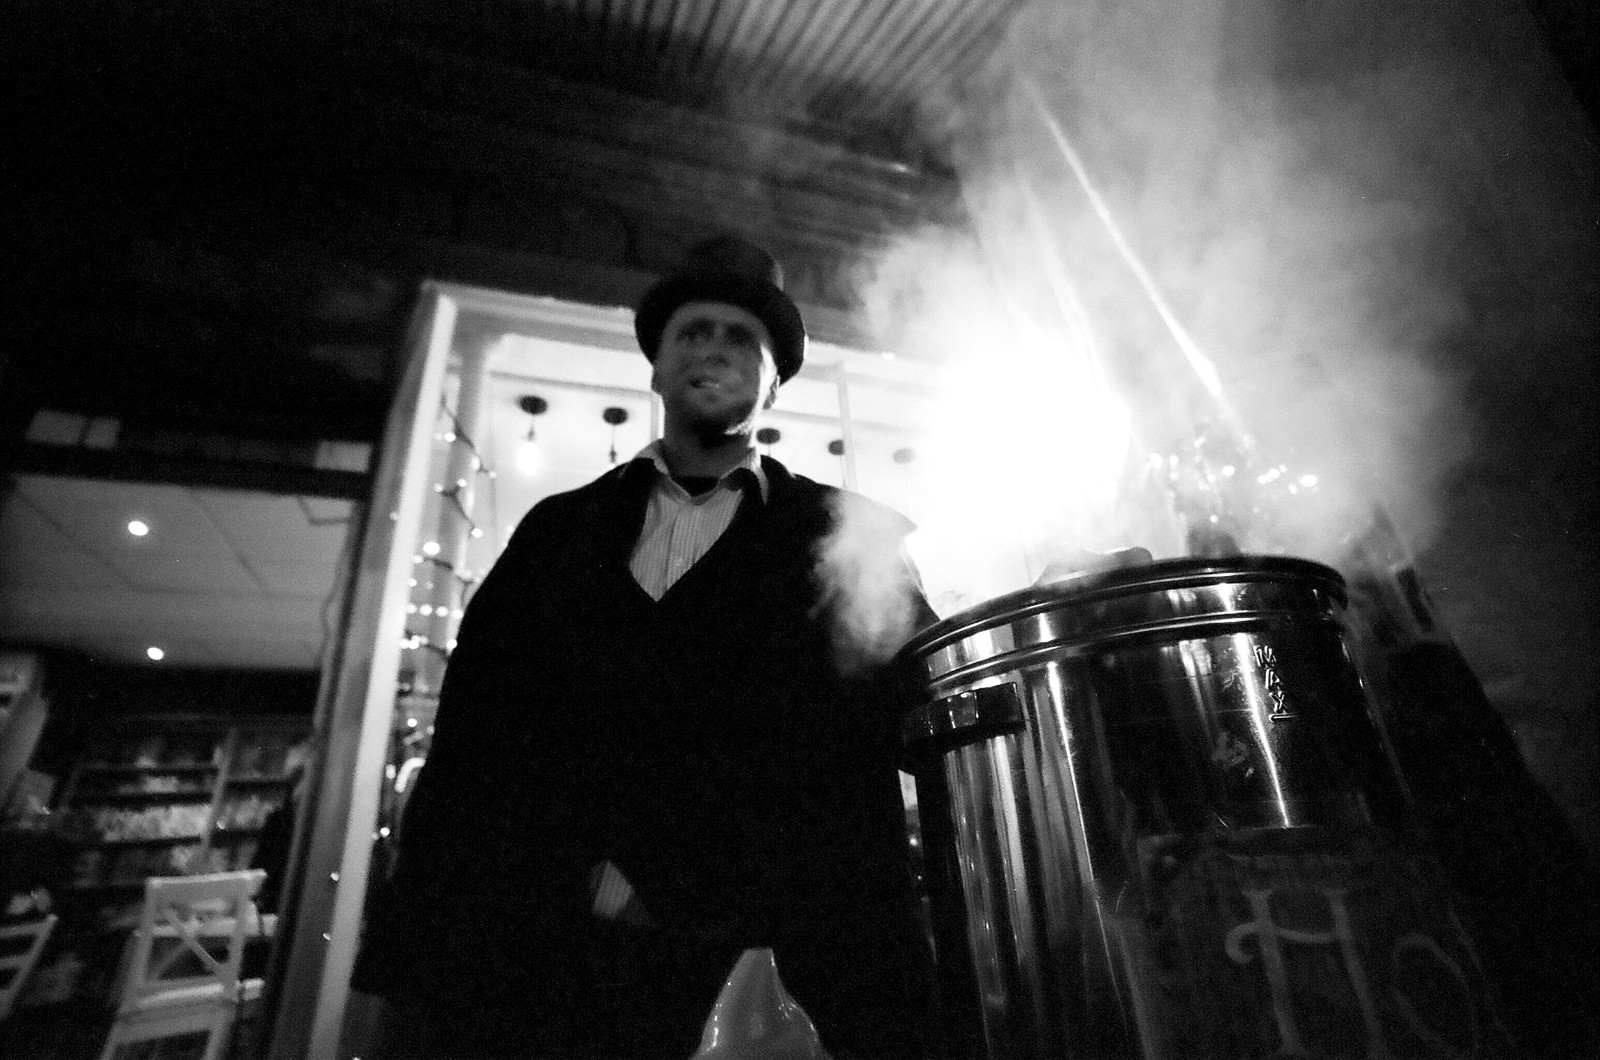
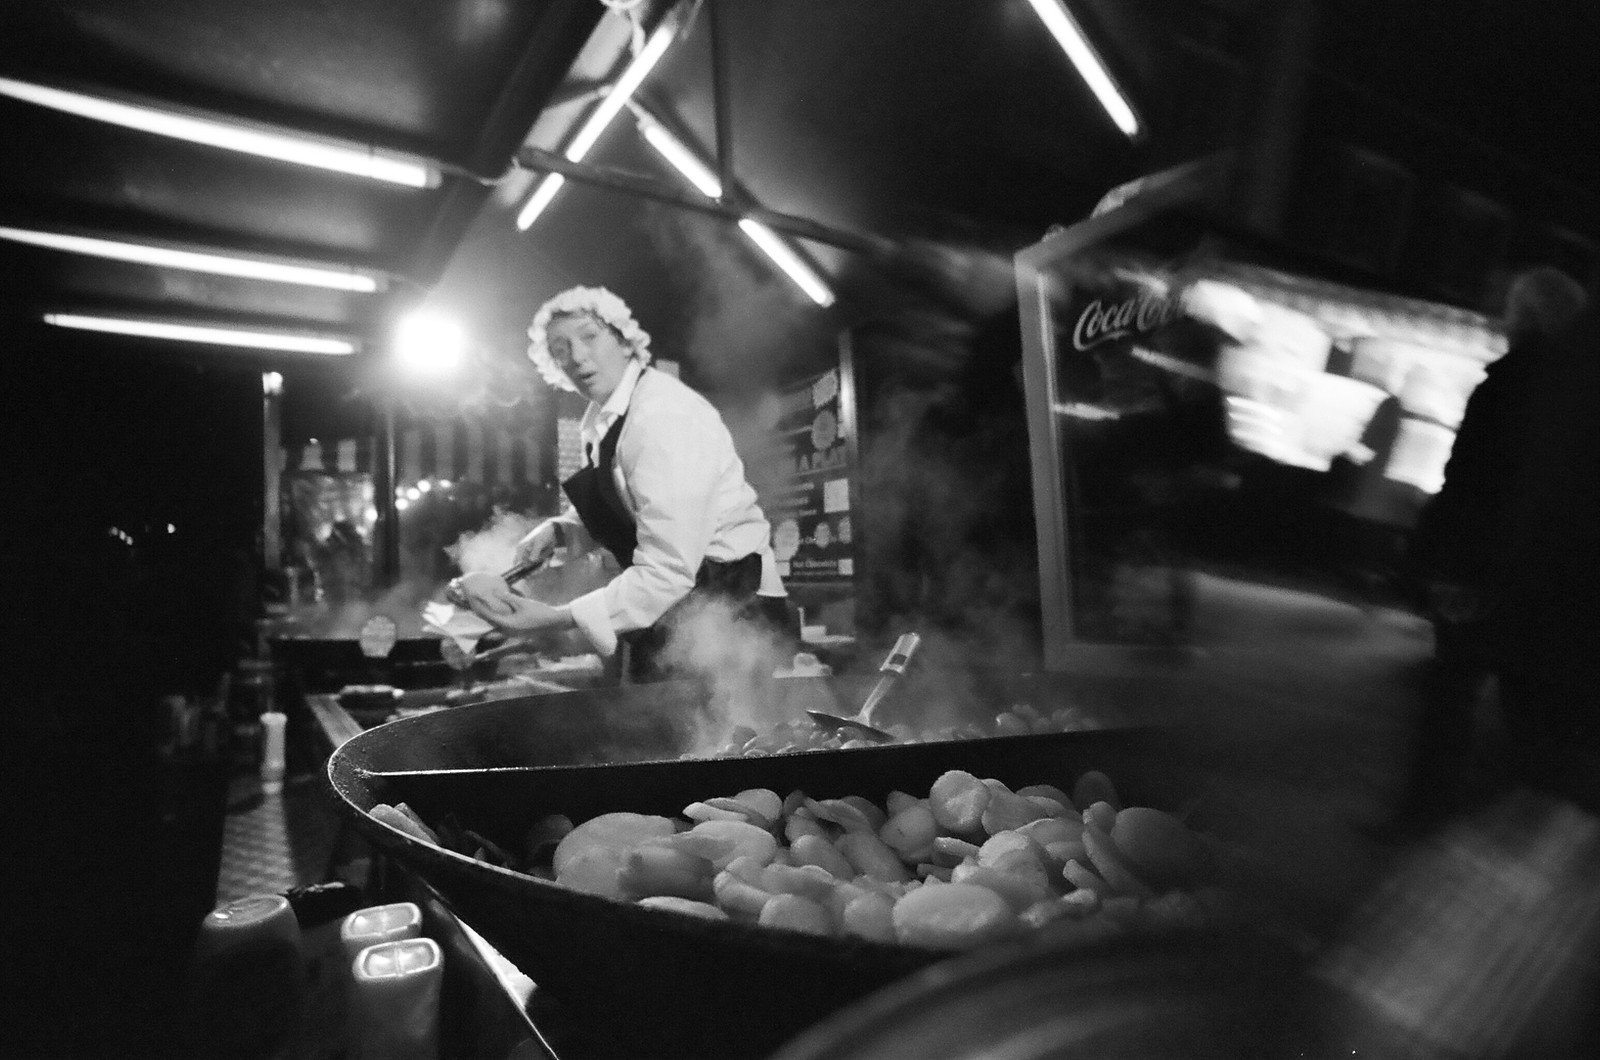
One subject I didn’t touch on in my recent Lomo LC-Wide review was shooting it in low light. I had in mind that I would take it around the local Christmas Fayre, and having a good idea of what the outcome would be, I thought it would give me a good chance to write a post I have had in mind for a while – a post containing a few tips and tricks relating to choosing and shooting a basic point & shoot camera in relatively low light circumstances, without the aid of a flash.
Shooting at the Christmas Fayre with the Lomo LC-Wide, where I didn’t have complete success, I knew based on the cameras statistics and my understanding of the light in these sorts of environments the potential for good results was there. In fact, I knew with some certainty that all I needed to do was point the camera in the right direction.
This might sound obvious, it is a point & shoot camera after all. But actually, with a bit of forethought, despite the Lomo LC-Wide being almost completely automatic, it can – at least to a degree – be used to get reasonably sharp, well-exposed images even in the sort of light you might find at a Christmas Fayre at night.
Understanding your camera
Possibly the most valuable commodity in shooting in these kinds of circumstances with a point & shoot camera is an understanding of how the camera works. As such, there a few statistics and settings you might want to look out for when choosing an appropriate camera for this sort of shooting.
Exposure index control
Ideally, you to look for a camera that either allows the cameras exposure index to be set manually via an ISO dial, or has a good range to its DX bar code reader. If it’s the later, look in the manual, in an ideal world you want the DX code reader to work up to as high a number as possible. 5000 is the maximum you might just about get away with 1000. If the necessity for this isn’t obvious, it will become clear later in the post.
Focus type
Manual focus is possibly the most predictable type of focusing for low light photography with a point & shoot camera, but if you are going to shoot an autofocus camera you will want to look out for cameras that have what’s called “Active Autofocus”.
Active AF cameras rely on an invisible beam of infrared light to determine subject distance. The beam reflects off the subject and gives the camera the focus distance. This means that as long as you don’t try and shoot through glass (which also reflects the IR beam), you can focus on something in complete darkness if need be.
This differs from passive AF cameras that look for areas of contrast to aid focus. In low light, sometimes this can mean that a passive AF camera can’t find what it needs to accurately focus, meaning the result will be an out of focus image. Of course, in the case of the Lomo LC-Wide, not only is it manual focus but thanks to its wide angle nature, I have so much depth of field, focusing hardly needs thinking about at all.
Metering types
Like the original Lomo LC-A, the Lomo LC-Wide has a light meter that works in relatively low light situations. The result of this is that given the right level of low light, the shutter will stay open for even as long as a couple of seconds. In fact, if it’s shot outside of the light meters range, it will default to a bulb mode meaning the shutter will stay open for a long as you hold your finger on the button, with a maximum of 2 minutes.
Not all point & shoot cameras work like this, but the vast majority will at least have specifications that allow for the use of somewhat slow shutter speeds in low light. This functionality isn’t particularly ideal by my standards. In fully automatic point & shoot cameras, my preference is for relatively fast low shutter speeds. I talk about this in my review of the Olympus AF-10 super here, and the Canon Sprint here. It just makes for a reliable way to shoot a photo in lower light without risk of motion blur in the results.
That said – and kinda the point I am working toward in this post – if you know the light you are to shoot in, with many point & shoot cameras, even with a camera like the Lomo LC-Wide, you can get relatively motion-blur-free images. That is of course provided the cameras program AE mode favours wider apertures over slower shutter speeds.
Understanding program autoexposure
All automatic point & shoot cameras rely on what’s called program autoexposure. On your SLR this is what you get if you set the camera to auto or ‘P’ (for program). What you might not realise is that not all program AE works the same. In simple terms, in low light, some cameras favour the use of slightly longer shutter speeds, with some others favouring wider apertures.
For example, most Fuji cameras – with the Silvi as perfect example of cameras I have written about – favour the longer shutter speed. Here is the Fuji Silvi using a smaller aperture and longer shutter speed.
Even cameras like Fuji Klasse and Ricoh GR1 series are the same, though they at least they have aperture controls to override the issue. A noteworthy true point & shoot camera that does favour a wider aperture is the Olympus mju-ii, but actually, you don’t need to spend even nearly that sort of cash.
If you are unsure how your camera is programmed, the easiest way to tell is to fire it with the back open in varying light levels – as I do in the video above. You’re looking for a wide open aperture and a fast shutter speed, rather than a partially stopped down aperture with a visibly slower speed.
Interestingly, and quite conveniently, active AF cameras quite often also have program AE modes that favour the use of wide apertures.
Exposure lock
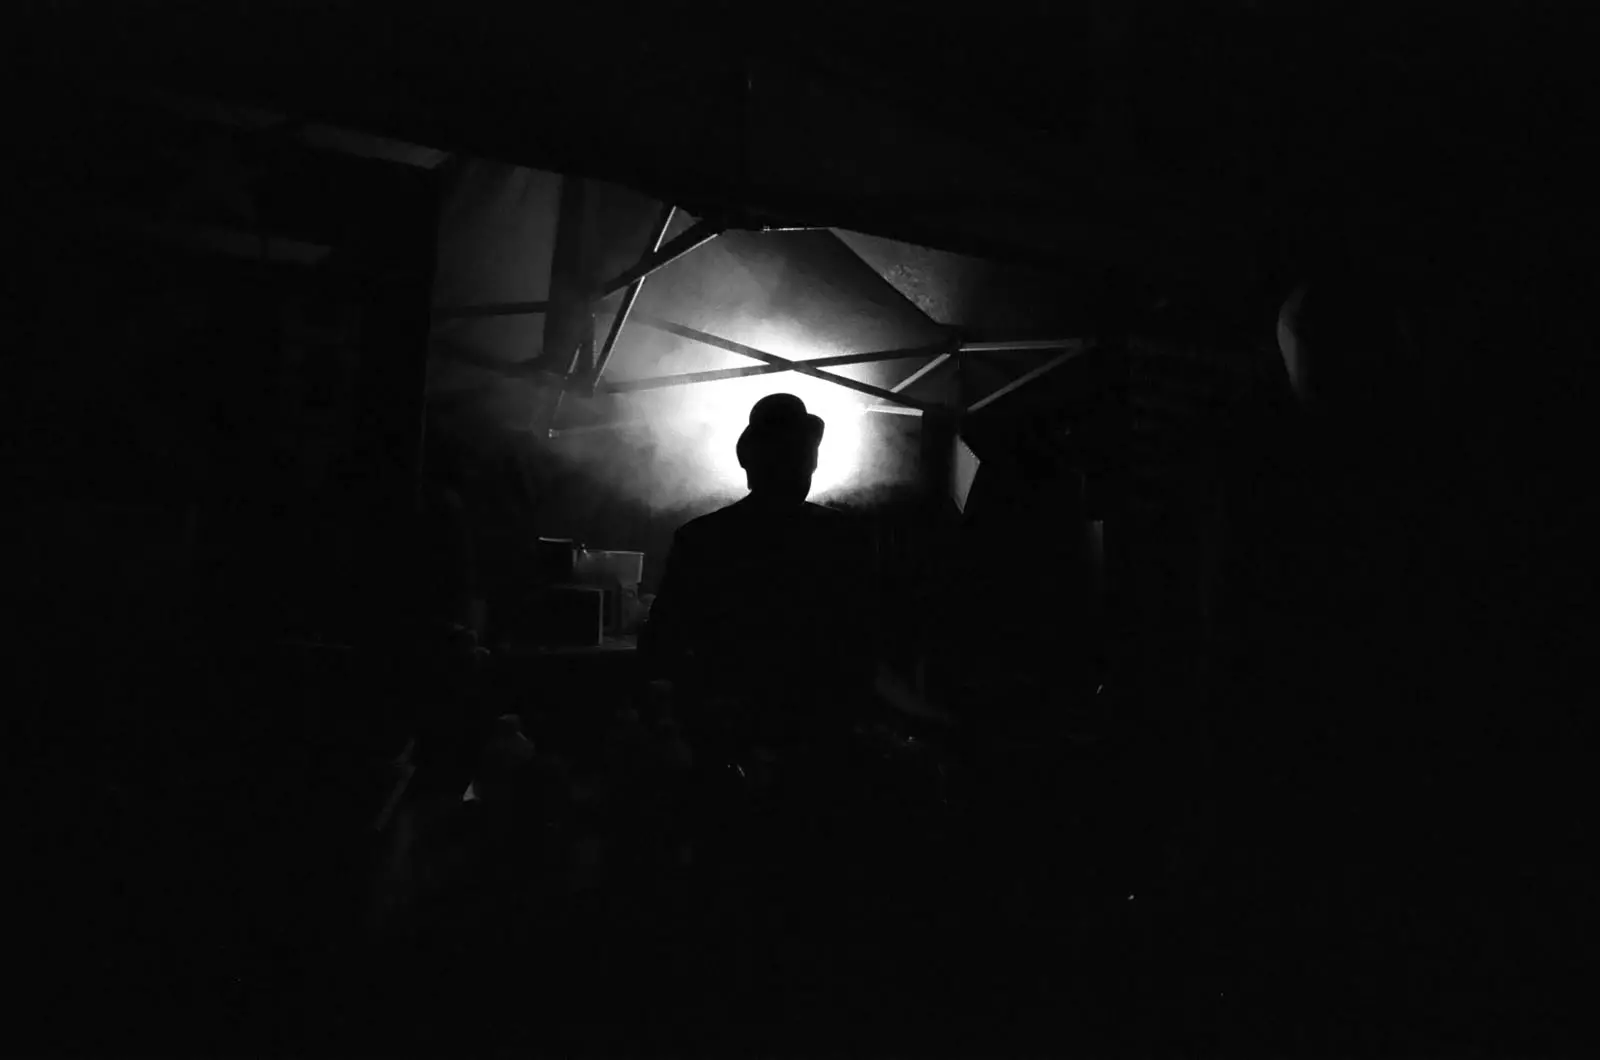
Another useful feature to look out for is an exposure lock. Quite often point & shoot cameras have a feature that allows the camera’s meter to be locked at half press. This is quite a useful feature if the centre of your frame has a bright light in it. By locking the exposure away from the light source you can avoid this sort of thing happening:
Understanding the light
Understanding, and choosing the right camera is one thing, understanding what light you can shoot in with what film is another. Going into these sorts of circumstances with a camera where you have control over the settings, you could set the camera to acceptable shutter speeds, meter if you need to, etc etc.
What’s useful to know here is that what you would probably find – at least for the most part – good exposure would always be obtained from around the same settings.
This is because – just like shooting in daylight and taking advantage of the Sunny 16 rule – shooting in an environment like a Christmas Fayre at night there is actually a fairly consistent amount of light. All the stalls are lit by artificial lights and are often quite well lit. The same can be said of things like the fairground rides. The amount of light you are likely to find is going to be around EV4(100iso) to EV7(100iso), and in fact is quite likely to be around EV6(100iso) in the places you are most likely to want to shoot.
Setting the camera
Of course, with a point & shoot camera like the Lomo LC-Wide the shooting setting can’t be controlled. If you want control over the settings, the only thing you can change is the speed of film, or the exposure index you shoot it at. Fortunately, in the case of the Lomo LC-Wide, there is a manual control for setting the exposure index. If your point & shoot doesn’t have this, you might like to explore the idea of modifying you film’s DX code. You can hopefully now see the importance of choosing a camera with a manual exposure index control or at very least a good range to the DX code reader.
In practice
By shooting faster film, or by setting the cameras meter to a higher exposure index with the intention of pushing the film, the camera is of course going to use faster shutter speeds than if a lower film speed is used. This is pretty obvious, but what is perhaps slightly less obvious is that if you know the the camera is going to use a wider aperture over a slower shutter speed, you know the widest aperture of the lens, you know the exposure index the meter of the camera is set to, and you know the approximate light levels, you can also quite easily predict the cameras shutter speed.
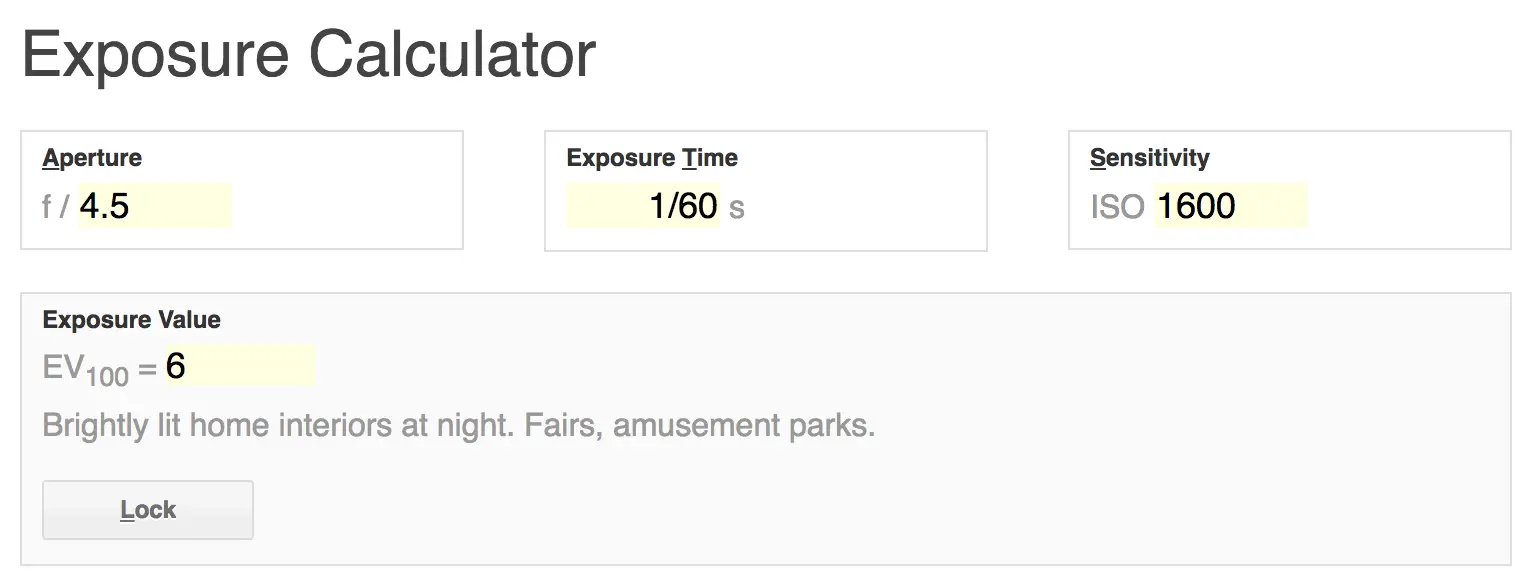
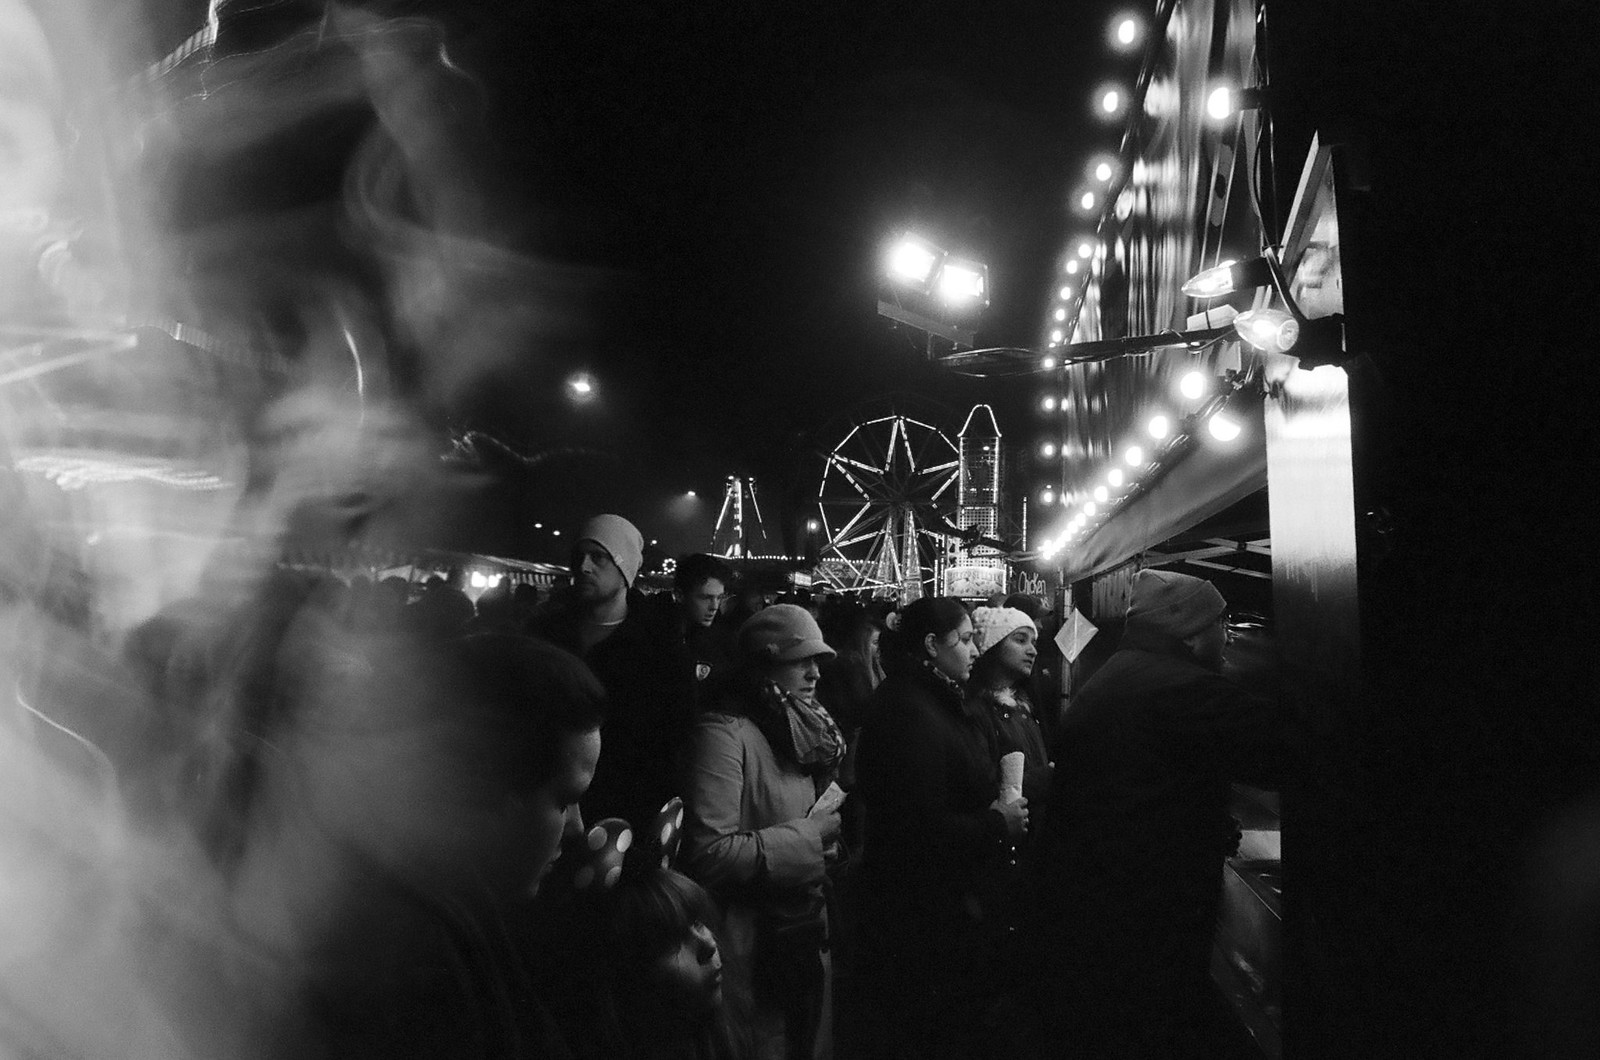
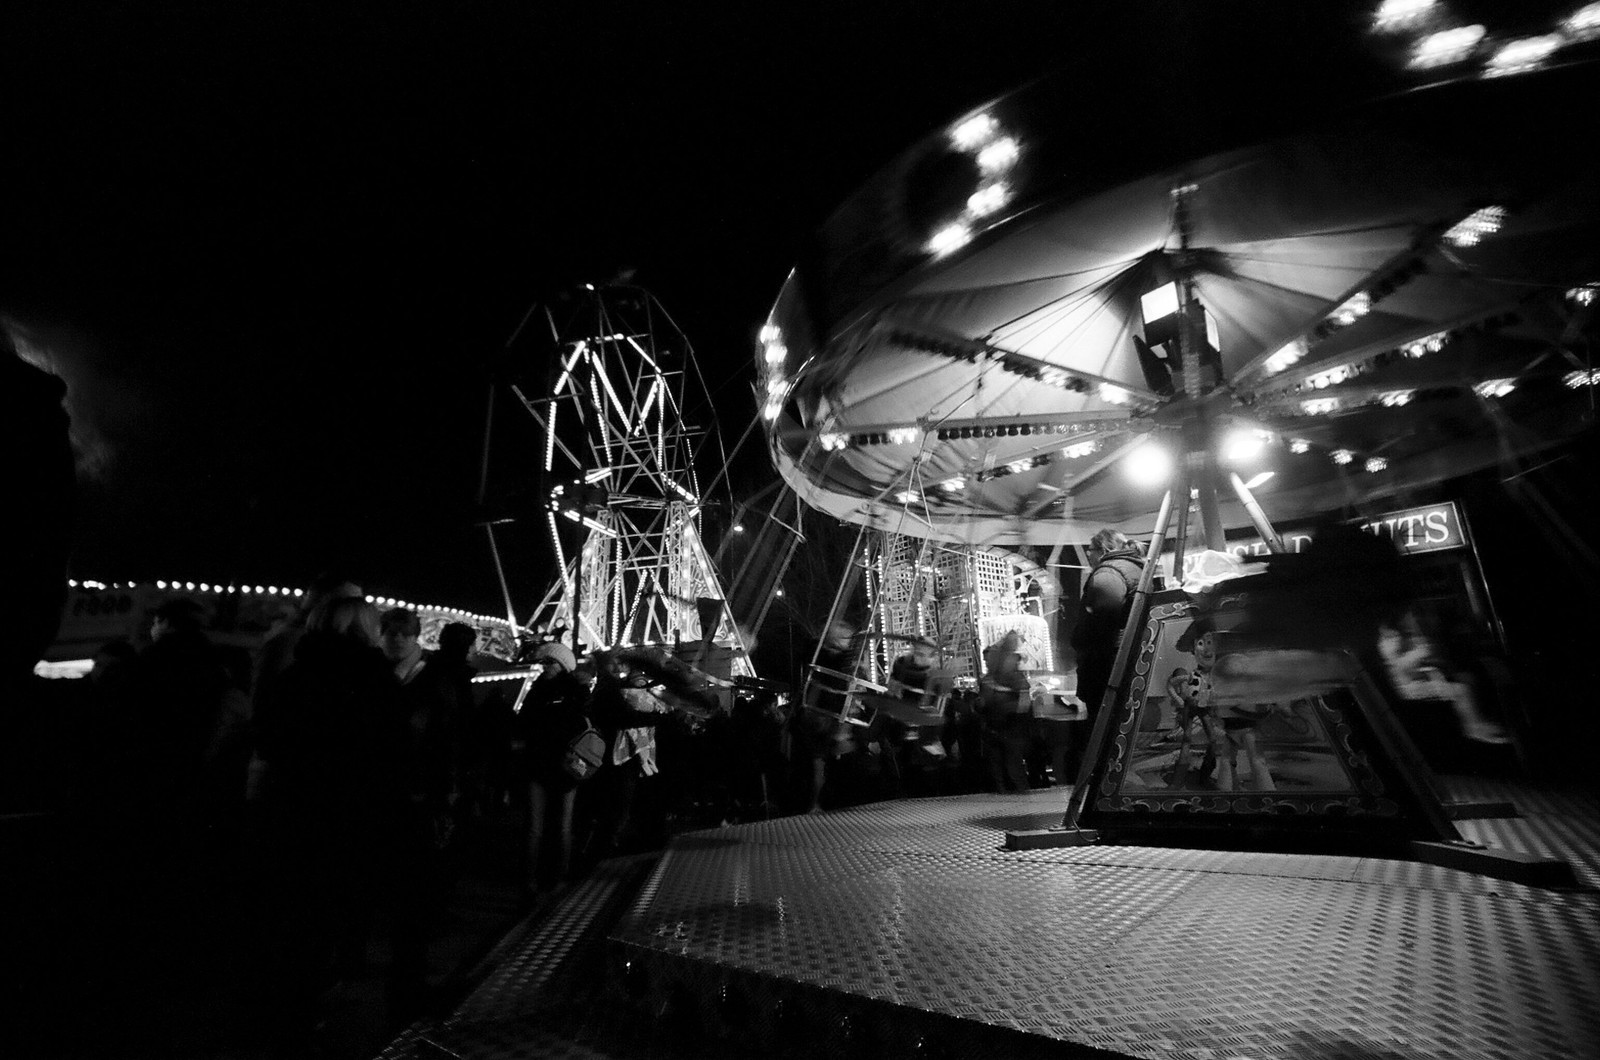
For example. With my Lomo LC-Wide, I know the lens has a maximum aperture of f/4.5, I know the light level is around EV6(100iso) and in the case of the images in this post I know the exposure index of the camera is set to 1600. Knowing this information, assuming the Lomo LC-Wide uses its widest aperture (which I’m not entirely sure it does), I know the camera is going to use a shutter speed of around 1/60th of a second – which is perfectly acceptable for shooting relatively stationary people.
How do I know this, you might ask? Well I used to have a printed chart that showed combinations of shutter, aperture and ISO setting that would equate to various exposure values and what those exposure values equate to in real life. Now I just use this website with its handy calculator. Here is a screen grab of the settings I have mentioned. Take note of what it equates EV6(100iso) to in terms of light levels.
Some more results
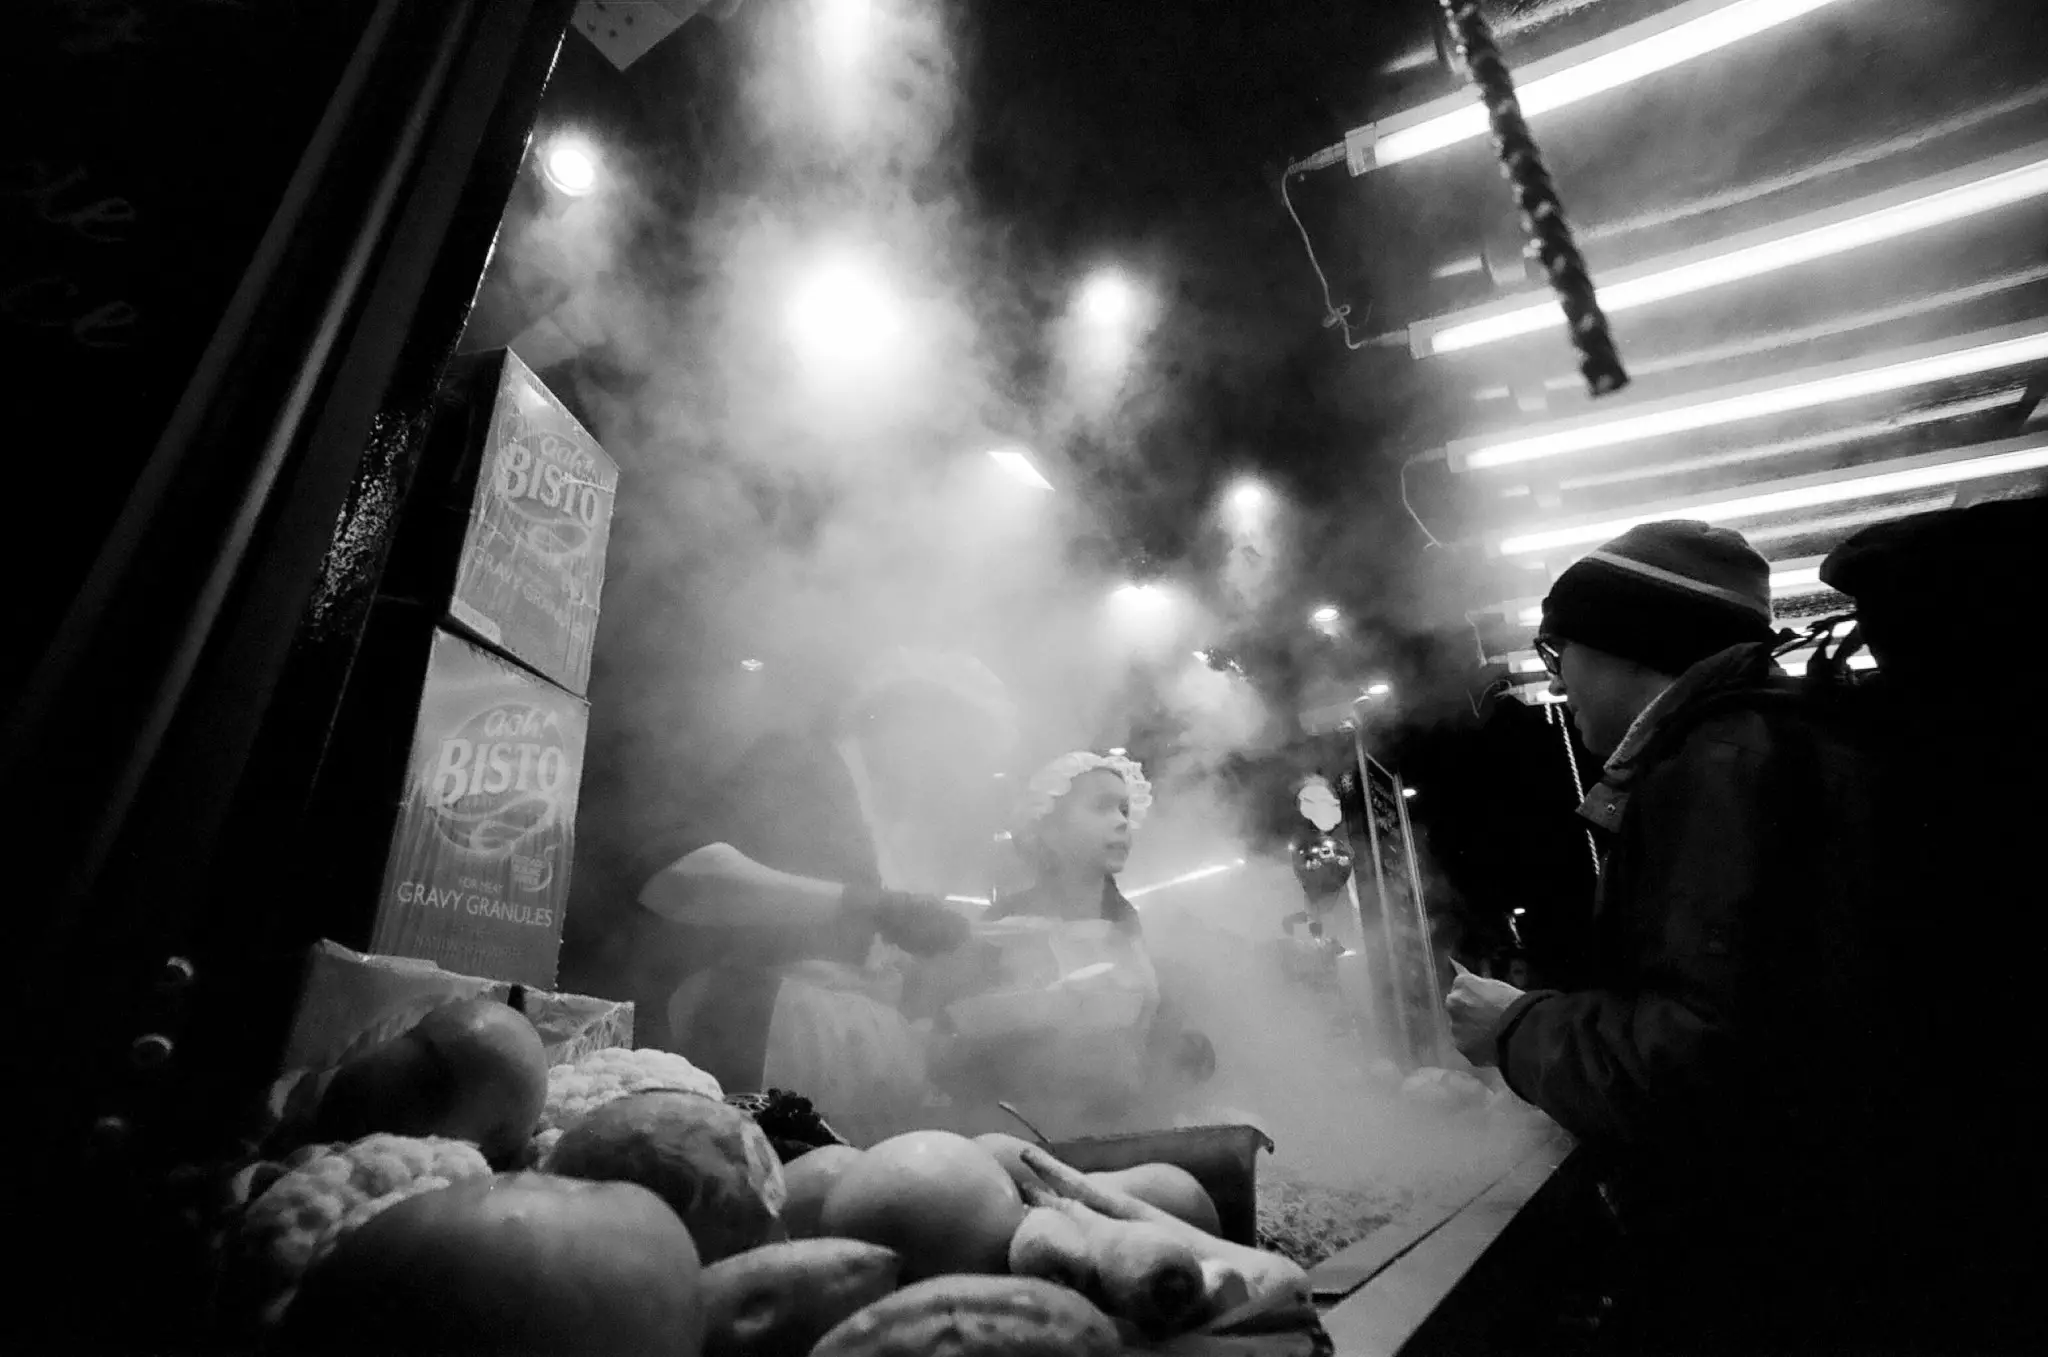
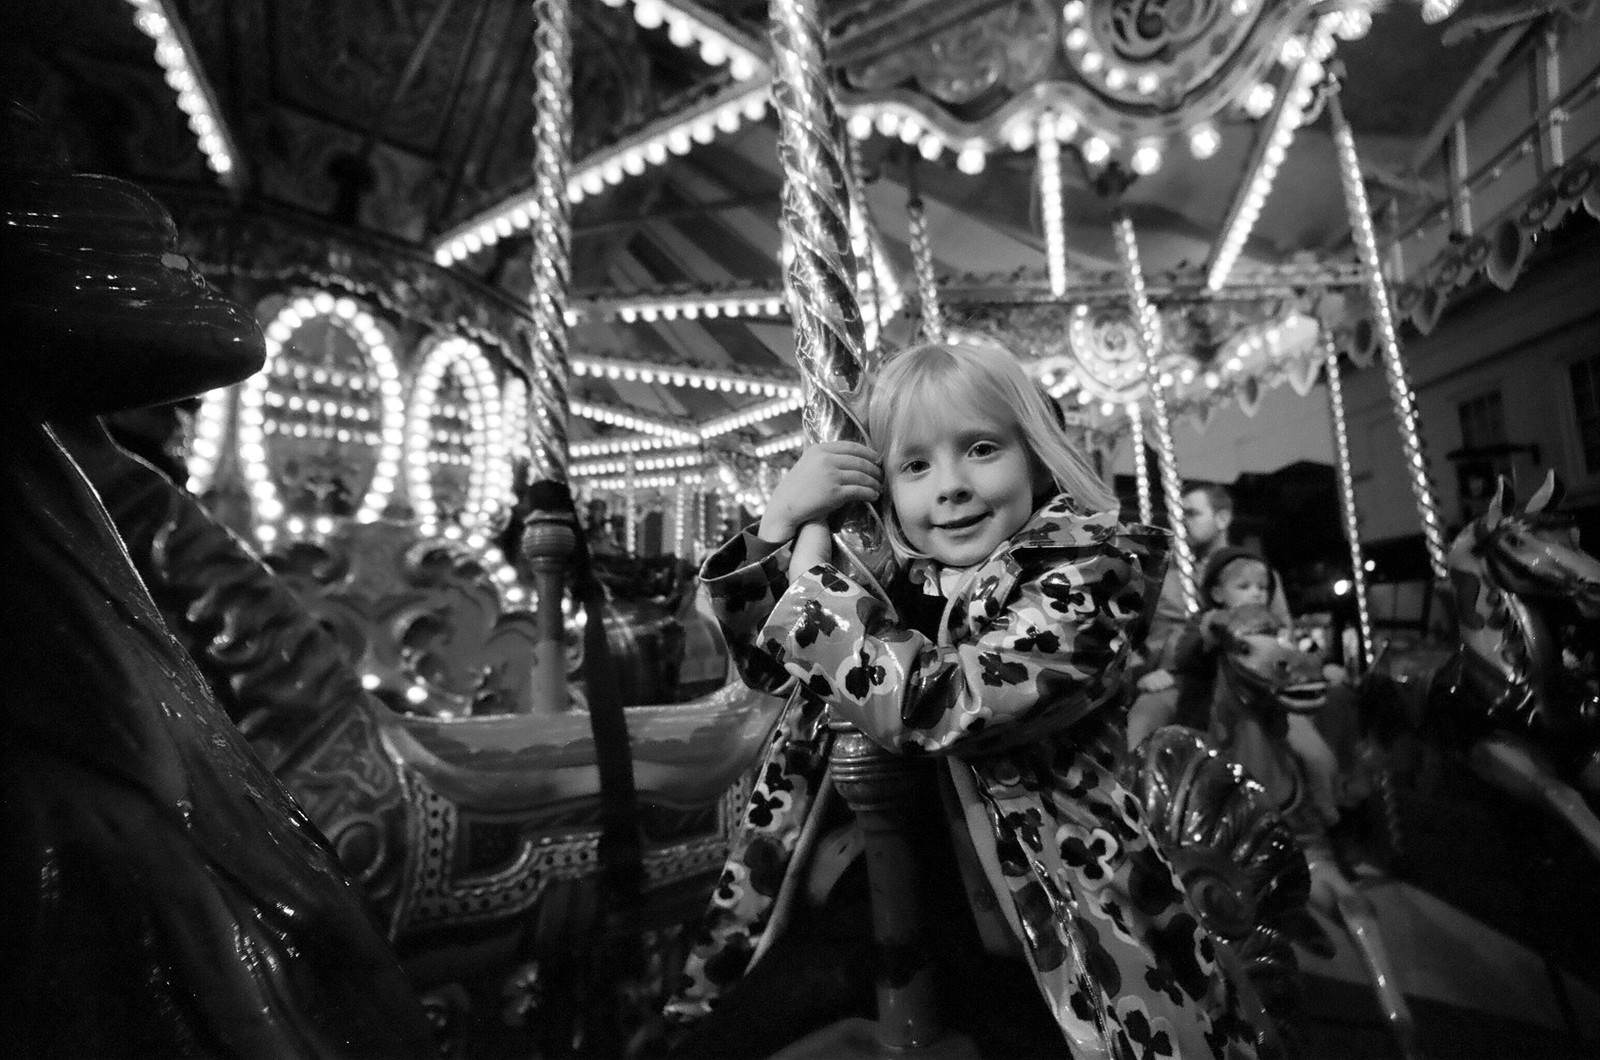
In reality not all my shots from the LC-Wide have come out completely free of motion blur. In some the light was still too low. But I think it’s worth remembering that this lens is a f/4.5, so even a drop to 5EV would set the shutter speed to 1/30th with the camera set to EI1600, which could be enough cause motion blur in the images. Fortunately, for this sort of subject matter, with this sort of camera, it doesn’t feel like it matters too much. As I talked about in my LC-Wide review, I’m not aiming for perfection with this camera.
Why bother?
You might be asking why? Why bother going into these sorts of difficult shooting environments with such basic cameras when much more control and a greater potential for good results can be had shooting a camera that allows some real control over settings? This is a good question, and for many folks, I can imagine the answer would be to just not bother at all.
But, having walked this path with a few cameras over the years I’ve found it a really good way to gain a greater understanding of some of the basics of photography. An understanding of exposure value as a basis for understanding exposure is something that just seems to get overlooked these days. Yet, 50-60 years ago exposure value was where amateur photographers started.
This might be information that we don’t acknowledge as part of photographic process these days too often, but having an understanding of what it all means can be really helpful. I personally have found it all very helpful in my path to understanding how to shoot without a meter, but it’s also been very useful to me in my path toward understanding how to meter better too. And besides, I’ve repeatedly found that a little bit of overthinking like this gives me a bit of extra confidence in what I am doing. Going to that Christmas Fayre knowing that – as I said at the beginning of the post – I could just point the camera in the right direction, made the whole process of shooting a lot more enjoyable.
Ultimately, point & shoot photography doesn’t have to be about crossing your fingers and hoping for the best. Understanding your camera and the light you are shooting in can help to reap some really positive results with some surprisingly basic cameras. Not to mention the fun and satisfaction that can be had!
Hopefully this post is useful, but if anyone fancies trying this sort of thing and isn’t quite sure what I am on about, feel free to ask questions below…
Cheers,
Hamish
You can find more info about exposure value here in Fred Parker’s excelent “The Ultimate Exposure Computer“
Share this post:




Comments
George Appletree on A few Tips & Tricks for shooting a 35mm point & shoot camera in low light
Comment posted: 17/12/2016
Absolutely agree.
Often used to expecting the camera to do everything for us, that's the only way to really learn.
Results?, yes sometimes better some others not so much. But the fact is you were there with all those things in mind. You never would if handling the perfect camera.
Comment posted: 17/12/2016
jeremy north on A few Tips & Tricks for shooting a 35mm point & shoot camera in low light
Comment posted: 17/12/2016
You've picked a very challenging subject to demonstrate how to get great results from a crappy camera. I really like this set of pictures. Well done H
Comment posted: 17/12/2016
Comment posted: 17/12/2016
Ian on A few Tips & Tricks for shooting a 35mm point & shoot camera in low light
Comment posted: 17/12/2016
Comment posted: 17/12/2016
Comment posted: 17/12/2016
Dan Ccastelli on A few Tips & Tricks for shooting a 35mm point & shoot camera in low light
Comment posted: 18/12/2016
First, lets put the technical stuff aside for a moment. The set of b&w photos you made of the Christmas Fayre are exceptional. Rather than just letting areas go black, you used them as a strong compositional element. The highlights & midtones are rich w/detail. You’ve caught the spirit of the celebration. Nicely done.
The biggest takeaway from your technical discussion is that you need to know your equipment and materials. Don’t be afraid to fail, have the courage to toss out the ‘almost good’ stuff’ and keep shooting.
Happy (Merry) Christmas to you & your family!
Dan
Comment posted: 18/12/2016
Grumpytyke on A few Tips & Tricks for shooting a 35mm point & shoot camera in low light
Comment posted: 20/12/2016
Comment posted: 20/12/2016
Reiner on A few Tips & Tricks for shooting a 35mm point & shoot camera in low light
Comment posted: 20/12/2016
Comment posted: 20/12/2016
Zoran Vaskic on A few Tips & Tricks for shooting a 35mm point & shoot camera in low light
Comment posted: 21/12/2016
Comment posted: 21/12/2016
Jordan Lockhart on A few Tips & Tricks for shooting a 35mm point & shoot camera in low light
Comment posted: 21/12/2016
Comment posted: 21/12/2016