Compact cameras – or pocket cameras, call them what you will – we all know what that means. We all know what they are, and to a degree what we expect them to look like. Of course, a compact camera from the 60’s or 70’s we would expect to look traditionally along the lines of the Olympus Pen series. Going into the 80’s, still sticking with Olympus, we would expect to see something looking like the Trip 35 or maybe the XA series. Go further forward into the 90’s and noughties and the obvious camera to mention would be the infamous mju-ii and it’s family. All compacts, all from the same manufacturer and all similar in their time to what other companies made (at least in the looks department).
Most would agree that folding cameras, although often slightly larger (usually due to using 120 rather than 35mm film – with exceptions of course) would have been considered compact cameras when they were made. But in general when people say “compact camera” most would imagine a small, pocketable, say hand sized camera. But that’s today, and though even going back those 40 or 50 years to the 60’s and 70’s the same would be true, what about in 1910?
Ladies and gentlemen, I give you the “Kodak No 2A folding pocket Brownie camera (Model A)”.
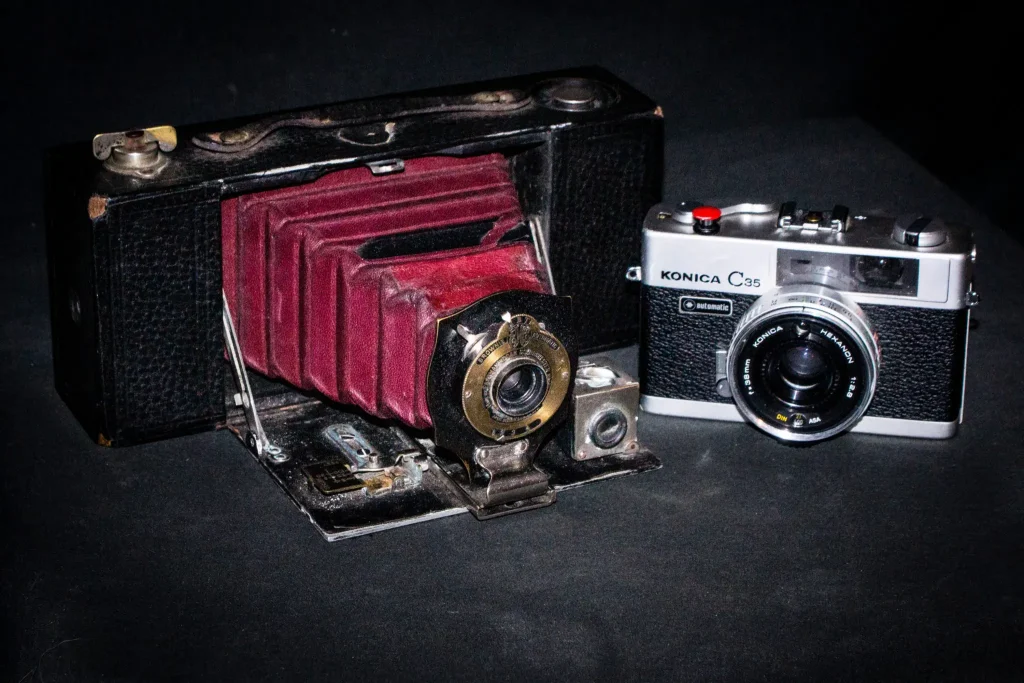
That’s right people this beast is a “compact”.
Manufactured in the US by the Eastman Kodak Co. Rochester N.Y. This little beauty, and i use the term little reservedly, is made of faux leather covered wood with what looks to be an aluminium front door. The rest of the metal work seems to be a mix of brass and steel, all by now rusted and corroded to a lovely patina.
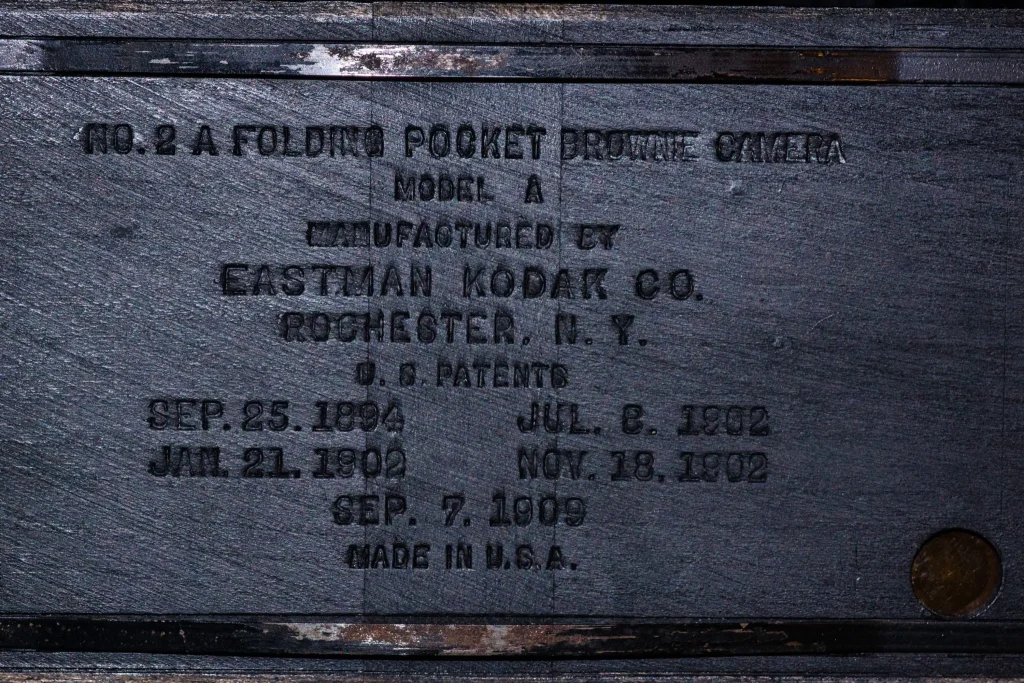
The inside of the rear door is stamped with the cameras name and manufacturers details along with U.S. Patents dates for SEP.25.1894, JAN.21.1902, JUL.8.1902, NOV.18.1902 and SEP.7.1909. No idea what the patents were for, but it’s obvious they wanted you to know.
Size wise it’s about 8.5 x 3.5 x 2 inches that’s 21cm x 9cm x 5cm roughly, when folded up. When unfolded with the bellows at full extension it’s 8.5″(21cm) x 3.5″(9cm) x 6″(15cm), So about the size of a large SLR or DSLR.
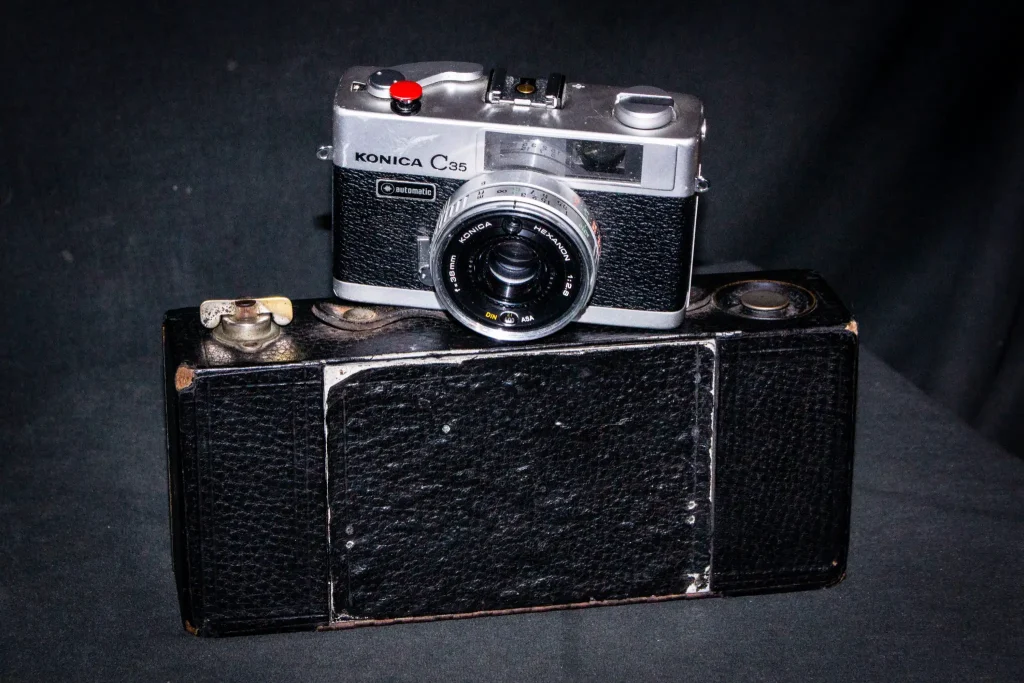
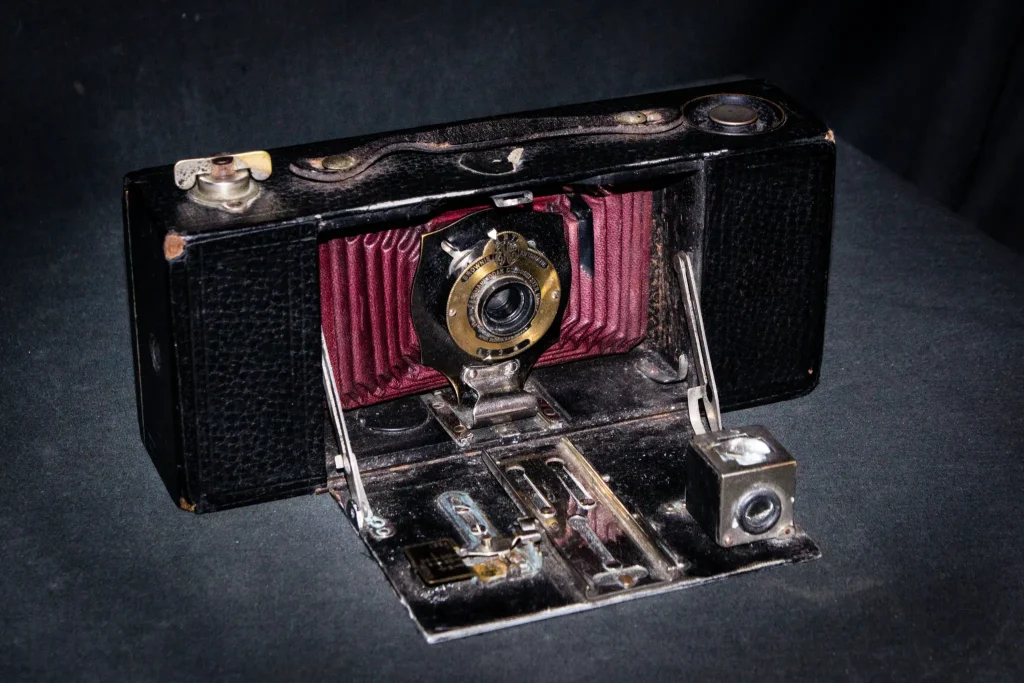
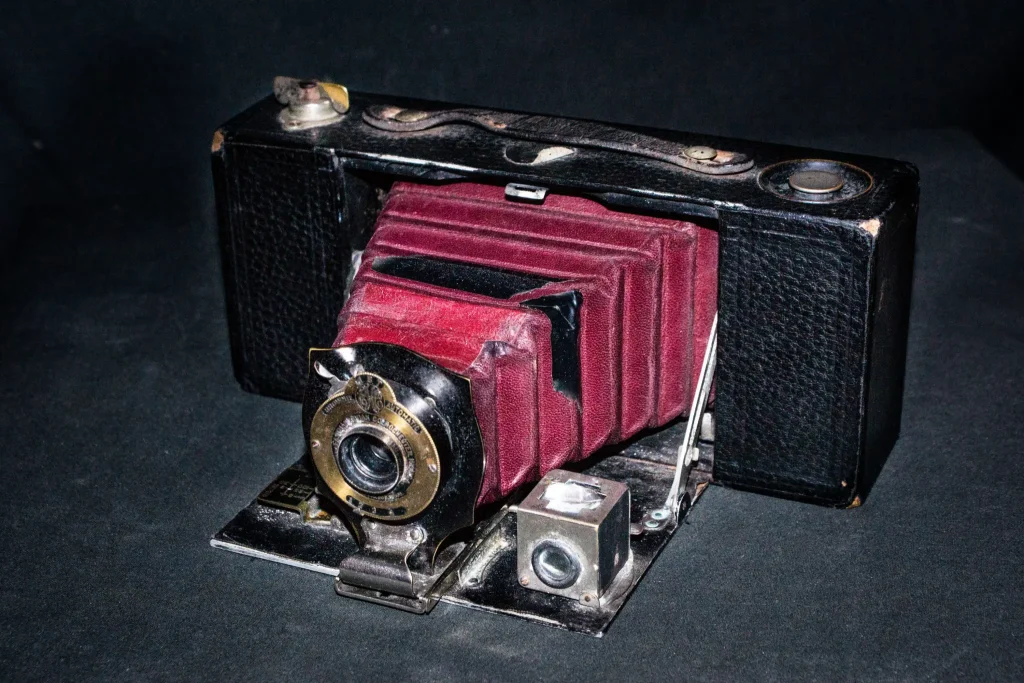
Research online says that it was introduced in 1910 and discontinued in 1915. Variations to this the original model included.
Dec 1910: A metal screw mount for finder lens from serial number 25,918 (Mine has the serial number 10586).
Aug 1911: Black bellows fitted to instead of red on camera’s sent to the UK.
Nov 1912: All cameras fitted with black bellows from serial number 62,551.
Apparently there were around 120,000 made.
The film it takes is Kodak 116 size roll film. This is roughly the same as later 70mm film though of course it’s spooled on it’s wooden spools. There are a few rolls of this still available online (it was introduced in 1899 and discontinued in 1984), but I haven’t bitten the bullet yet and bought one to try. A smaller version the 2B was made that took 120 roll film. The negatives it makes are 2.5″ x 4.25″ (roughly 6.5cm x 11cm).
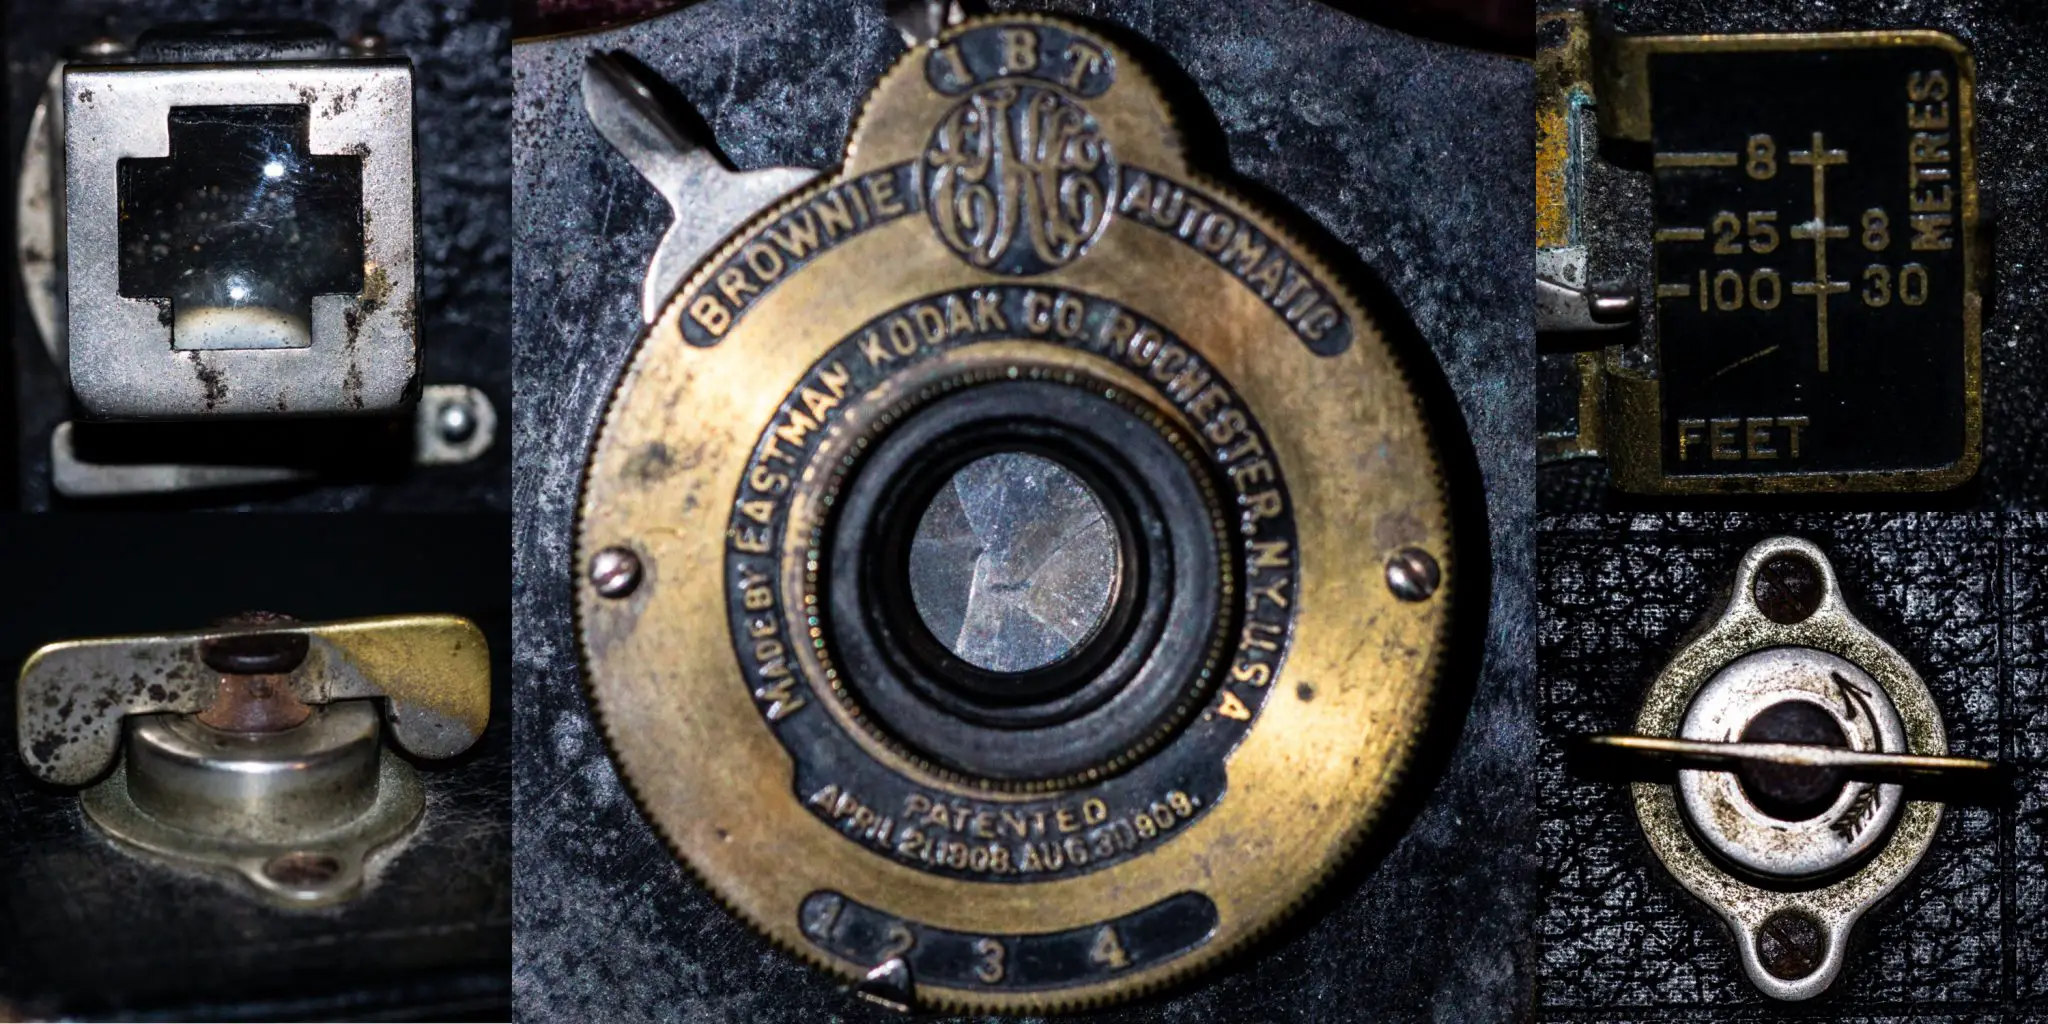
The lens is a meniscus archomat with apatures of 1, 2, 3 and 4. That’s not F1, F2, F3, F4, just 1, 2, 3, 4. The original manual explains that the 1 setting is for general snapshots and the 2, 3 and 4 settings are for timed and bulb exposures. Which brings us to the shutter, a Brownie automatic with speeds of I, B and T. That’s Instant, Bulb and Timed. I’m not sure what the original speed of the instant setting was but on mine now it looks and sounds to be between 1/5 and 1/35 of a second.
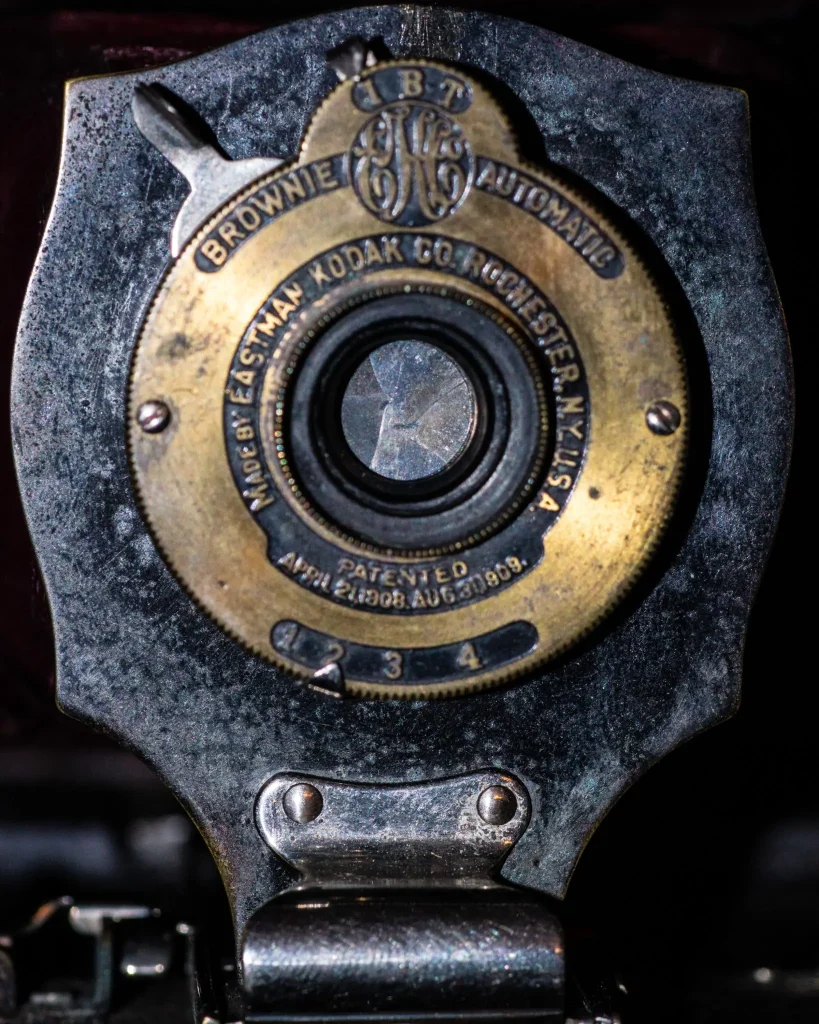
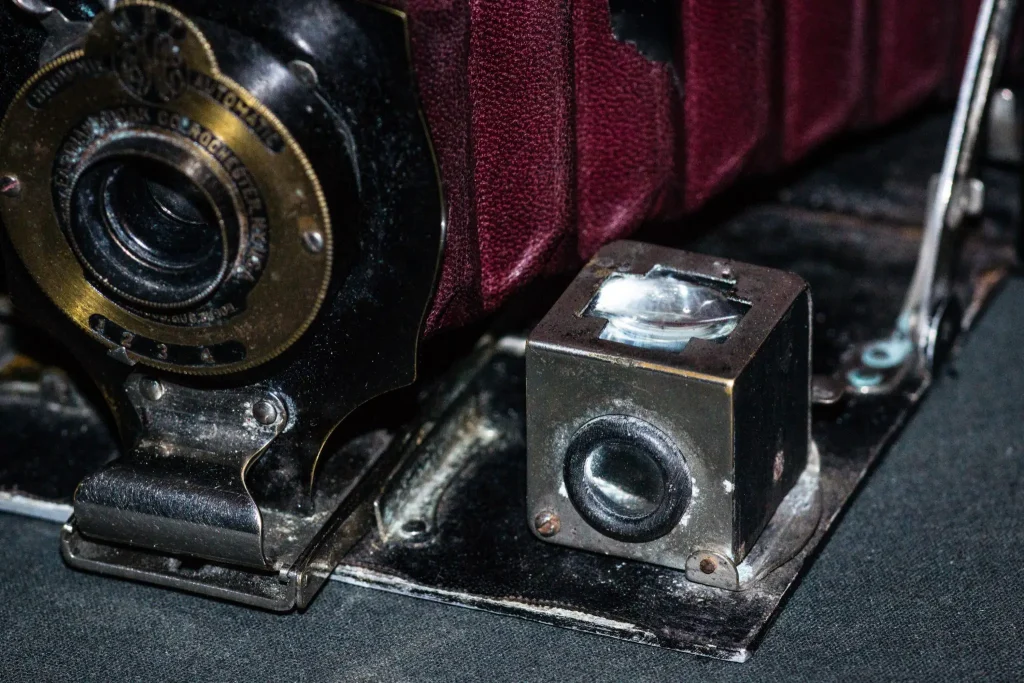
Focusing and composition is done via a small but bright reflected finder next to the bellows on the left which can be flipped for using the camera in portrait orientation. Focus distance is set on the right with a small lever that locks into place. The bellows mount travels forward and locks into place with it. The available distances are 8 feet, 25 feet and 100 feet.
I’m fairly certain that by now you want to know how it handles and if it can even still take pictures…? Well it handles great and yes it can!
….. What? You want more than that?
Ok, Well it really does handle well, focusing is easy as you just take a guess at whether your main subject is up close (set distance to 8 feet), a bit further (set it at 25 feet) or it’s a landscape shot (100 feet).
Setting the aperture? Well the manual says use number 1… I have done a little testing and taking rough measurements of the actual aperture sizes and the distance from the lens at the 25 feet mark to the film plane. I then used a pinhole calculator which gives rough F stops of f/8, f/11, f/14, f/18 (and f/45 if you slide the lever all the way past number 4), so a rough guess can be made.
Composition is again fairly easy as the reflective finder is large and bright, you just have to remember everything is flipped left to right.
Then you just hold tight make sure the shutter is set to I (unless it’s a long exposure of course),and flip the little lever on the lens. Job done, wind on and repeat.
Aaaah! says you. But it takes 116 film and you said you haven’t bought any, says you. Very true. However. 120 film is only slightly smaller and with a little DIY to make some spacers that extend 120 spools to the right length and can be just slipped on and off and therefore be re-used. We have film we can use.
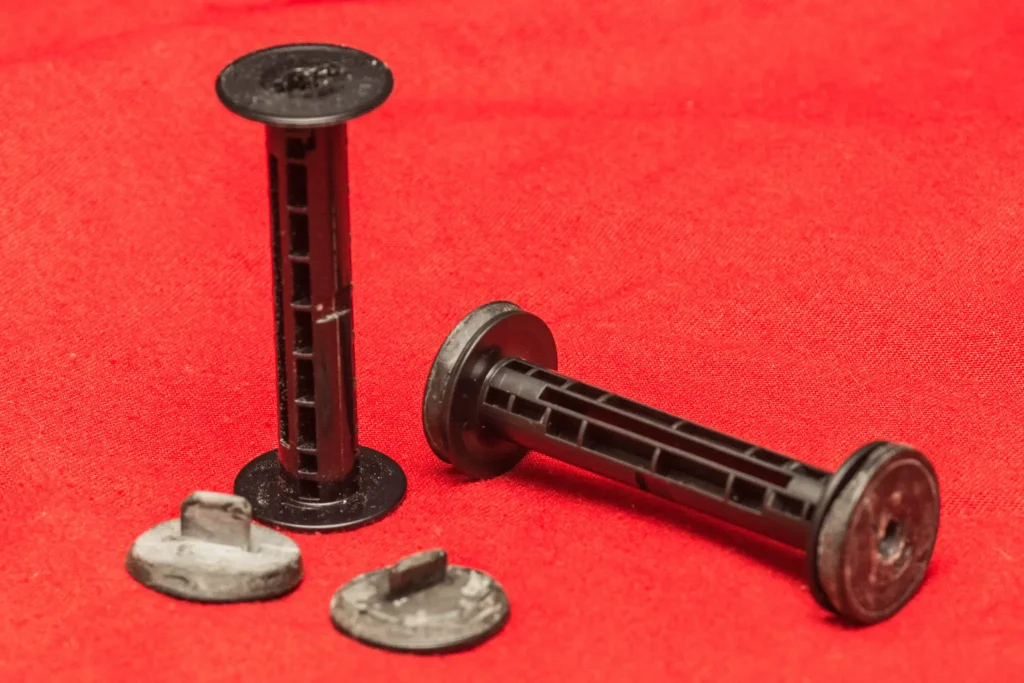
Then the only problem was knowing how far to wind on the film as the frame numbers on the 120 backing paper are obviously going to be wrong. A little bit of measuring while winding an old backing paper through with the cameras back open and noting which numbers were nearest the place where the little red window is gave me an idea of where to start.
Then it was just a case of a little trial and a lot of error. I wasted one roll just shooting the same two subjects (the floor and a wall) one after the other (floor, wall, floor, wall) so I could see how badly overlapped they were (very) the second roll I shot I rolled a little more between each shot and tried the same thing. Better but still too overlapped. Third time’s the charm, as the saying goes, so lets take proper pictures I thought (the saying lies by the way).
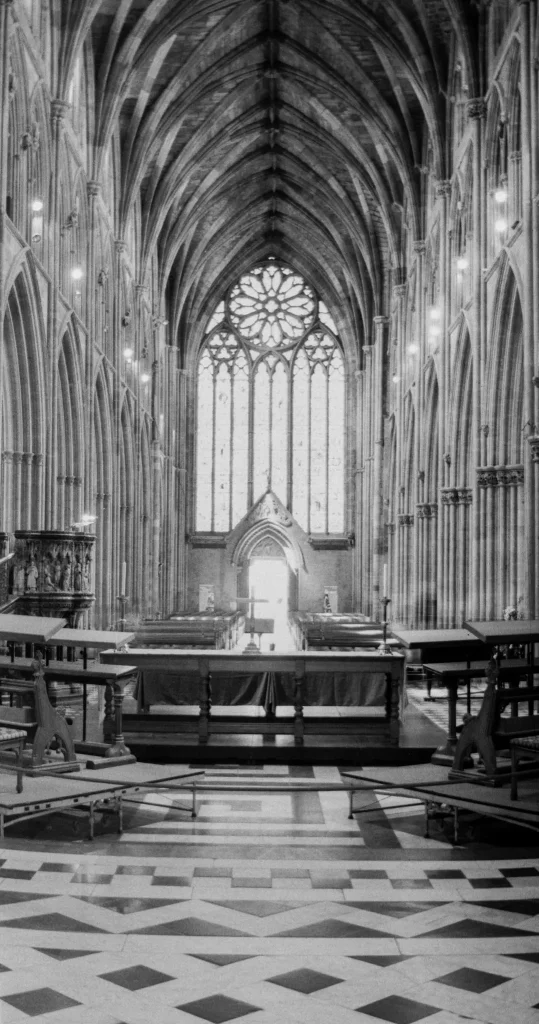
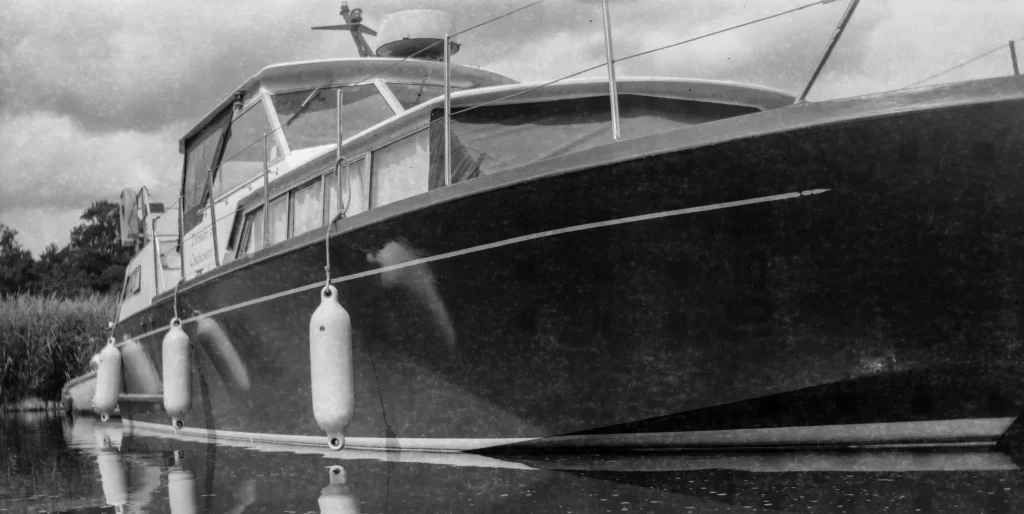
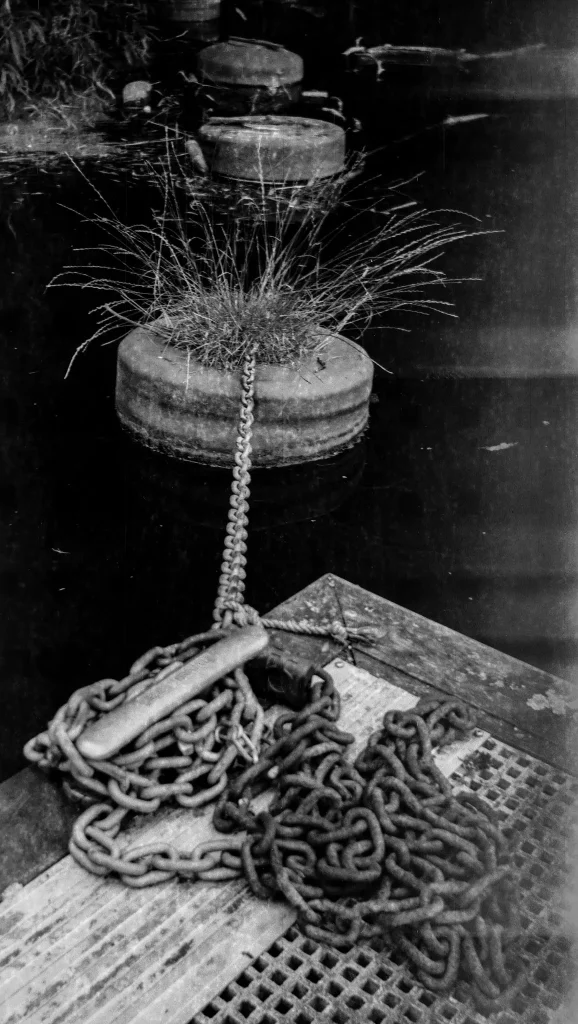
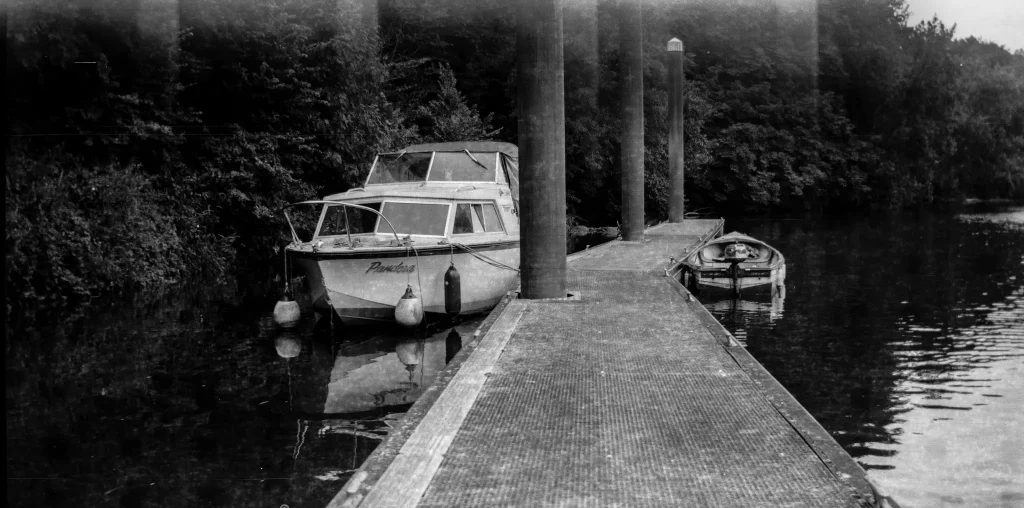
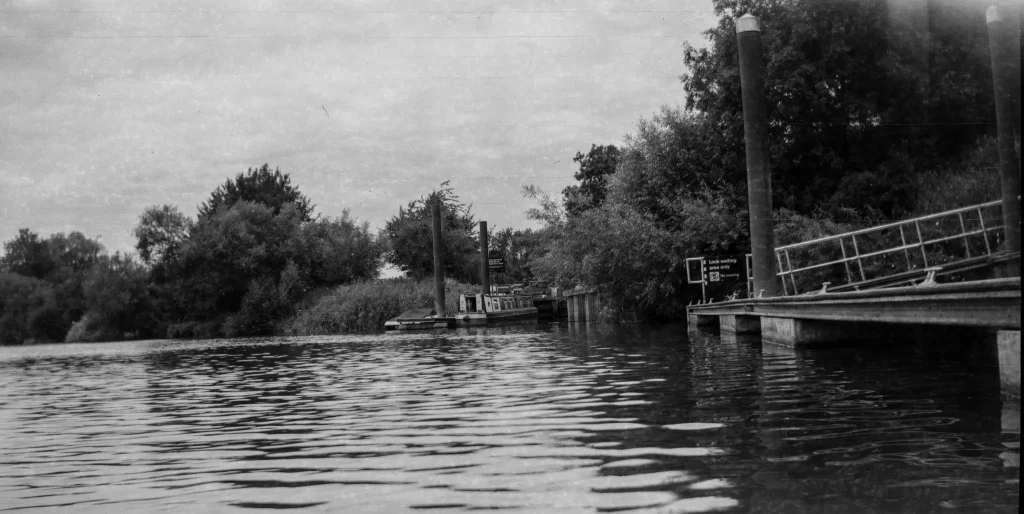
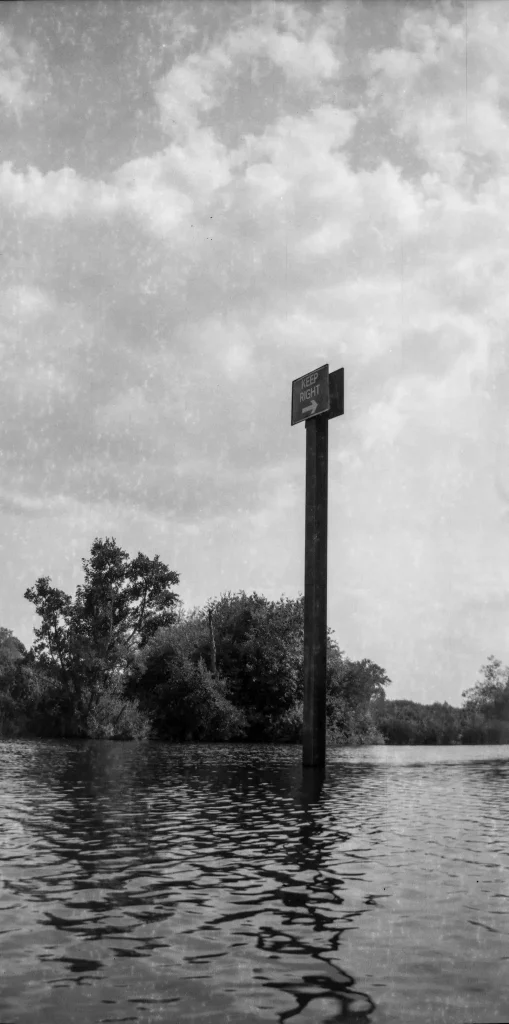
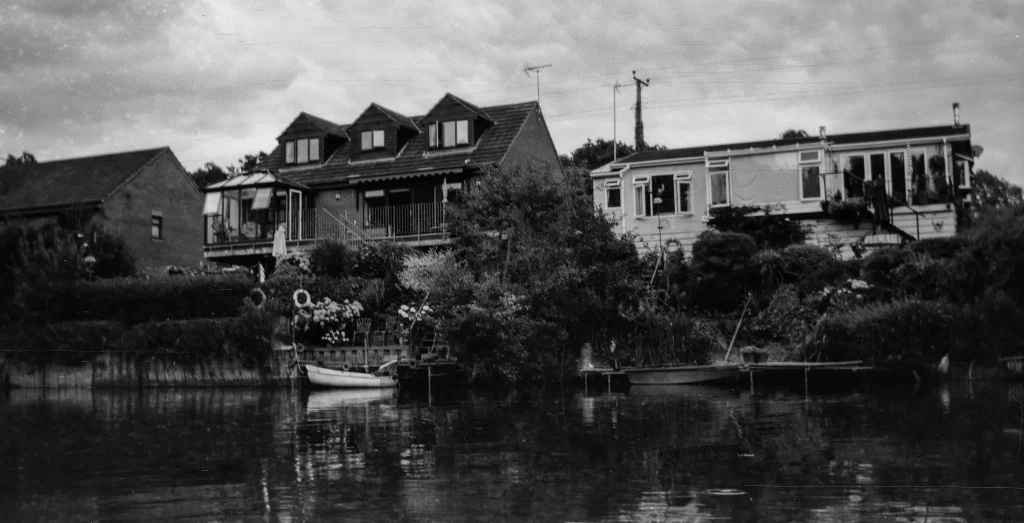
Ok the pictures are still overlapped but it’s not too bad (and I do like multiple exposures), so here’s a couple of examples. The film is Fomapan 200 stand developed (as usual for me). It was a very bright contrasty sunny day and I’ve lost my notes but I think it was apature number 2 or 3 I used.
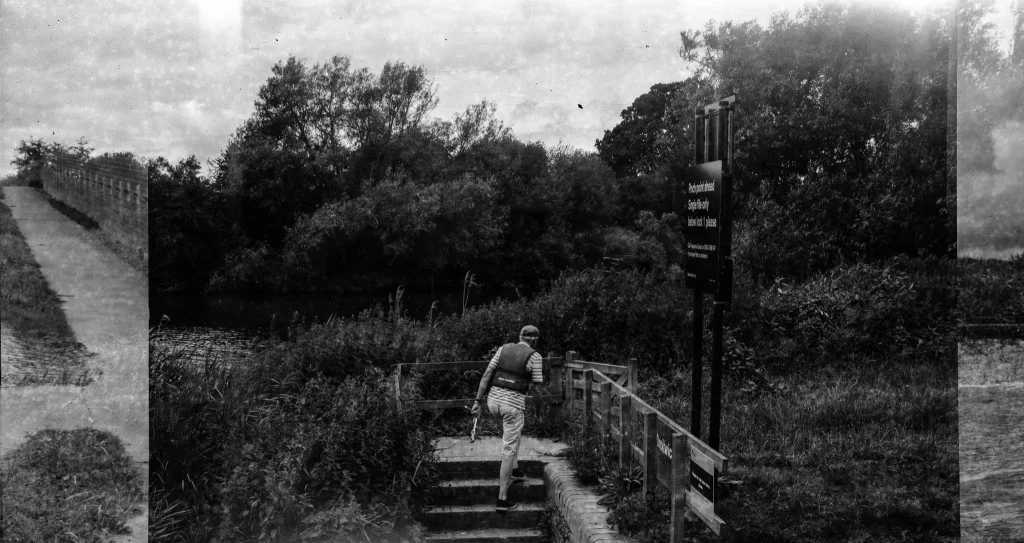
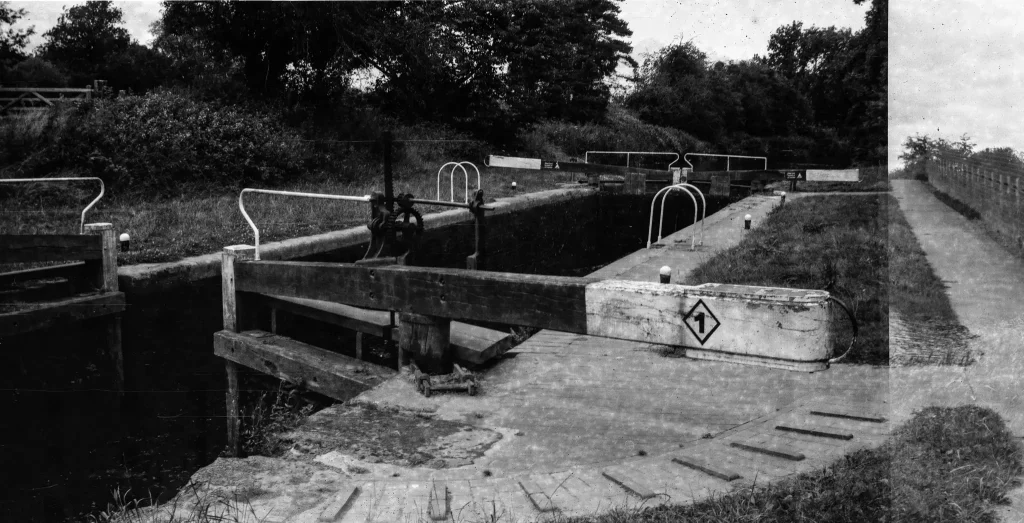
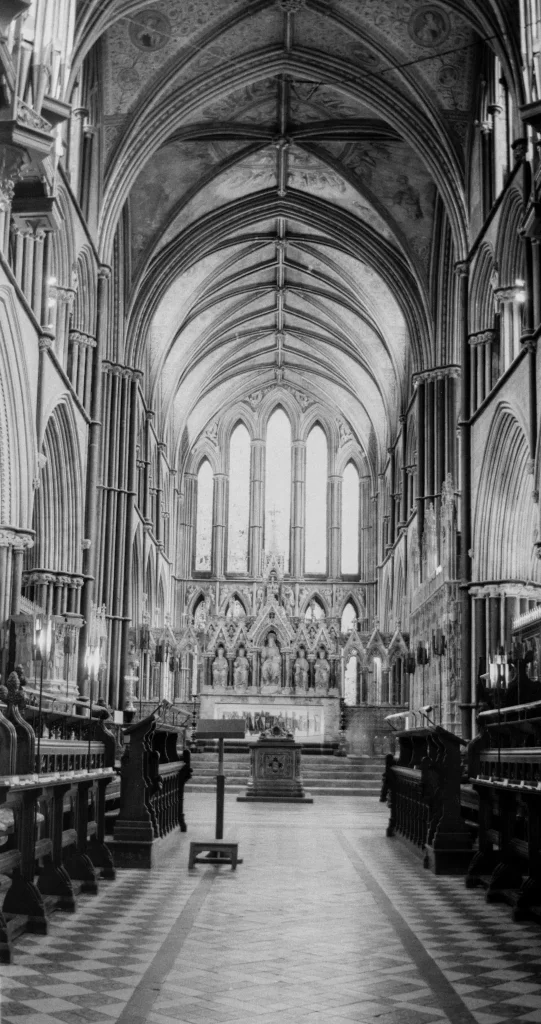
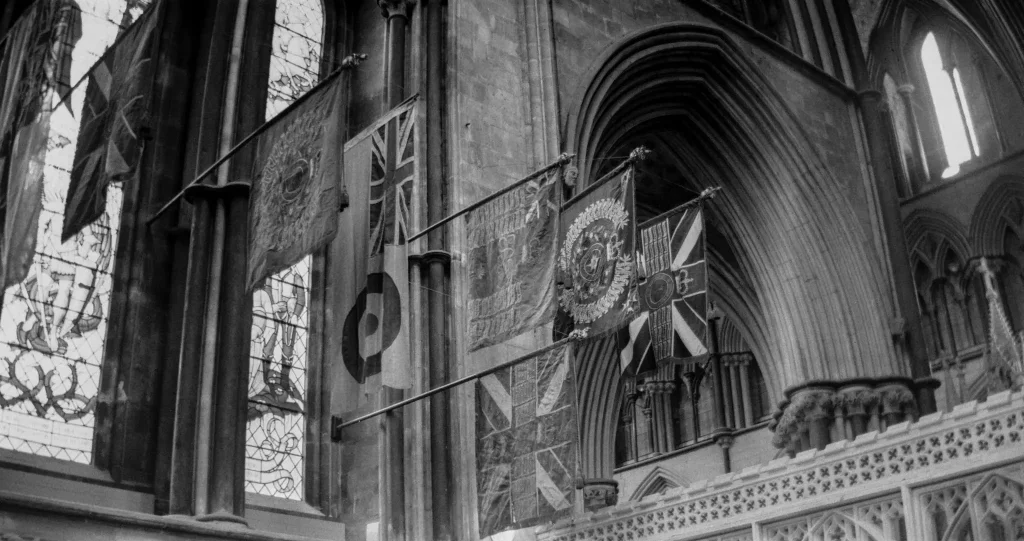
Cheered on by these results more film has been fed to the old codger as I affectionately call it. Giving results such as these.
Many thanks must go to Micheal Butkus of the Orphan cameras web site for the manual.
My Flickr – https://www.flickr.com/photos/dawilletts/
Share this post:


Comments
Jim Grey on Kodak No 2A folding pocket Brownie camera – An Historic Compact – By Dale Willetts
Comment posted: 18/08/2018
Comment posted: 18/08/2018
Brian on Kodak No 2A folding pocket Brownie camera – An Historic Compact – By Dale Willetts
Comment posted: 20/08/2018
Comment posted: 20/08/2018
TBM3FAN on Kodak No 2A folding pocket Brownie camera – An Historic Compact – By Dale Willetts
Comment posted: 25/08/2018
Comment posted: 25/08/2018
To on Kodak No 2A folding pocket Brownie camera – An Historic Compact – By Dale Willetts
Comment posted: 27/08/2018
You've got some great pics there. Nice one!
Comment posted: 27/08/2018
Picturenaut on Kodak No 2A folding pocket Brownie camera – An Historic Compact – By Dale Willetts
Comment posted: 30/08/2018
Beautiful images! I like in particular those with overlaps, it produced interesting compositions by accident.
Comment posted: 30/08/2018
Issa on Kodak No 2A folding pocket Brownie camera – An Historic Compact – By Dale Willetts
Comment posted: 13/09/2018
Comment posted: 13/09/2018
Recommended reading : Down the Road on Kodak No 2A folding pocket Brownie camera – An Historic Compact – By Dale Willetts
Comment posted: 05/03/2020