The first time I saw Mamiya RB67, it was love at first sight. It was a chance coincidence that we met at all, on the net, as usual, without seeing each other in person. And, as the nice aluminium Mamiya case, filled with the body, two backs, prism and waist level finders and the 90, 127, 180, and 360 lenses arrived to my door, I was impressed just a bit less than the postman who brought the parcel.
Mind you, normally I’m obsessed with the lightness and compactness of the kit, and shoot an old Leica M4-P together with the original A7 (because A7III got too fat). Both these cameras share a slew of the most compact M-glass one can buy, and, together with all the glass weight just a bit over two kilos. A bit less than the RB with one of the (smaller) lenses. But we need to taste everything in life, right…?
In any case, the Mamiya RB is a gorgeous camera, and quite portable actually. I did take it for a walk on multiple occasions, and mostly shot it handheld as I don’t own a tripod stable enough to hold it yet. But it’s ok, with the leaf-shutter lenses, the well dumped mirror (with lockout) and a bit of caution, the 6×7 negs it produces are tack sharp! And it does turn heads, especially with the 360mm lens attached! So, it became my favourite camera for the cases when the portability can be compromised a bit… or when I fancied a bit of a workout…
Creating the Maminstax
…Or when I meet with the friends. Because Maminstax is also my favourite instant camera! Yes, you read it right, and I don’t mean the super-expensive and super hard to find FP-100 pack-film.
Long story short, I saw an article where some guy hacked his Rolleiflex to shoot instax mini film, and thought that a similar fun project could also be done with Mamiya. I also had a broken donor Instax 200 camera, which once was able to shoot Instax wide film, as well as a 3d printer, so the fun begun.
It didn’t quite work out with the wide film though. The plan was to cut a hole in the front of the Instax in place of its lens, and 3d print an adapter to stick the back of the RB in there. It proved, however, to be quite hard to get things right because the resulting distance between the film and the lens was way off, so I could not focus properly. Plus nasty light leaks everywhere, and nasty black stripes to the sides of the film due to the fact that RB does not cover the full 6×10 frame. I hated these strips, and the fact that the whole setup looked like two cameras glued together. So the next iteration begun. Lots of them actually.
Design of the back
As a start, I got a broken instax 8 camera, this time for the instax mini film. This is half of the width, so no nasty unexposed areas anymore! The Instax square would be better still, but I haven’t found a donor camera yet. With the lessons from the wide attempt learnt, I decided to print a proper instax back this time. This would look ok with the camera, could be removed at any time, and would be robust enough to take it out. I also wanted the back to include the full mechanical soul of the instax, including the batteries and the motor to the keep proper film ejection. I don’t really fancy doing this manually by spinning some custom handle, its 2018 after all!
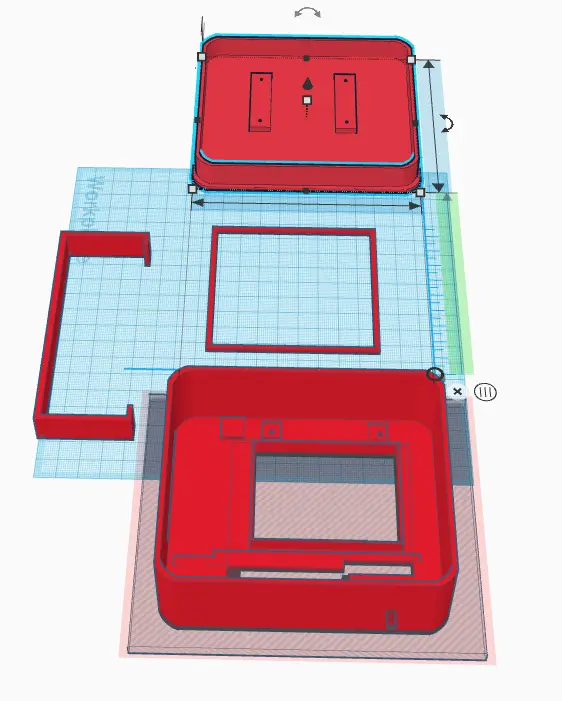
The design was simple enough. I’m new to 3d printing, so I used the simplest tool available, tinkercad.com to design the back in the browser (again, its 2018, after all). The back consists of a box, which attaches directly to the RB body (no chance to include rotating adapter, unfortunately), and a simple cover at the back.
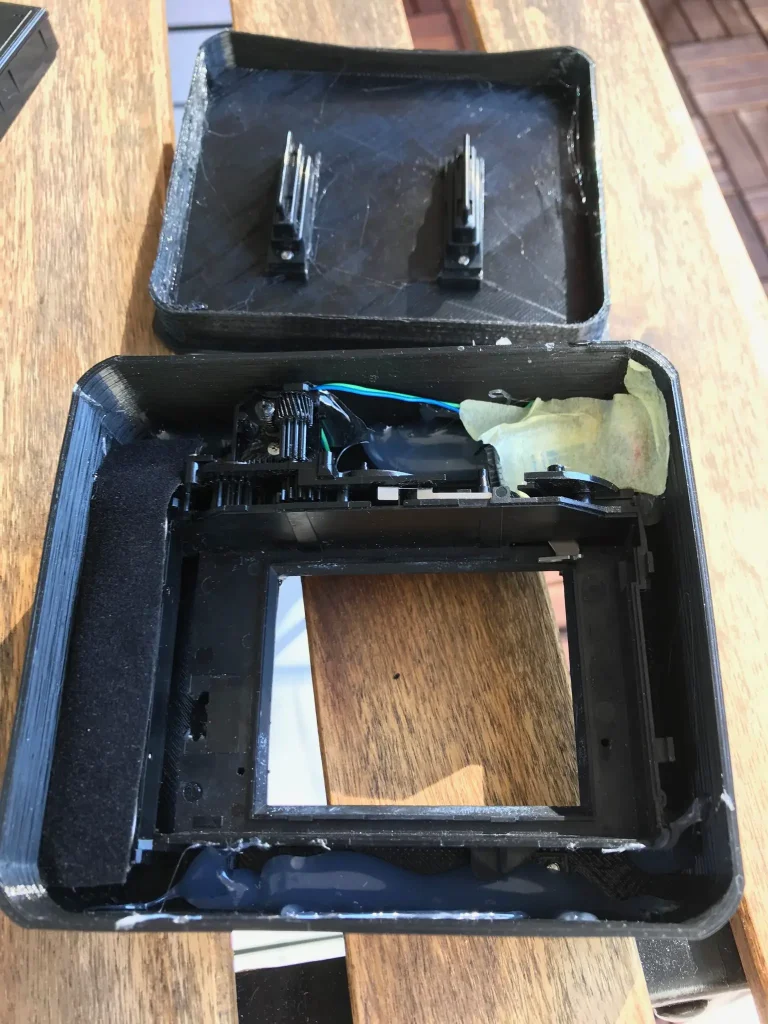
Inside the box, there’s a hole matching the one on RB body, surrounded by a frame designed to stop light getting from the sides between the box and the RB body. Inside the box, a support structure is printed to keep the innards extracted from the donor instax camera at the correct distance from the lens.
This part was a bit tricky, as the lever ejecting the film and the gears of the mechanism, occupy quite a bit of space, which makes it hard to bring the film plane where it should be. In the end, I filed away part of the original mechanism, and was able to stuff the remaining part within the RB body, which is luckily large enough to accommodate it.
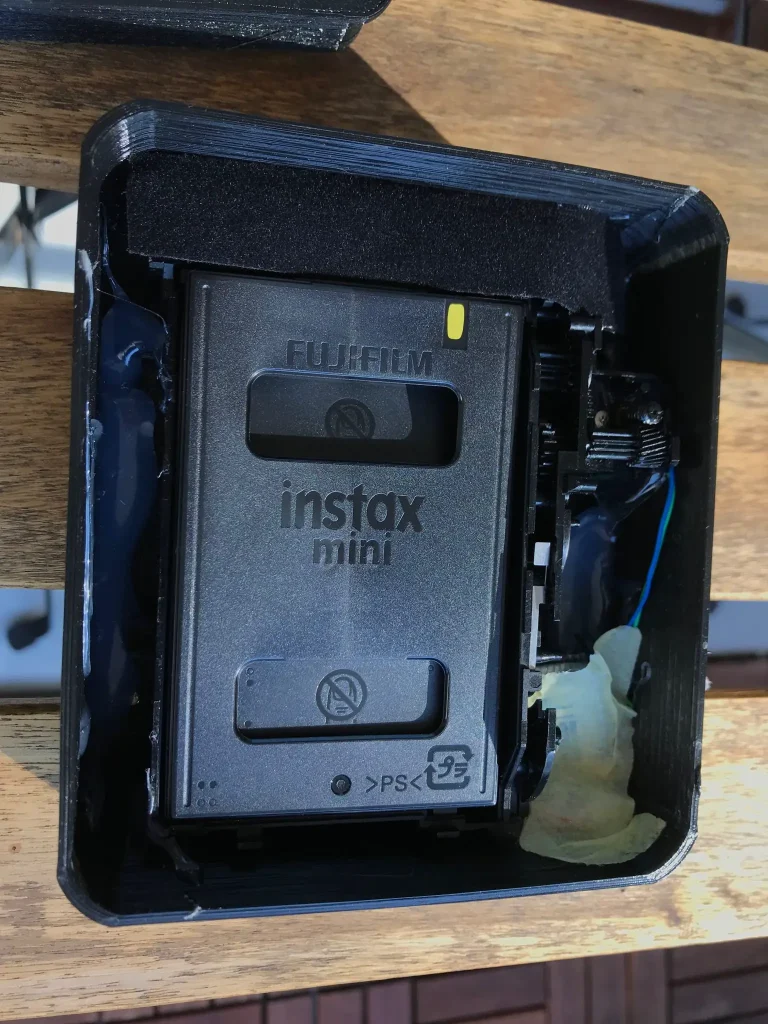
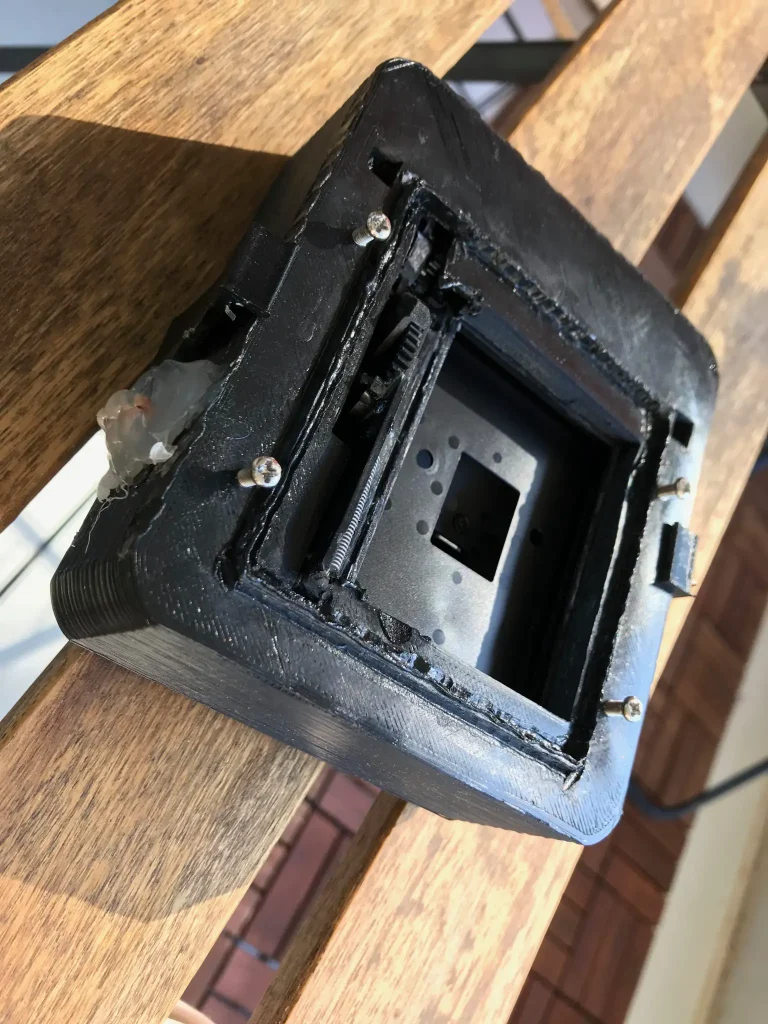
The overall design consist of three parts, i.e. the main box, the lid, and a frame designed to fit Mamiya’s own light labyrinth and glued to the bottom of the box. The Tinkercad sketch above shows these plus optional security bracket which is now substituted with a velcro strip. The main box is connected to the body similarly to the original rotating adapter.
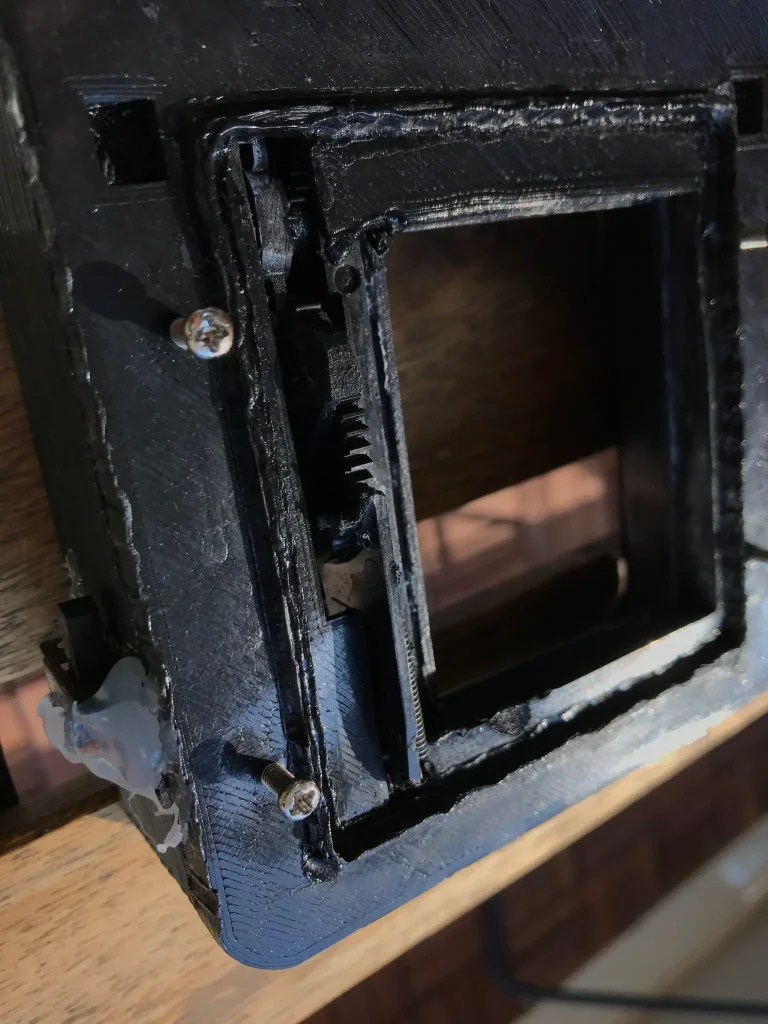
I had to used four M3 screws as the connecting piece as the plastic is too fragile for that, so the back is not fully 3d printed, there’s some metal in it. I did not bother with the design of a dark-slide, as I did not have a thin, and strong enough material to make one, so the back is not removable until all ten frames are gone. That’s not a lot, plus in case of emergency I can remove it in the dark and store film in light-tight box, so I’m ok with that.
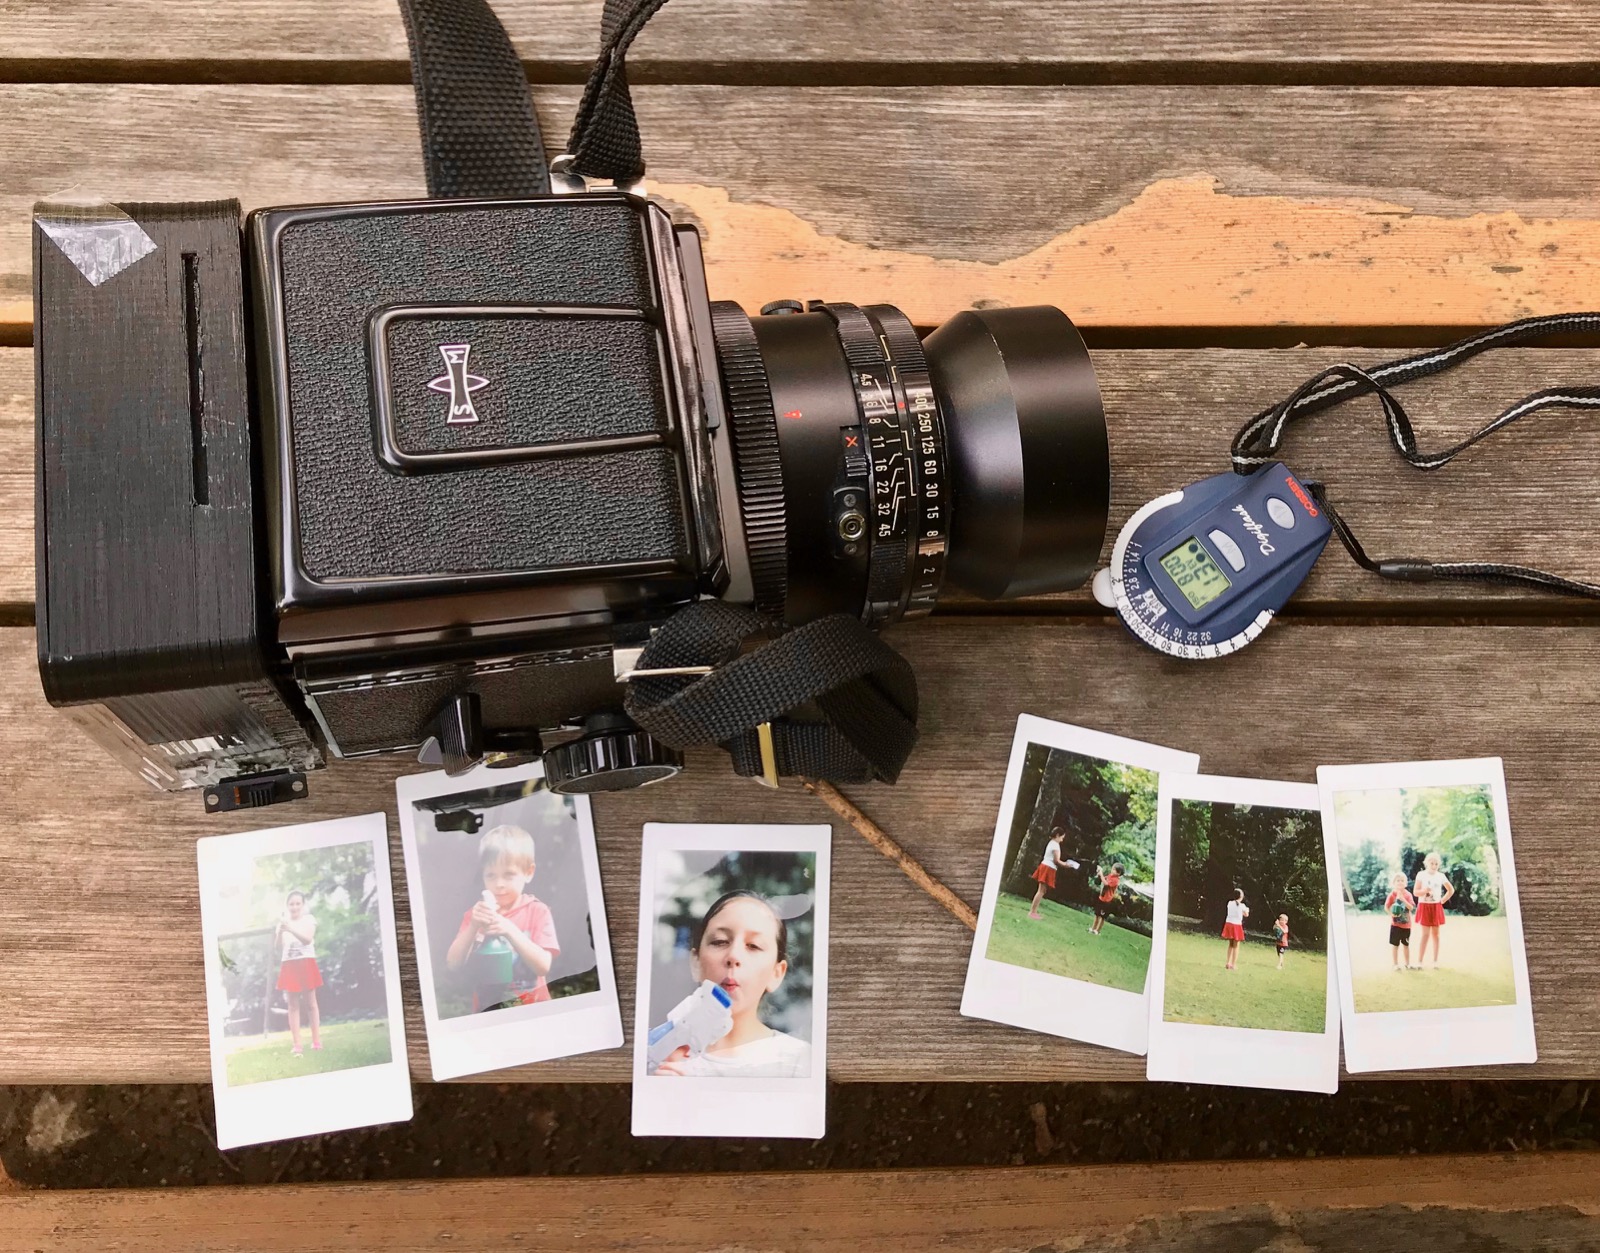
The design should not be considered as final. Problems include the smaller than it should be hole for the gears protruding within the body, the light labyrinth which proved hard to glue to the base properly (i.e. without the leaks), and so on. I have solved those with some soldering iron action as shown in the pic of the current back form. Other problems are mostly related to the poor quality printing due to cheap filament used and nozzle which needs some cleaning… Anyway, it works, and that’s what counts!
Shooting the Maminstax
So, what is it like to shoot with the Maminstax? Well, from a purely user experience point of view, it’s quite similar to shooting the film with RB. Just that instead of the film advance, one has to press the eject button and wait until the frame comes out. I can use same lenses, filters, focussing screens etc.
If anything, I can be a bit sloppy when it comes to focusing as the frames are 1:1 what I see on the focussing screen. As such, I rarely use magnifier to nail the focus (while it is a must with film). Indeed, if I can not see difference in sharpness during the focussing without a magnifying glass, why would I see it in the print?
On the other hand, exposing the instax film properly is way more tricky than TMX or Fomapan I usually shoot. I must admit, I’ve never shot slide film, but reading the experiences others share, I guess shooting instax is quite similar to shooting slide. The thing is, it has quite narrow latitude, so there’s no way you can use old good sunny f16 rule. In fact, even with the meter at hand (I use Gössen digiflash), I often miss the exposure. Especially outside, when the light changes quickly. I learnt to use incident metering rather than reflected, and, if I have suspicion that the light changes, I do several measurements separated by ten seconds or so, to get an idea by how much, and then adjust accordingly.
Naturally, high contrast situations are extremely tricky. In such cases, technically perfect exposure is not possible as a rule; only some compromise. That’s a major limitation, but it strongly stimulates thinking about what’s in the frame, how it is lit, what’s important and what not, and how you want the frame to ultimately appear. I can not say that I’ve mastered this, but I do feel that learnt more about the light in the last to months with Maminstax than during the previous ten years with digital and BW film. Another thing I learnt is that the auto-exposure on Instax cameras is apparently great! Not something I’d say before starting to shoot the Maminstax.
Another new thing for me was the high sensitivity of the instax, which is rated as ISO 800. Keep in mind also that it is daylight balanced, so it is designed to be shot either during the day or with flash. Given the low latitude, I don’t feel yet brave enough to play with flash, so I only shoot during the day. With film it would always mean I have something like Delta 100 loaded, but here I have no choice. Mamiya lenses are not really fast, and highest shutter speed is 1/400, so that helps. Still, I often need to stop down quite a bit for the simple reason that there is too much light! On the positive side, high shutter speed means less camera shake, so it is typically not a problem. Even with the mighty 360/6.3 I managed to get sharp shots handheld.
As already said, Mamiya came to me with a handful of lenses from 90 to 360mm. Later I also acquired a 50mm f/4.5, which does get quite a bit of use with the instax back. Still, my favourite lens is the 127mm. This is both on film and with instax due to it being the lightest, the easiest to handle, and apparently the sharpest of the lot.
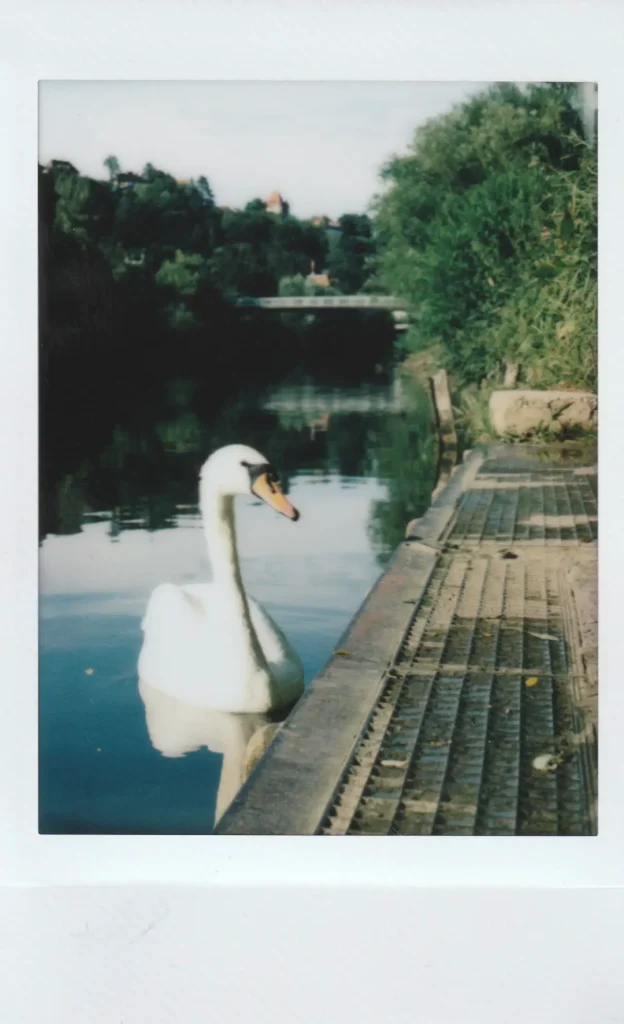
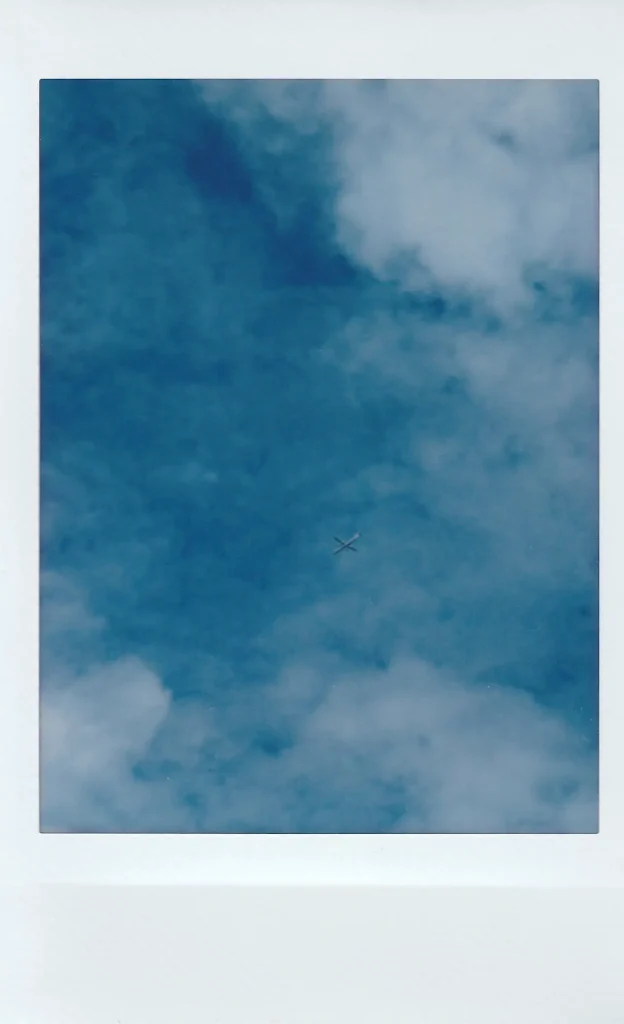
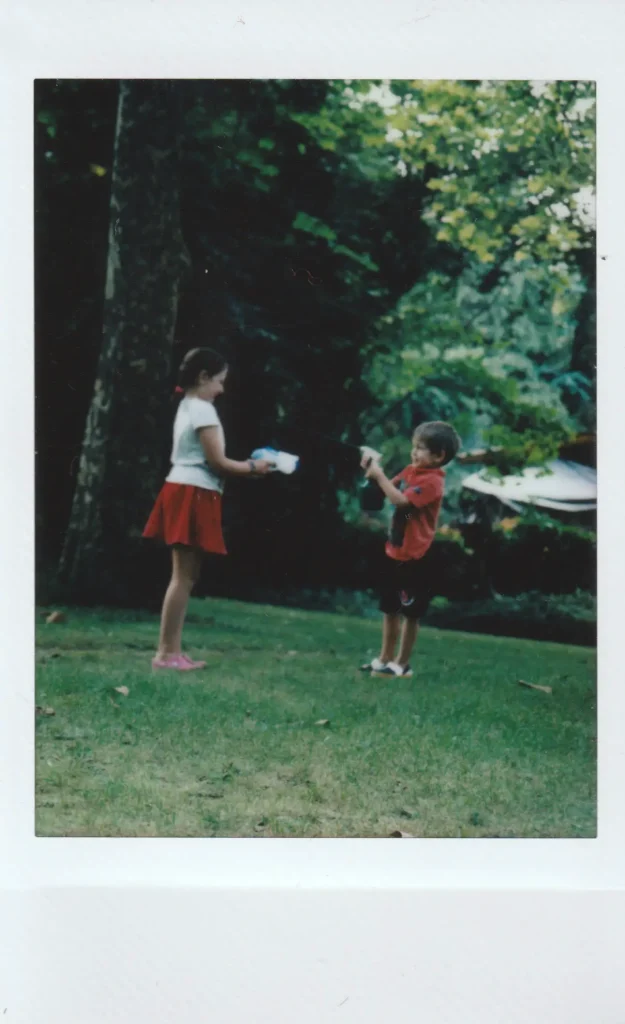
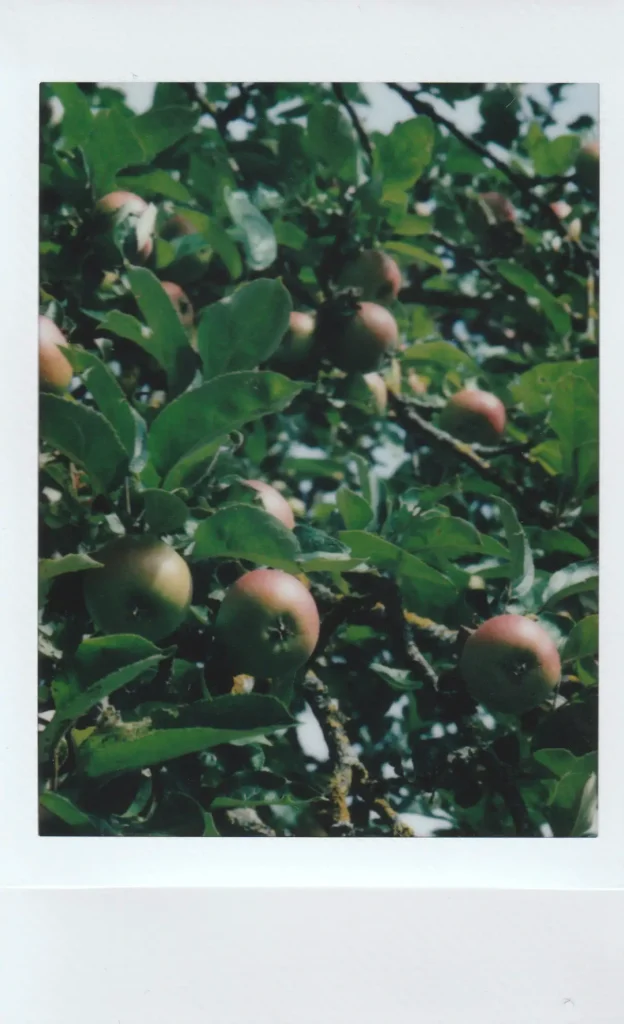
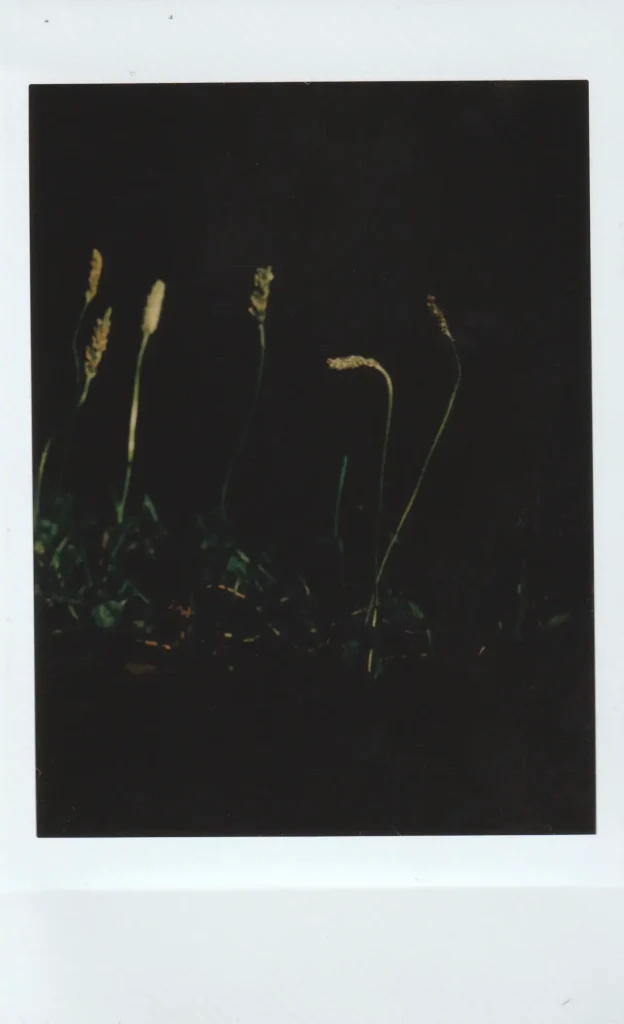
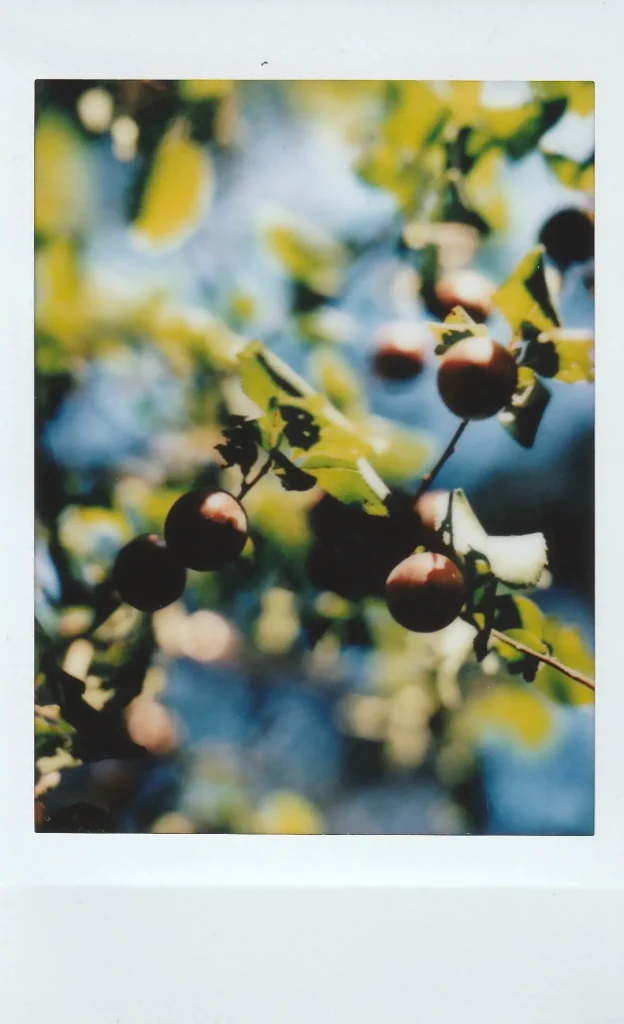
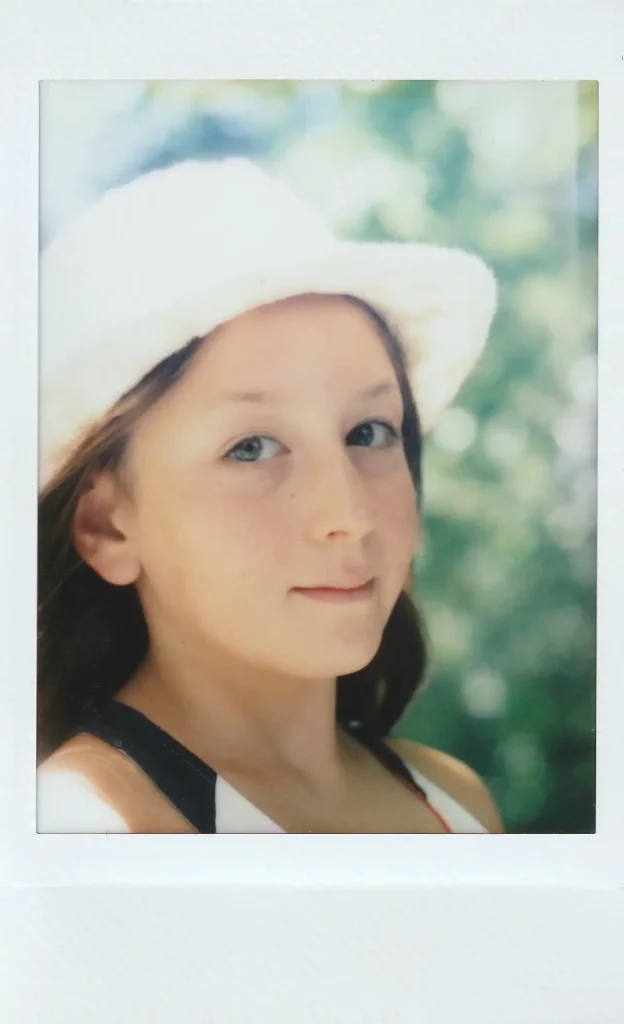
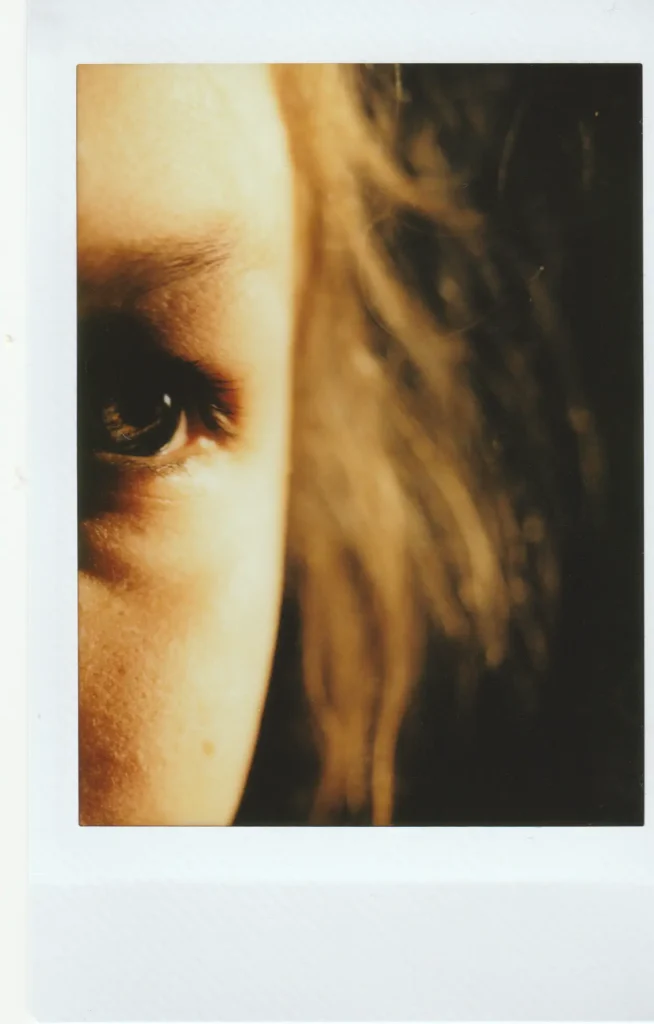
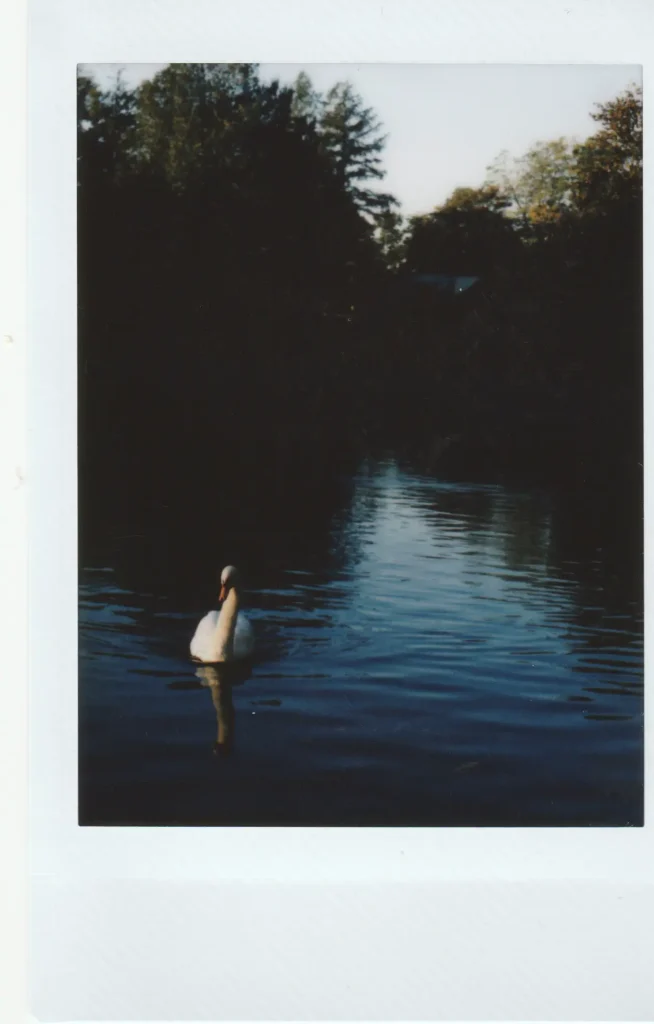
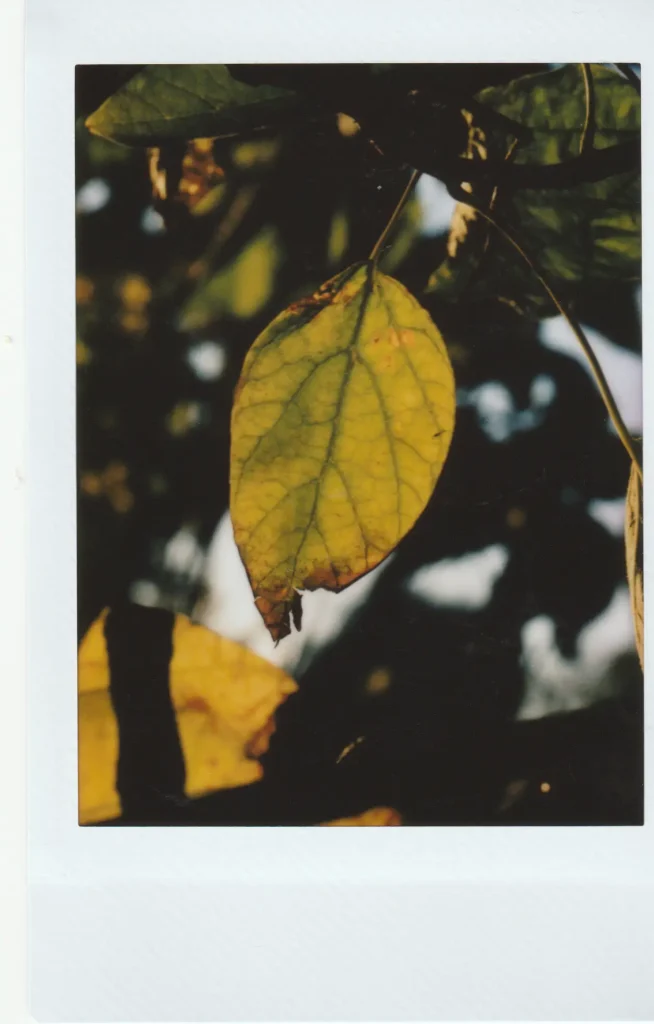
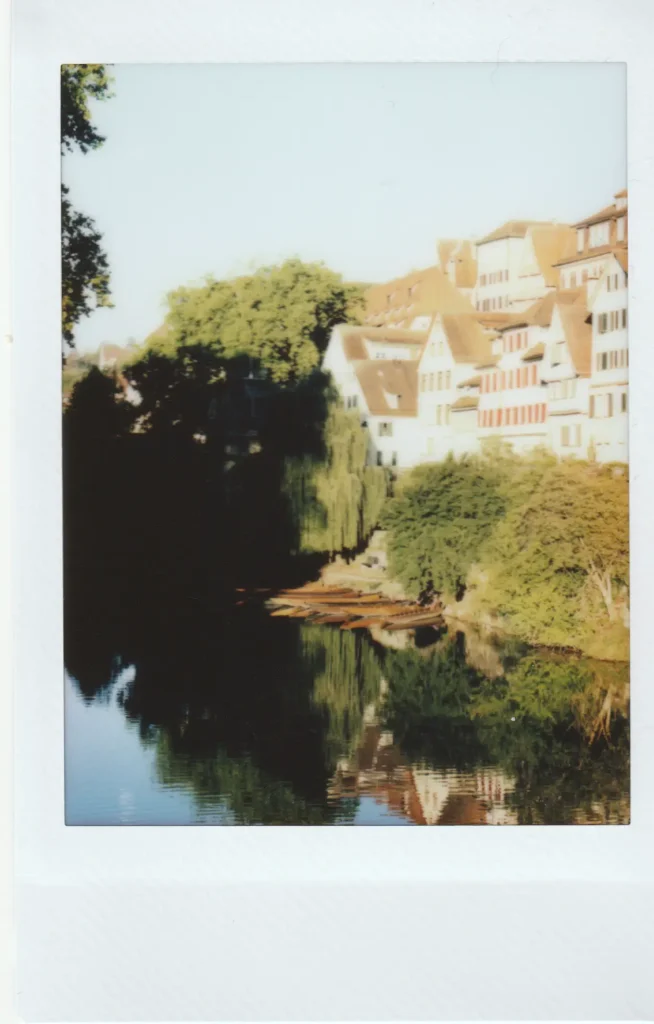
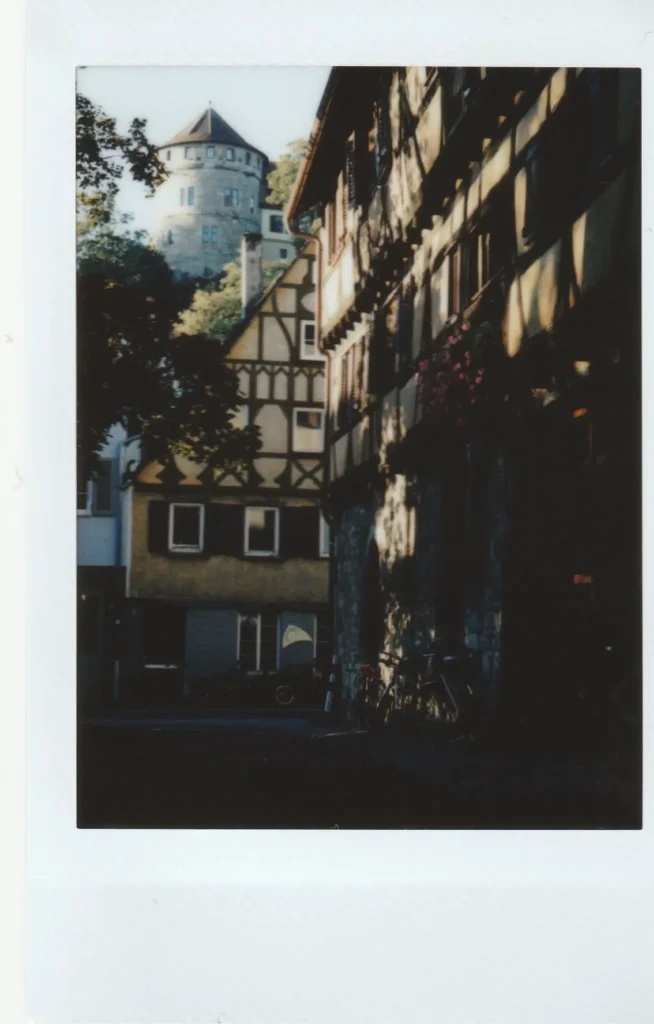
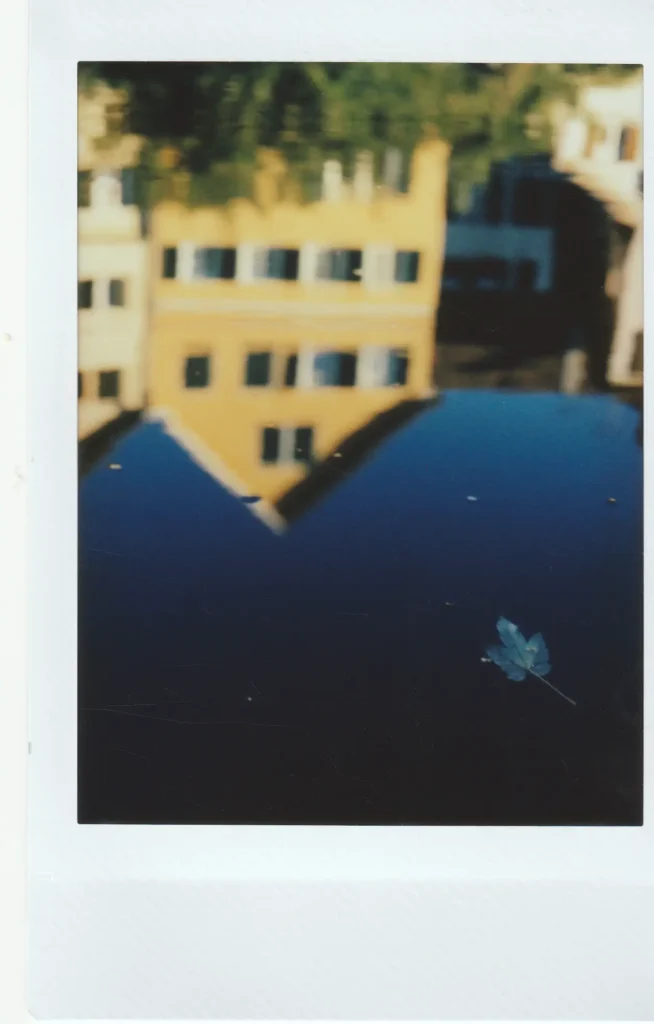
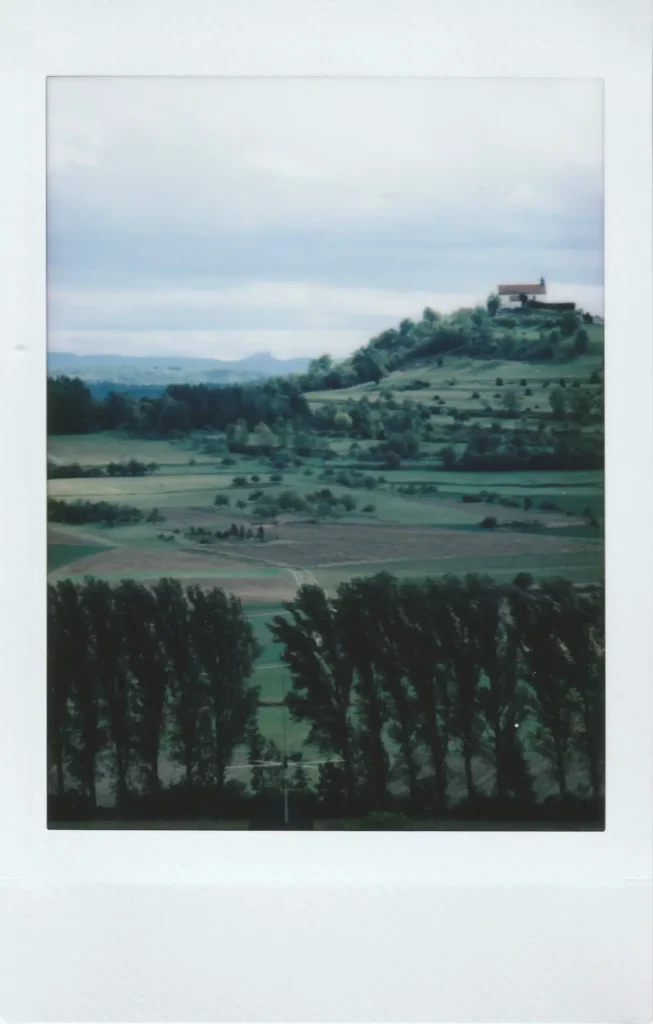
I was able to shoot about fifty frames with this setup already. However, given the social nature of instant photography, most of these frames, including the best ones, are from a couple of parties and were given to the people being photographed. Still, there are some which I can share, even if most of them are from the “testing” period when I tried to get used to metering, check focus accuracy with different lenses, and to instant photography in general. All with exception of a “castle” photo (showing Burg Hohenzollern far in the background, and Wurmlinger Kapelle in the front), which was from a (shaky) tripod.
I tried to include some “real life” pictures with all lenses (50 to 360 mm) to give a broad scope on what’s possible.
Share this post:


Comments
carlos albisu on A Mamiya 67 instant camera, or: Creating the Maminstax – By Victor Doroshenko
Comment posted: 20/10/2018
Markus Maurer on A Mamiya 67 instant camera, or: Creating the Maminstax – By Victor Doroshenko
Comment posted: 20/10/2018
Take care & all the Best,
Markus
Comment posted: 20/10/2018
Amaan on A Mamiya 67 instant camera, or: Creating the Maminstax – By Victor Doroshenko
Comment posted: 23/10/2018
Martin John Smith on A Mamiya 67 instant camera, or: Creating the Maminstax – By Victor Doroshenko
Comment posted: 13/02/2019
Instant Film in Medium Format: Background, Plans and Resources - Glass Jar on A Mamiya 67 instant camera, or: Creating the Maminstax – By Victor Doroshenko
Comment posted: 01/07/2019
Tyler on A Mamiya 67 instant camera, or: Creating the Maminstax – By Victor Doroshenko
Comment posted: 26/05/2020
Comment posted: 26/05/2020
Tyler on A Mamiya 67 instant camera, or: Creating the Maminstax – By Victor Doroshenko
Comment posted: 26/05/2020
Comment posted: 26/05/2020
Tyler on A Mamiya 67 instant camera, or: Creating the Maminstax – By Victor Doroshenko
Comment posted: 27/05/2020
Juan Rubio on A Mamiya 67 instant camera, or: Creating the Maminstax – By Victor Doroshenko
Comment posted: 27/08/2020
Comment posted: 27/08/2020
Yazidhmz on A Mamiya 67 instant camera, or: Creating the Maminstax – By Victor Doroshenko
Comment posted: 07/09/2020
Bogdan on A Mamiya 67 instant camera, or: Creating the Maminstax – By Victor Doroshenko
Comment posted: 23/02/2021
I really don’t know , if this topic still actual, but let’s try!:)
Any chance to get this files too?
Really wanna try it
Thx