Compact camera, the integral piece of kit for any analog beginner, travel photographer or internet celebrity. I consider myself to be a part of the middle group, so I was on lookout for a small and affordable camera. Something practical to take on my trips, to keep me anchored in the 35mm world while blasting frames on my digital Olympus.
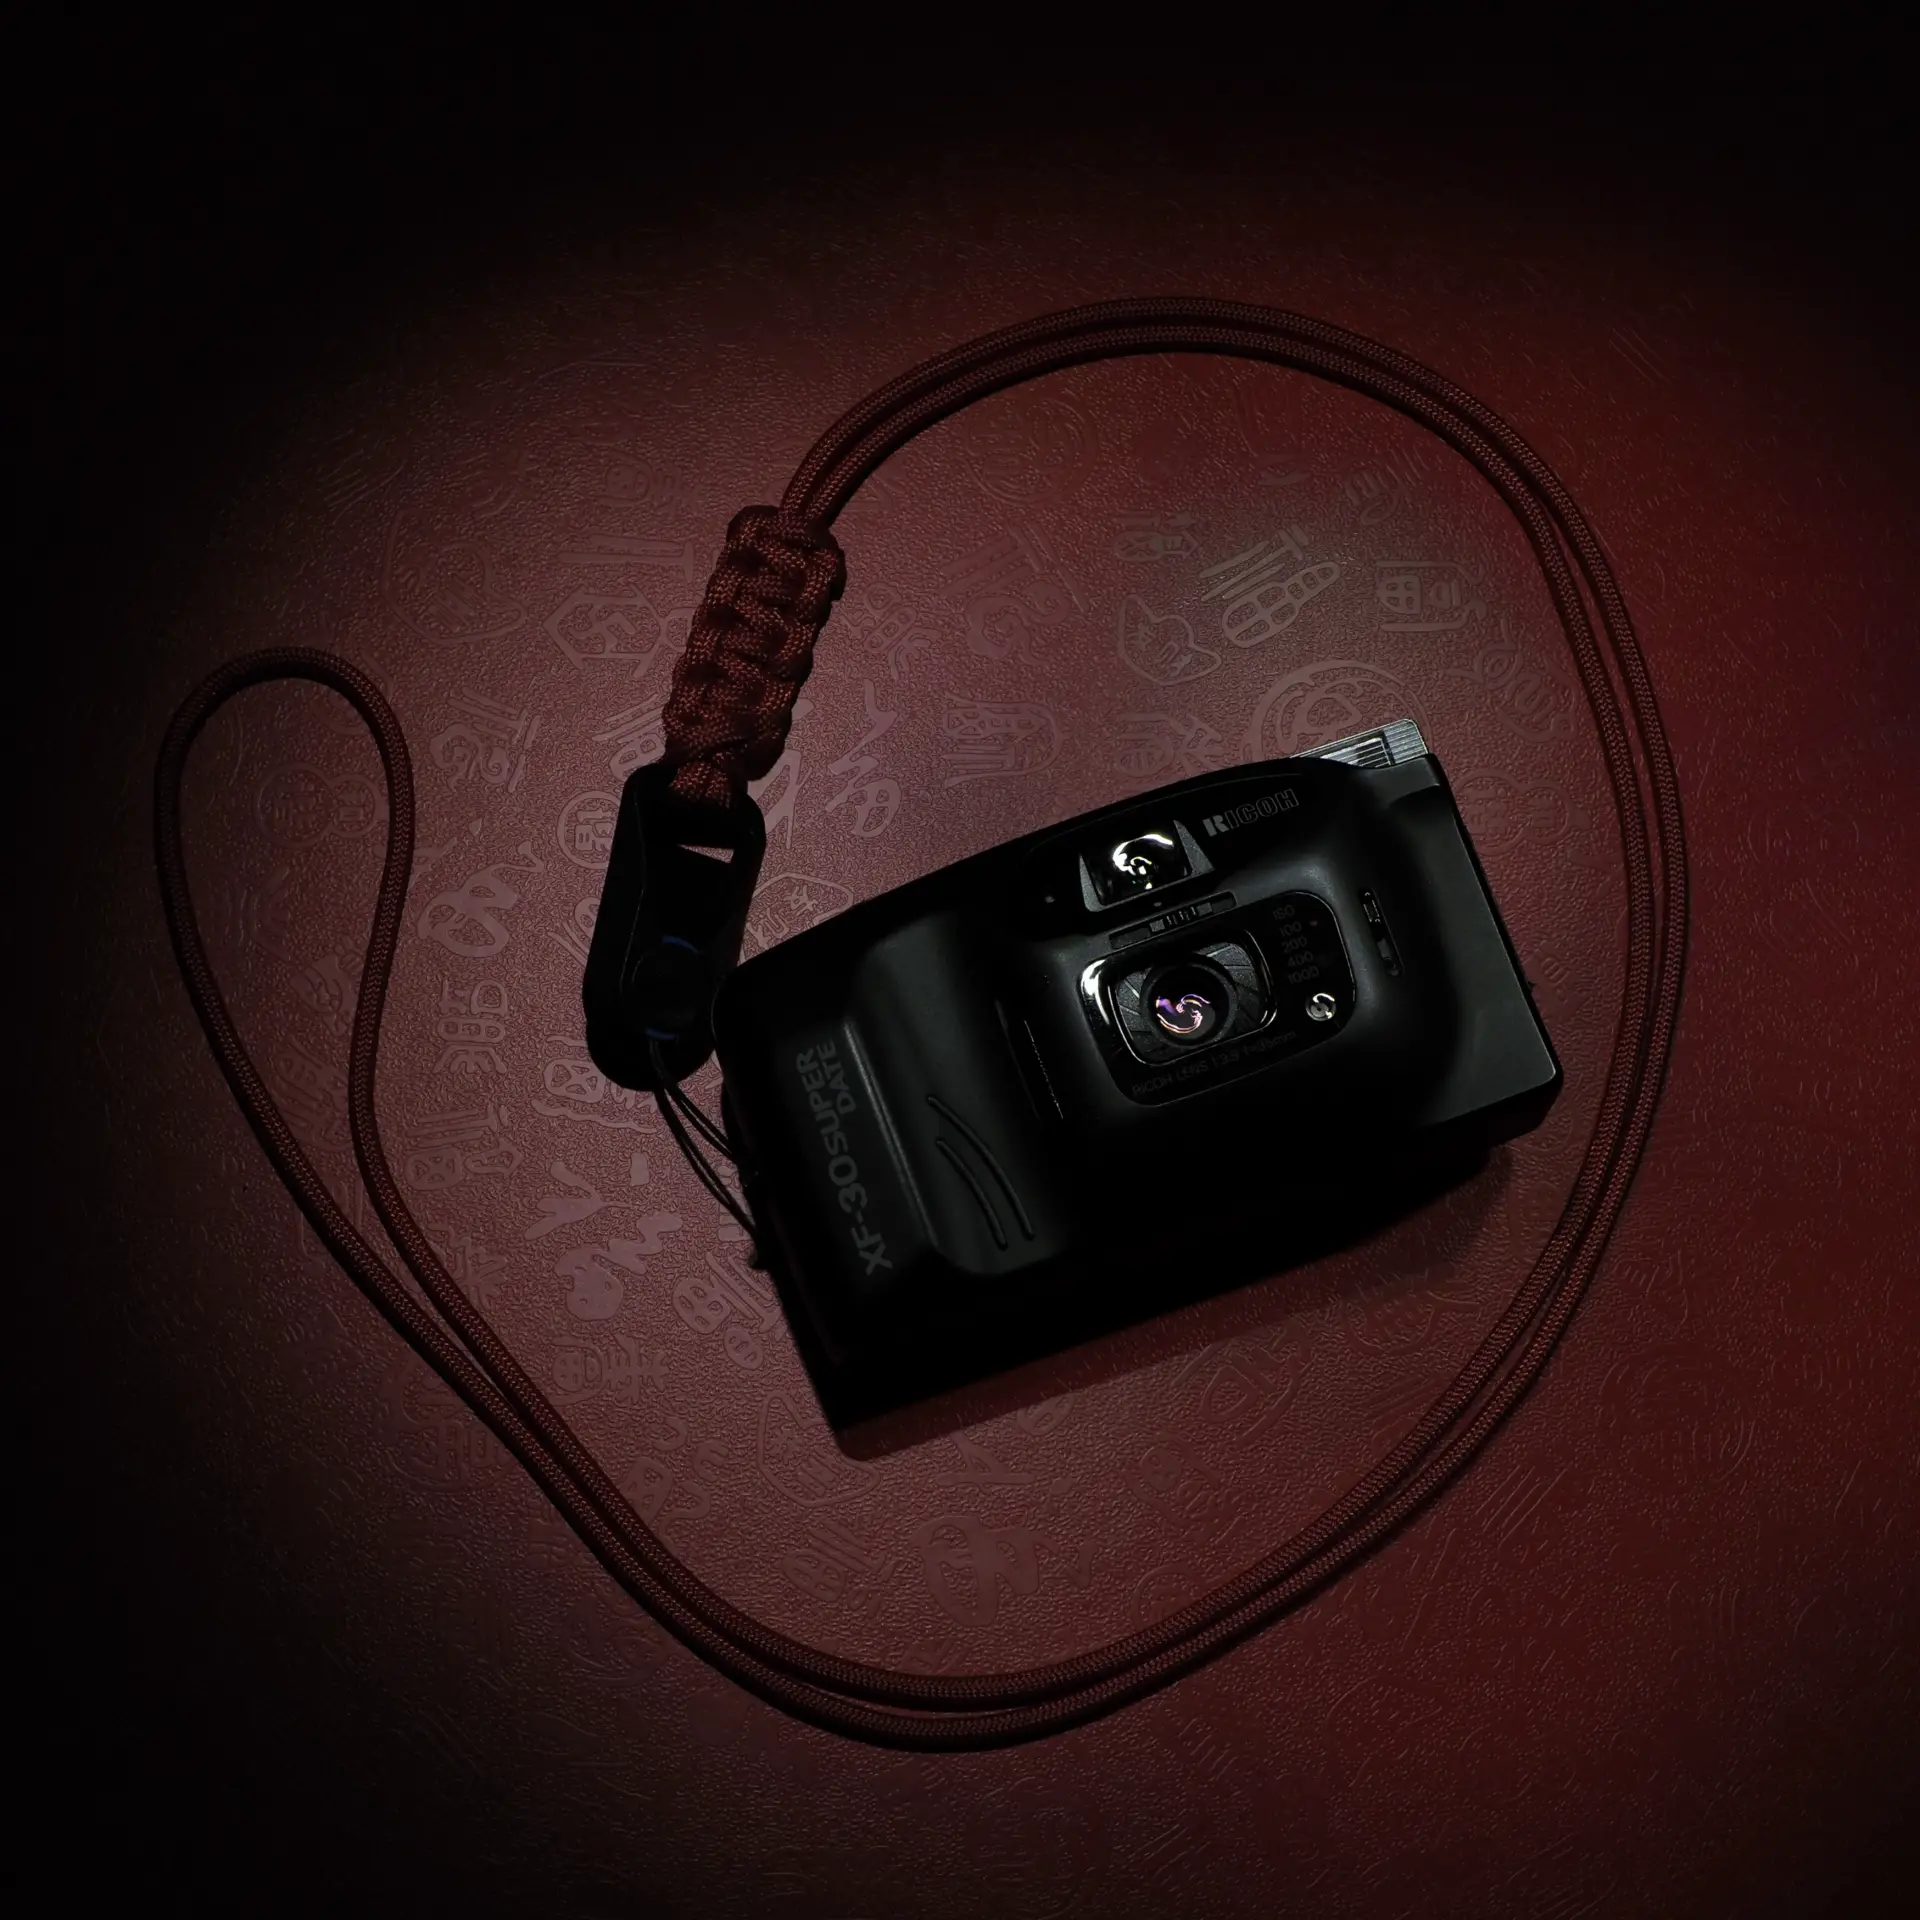
The key point being the “affordable”. Unwilling to splurge on latest over-hyped models, I took the simplest road – I asked a friend to lend me a random piece from his collection of ultra-cheap compacts. That’s how I landed on the Ricoh XF-30 Super Date, unassuming compact from early 90s, currently being sold on local used markets for less than 15 USD.
You can check specification over here, but I will tell you about the details that might be not so obvious. The important small bits that made this Ricoh different from the normally popular compact cameras from Olympus or Yashica. The parts that made me really appreciate its usability, even if they might seem as shortcomings back when it was released.
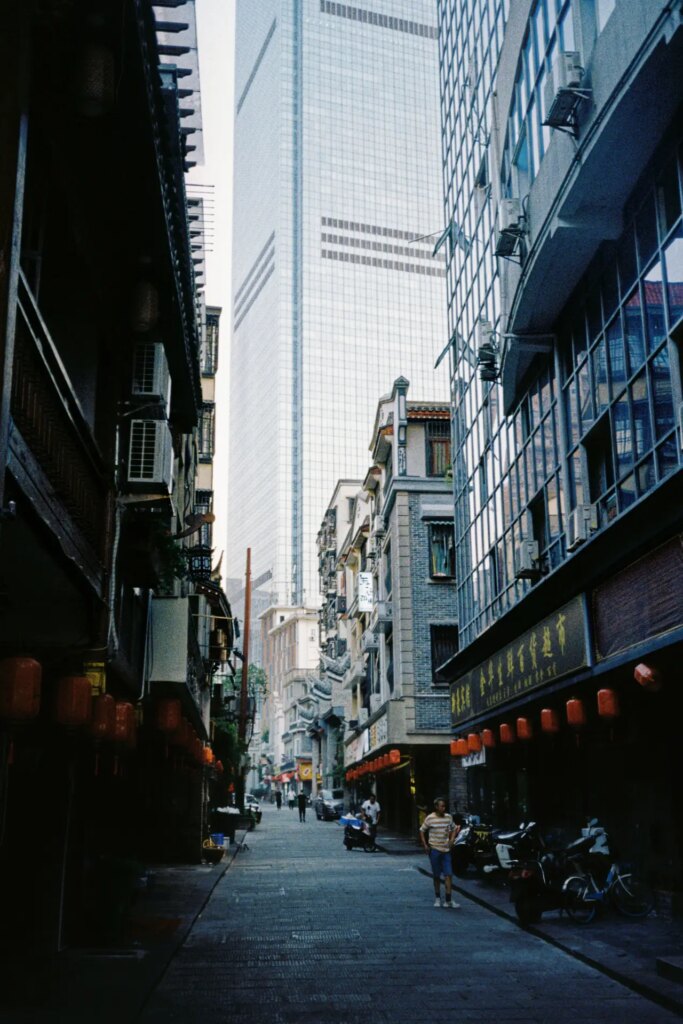
Firstly, the lack of an autofocus, which seems to be the biggest downside compared to its rivals, but I actually quite like it. XF-30 is stuck with a simple zone focusing, default setting of 2.5m for instantaneous snapshots, infinity for landscapes and 1m for portraits. I can take a quick street shot right after opening the lens, I’m certain that the sunset view over a city will not be misfocused and my DIY lanyard strap takes care of the proper distance when wife asks me to take her photo. And of course, few times I forgot to adjust the distance and ruined a photo, but I’m just glad to be in control over it, with no worries what the autofocus might be doing.
It also offers a “Macro” distance, but I wasn’t able to find any info on how far that one is supposed to be. If anybody knows, please let me know in comments!
Another manual control that shows up on the XF-30 is an ISO setting, a small slider that adjusts an aperture of the lightmeter. This feature is simply lovely. Allowing for an easy use of questionable films without DX codes, compensating for expired rolls and acting as a practical exposure compensation for all your overexposure temptations. Limited setting at ISO 100, 200, 400 and 1000 isn’t ideal for all occasions, but better than just automatic DX reading.
Lastly, the flash, a crucial part of compact cameras, yet often the most annoying. Luckily on the XF-30 it presents no issue at all. Half-press the shutter to see if the flash pops up, letting you know how the camera judged the exposure. Then simply decide if you want to take a photo with a flash, look for a better exposure or even if you want to force the flash to close, taking your risk with a potentially under-exposed shot. Avoiding any uncertainty about unwanted flashes.
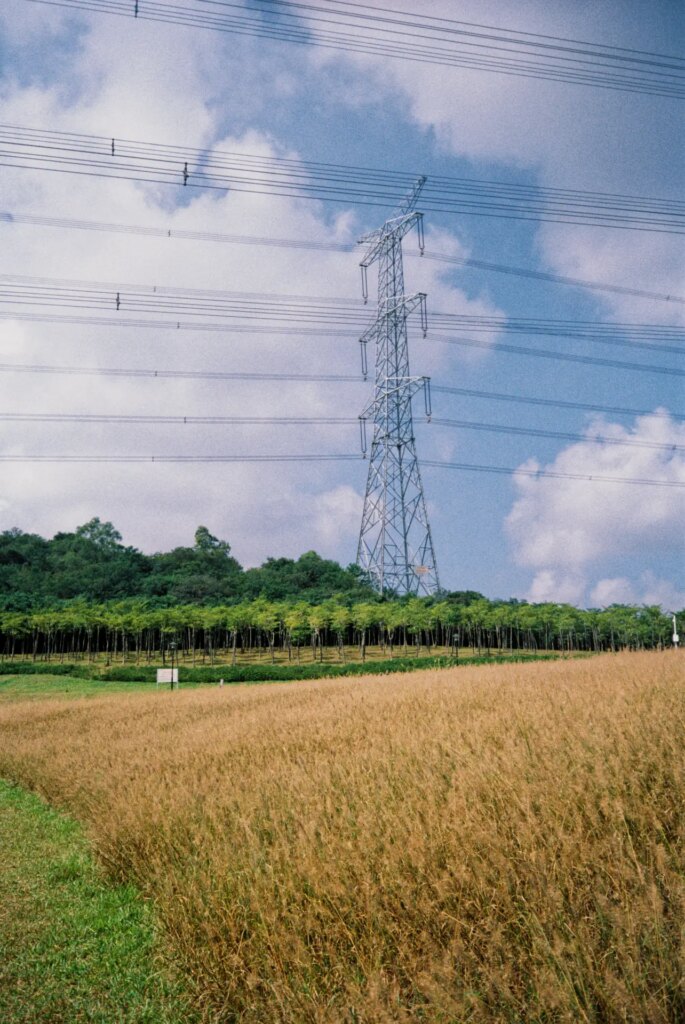
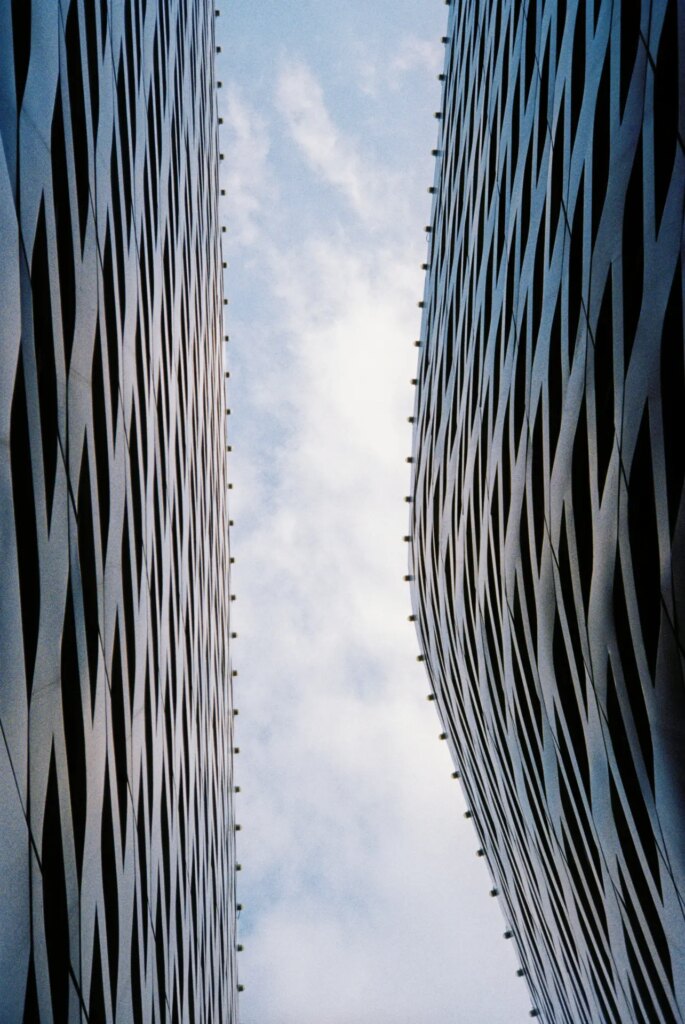
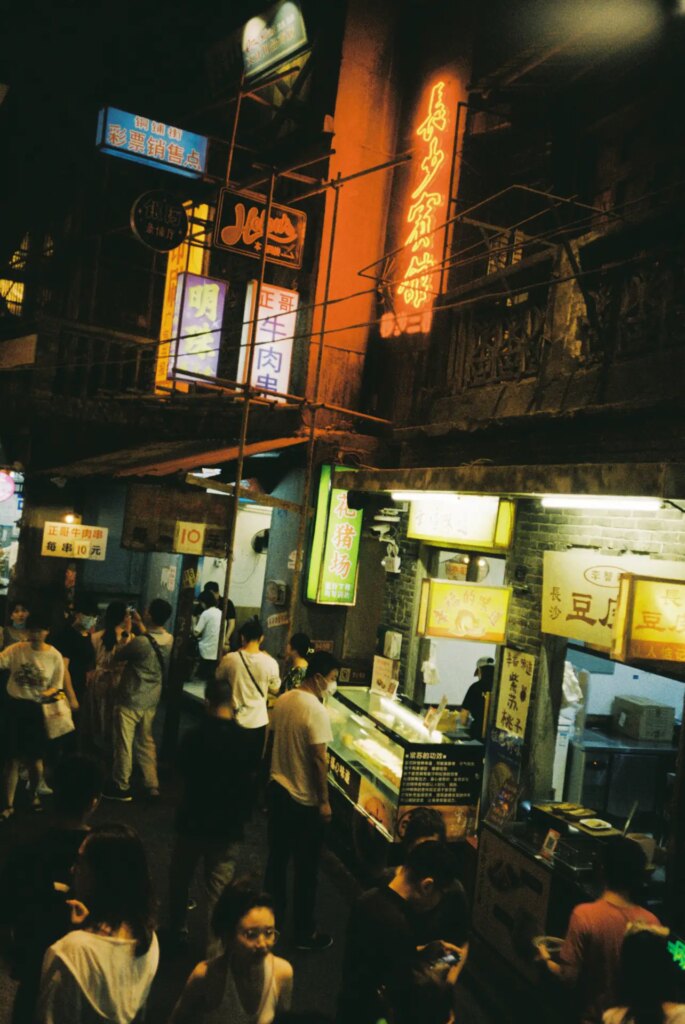
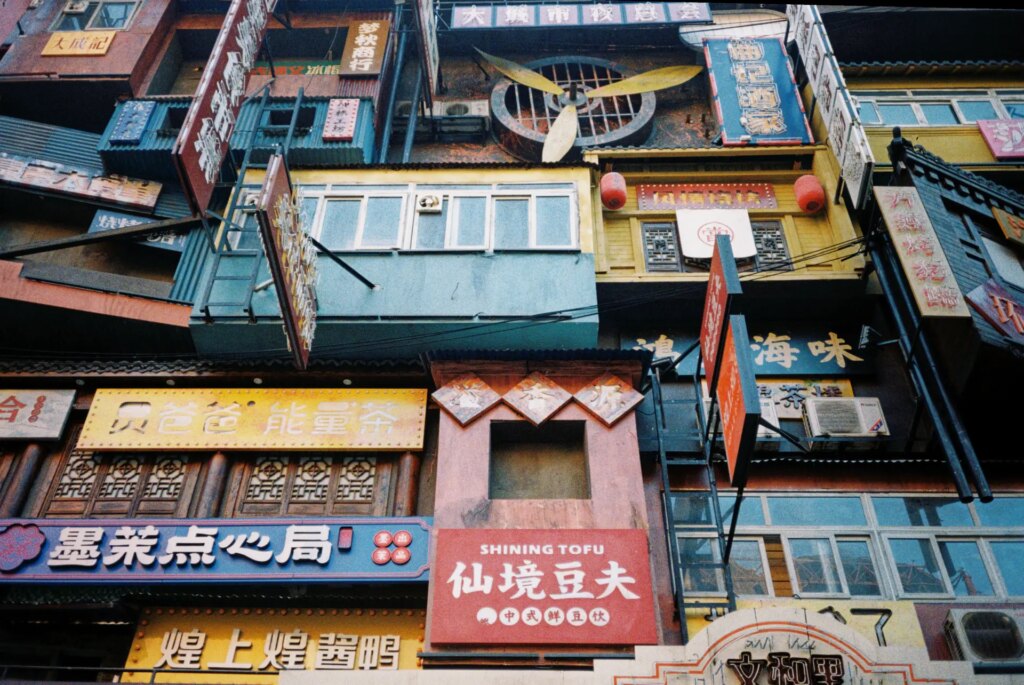
I have been using the XF-30 for past year, accompanying me to many corners of China and rewarding me with some great looking shots from its surprisingly sharp lens. And it will keep serving its purpose, as I found it to be a perfect match for me. Killing any potential temptations for upgrade to more advanced or higher-priced compact cameras.
You can follow me on Instagram for more photos from China.
And if you area Shenzhen based photographer, check our Photoclub!
Share this post:


Comments
Phil Snaps on 5 Frames with Ricoh XF30 Super Date – by Frankie Bina
Comment posted: 23/07/2022
I prefer a field of view around 40mm, so I tend to pick older cameras (also with manual film advance, as the basic motorized ones are often quite noisy). My go-to zone focus camera these days is an Agfa Optima 1035, I love its huge viewfinder.
Comment posted: 23/07/2022
Gorpalm on 5 Frames with Ricoh XF30 Super Date – by Frankie Bina
Comment posted: 23/07/2022
Terry B on 5 Frames with Ricoh XF30 Super Date – by Frankie Bina
Comment posted: 23/07/2022
Regarding the macro setting, I've been looking on the 'net and couldn't find anything, not even a quick check of Mike Butkus' excellent free manuals service. (Always worth a nominal donation if he has the manual one needs.) I did find a YouTube video where the presenter did mention a macro setting, but not what it was.
If you'd like to try out its macro capability, you may find the following useful. But be prepared for the setting to be no more than a close focus setting, not true macro. This is a technique I used to verify focusing with cameras having front cell focusing, which often got messed up when owners "played" with it, i.e. removed the lens.
It will require a simple table top set up, but the advantage is you will only need to shoot off one frame as you are only looking to confirm the actual focus point. Given that you already know the normal close focus distance, the macro setting has to be shorter.
Lay the camera on the table, and then measure out a number of distances and place cards with the measured distances in an echelon . I doubt that the true focus point will be too close, so you may wish to put the first marker at, say, 20cm. from the front of the camera, and then at 5cm. intervals up to, say 70cm. This should give you a good spread, and 5cm differences will be a good starting point. If you find the focus point actually seems to lie somewhere between two adjacent cards, you can repeat the test with 1cm spaced cards for fine tuning.
I know that technically measured distances for macro should be from the film plane, but this is not relevant in your case as your lens has no focusing index and you only want to establish exactly where the lens actually focuses, so measuring from the front of your particlar camera won't matter, especially as the macro focused setting is fixed. This is the only measurement that you need to know. Thereafter, a simple length of string will be all you need to line up you camera and subject.
Comment posted: 23/07/2022
jason gold on 5 Frames with Ricoh XF30 Super Date – by Frankie Bina
Comment posted: 23/07/2022
Comment posted: 23/07/2022
bp_reid on 5 Frames with Ricoh XF30 Super Date – by Frankie Bina
Comment posted: 23/07/2022
Comment posted: 23/07/2022
Comment posted: 23/07/2022