I am a photographer based in Reunion Island (a French territory in the Indian Ocean), and for a few years now, my practice has been focused on experimental photography. I really like error, randomness, surprise; they form part of my process. Photography, for me, means freedom to create – not just a list of precise techniques you must respect to obtain a “good photo”.
I like argentic (silver-based) processes, but I don’t hesitate to combine them with digital and other techniques. Over several months, I spent many hours in my darkroom, experimenting with color process. My goal is not to get a stunning photo with the “right” colors (I don’t even have a color enlarger) but to explore the possibilities with color (RA4) paper and chemicals.
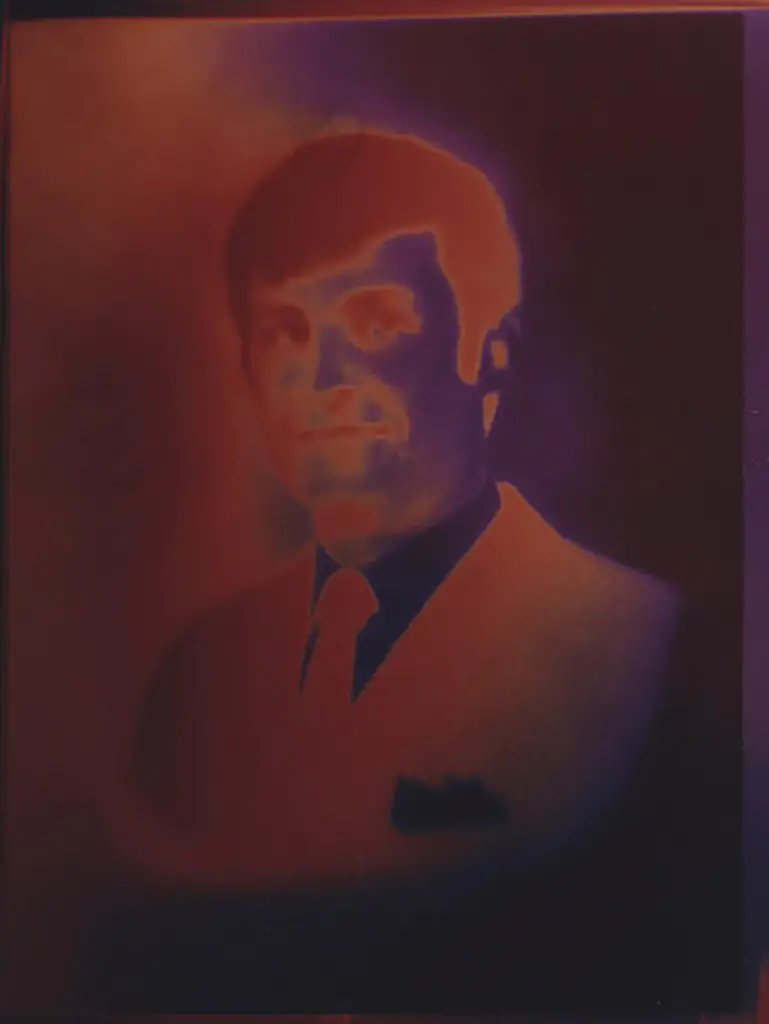
After long hours of testing different experimental processes in the darkroom, I ended up making a mistake: I switched on the light for a short time during the development, and I got an awesome result! I was very excited with the outcome, so I decided to explore further. This is not exactly a new discovery – it is a kind of “solarization” or “Sabatier effect” – but in this case combining B&W negative and color process.
For me, a technique is more interesting when it is used to express a specific message. What story could I tell with the aesthetic of Sabatier effect? Strange, unreal and bright colors, which change with each new attempt?
A few years ago, my art teacher gave me a box and told me, “Photography is your medium. One day, you’ll do something with this”. When she was a teacher in Paris in the ’90s, one day she found a box in her locker. It contained 160 portraits of anonymous people taken by an anonymous photographer. She never got any more information about it.
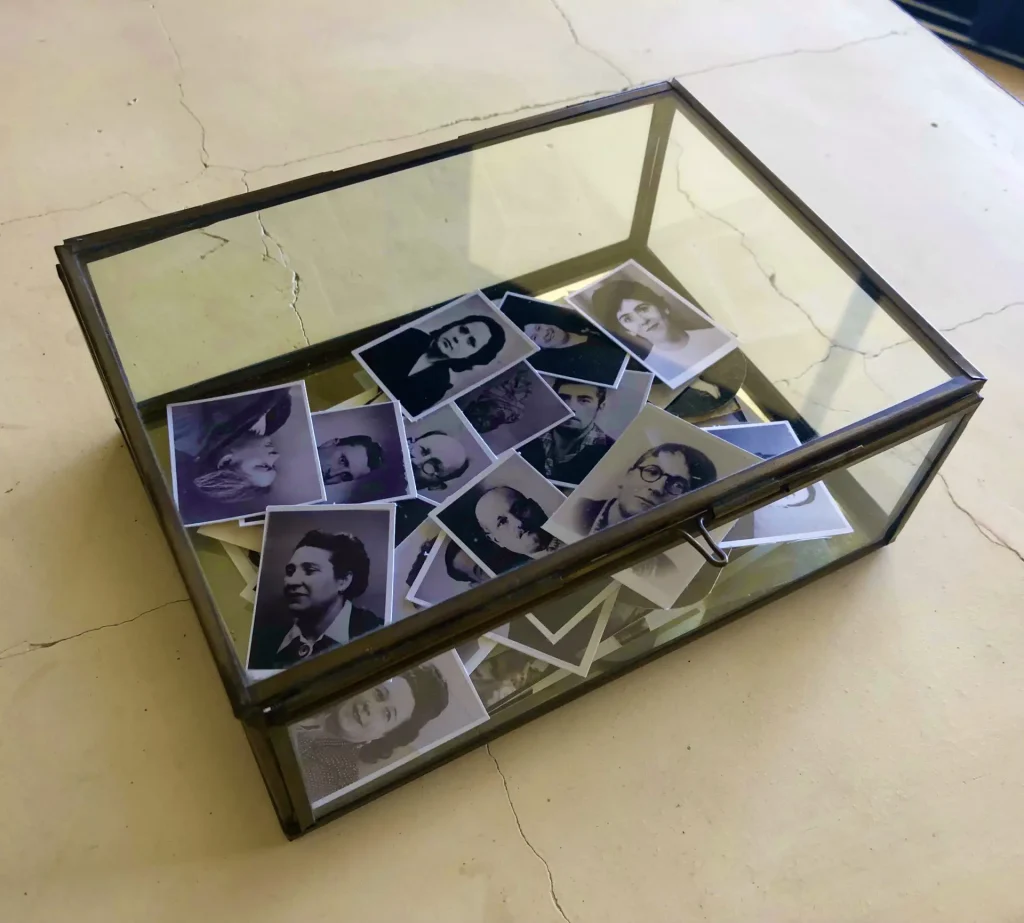
The box was a precious gift. I scanned all these faces. It was very moving, but I had no idea about what story I could tell with it. When I discovered Sabatier process, I thought about the box again. What does a portrait reveal to us about the person represented? A photograph is a fragment. The light is often artificial, the outfit and the facial expression carefully chosen. The photographic portrait is more a fiction than a reality. The Sabatier effect shows it perfectly. A personality is elusive – it eludes others, oneself, and especially the photographic portrait. Thus, my new series began – a series about the relationship between photographic portraiture and fiction. An exciting work!
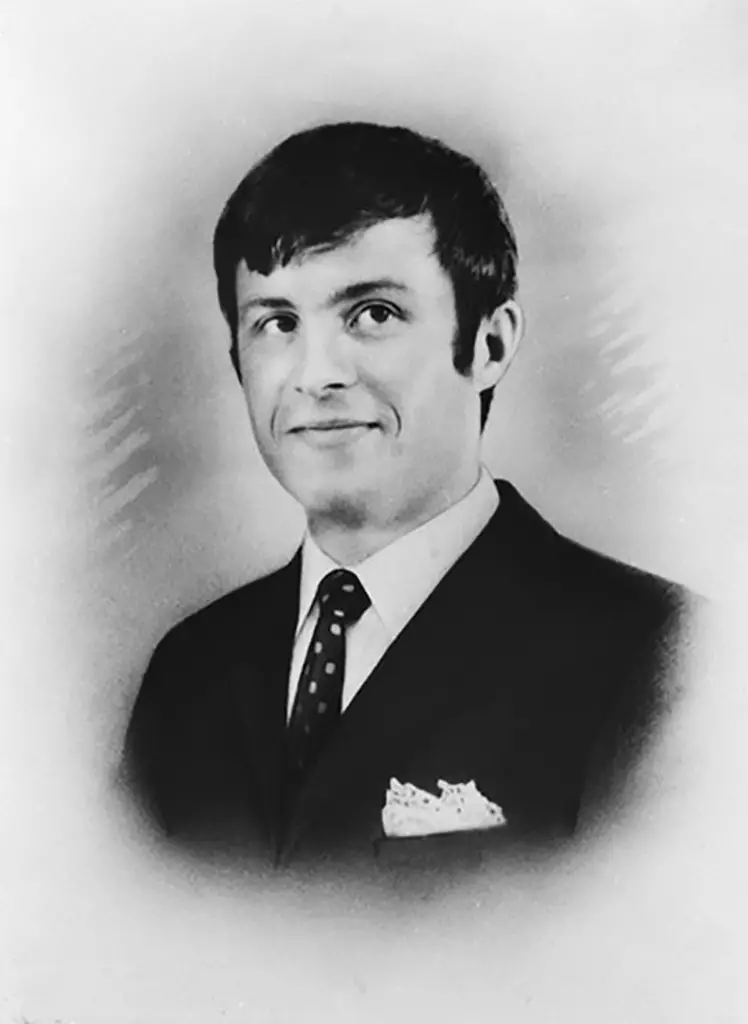
I’ve briefly listed the equipment I use, and the different steps:
Equipment:
For the method I’ve described here, you need a darkroom, but you don’t even need an enlarger.
- B&W digital negative for contact printing (I scanned the photos in the box, and made digital negatives from them. Instead of digital negatives, you can also use film negatives for printing with enlarger.)
- Color paper (RA4)
- Chemicals for color paper (RA4)
- Trays to hold the chemicals, and tongs for handling
- Timer
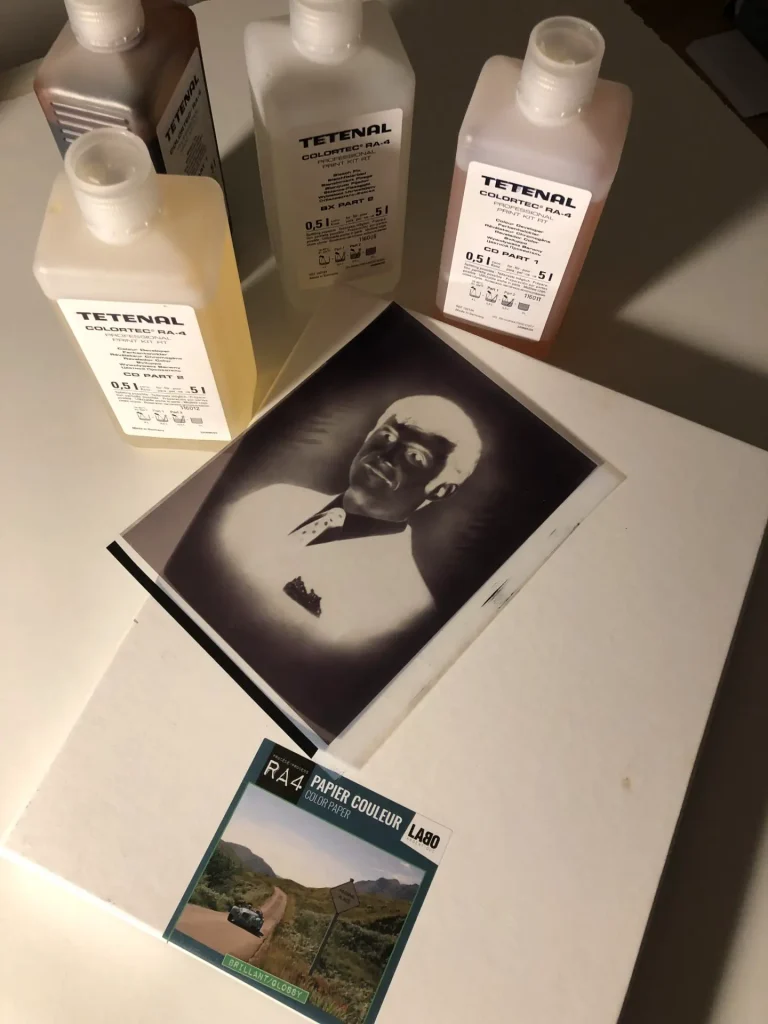
Step 1
The RA4 process needs complete darkness. You can’t use any light, not even a red “safelight”. So you have to prepare the chemicals and put everything in a specific order.
Step 2
Cut the paper. In complete darkness, this can be a difficult task. It’s easier to use paper of the right size. If not, I would recommend using a paper-cutter. To help cut to the right size, you can use thick tape to measure your paper and identify where to cut.
Step 3
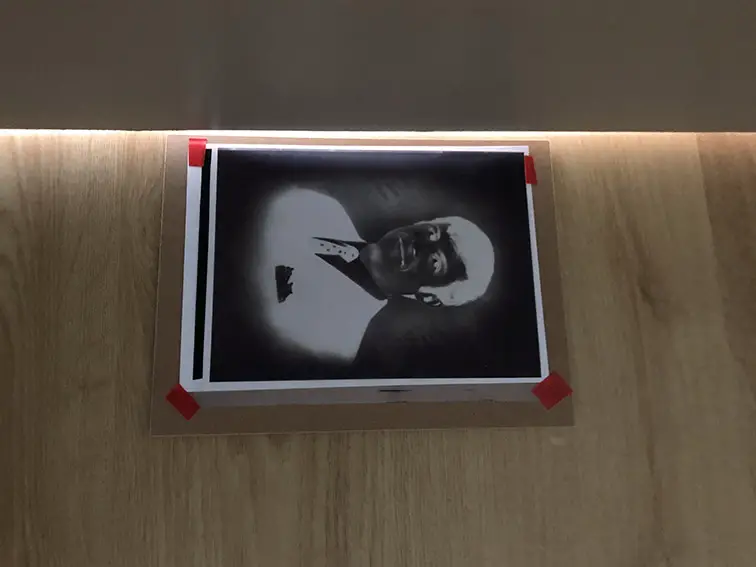
Put the digital negative on a sheet of RA4 paper, fix it with tape, and expose it to create the latent image. For these images I used the light under the door of my darkroom (because I wanted an angled light) for 10 seconds. You can also use an enlarger or some other light source.
Step 4
I then block the light under the door (back to complete darkness!) and develop the paper for two minutes. But the solarization step happens halfway through the developing process. At exactly one minute, I remove the paper from the tray, turn on the main room light and immediately turn it off (the light is switched on just for a moment). I then put the paper back in the tray and develop for another minute. Finally, I finish the color process as normal – bleach, fix and rinsing. The reason why I suggest removing the paper from the tray at the solarization step is because otherwise, you might get little spots from floating particles and bubbles in the developer.
The results depend on three light factors: the intensity of the solarizing light, the exposure time, and the exact moment when you turn it on. Below, you can see two more interpretations of the same image, which are a result of varying these parameters.
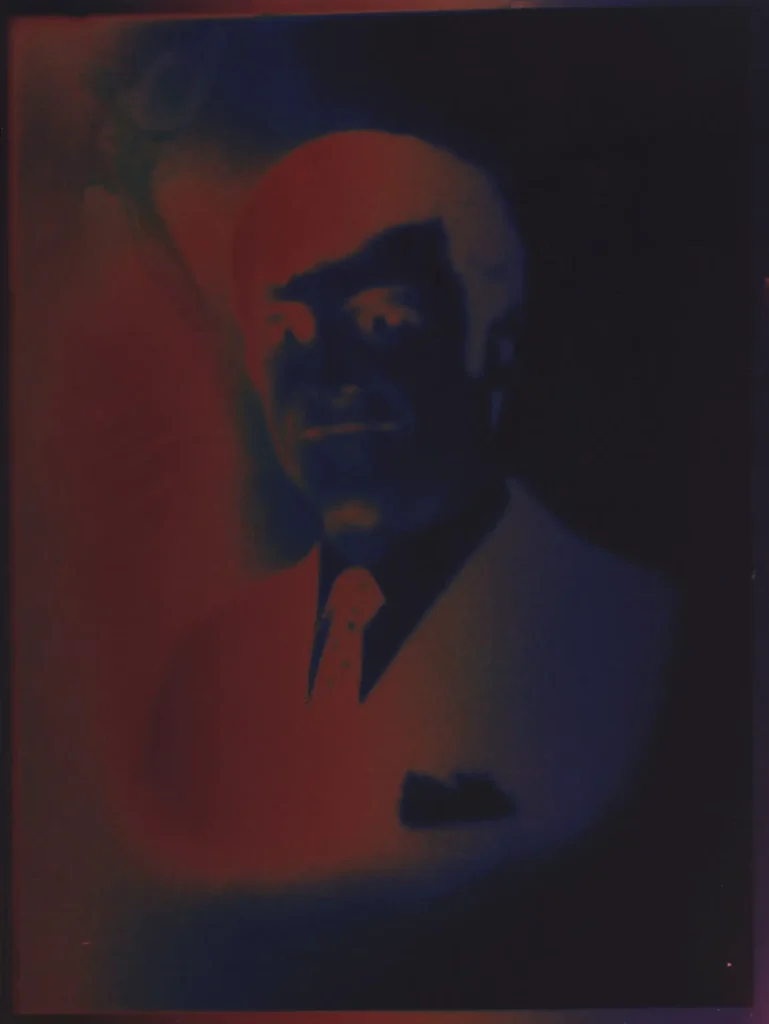
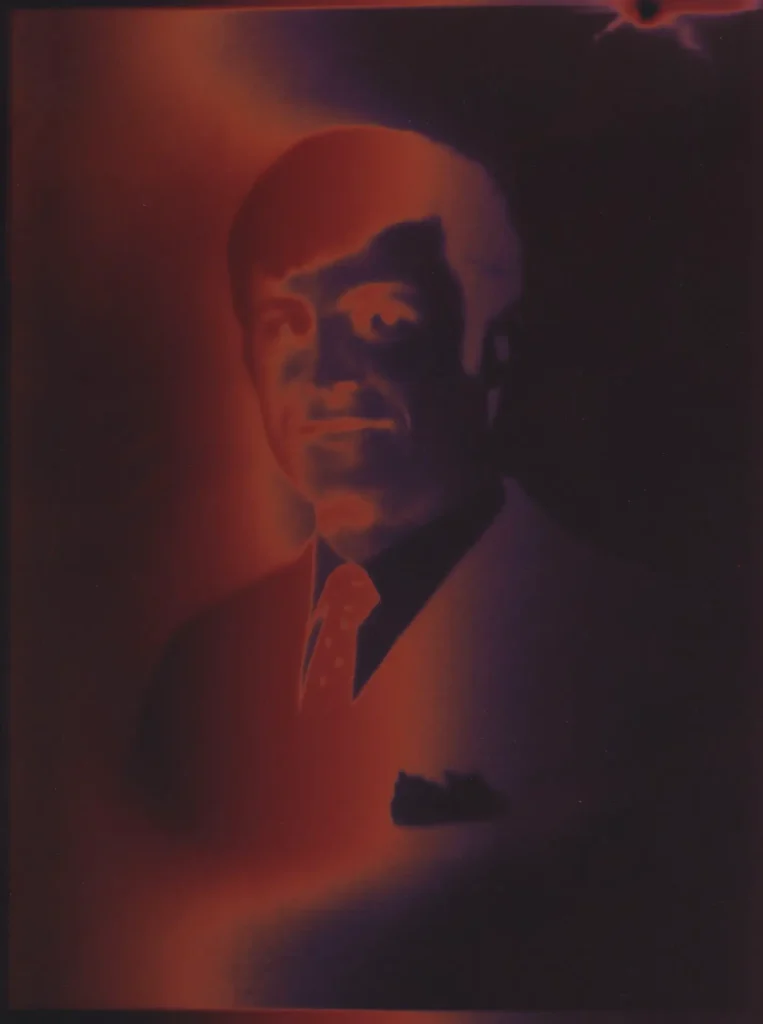
A fellow member of the Facebook Alternative Process group made an interesting suggestion: using an enlarger for the solarising exposure (instead of the room light, which is what I use). With an enlarger, you have more control over the exposure time, f-stop and – if you have colour filters – even the color of light. That way, you can get more precise and repeatable results. But I also like my method – it is more unpredictable and experimental.
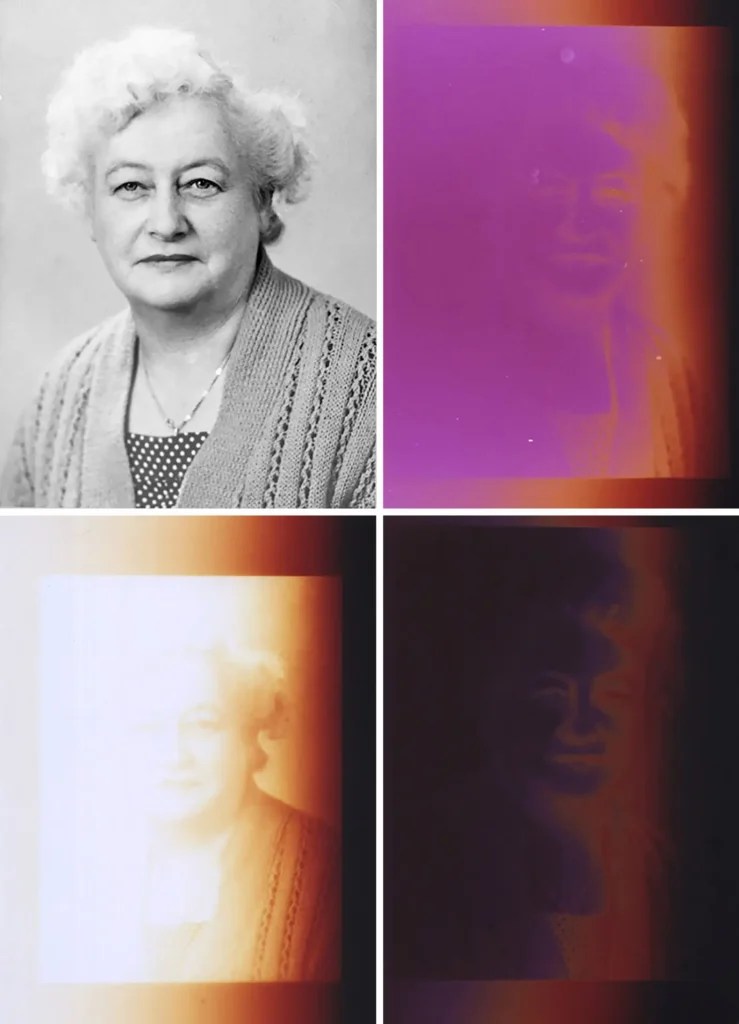
To see more of my work, you can follow me Instagram (@severinechauveau) or visit my website.
Share this post:



Comments
Martin Siegel on Sabatier Effect with a B&W Negative and Color RA4 Process – by Séverine Chauveau
Comment posted: 24/02/2022
Comment posted: 24/02/2022
Bill Brown on Sabatier Effect with a B&W Negative and Color RA4 Process – by Séverine Chauveau
Comment posted: 24/02/2022
Comment posted: 24/02/2022