I recently started vlogging via my Patreon page, and in doing so found myself with a need for a camera, microphone and screen set up that allowed me decent quality without breaking the bank. I’m fortunate enough to have access to the cameras I use at work, so brought home a Sony A7s and one of the little lav-mics we use. To see myself whilst shooting I ended up going for a cheap Chinese screen that I mounted to the top of the camera. The quality was great, but the setup felt like overkill, and the big screen made the camera wobble which bugged me.
I had this idea about an ideal camera – I wanted something small and lightweight with a flip out screen and a mic input. Would you believe no compact camera exists? If you want something with these features, you need to either buy a DSLR of some sort, or one of a small range of mirrorless cameras. I honed in on Panasonic’s camera, knowing that they were notable for their video specs, but came unstuck when I found the the first one in their current range to offer the features I wanted is the G7, which was going to cost me £4-500. This initially put an end to the idea. That was until I spotted a Panasonic GH2 in my local London Camera exchange and I realised I didn’t need the latest and greatest camera and that an older model might do everything I need… I’m not sure how many more times I need to remind my brain that new gear is the only solution when it comes to digital kit…?!
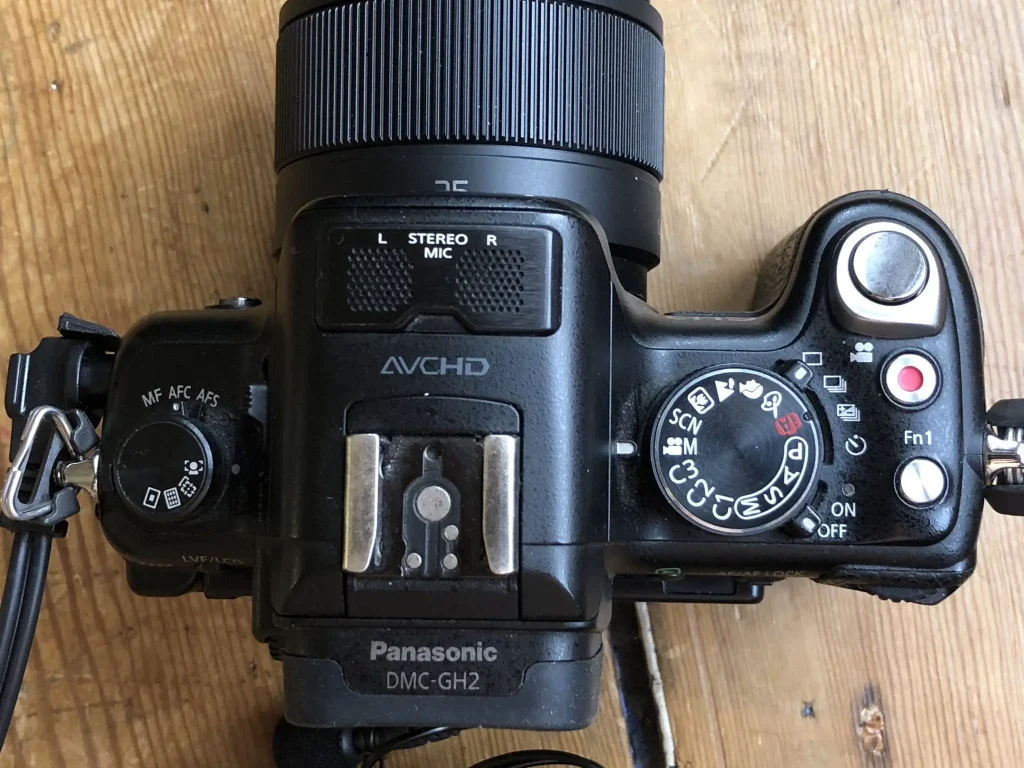
£130 for the camera and £100 for a Panasonic 25mm 1.7 lens and I had my new video setup for the vlog. It’s worked out ok too – the AF can be a bit flakey when trying to show something to the camera, but it will do until I can afford something else.
5 frames with…
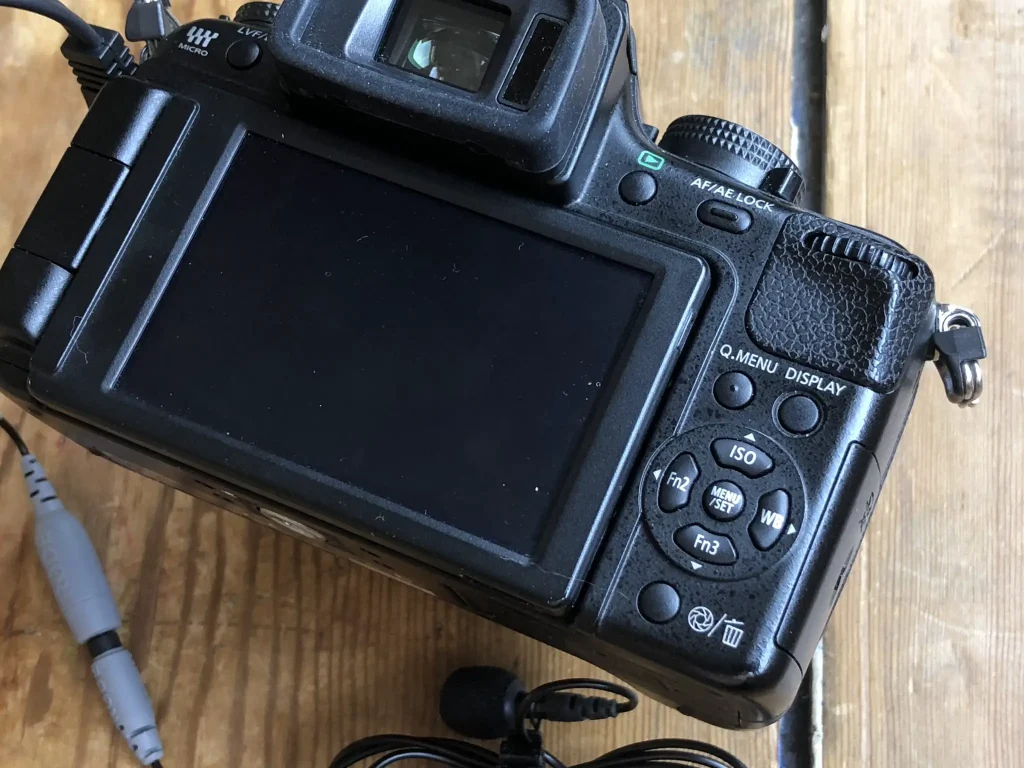
Of course, there was no way a new camera could be introduced into my house without me using it as, well, a camera. Unfortunately for me, the Panasonic GH2 suffers from many of the problems that irk me when it comes to modern cameras, quite specifically a vast over abundance of buttons. I’ve had this rant too many times on this website to repeat it again, but combined with the fact that I haven’t used a Panasonic camera for a long time, it’s safe to say it took me a little while to work out what I was doing with it.
What I’ve figured out so far is that the little wheel under my thumb is pretty much all I need to know about. In aperture priority I can set it to auto-iso, then the little thumb wheel can be pushed in to choose between changing the aperture and the exposure compensation. This has worked quite well as a starting point, but if I am going to get used to this camera I’m going to have to spend a fair while in the menus working what all the rest of the buttons do, and how much of it I can disable…
Good colours
One thing that might encourage me doing this though is the colours. Have a read of my Sony a5100 review and you’ll see that I made that simple consumer camera work for me quite well. I used it like that for nearly a year, but in the end was broken down by the fact that every time I took a photo with it I knew I was going to have a mountain to climb in terms of getting colours out of it that I didn’t hate. The Panasonic has impressed me straight away when it comes to its colour pallet – its just so much more natural than anything I can get out of my Sony cameras. In fact, I’d possibly go as far to say that I like it as much or possibly even more than the colours I get out of my Leica 262…
These images have been tweaked, in fact they have even had a little pop to the saturation added, but in terms of the base pallet out of camera, I didn’t find myself tempted to start fiddling with the camera calibration panel in Lightroom, which is most unusual for me.





Time will tell how this camera will get on when the novelty wears off, but for now I’m impressed with the output… if not the user experience!
Share this post:


Comments
No comments found