In 2018, I decided I would once again use film exclusively in my personal projects. When I started with photography, there was only film, I grew up with a photographer father in the 80s and my first camera was an old Voigtlander. However, by early 2000 the benefits of digital photography were impossible to ignore.
Initially the shift to digital had a purely economic reason. In 2002, I was newly married. I was taking out several rolls a week and had everything printed but suddenly there was no more need to spend money on buying rolls, having them developed and copied, it seemed like a win-win game. Even though digital photography became my workhorse, I always kept an analog camera on my desk that I used very occasionally, that camera seemed to fill a certain gap that I could not fill with the digital camera.
Currently in my photography, there is only room for one photographic project: “The Family Book”. The project was born with the birth of my children, but since 2015 I switched to black and white and I started to work on it as a project with a sense of its own.
I uploaded some of my photos to Instagram here javiermartinezdelgue
For this project, the choice of camera was critical. I needed a camera that was small enough to be carried at all times, discreet not to disturb the scene, with a wide angle lens to capture the subject in its environment, a bright lens to shoot indoors, a small sensor to maximize depth of field and as fast as lightning to shoot. It was not difficult to find some digital cameras that met those requirements, first I used a Nikon P6000 and then an Olympus XZ-2, both of which I used with the zone focus technique.
At the beginning, every project is a big challenge, both technically and intellectually, but little by little, we start to become experts in what we do, which does not mean we are doing a great job. However, as time went by, digital photography became too simple for me, after 3 years I started to get bored and I thought I had to renew the project, both intellectually and technically. I had already solved all the technical challenges and made all the photos I wanted to make. Even if new situations arose, I felt that I had already gone through all that.
Photographing had become like making a soup using an instant soup envelope, but I wanted to make a good homemade soup. It is not about the quality, it is about the process. The complex and demanding process is what bring real value to the result. Of course, it is a value that only counts for us. However, that is the key, that intimate satisfaction for the work done; how happy we are doing what we do.
I needed something to help me avoid the mechanical simplicity of photography. Then I remembered how much I liked shooting with my old analog camera, and how demanding it was. Analog photography is more difficult, but I think it can somehow make some photographers happier. Returning to it would mean the challenge I needed.
In addition, documentation is another big advantage of analogic for me. Where are my digital photos from 2000? Am I sure I can still read those almost 20-year-old hard drives and CDs? Does the company that backed up my photos in the cloud still exist – and will it in another 20 years?
Those are the reasons for which I decided to rethink my project and switch completely to analog, but in order to do that I still had to make several important decisions.
The first one was to switch from black and white to color, after so much time photographing in black and white; I thought I was ready to face color, which would certainly be the biggest intellectual challenge. The difficulty of color, is that life is in color, and make the difference is very complicated. To me, photography in color is like entering a new and unknown world, full of difficulties, which forces me to find a new way of photographing.
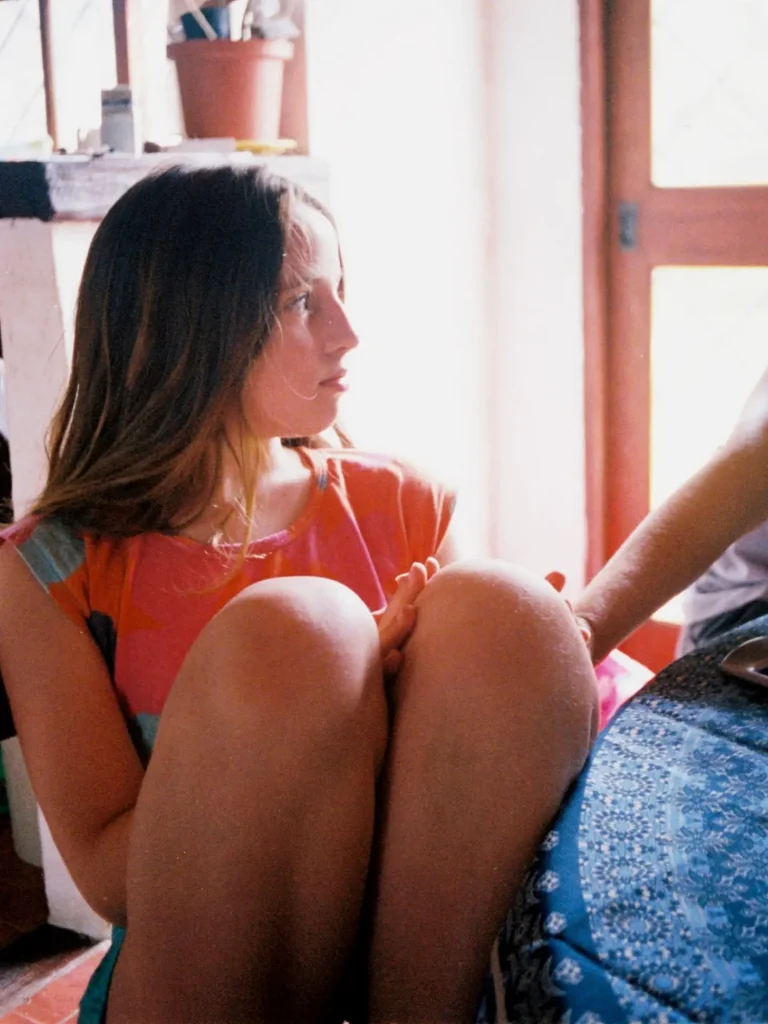
In that sense, my second decision was to choose the pastel colors of Kodak Portra 400 to define the character of the project in its second stage. The first stage and the first years of the project were during my children’s childhood; the second stage would deal with adolescence.
The Cost Implication
Another important point was to evaluate the costs associated with analog photography; I still had to verify if that it was economically viable for me.
Now the crisis of analog photography has passed and it has stabilized in a small and somewhat unstable market niche, you never really know what is going on. However, what could complicate my plans is that the film is not cheap at all; a roll of Kodak Portra 400 costs about 10 dollars!
Also in Uruguay most of the old laboratories that develop film have closed, and they are not in my town, although several small laboratories have begun to appear. Where to buy cheap film is another issue, the big importers are gone and buying it locally, it’s usually expensive. For the color development, I decided to choose, Fotototal, one of the few laboratories still working in Montevideo.
How are my monthly expenses for analog photography in Uruguay?
With my hybrid process where I already have the camera and a negative scanner, importing 20 rolls of Portra 400 cost about 225 dollars, and the development with its shipping costs, costs about 100 dollars. And assuming I shot four rolls a month, I’d have a monthly expense of 65 dollars. My situation is typical of any Uruguayan, with an average salary of 1000 dollars a month.
If I could cut those expenses in half, I would feel much more comfortable.
At this point, I had not decided yet if the expense was worth it, so I started to think if there would be a way to save money on film with a camera format, and I still had to find a camera that would meet all my requirements for the project.
What about the Half frame option?
I started researching and soon came to the conclusion that I should explore the idea of shooting Half Frame.
The Half Frame format was born along with 35mm film in 1889 for filmmaking, and was developed by George Eastman in collaboration with Thomas A. Edison’s laboratory. It was the format of the first cameras that used 35mm film.
Without any doubt, with the possibility of doubling the amount of photos from a 35mm roll, the main reason to study the viability of Half Frame is mainly economic. When a project needs many photographs this can be a great advantage. That was the reason why it became popular again by the end of the 50s in its first photographic renaissance. Whenever the analogue medium poses high prices for film, small formats are an interesting resource.
But, with the smaller size, it arrive questions regarding whether it will be of sufficient quality.
In relation to this, first we can say that it was enough for the cinema for 130 years. Half Frame in the stills world is roughly equivalent in size to the Super 35 format in the cinema world.
In 2019, Martin Scorsese shot his film “The Irishman” in Super 35 format on Kodak Vision3 35mm film.
The format was also sufficient for the photographic industry in the 60s and 70s when Olympus popularized its highly successful line of Pen cameras, which were followed by many other brands.
In 1996 major photographic companies endorsed the size of the format, when Canon, Nikon, Minolta, Fujifilm and Kodak introduced the APS format. This essentially meant a 2nd renaissance for Half Frame, thanks to the development of new films with higher resolution and less grain. While the APS format did not survive, the new and improved films soon made their way into 35mm and the older Half Frame cameras.
Suitability of half frame for my project
Defining the optimal size for prints on an analog camera system is complicated and a bit subjective, but in theory, with the Half Frame you can get to 2/3 of the length of a Full Frame print. Therefore, it would be suitable for “The Family Book” project, since I only need to be able to view the images on a computer or make 13x18cm copies.
In terms of quality, we must also consider that analog systems can have many more variables to control than digital systems, so the results can be very inconsistent. The smaller the format, the more careful we must be to obtain quality results. However, today we have the ease of modern technologies, with films that had improved a lot in resolution and grain, and scanners with higher resolution that are cheaper and more accessible.
Managing grain
Without any doubt, one of the most delicate issues for small formats is the film grain. Some grain can be more attractive than others, but the relative grain size is always higher in smaller formats. As such, grain can be more visible in photos taken with the Half Frame format. Using modern fine grain film can help a lot in this concern.
For daylight, in my experience, there can be no better choice than Kodak Ektar 100. With its extremely fine grain, it works very well when the light is on your side. When the light is lower Kodak Portra 400 or Fujifilm Pro 400h are be the best choices for keeping grain size down. Fujifilm X-tra 400 has also proven to be a good low-cost option, but lately it has become quite difficult to get cheap.
At first I was doing the scans in the lab, but in 2019 I bought my own dedicated 35mm scanner.
Evaluating the half frame cameras
In order to fully evaluate the Half Frame option, it is useful to make some observations about the general characteristics of the cameras. Many Half Frame cameras were produced in the 60s as low-cost, easy-to-handle products. This does not mean low quality; generally, they were all-metal cameras, simple mechanics, with very good optics and a vertical format design.
In many cases, these were scaled focus cameras that had no depth-of-field scale. Some had automatic exposure control, but many were also made with full manual control. In general, they were technically limited cameras but they fulfilled perfectly their purpose of providing a good image to the inexperienced user of the time.
Zone Focusing
You could almost say that many of these camera were designed with zone focusing in mind, though with the cameras without a depth-of-field scale, this require some prior calculations. For me this point was important, since this technique was already part of my work methodology in digital.
You might ask, what is the point of having a scale focus analog camera today? How fast and accurate is that method? The answer is that it can be very fast indeed. These cameras were designed for simple focusing in most conditions. As an example, for 13x18cm prints viewed at 36cm with a average visual resolution of 1,34 arcminutes, with a 25mm lens, f:8 aperture and focus at 2m, you get a depth of field that goes from 1 to 20m (this is calculated based on Jonathan Sachs’ DoF program). As such, it is really difficult to get something out of focus.
So by presetting the focus distance and aperture, and relying on depth-of-field, it is just a matter of making sure the subject is in frame and pressing the shutter button at the right time. Ideal for shooting kids!
Ricoh Caddy
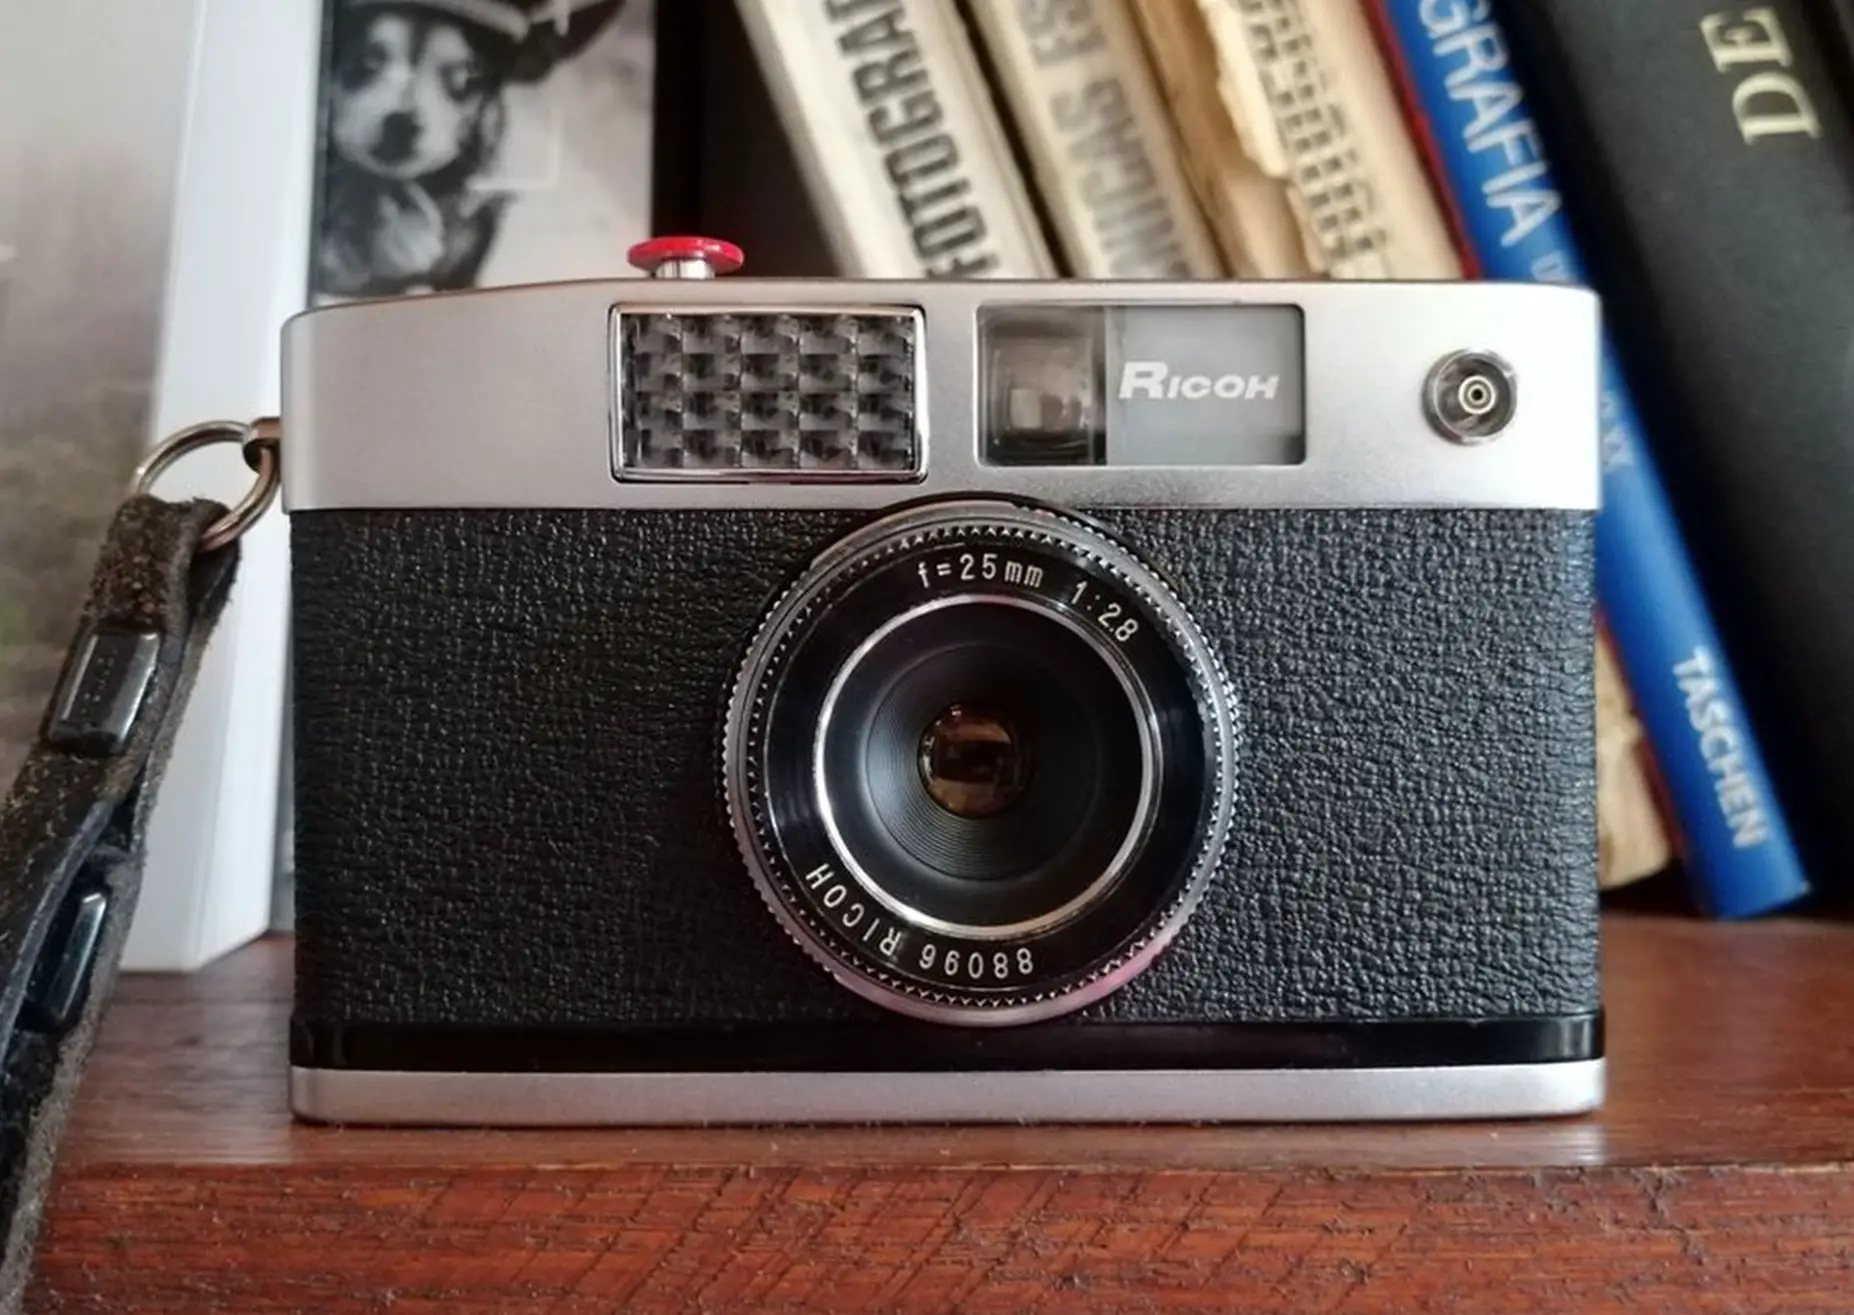
With these considerations in mind, I select a 1961 Ricoh Caddy, this camera and the format seemed promising to meet the requirements of my project, so I went ahead and purchased it.
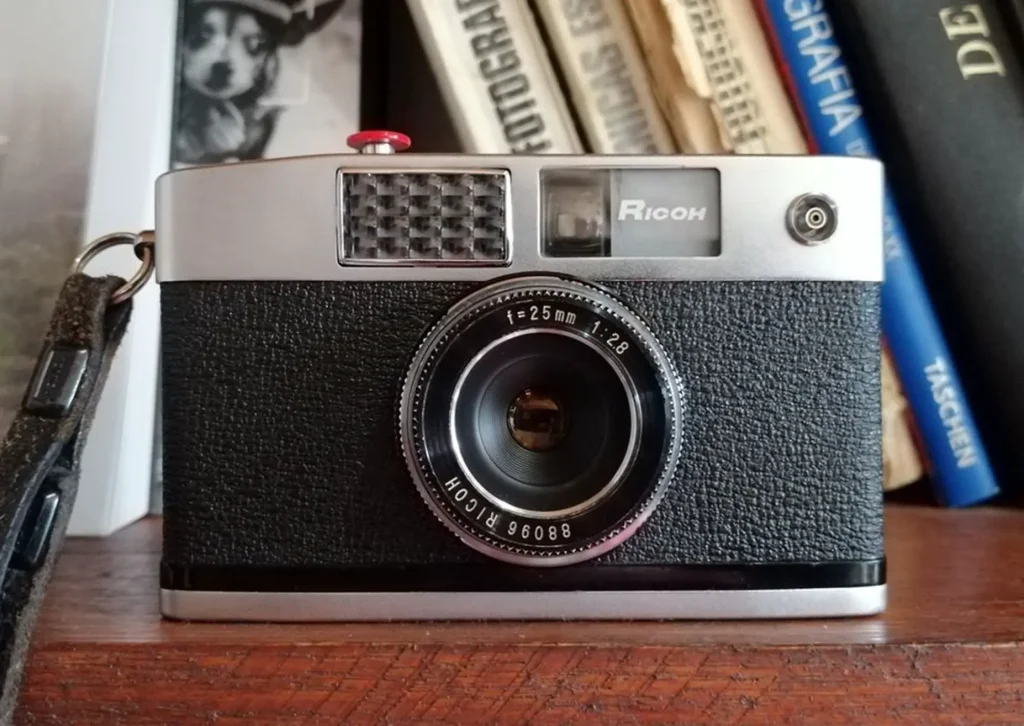
The Ricoh is a well-constructed camera with full manual control, a decoupled exposure meter, a relatively bright lens with maximum aperture f:2.8, and a focal length of 25mm (equivalent to 36mm wide angle in Full Frame).
The exposure
I have discovered the simplicity of exposure using old manual cameras, and the enormous excess of attention that the film camera industry has put on this subject. With this 60-year-old camera you only have to remember six simple settings to obtain correctly exposed negatives in any light situation.
Although the camera has a decoupled selenium exposure meter that works very well between EV 9 and EV 17 for iso 400, I have found that it is easier and faster to expose according to the old tables. Kodak Portra’s exposure latitude is so wide that any inaccuracies between -1 and +3 EV are automatically compensated.
The Ricoh Caddy incorporates the Light Values System (LVS), a fantastic development by Friedrich Deckel in the 1950s, which is perfectly implemented in this camera, enabling ultra-fast exposure settings. Here it is important to note that the Exposure Values should not be associated with a particular lighting condition. By themselves, they are only a combinations of aperture and speed values, only when associated with a certain iso, they take the sense of light conditions.
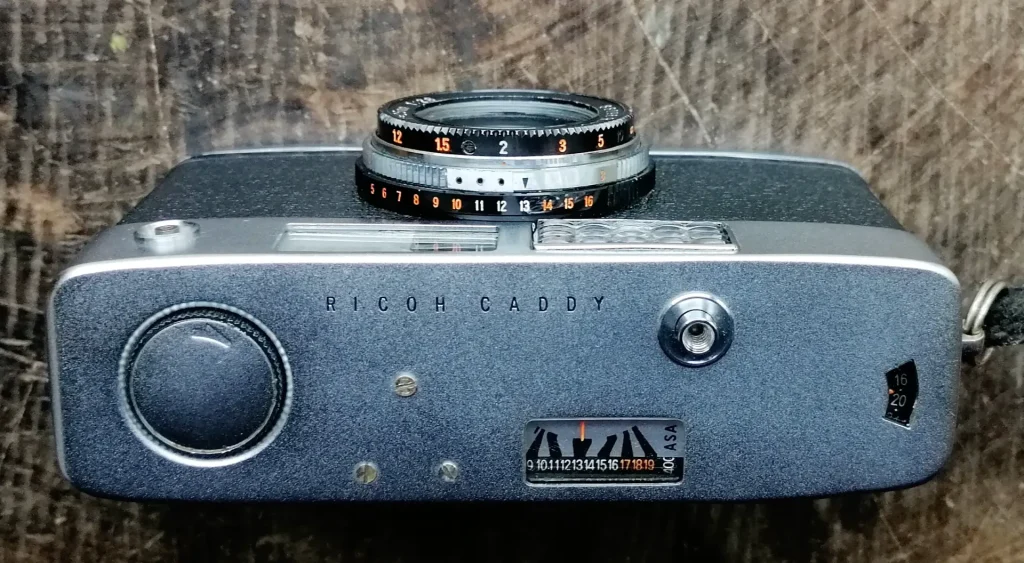
I decided to add three small black dots on the lens barrel, as a reference, to combine it with the application of the zone focus technique. So that when choosing an Exposure Value whit the small black triangle mark, I can also choose a combination of parameters that I know will determine a wide depth of field along with a fast shutter speed. As long as a white EV number is aligned with a black dot and the two-meter mark, I am sure everything will be in focus. These three black dots can also be used in the same way as the small black triangle mark, to expose for 800, 1600 and 3200 iso respectively.
The aperture and speed scales are at the bottom of the lens barrel.
This is the only table I use for exposure with 400 iso:
EV 16 OUTDOOR – SUN
EV 14 OUTDOOR – CLOUDS
EV 12 OUTDOOR – SHADOWS
EV 9 INTERIORS – BRIGHT NATURAL LIGHT
EV 7 INTERIORS – ARTIFICIAL LIGHT
EV 5 INTERIORS – CANDLES
Note: If in doubt between two values or the subject is dark, I use the lower one.
The focus
The marks on the focusing barrel indicate: 1m, 1.2m, 1.5m, 2m, 3m, 5m, 10m, inf. Here it is interesting to note that these distances correspond to a mathematical progression that depends on the formulas of depth of field. However, some manufacturers have preferred to vary or extend the scale after 3 meters, probably to facilitate further estimates. In this case, after 3m, the 6m and inf marks would go, but Ricoh has chosen to place the marks for 5m, 10m and inf. Precisely for this reason, it is not difficult to manage to use the zone focusing approach, even if we do not have a depth of field scale.
To focus outdoors between EV 12 and EV 17 I simply focus at 2m and choose an aperture of f:8 or smaller, this way anything beyond 1m will be in focus.
To focus indoors between EV 5 and EV 10, I always use the maximum aperture of f:2.8. In this case, the marks on the focusing barrel also become the marks that define the focus zones. If I focus at 1.5m, the depth of field will go from 1.2m to 2m and if I focus at 2m the depth of field will go from 1.5m to 3m.
Half frame – My experience
The camera was chosen specifically to meet the needs of a project I had been working on, however I believe that the impossibility of replacing exactly the functionality of the digital cameras I had used before, helped the purpose of renewing the project.
Now I have been shooting only with color film for almost a year and a half, and I can say that it has been a refreshing and exhausting experience. Shooting in color film is much more difficult. I really feel like I am just getting started. Anyone can press the shutter and take a color photo, but taking a good color photo has proved to be another story.
Even though I have already exposed 26 or 27 rolls, I am just scanning the fifth one. Letting the photos mature for a while is something interesting for the editing process, though it does come with the disadvantage of the work piling up.
The biggest change in the shooting process was being limited in the number of photos when working on the scene. In dynamic situations with moving people, it is very difficult to ensure a good photo with one shot. To confirm this you only need to look at Cartier Bresson’s contact sheets.
I think the camera was a good choice, although I still miss a faster lens or the ability to shoot at higher ISOs when it comes to working indoors. However, solving the limitations of analog photography is very comforting and not being aware of the camera’s screen, liberating.
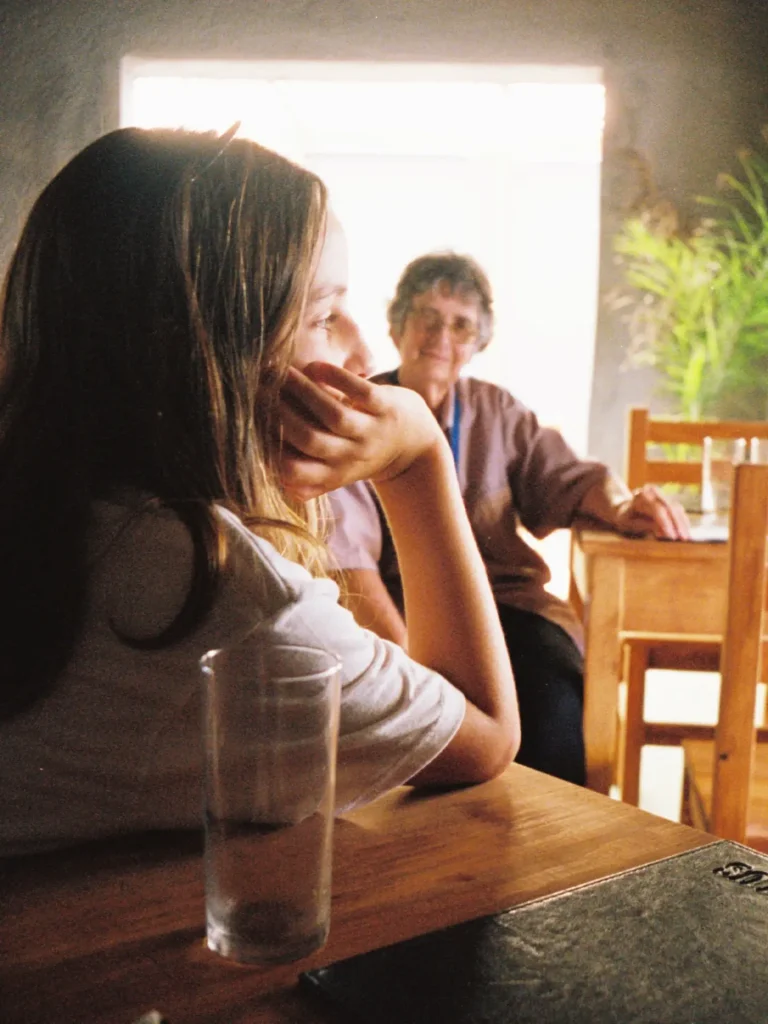
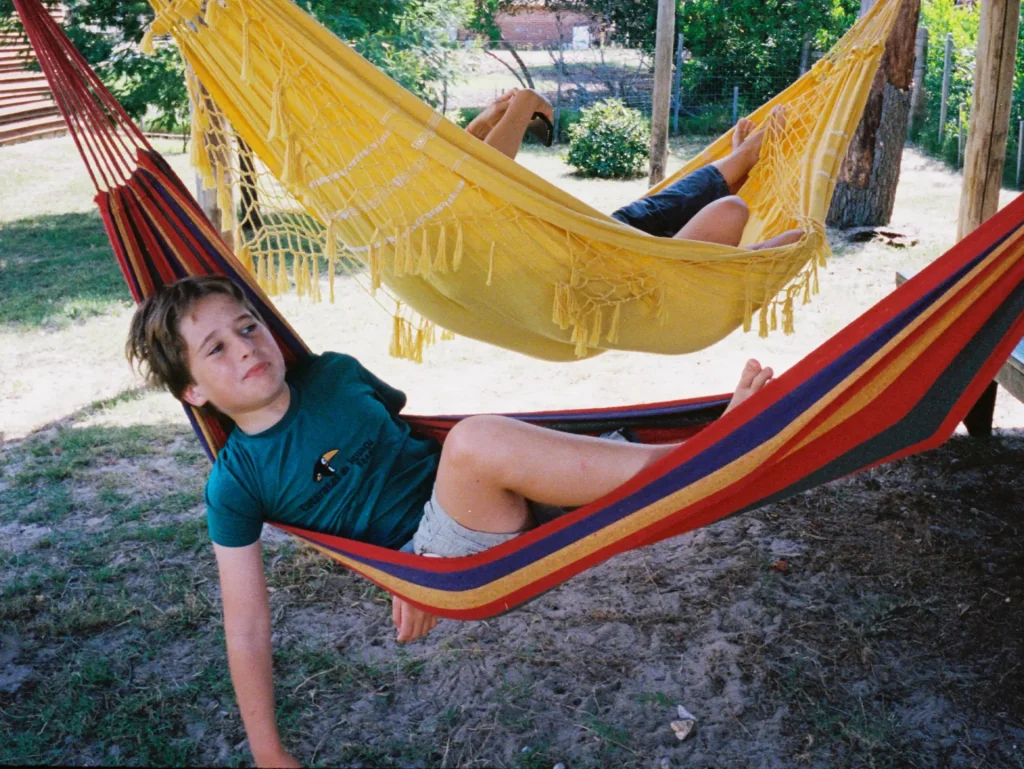
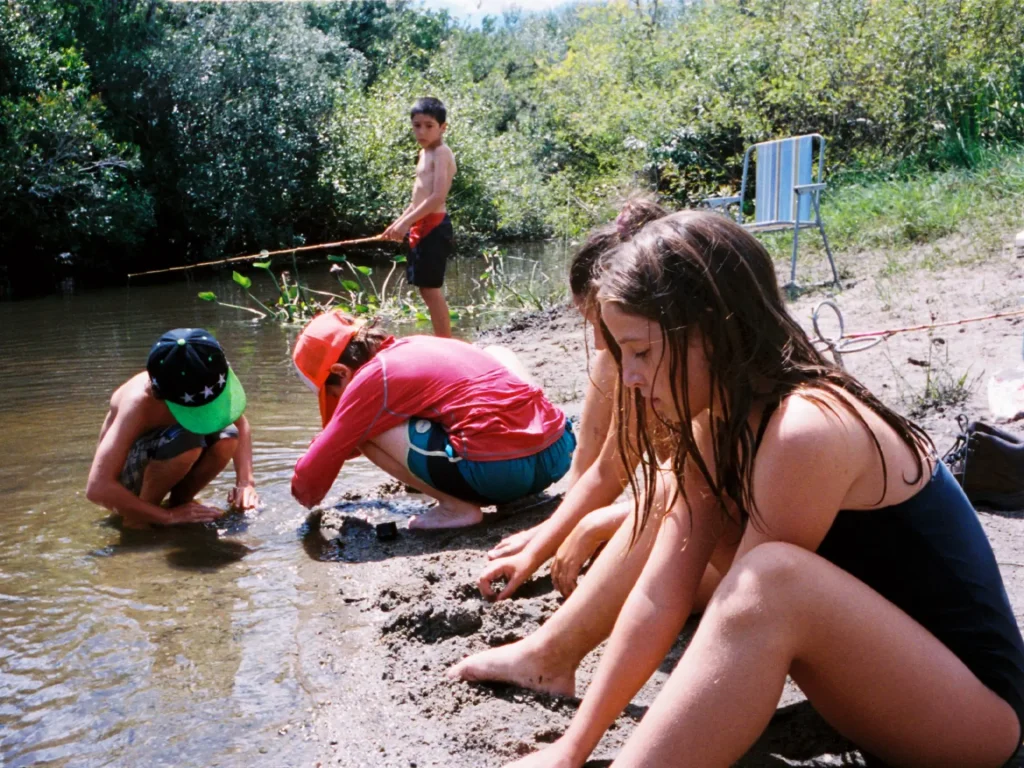
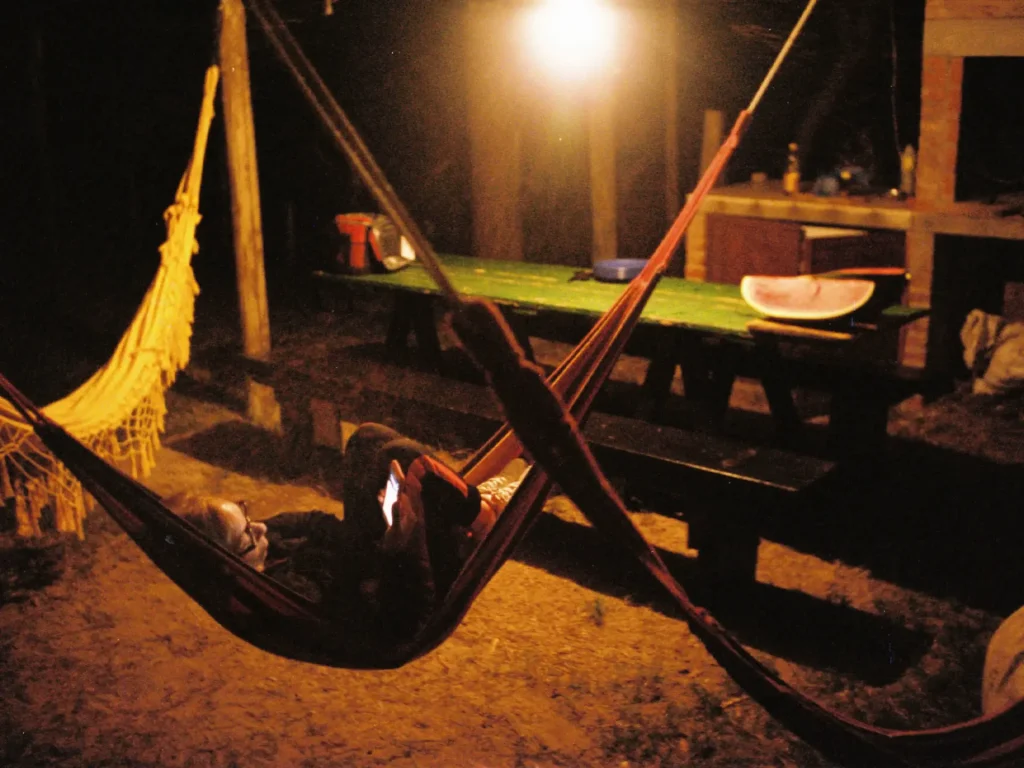
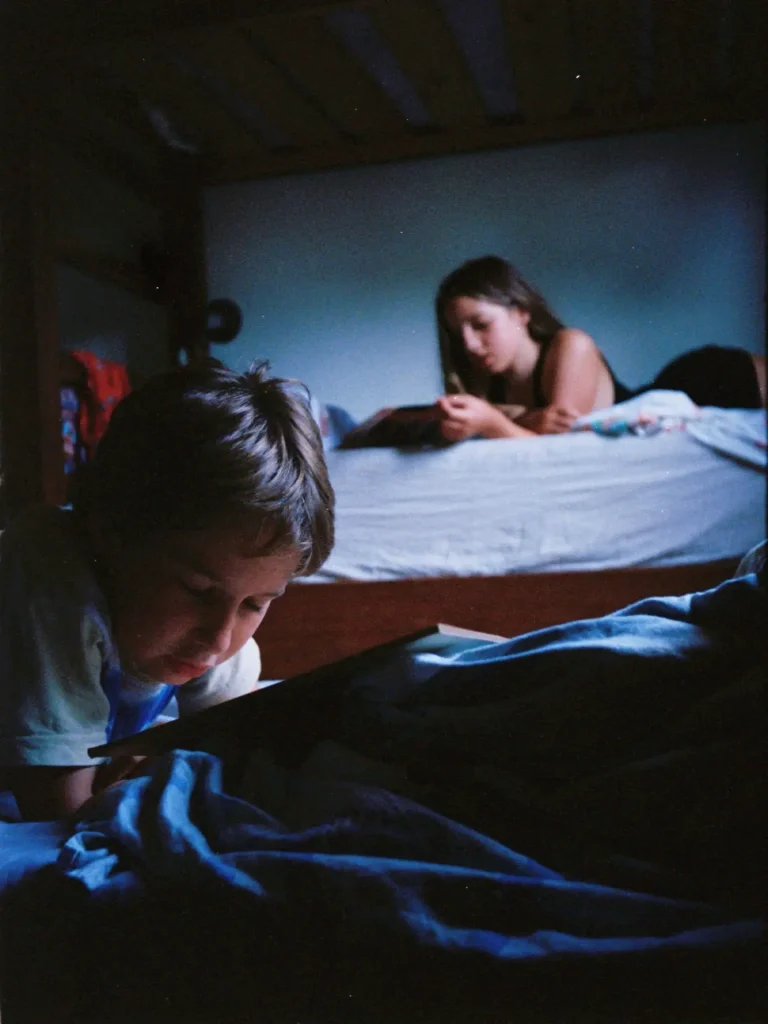
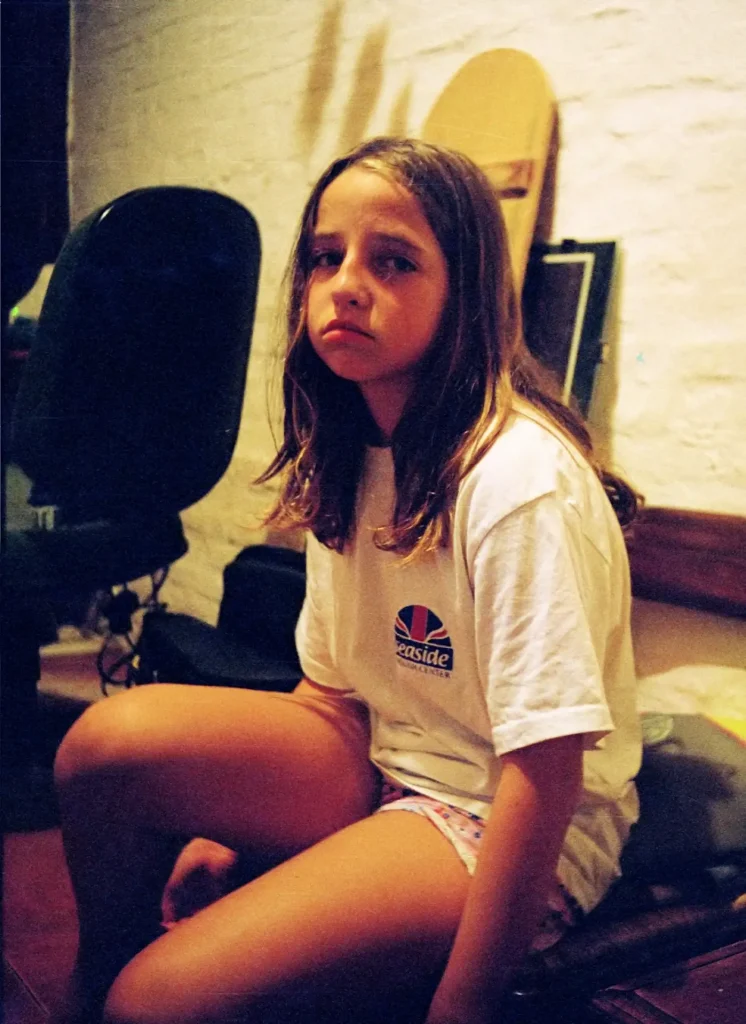
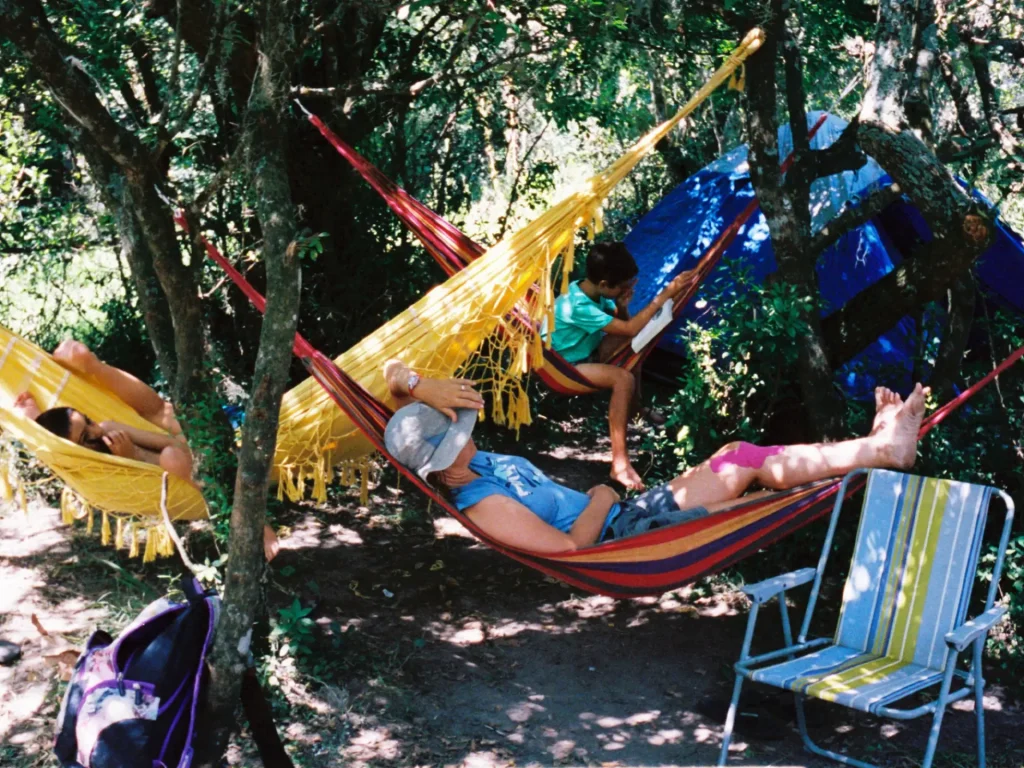
The way of approaching the subject has also changed quite a bit, now most of the time I still have to have the camera at eye level if I want a correct frame and I can not focus within one meter anymore. This has made the sense of the photos change completely, now my photos carry more distance and less dynamism, however the color and the cinematic texture give a nostalgic contribution that I think fits the subject matter well.
My results
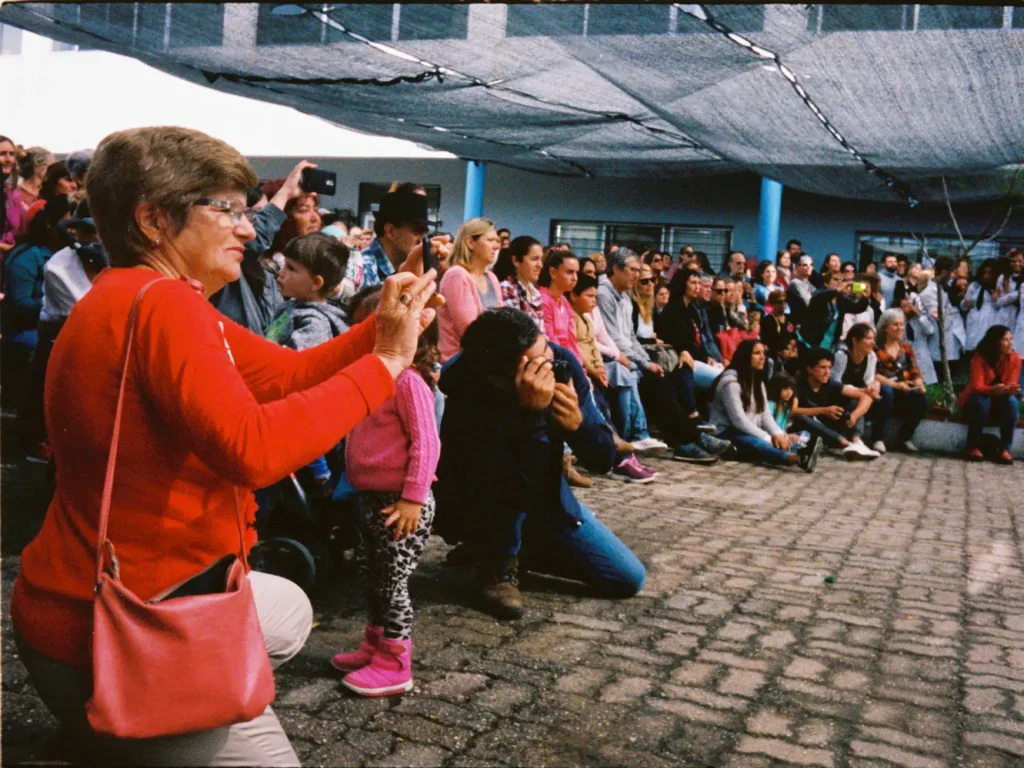
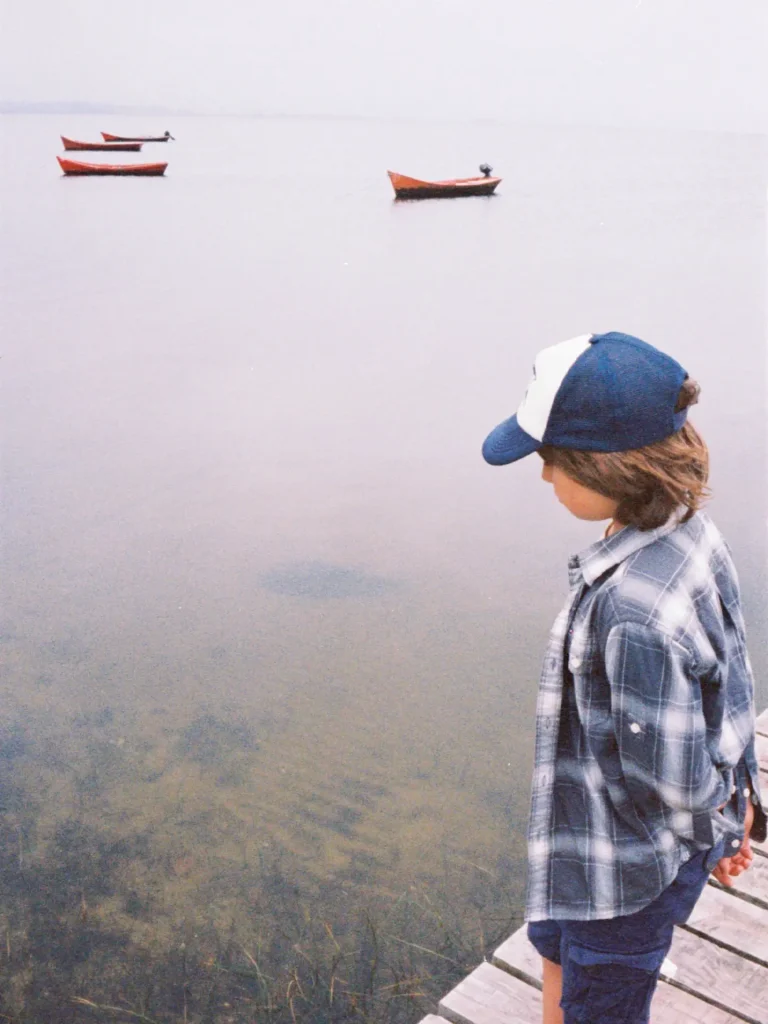
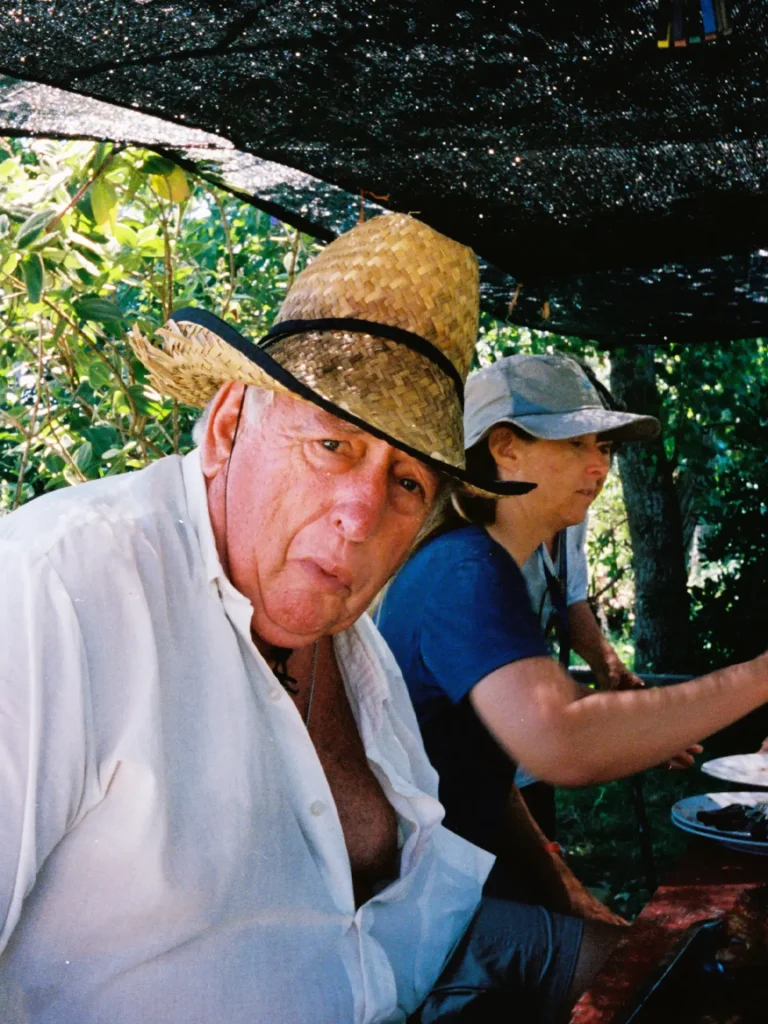
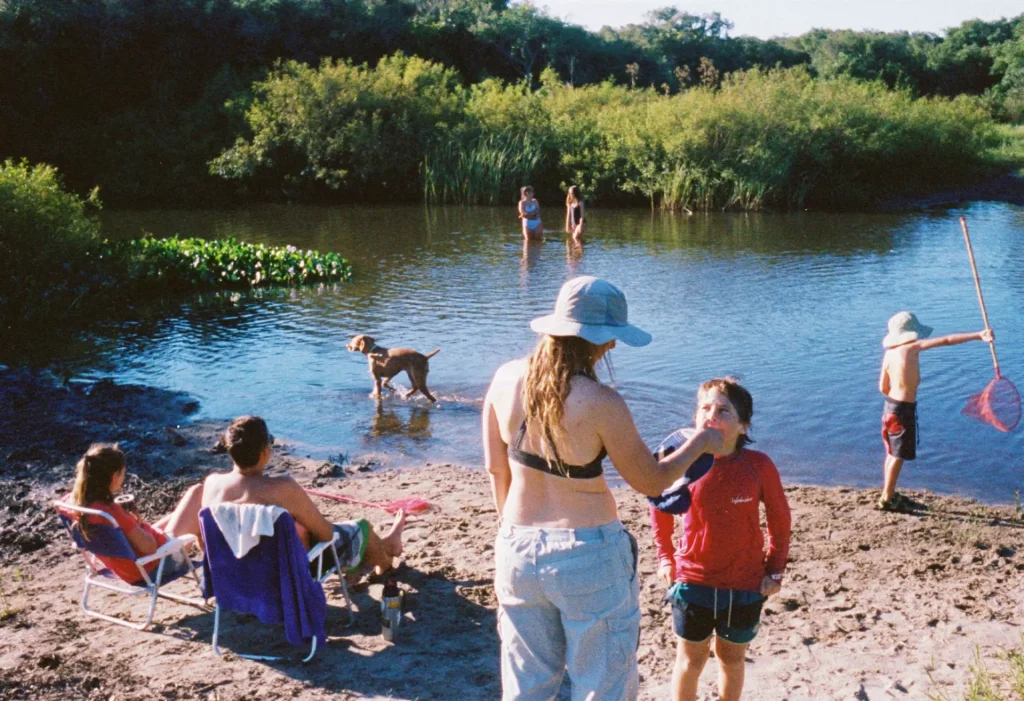
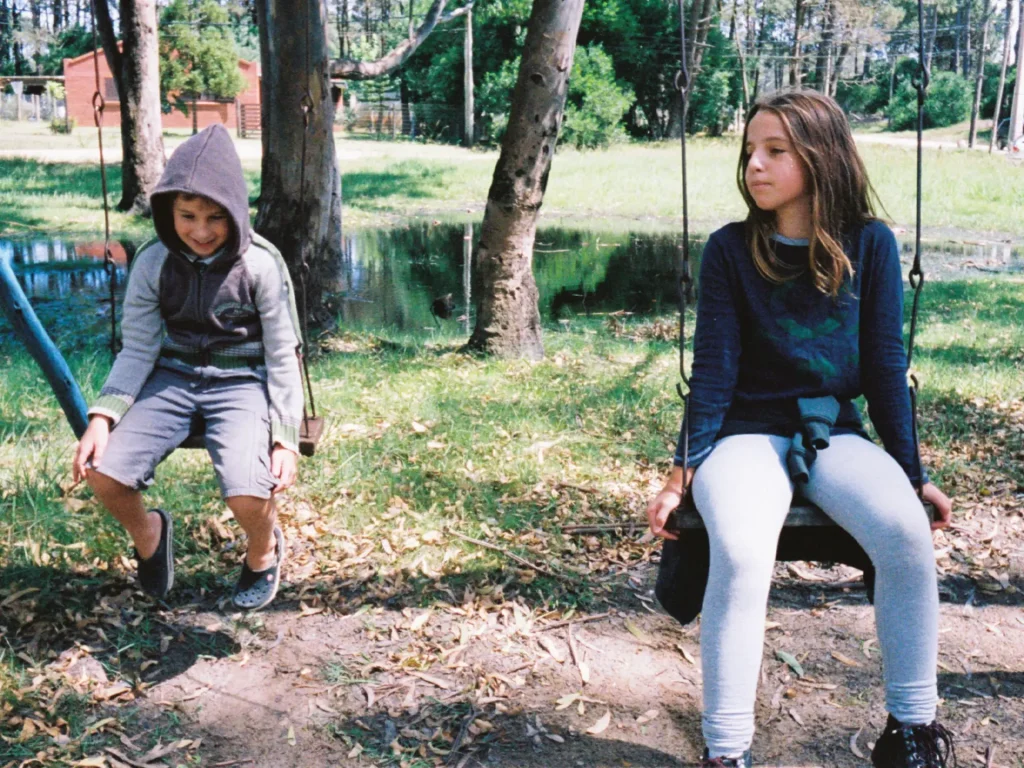
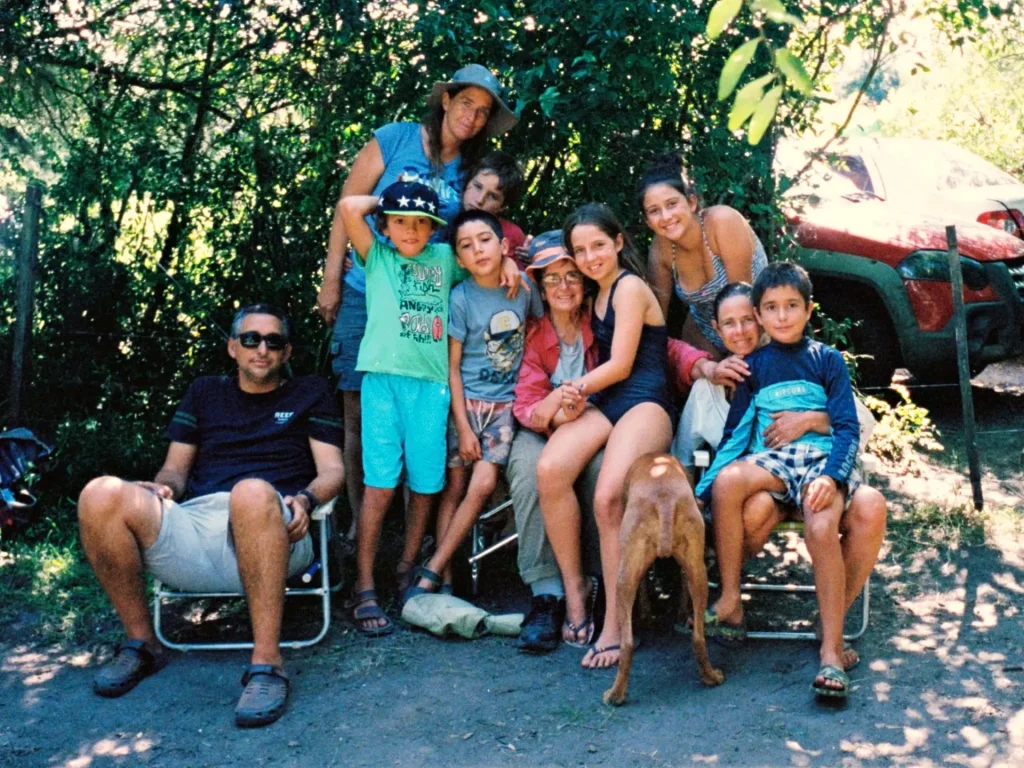
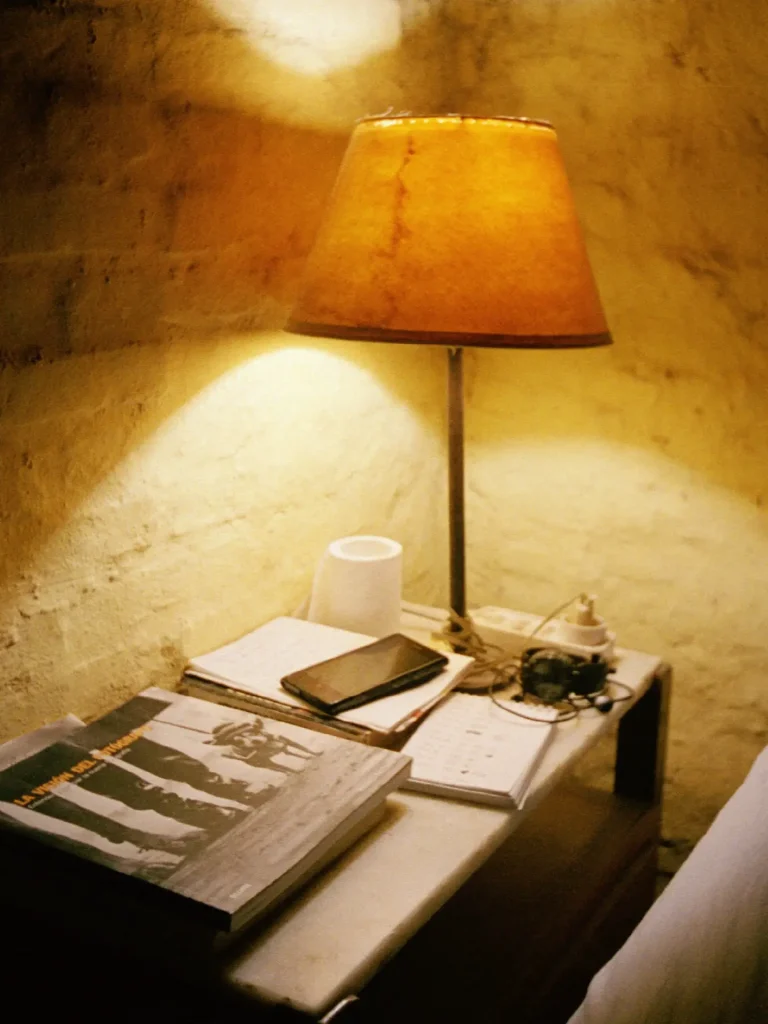
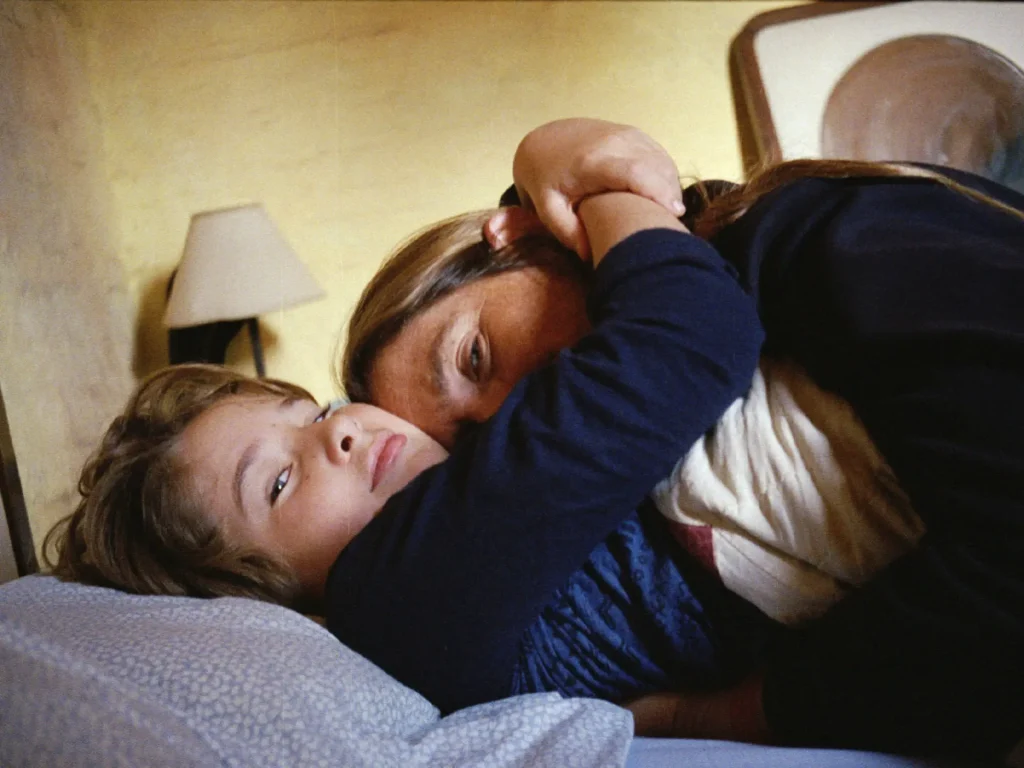
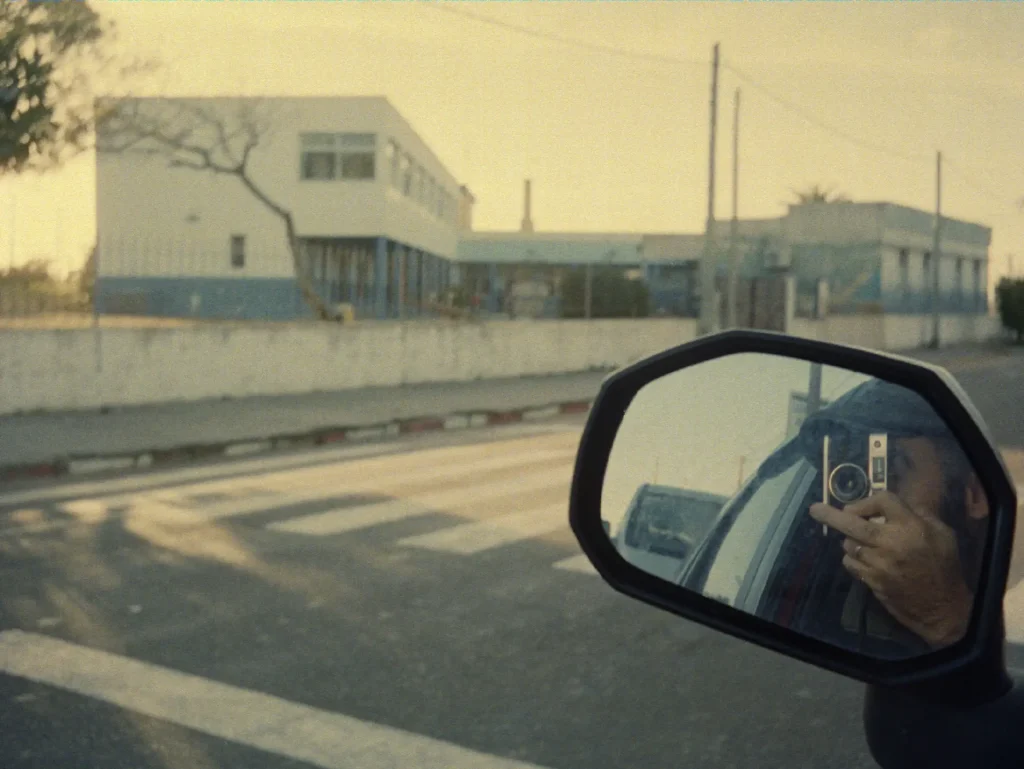
In my case using 400 ISO film is a must, so even with Kodak Portra 400 the grain is always part of the image. The resolution of a Half Frame negative is equivalent to about 10 megapixels, for some it will be enough, for others not – for me it is plenty for my purpose.
Conclusion
For now, I see promising results from Half Frame, I am just starting this new phase, but I think the change to color film can help me to give a new meaning to the project in this stage of my children adolescence.
Most of all, I feel like I am making homemade soup now, and when I get the picture I want, it feels good. The cost of analog photography and the instability of the market are unsolvable doubts, but as long as I can, I am going to take advantage of the opportunities I have to continue photographing with film.
Javier Martínez Delgue
https://www.instagram.com/javiermartinezdelgue/
https://www.socialdocumentary.net/photographer/javiermartinezdelgue
Share this post:




Comments
Ron on Evaluating and Choosing Half Frame – By Javier Martínez Delgue
Comment posted: 24/07/2020
Comment posted: 24/07/2020
Juna on Evaluating and Choosing Half Frame – By Javier Martínez Delgue
Comment posted: 24/07/2020
Comment posted: 24/07/2020
Comment posted: 24/07/2020
Marco C on Evaluating and Choosing Half Frame – By Javier Martínez Delgue
Comment posted: 24/07/2020
Comment posted: 24/07/2020
Andrew L on Evaluating and Choosing Half Frame – By Javier Martínez Delgue
Comment posted: 25/07/2020
Comment posted: 25/07/2020
Noel Roque on Evaluating and Choosing Half Frame – By Javier Martínez Delgue
Comment posted: 25/07/2020
Comment posted: 25/07/2020
Des McSweeney on Evaluating and Choosing Half Frame – By Javier Martínez Delgue
Comment posted: 25/07/2020
Comment posted: 25/07/2020
Adrian Cullen on Evaluating and Choosing Half Frame – By Javier Martínez Delgue
Comment posted: 25/07/2020
Comment posted: 25/07/2020
Graham Spinks on Evaluating and Choosing Half Frame – By Javier Martínez Delgue
Comment posted: 25/07/2020
Javier Martínez Delgue on Evaluating and Choosing Half Frame – By Javier Martínez Delgue
Comment posted: 28/07/2020
Mike Gayler on Evaluating and Choosing Half Frame – By Javier Martínez Delgue
Comment posted: 28/07/2020
I suspect a lot of the people who look down at half-frame look at the relative simplicity of the cameras first, and the results later.
I've got a few half-frame cameras in my collection (including a couple of 120 'half frame' cameras) - although sadly not a Ricoh Caddy - and they never fail to delight. They were certainly snapshot cameras for the family and the way you are using the Caddy continues this heritage.
Congratulate yourself!
Comment posted: 28/07/2020
Russell Young F.R.P.S. on Evaluating and Choosing Half Frame – By Javier Martínez Delgue
Comment posted: 29/07/2020
The assortment of images was broad and gives a full scope trial of its capabilities: near, far, incandescent, daylight, dim shadow, brilliant. A true wrininging out of the capabilities by a superb phtographer. The human interest and emotional capacit of the images are an added bonus.
I had a Pen F many decades ago but with Tri-X and HC-110, it wasn't useful. Your reviw ahs caused me to competely reconsider this format with new film technologies. I've owned a Canon Demi EE17 for some time but never used it because my Rollei 35SE was both smaller and full-frame. But not that you've shown me the virtues of half-frame with modern film, I will load it up and go shooting.
Thanks for the time and care you put into crafting your review.
Comment posted: 29/07/2020