Metering for Film vs. Digital
Shooting film is a challenging process for many new photographers, especially those used to the instant feedback of digital cameras. Film, however, is a bit more mysterious. The complete lack of feedback from film, plus multiple film stocks (which all respond differently to light) adds to the complexity. Properly exposing color or black and white negative films requires a metering technique that is the opposite of exposing for a positive image. Permit me to explain.
Your camera’s built-in reflective light meter is very accurate. It evaluates the light reflecting from the entire scene, back toward the camera. This metering process is fine for digital, where our goal is avoiding overexposure (blown-out highlights). Your film camera’s matrix or evaluative meter is also an excellent tool for exposing transparency film (which is a positive image). Again, as with pixels, the goal is to avoid any overexposure.
Exposing for Negative Film
Properly exposing negative film requires a completely opposite approach. Whilst negative film has tremendous latitude, proper exposure is still important for consistent results. Rather than using a meter that evaluates the amount of light reflecting from the subject, we can benefit from a meter that can measure the amount of light falling upon our subject. We want to allow enough light to pass through the aperture and shutter of our camera to properly expose for highlights, mid-tones, and shadows. This allows film density to build and prevents underexposure. Failure to allow enough light to reach the film can result in muddy, underexposed negatives and poor quality prints.
The Problem with Reflected Light Meters
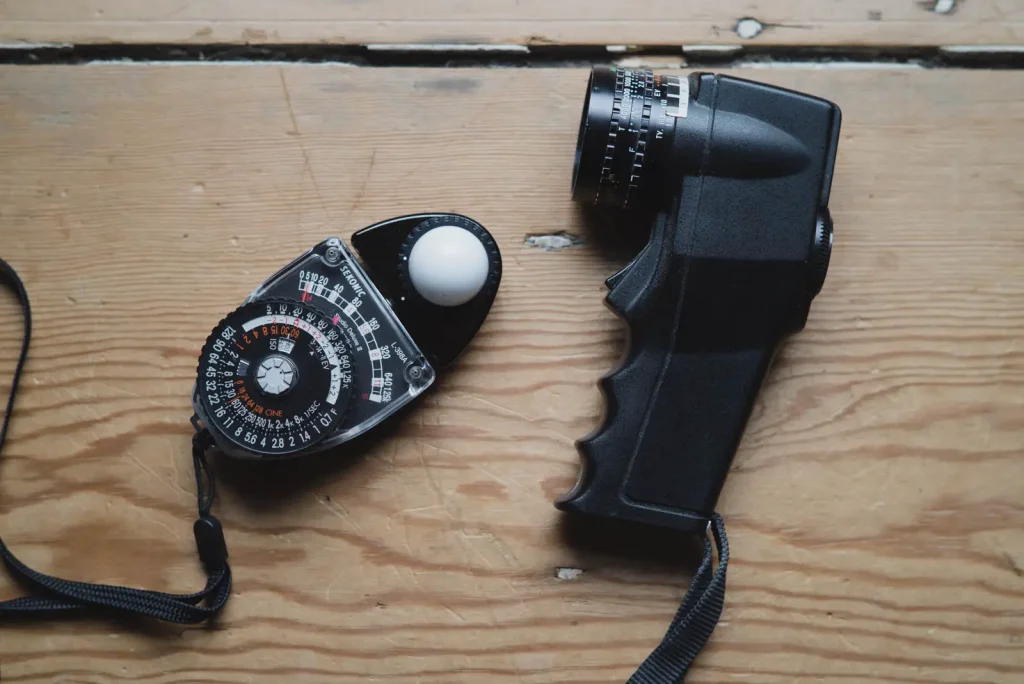
Light meters come in many forms, the two most important types being reflected and incident. The reflected light meter reads the amount of light bouncing off of your subject. They can be in-camera or handheld. These meters “see” very broadly or very narrowly. Terms like “center-weighted” or “spot meter” help you understand the pattern or angle a reflected meter accepts. However, a handheld meter is similar to your in-camera meter, in that it has no idea what it is being pointed at, but bases its analysis on returning 18% or a middle grey-based exposure.
Therefore, the photographer must always interpret the reading given by a reflected meter based on what is actually in the picture. Is your subject a bride in front of a wedding cake on a table draped with a white cloth? Or is your subject a coal worker, fresh out of the mine, against a dark brick wall? Neither of these subjects is average, and would easily fool an in-camera or reflected handheld meter, causing gross under or overexposure respectively.

The Beauty of the Incident Light Meter
An incident meter reads the amount of light falling upon the subject. Therefore they are much harder to fool. They may be outfitted with a half-dome spherical sensor or a flat disk. In practice, the dome is more useful for taking general readings of three-dimensional subject matter, like a face. The flat disk is more useful for flat copy work or by more experienced users for analyzing lighting ratios when using artificial lights. For live subject matter, lit by ambient light, a single reading, with the dome facing the camera, will give an accurate reading. Due to the latitude of negative film, there is usually enough exposure with this general reading to develop good film density in shadow areas.
Metering Technique
So, how do we use an incident light meter? For portraiture, the meter is usually held under the subject’s chin. This will yield an average 18% reading, regardless of the subject. Is your subject backlit or in an abnormally bright location like a ski slope or beach? No problem. The dome of your meter is reading the amount of light falling upon the face of your subject. Simply transfer the reading to your camera and shoot away. Be careful not to shade the subject with your body to unduly influence the reading.
Rating Film vs. Box Speed
Have you ever wondered what people are talking about when they say they “rate” their film? In a nutshell, they are using experience to compensate for various factors, often when using a reflected light meter. With a correctly used incident meter, this practice can largely be avoided. The film speed or ISO rating of your film is very scientifically determined by the manufacturer, so by exposing it correctly, its box speed should yield good, consistent results.
Many factors contribute to the density of your negatives. Rating your film at a speed fractionally slower than box speed (setting your meter for 200 ISO, vs. box speed of 400) takes further advantage of the latitude of negative film and can, therefore, give a bit of a buffer to help reduce the chance of underexposed areas of a negative.

Judging Exposure
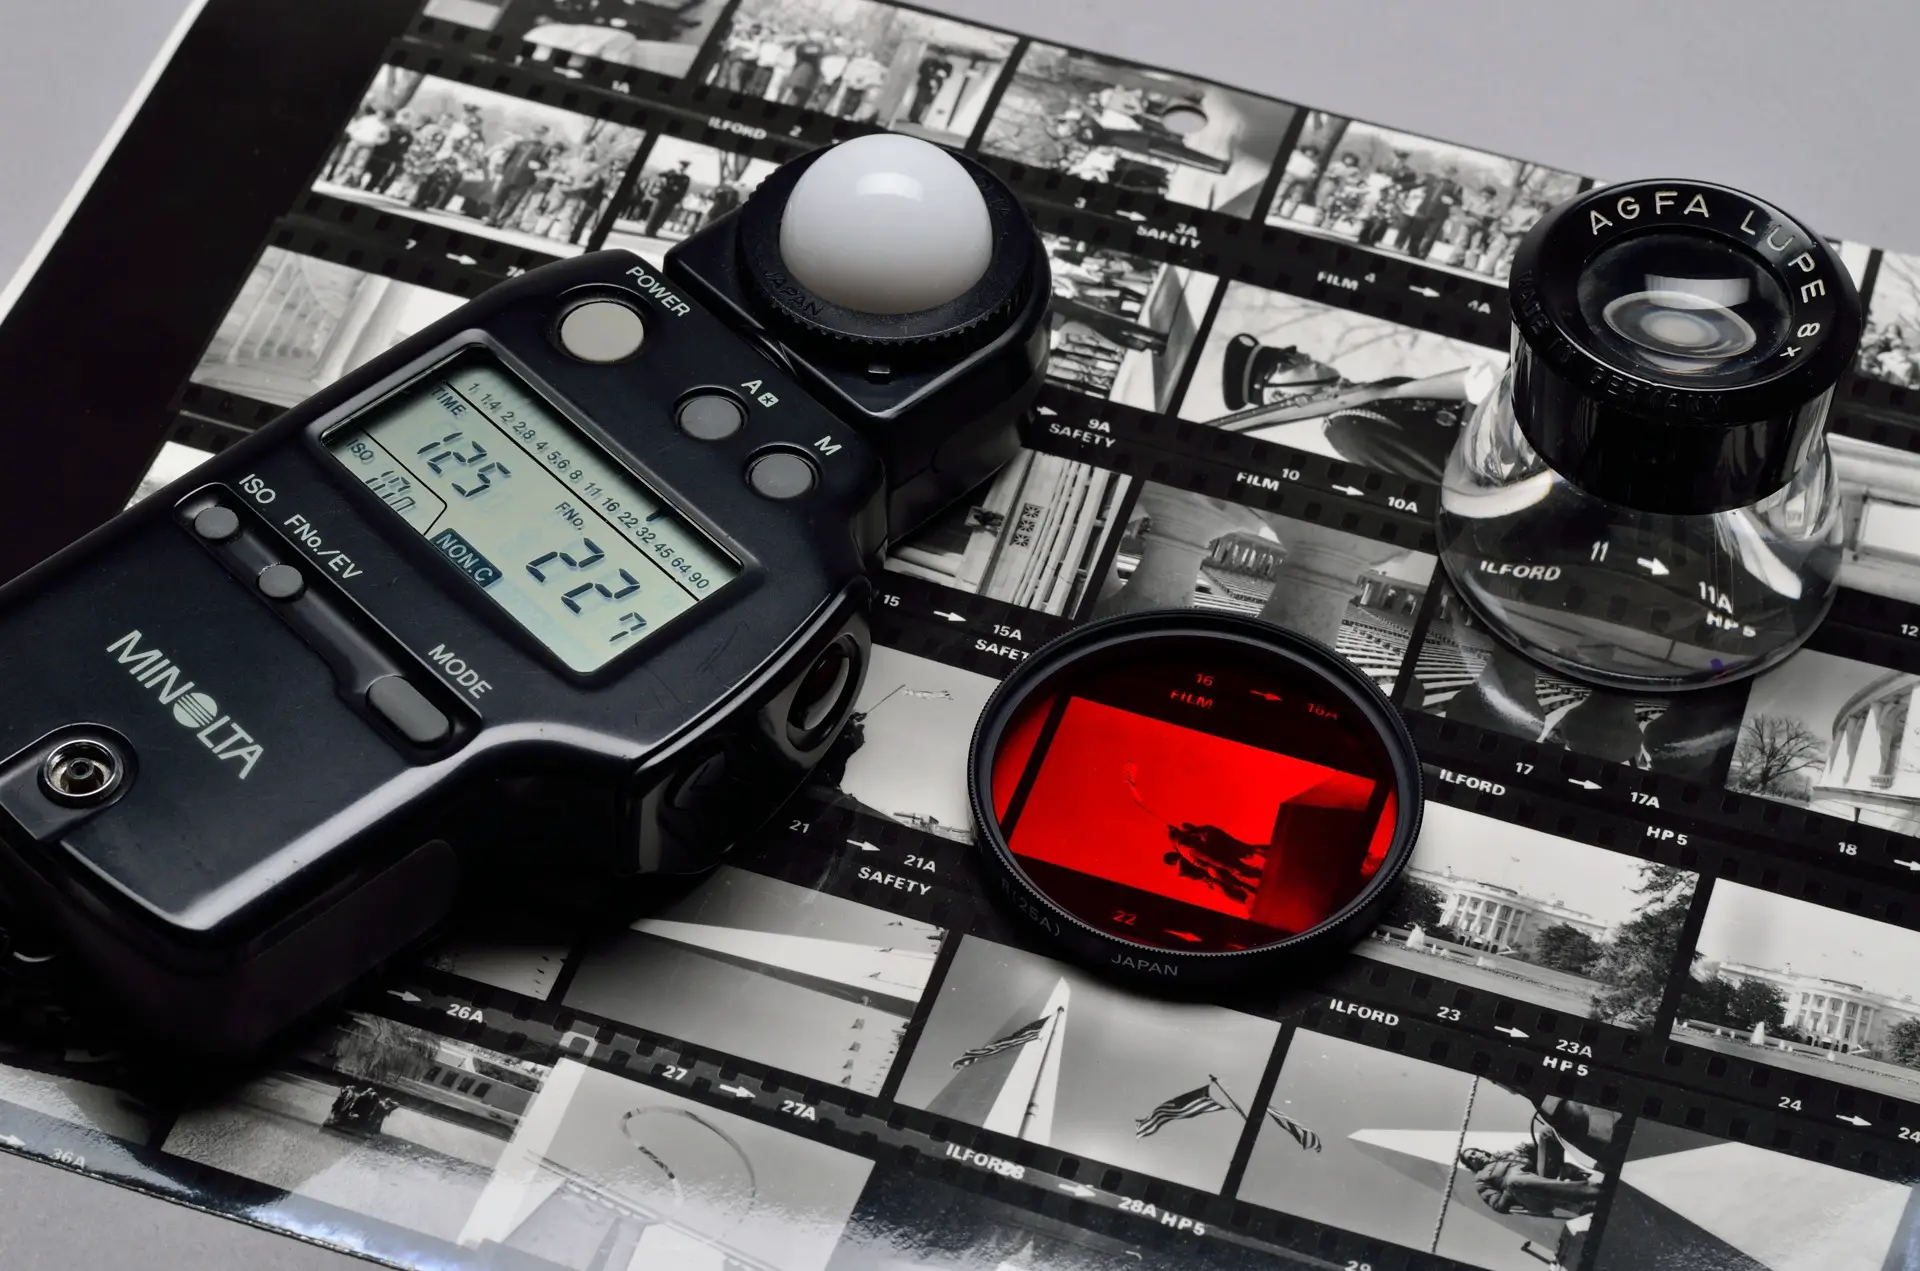
In the past, judging film exposure was fairly straight forward. When a contact sheet was made (example pictured at top), one could readily see whether the film density was consistent. In later years, commercial laboratories included back-printing on paper proofs which included film density. This made it easy for photographers to judge the quality of the decisions we made at the time of exposure (albeit after the fact).
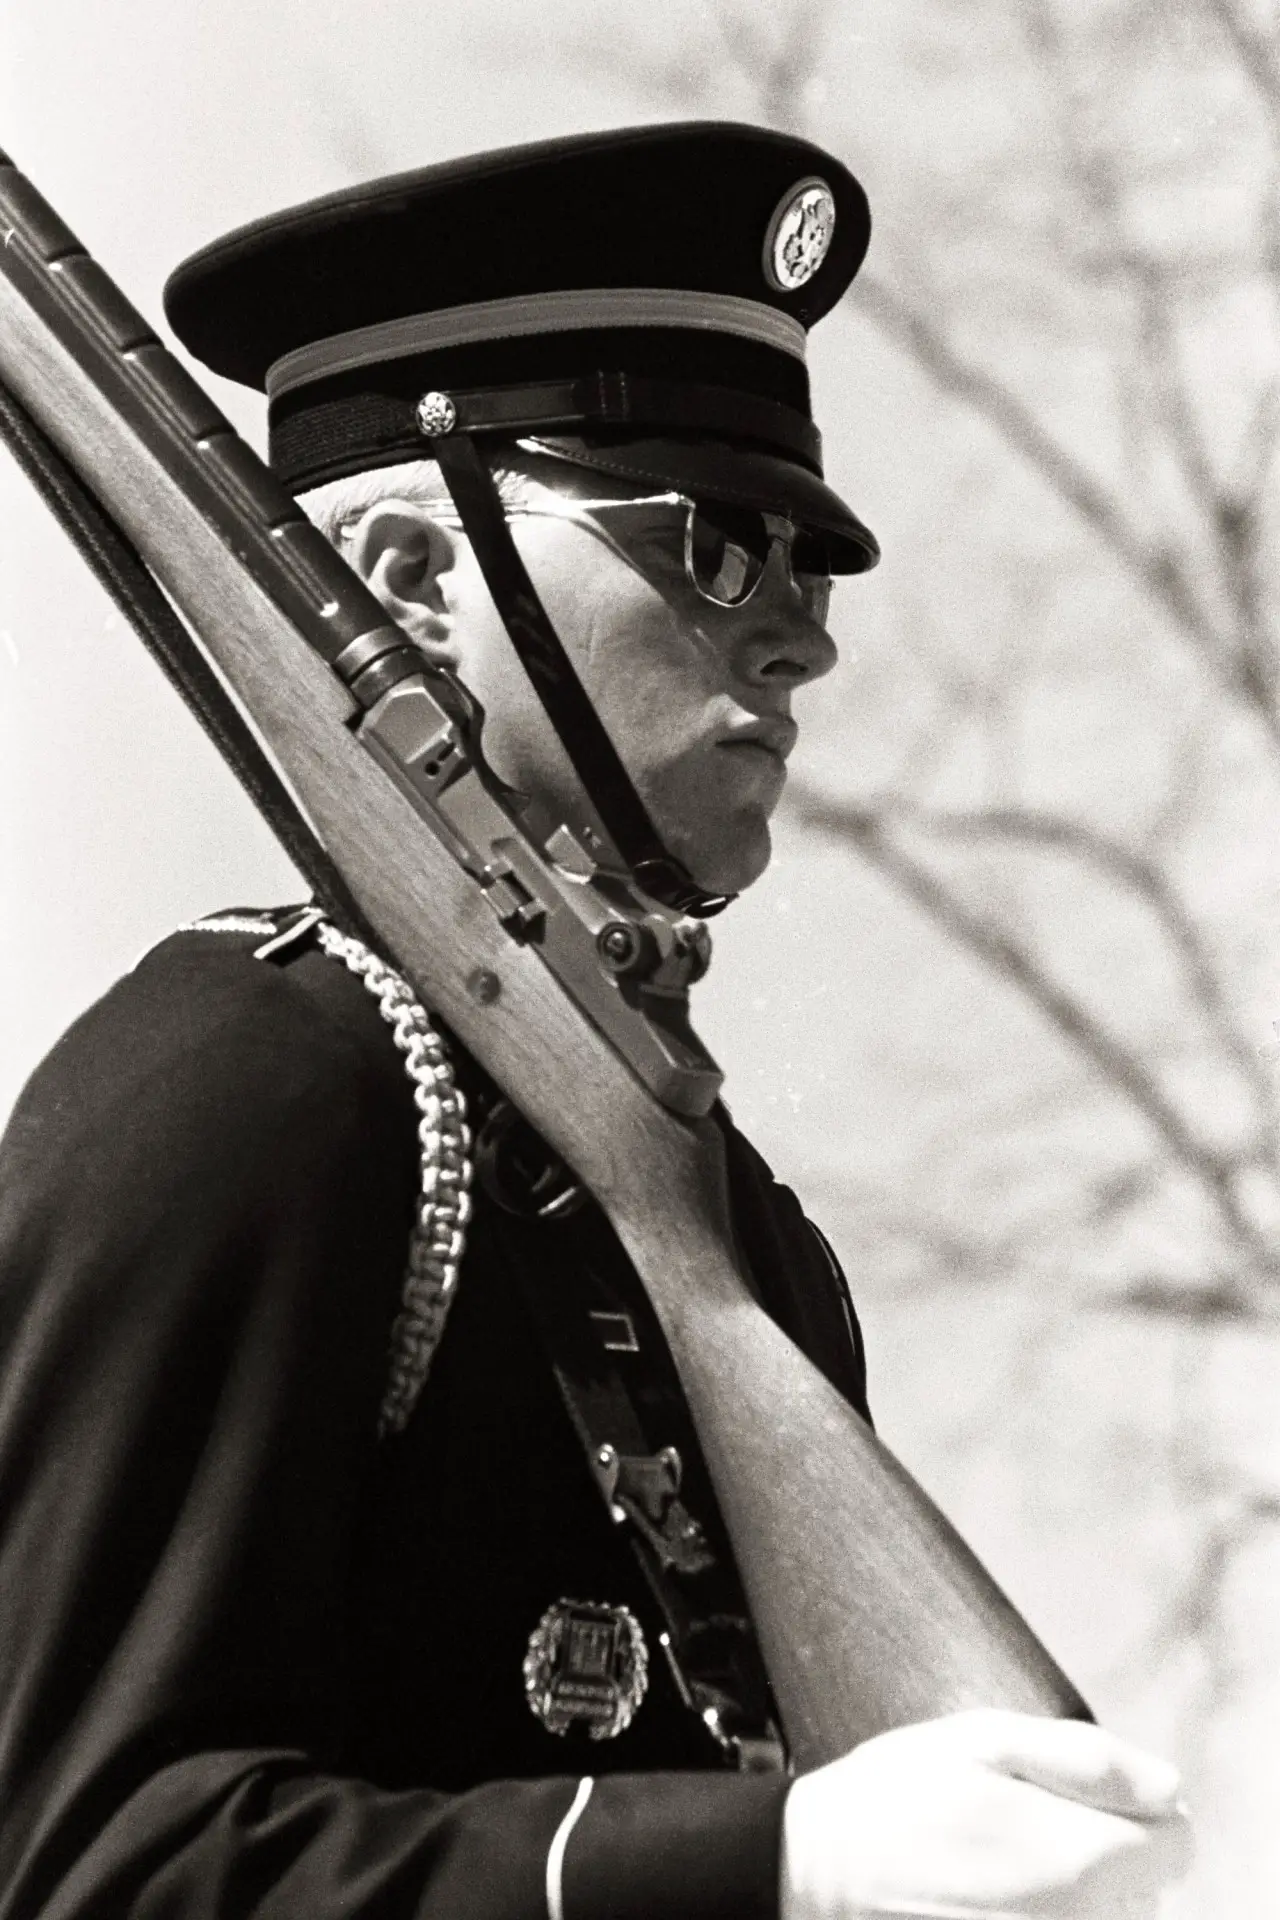
Today, most of us rely on commercial scanning to produce positive film images. We often have no idea how much adjusting was done to create our scans. This can make it difficult to learn from our mistakes and create more satisfying film images. The image above (frame 10 of the above contact sheet) was scanned recently on my Pakon F135 Plus. Interestingly this is from a shoot in 1978. Upon examination, we can see that enough exposure was given to this soldier to develop shadow density and result in very satisfying black tones.
If you have your negatives scanned and would like to check your exposure, you can check the density of your negatives by holding them up to an even light source. The dense, dark areas of your negative, have received greater exposure, whereas the thin, almost transparent negatives have received less exposure. If across relatively similarly lit scenes you see an obvious variation in negative density, you might want to hone your metering technique to obtain more consistent exposure from one frame to the next.
My suggestion? Buy a proper incident light meter. You should find your exposures nice and consistent, which will lead to increased enjoyment for shooting film. Now go out there and shoot some film!
Share this post:


Comments
Hamish Gill on Metering for Film, Understanding the Basics of Exposure – By JK Lockwood
Comment posted: 26/03/2016
(I also appreciate you letting me stick my oar in!)
Frank Lehnen on Metering for Film, Understanding the Basics of Exposure – By JK Lockwood
Comment posted: 26/03/2016
What about the Lumu light meter device for the iPhone? Any good?
I hate lugging around too much stuff and that small device might be ideal as the phone is my permanent companion.
Logs the measurements too for later reference....
Comment posted: 26/03/2016
Frank Lehnen on Metering for Film, Understanding the Basics of Exposure – By JK Lockwood
Comment posted: 26/03/2016
Is it worth it?
Comment posted: 26/03/2016
Aukje on Metering for Film, Understanding the Basics of Exposure – By JK Lockwood
Comment posted: 26/03/2016
Comment posted: 26/03/2016
Comment posted: 26/03/2016
Comment posted: 26/03/2016
Comment posted: 26/03/2016
Comment posted: 26/03/2016
Comment posted: 26/03/2016
Hamish Gill on Metering for Film, Understanding the Basics of Exposure – By JK Lockwood
Comment posted: 26/03/2016
Let me see if I can break it down a bit further. In very basic terms white things reflect more light than black things.
Shine a torch on a white piece of paper and it will glow with the light. Shine the same torch on a black bit of paper and it won't reflect near as much light.
When you point a reflected light meter at either black or white paper the meter doesn't know it's looking at black or white, it just understands the level of light being reflected.
It is by its nature a dumb thing. It's only goal is to create an average. White is not average, nor is black. Grey is the average.
The result of this is that when the white paper reflects more light it fools the meter. The meter wants everything to be grey/average so it recommends a lower exposure to compensate for this extra light reflected of the white paper. As such it will effectively underexpose the white paper and make it go grey in the resulting photo.
The opposite happens with black paper. It doesn't reflect much light, but since the meter still wants a grey/average outcome it will recommend a higher exposure to compensate. As such it will effectively overexpose the black paper and make it go grey in the resulting photo.
In summary, the reflected meter will make both black and white paper expose to a grey. This grey is known as middle grey, or 18% grey. This is the average that all meters are set to give readings to create.
The incident meter is no different it still wants an average. The difference is that it is pointed at the light, not the paper. It only sees the light and therefore isn't impacted in anyway by the subject. It just wants to make a grey/average from the light falling on to it.
The result of this is that by using the settings it provides the black paper would look black and the white paper will look white.
I'm not sure that's any clearer...?
Comment posted: 26/03/2016
Comment posted: 26/03/2016
Comment posted: 26/03/2016
Comment posted: 26/03/2016
Comment posted: 26/03/2016
Comment posted: 26/03/2016
John Lockwood on Metering for Film, Understanding the Basics of Exposure – By JK Lockwood
Comment posted: 26/03/2016
Comment posted: 26/03/2016
Comment posted: 26/03/2016
Comment posted: 26/03/2016
Comment posted: 26/03/2016
Tony on Metering for Film, Understanding the Basics of Exposure – By JK Lockwood
Comment posted: 26/03/2016
Great article, John!
It may not be obvious, but the "Sunny 16" rule uses your eye as an incident light meter. You judge the lighting on a descriptive scale: sunny (f/16), hazy sun (f/11), overcast (f/8), heavy overcast (f/5.6), open shade or sunset (f/4). As always, you have to use your judgement, for example in early morning or late afternoon, "sunny" is not the same as "sunny" at noon. "Sunny" in December is not the same as "sunny" in June unless you live near the equator. I've read that in northern Europe, the rule is Sunny 11. Where I live, we're at 45 degrees north of the equator (about the same as southern France), so I use Sunny 16 and find it works well.
I fully agree with John that an incident light meter is a very useful tool. I find my Sekonic L-478 essential still for assessing indoor lighting with is more like f/1.4 - f/ 2.8 when using a shutter speed that is 1/ISO of the film. Practicing guessing the light and confirming your guess with a light meter is a great exercise for any film photographer.
John Lockwood on Metering for Film, Understanding the Basics of Exposure – By JK Lockwood
Comment posted: 27/03/2016
Yes, estimation is a legitimate way to set exposure with film. My main point is that an incident meter is the best tool for beginners as it removes reflectivity from the equation.
JK Lockwood on Metering for Film, Understanding the Basics of Exposure – By JK Lockwood
Comment posted: 28/03/2016
Elias Rangel on Metering for Film, Understanding the Basics of Exposure – By JK Lockwood
Comment posted: 28/03/2016
Comment posted: 28/03/2016
Comment posted: 28/03/2016
Rollbahn on Metering for Film, Understanding the Basics of Exposure – By JK Lockwood
Comment posted: 30/03/2016
I have the Lumu but the issue is that you ahve to unlock your phone to use it so by the time you ahve mucked around with all that, the Sekonic is out of your pocket and has given you a reading.
If I am doing an afternoon photo walk I just take a reading at say f8 and might get 1/500 or 1000th and then set the camera to that for the rest of the afternoon if the light stays the same. No more backlight throwing off the camera meter, you just point, focus and shoot.
Great thing about the Sekonic is it does flash readings too - great for testing out things before actually taking a picture. It triggers itself when it picks up the flash going off. It has really helped me with figuring out what to do with bounce flash especially.
Comment posted: 30/03/2016
buetts on Metering for Film, Understanding the Basics of Exposure – By JK Lockwood
Comment posted: 05/04/2016
Noel on Metering for Film, Understanding the Basics of Exposure – By JK Lockwood
Comment posted: 06/04/2016
Comment posted: 06/04/2016
Comment posted: 06/04/2016
Comment posted: 06/04/2016
Comment posted: 06/04/2016
Greg on Metering for Film, Understanding the Basics of Exposure – By JK Lockwood
Comment posted: 06/04/2016
Greg on Metering for Film, Understanding the Basics of Exposure – By JK Lockwood
Comment posted: 06/04/2016
JK Lockwood on Metering for Film, Understanding the Basics of Exposure – By JK Lockwood
Comment posted: 07/04/2016
Steve Wales on Metering for Film, Understanding the Basics of Exposure – By JK Lockwood
Comment posted: 08/10/2017
I'm not sure if I'm confused, but I'm surprised to learn that incident light meters are designed to protect the highlights, as stated by Terry B. Because of this, I think he's saying the incident meter should be overridden to prevent shadows from being under-exposed, eg by using an EI of 200 instead of a box speed 400.
My understanding is that light meters designed for photography are calibrated for 18% reflectance, and in the case of an incident meter to recommend an exposure that will be correct for average grey scene. Now if I want to correctly expose the skin of a black person, for example, would it be correct to take an incident reading pointing the meter to the camera and set the value, or should I override the incident reading by under exposing by 1 1/2 stops or 2 stops so the film correctly renders the dark skin? And where does the EI override compared to box speed, mentioned above, fit with this, ie incident light meters being designed to protect highlights for the benefit of reversal cinematography?
Comment posted: 08/10/2017
Toby Van de Velde on Metering for Film, Understanding the Basics of Exposure – By JK Lockwood
Comment posted: 08/10/2017
I have not pointed it at myself when metering but feel the next few exposures I will, to have a practical idea of where this is going.
Thanks for the article....
Steve Wales on Metering for Film, Understanding the Basics of Exposure – By JK Lockwood
Comment posted: 09/10/2017
I must say light is a tricky business, and part of the problem is reading the web and getting mis-information.
Thanks again.
Comment posted: 09/10/2017
Steve Wales on Metering for Film, Understanding the Basics of Exposure – By JK Lockwood
Comment posted: 09/10/2017
To use a spot meter, or more generally a reflective light meter, in practice all you need are four fingers and a thumb as a guide. The middle finger represents the Normal exposure for middle grey as guided by the light meter, the ring finger and little finger represent -1 and -2 stops respectively, and the index finger and thumb 1 and 2 respectively. So if you point the spot meter at a black cat, say, and expose for 'Normal' you will end up with an image of a grey cat. Whilst the zone system goes way beyond the /- 2 stops of normal, in practice -2 stops from normal (your little finger) will produce an acceptable black cat. Similarly for a white wedding dress, a Normal setting will render a grey wedding dress, but 2 stops (the thumb) will produce a very acceptable white dress.
Now when it comes to incident metering, if you measure the light falling on your subject or scene and transfer this to the camera, say a woman wearing a white wedding dress holding a black cat, following the arguments previously presented, both tones will be rendered correctly if the incident reading is transferred to the camera. My daughter is getting married next year, I'll have to try this. :)
Comment posted: 09/10/2017
Steve Wales on Metering for Film, Understanding the Basics of Exposure – By JK Lockwood
Comment posted: 13/10/2017
Comment posted: 13/10/2017
Toby Madrigal on Metering for Film, Understanding the Basics of Exposure – By JK Lockwood
Comment posted: 31/01/2018
I began using my Weston again recently after purchasing a Leicaflex SL with a dud meter for a bargain price. Of course, had the meter been working, the only cells available now are 1.5 volts and it needs 1.35 volts for the meter to work properly. So, after using a Nikon F2 Photomic with a good meter for a few years, I've dug the Weston and Invercone out of the sideboard drawer.
Yes, people stare and probably think: "what's he doing?" But it would not have seemed odd in the 1950s.
Comment posted: 31/01/2018
RicD on Metering for Film, Understanding the Basics of Exposure – By JK Lockwood
Comment posted: 20/08/2018
1. Purchase three foam core boards, white gray black.
2. Place all three in the same light.
3. Use either aperture priority or shutter priority, the point the camera’s reflective light meter at each one individually. You will notice a different exposure for each foam core board.
If you have a digital camera take a photo of each foam core board. You will notice all three images are gray-ish; you will not see a black white foam core.
With an incident meter reading capture an image of all three together, and individualy, you will see a black white and gray card. Unlike the reflective metering the incident meter exposure is the same for each foam core. Why, the incident meter is not influenced by the reflectance of the subject. The incident meter is reading the light falling on those cards, thus the intensity of light remains the same for each card.
What you just now viewed is the difference between a reflective meter and incident. You may now understand the saying “a reflective meter can easily be fooled”.
Joe Schmo on Metering for Film, Understanding the Basics of Exposure – By JK Lockwood
Comment posted: 02/12/2018
JK Lockwood on Metering for Film, Understanding the Basics of Exposure – By JK Lockwood
Comment posted: 02/12/2018
While there are multiple approaches, using a Spotmeter is an advanced skill and requires experience and interpretation (what color is the item you are metering?). It can also lead to wildly inaccurate results if done improperly.
Using an incident meter automatically provides a reading of 18% and eliminates variables. Metering in the shadow is ideal and allows one to set their meter at the box speed of the film yielding consistent film density.
Ben on Metering for Film, Understanding the Basics of Exposure – By JK Lockwood
Comment posted: 08/08/2019
However I recently started darkroom printing again - the confusion has arisen from making contact sheets again. I have used the method shown to me by exposing the contacts to achieve the minimum level of black around the sprocket holes. I was very surprised to see that lots of my dense negatives were pure white frames on the contacts which seem to suggest some kind large exposure error even though there are a lot of online articles extolling the virtues that bw film has a big latitude range and I've followed guidelines for basic incident meter use as far as I know. I also know people like Ralph Gibson prefer dense negatives and the old adage of expose for the shadows.
It seems like a common problem is people underexposing bw film and shooting in low light - weirdly I've found out I'm fine guessing low light exposures but seem to be overexposing sunlit / daylight shots using an incident meter which should be fairly fool proof. I guess my question is have you ever found the overexposed negatives just to be blank frames, your contact sheet in header image looks great. I have also thought about refining my incident meter technique if I know I'm overexposing in daylight by not exposing for shadows or angling slightly more towards light areas to balance out - I'm aware this is unconventional but struggling to work out why those contact frames are white when contacts have been produced in correct way :S Many thanks
Comment posted: 08/08/2019