It’s safe to say that my first post about shooting Kodak Ektachrome E100 gave me a lot to reflect on. Not just the experience itself, but the comments I received in response to me sharing the various mishaps. If you haven’t read that post, you can find it here. The short version is that whilst things didn’t exactly go to plan, all was not lost, and I was pretty chuffed with a few of the photos.
One thing I don’t think I made clear enough in that first post was about my intentions when it came to how I felt I was going to approach learning how to shoot this film. I mentioned at the beginning of the post that my original plan had been to go out with a camera with a fancy evaluative meter in it, but in the end I just threw caution to the wind and shot the Leica M3. Actually, there was perhaps a little bit more method to the madness than I think I articulated.
A part of my reasoning was around the idea that I shouldn’t break away from the ways I normally shoot. When I’ve tried other films recently I’ve reliably stuck to the processes I usually follow. If there’s one thing I’ve learned over the last few years that I think of as being of vital importance when assessing anything new, it’s to try and keep control of the other variables within the process when making significant changes. Change too many factors within a process and you risk losing track of what has caused what and why when it comes to the results.
This is why I decided to stick to a camera I’m used to, a metering method I’m familiar with, and scanning the post processes that I usually apply to various negative films. Now, admittedly, I did have my own preconceptions about how to expose reversal film to battle with, but actually, that wouldn’t have been any different with even the most fancy-metered camera.
As it was, shooting the M3 gave me some important and useful insights without anything too technical or automated getting in the way. From my own experiences I learned a bit about how Ektachrome E100 reacts to underexposure, how it might react more positively to a little bit of overexposure, a bit about how it scans (with my scanner), what can be recovered in the scan and in post… and indeed that I can be really quite scatty sometimes (I already knew the last bit, my better half reminds me frequently).
I also learned quite a bit from the comments. There was one comment that reminded me that sharing anything other than a constant stream of success will undoubtedly lead to people criticising me for sometimes not knowing what I’m doing… though fortunately, with a bit of group therapy in the comments and on twitter (read the twitter convo here), I got over that one (more on this point in a minute).
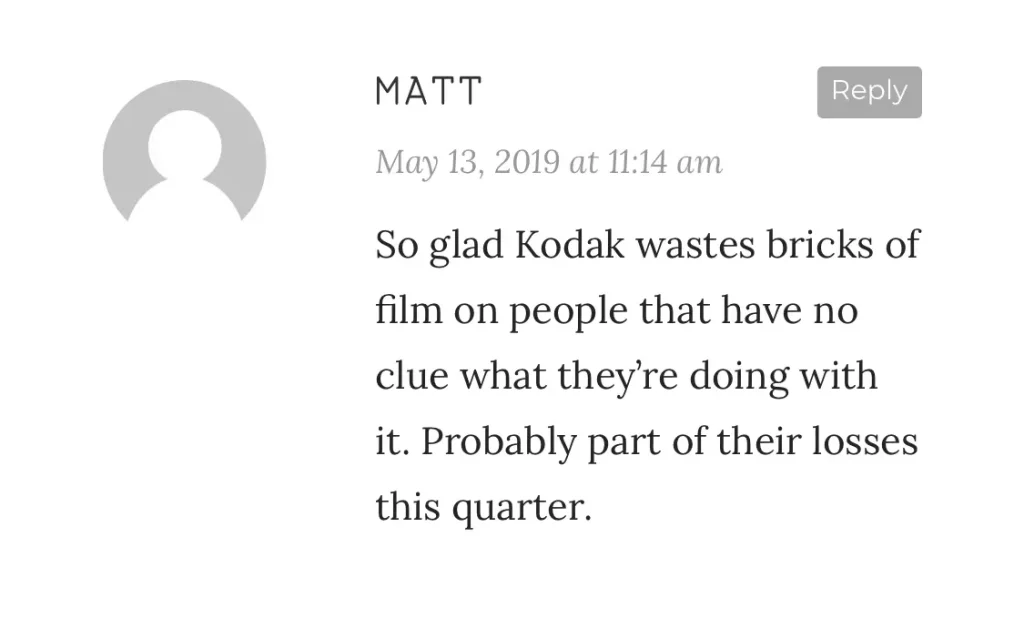
Other than that, I learned a little about a few other people’s methods when it comes to shooting reversal film. Possibly the most common thread amongst the comments was to use an incident meter. I’m not entirely sure if this suggestion came from a place of an assumption that I don’t know how to meter, or because a lot of people choose to meter with an incident meter with reversal film, but either way, I took it onboard.
Something else that stuck with me was a particular comment suggesting that I make frame by frame notes. Of course I know that note taking is useful. I knew that when I started the first roll – but that didn’t mean I actually made notes for more than a couple of frames… Those who made these very sensible suggestions will be happy to know that I have since used an incident meter. In fact, the roll I’ve shot since I posted part 1 was entirely shot with an incident meter, and – more significantly – I made notes too! It’ll be fascinating to see how those frames turned out – especially since I’ve experimented with some fairly high contrast scenes and some broad differences in exposure. But that’s not what this post is about. That was roll 4. This post is about rolls 2 and 3.
I shot rolls 2 and 3 before I even published the first post. They were shot as an extension of my original idea not to too much break away from my usual shooting habits. As such, they were both shot with autoexposure cameras; one a rangefinder, and the other a point & shoot. Unfortunately, as if this series could become any more of a comedy of errors, both rolls were fraught with camera and clumsiness related issues!
Roll 2 – The Hexar RF experience
The main reason I loaded the Konica Hexar RF for my second roll was simply that it’s the camera that feels like the most obvious choice for me to shoot this film with. As I’ll come to when I talk about shooting with an incident meter in my next post, whilst I appreciate the benefits of using such a meter, I just don’t use them much, so the process really feels like quite a big departure from my comfort zone. For me – for the most part at least – I either shoot with cameras with a built in meter, or just use my iPhone as a back up to Sunny-16. And since I can’t see me ever getting to the stage that I’m totally happy shooting solely Sunny-16 with Ektachome E100, a camera with a built in meter just feels like a more comfortable choice for me.
The Hexar RF has what I think of as a fairly reliable centre-weighted meter. I’m used to centre weighted meters as they’re pretty much the standard in my metered rangefinders; both film and digital. Even with high contrast scenes I find them quick and easy to use in the process of assessing the frame, so wanted to see how well my techniques would fare shooting Ektachrome. The answer, fortunately, is quite well.
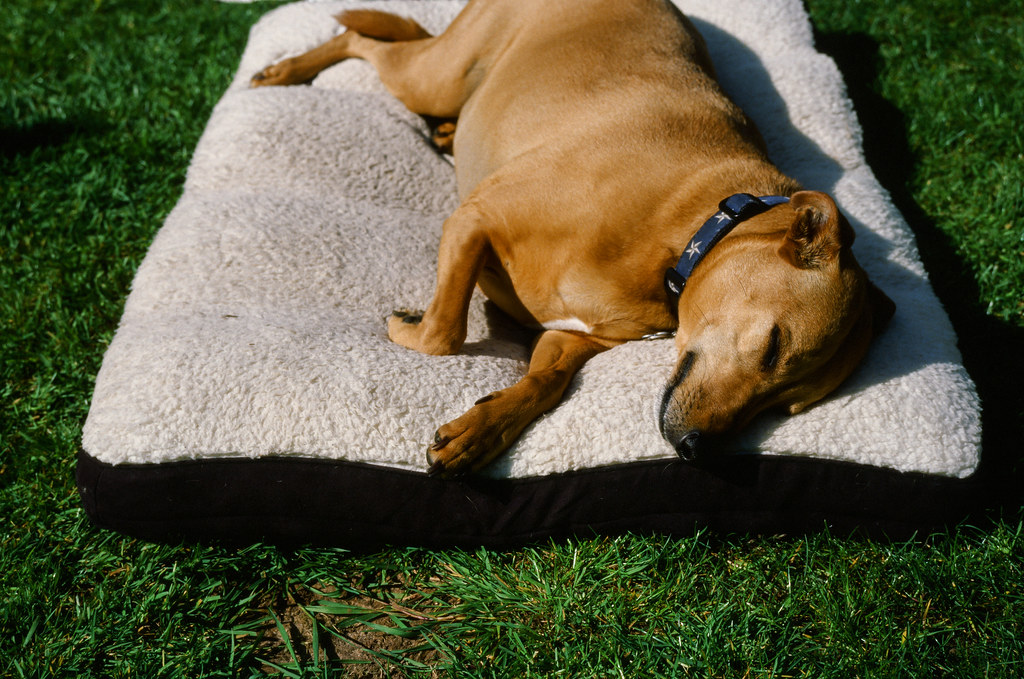
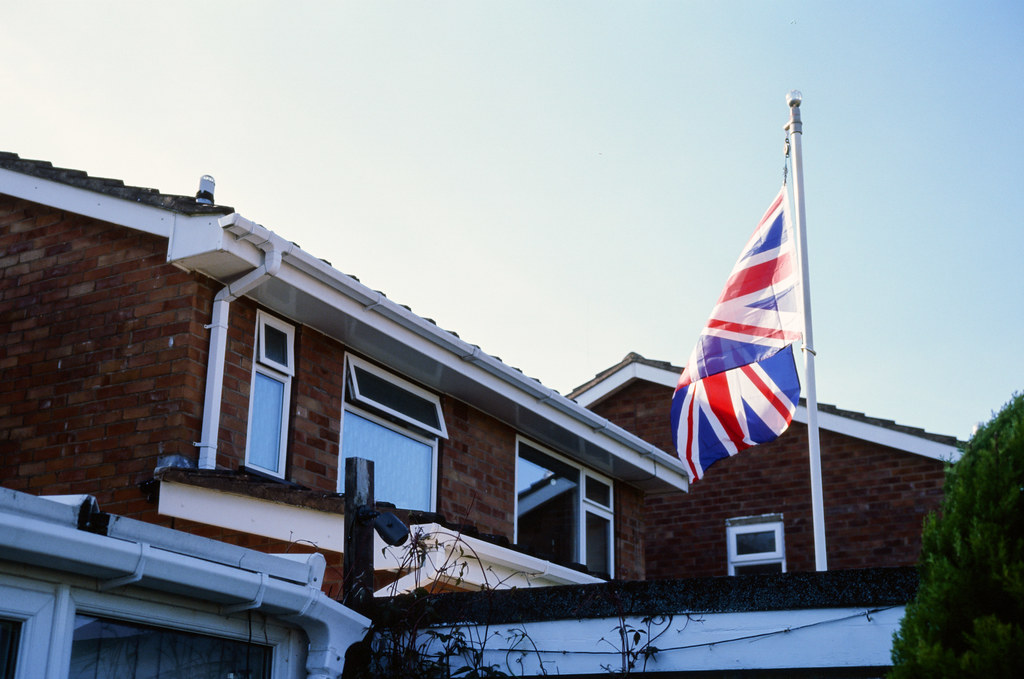
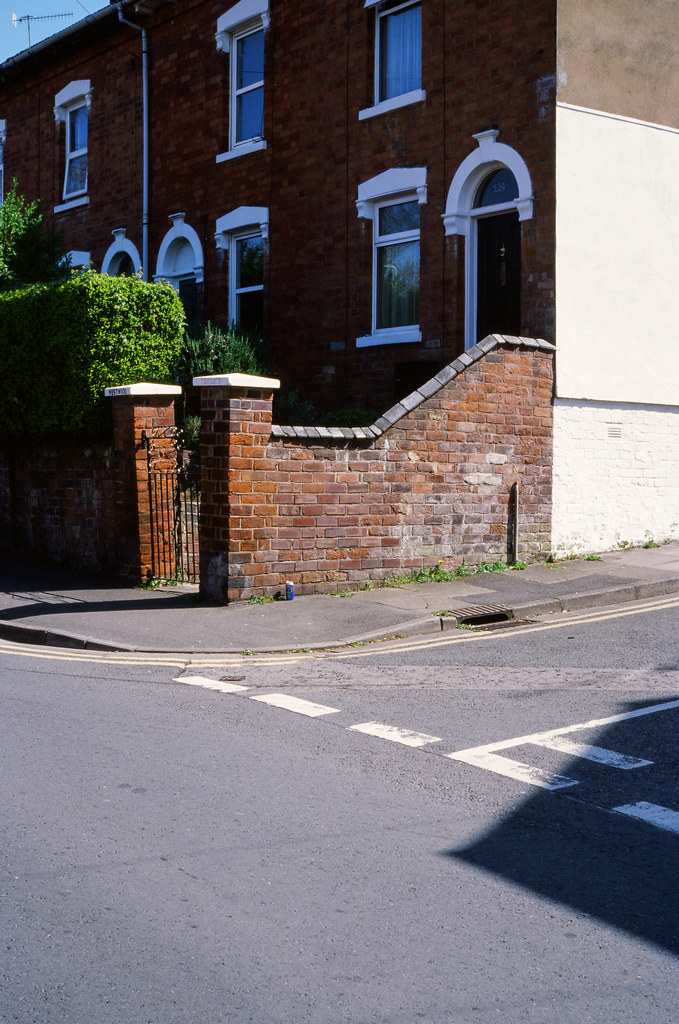
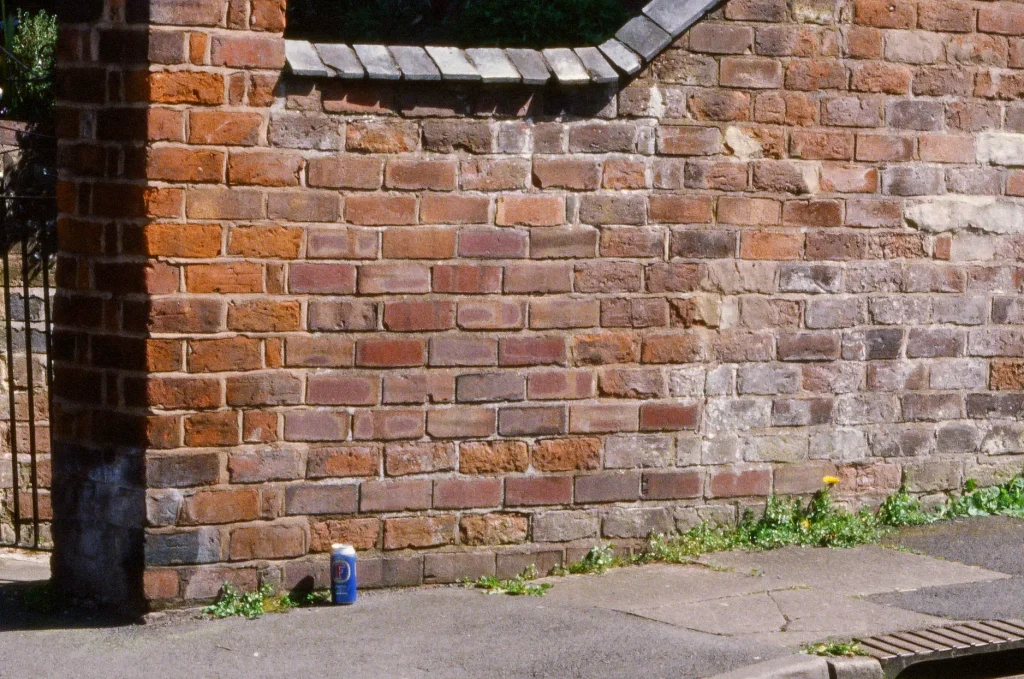
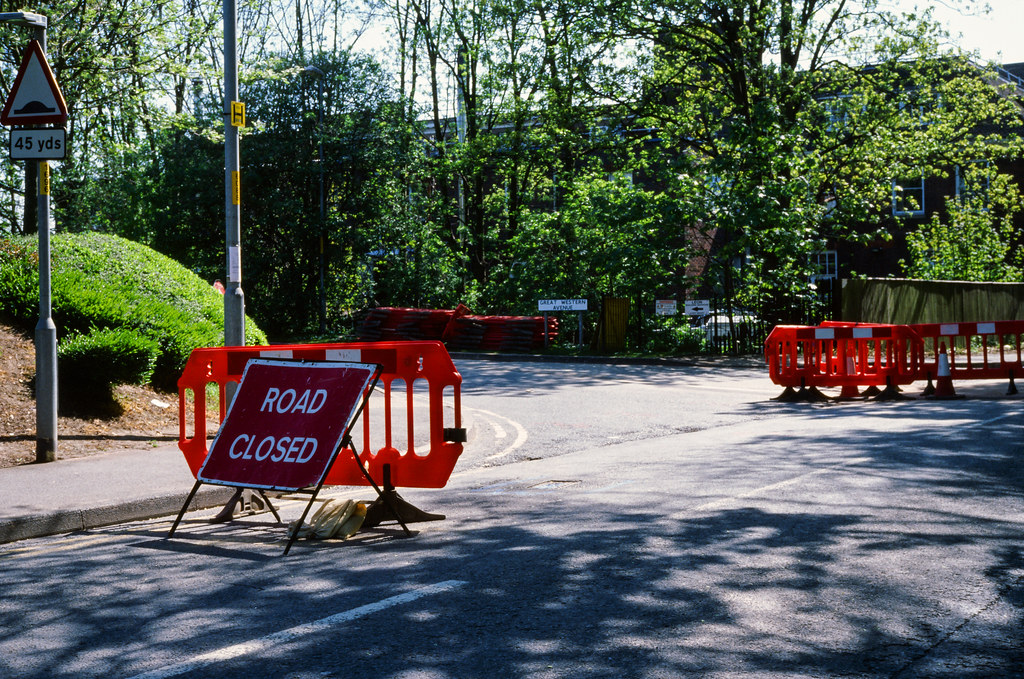
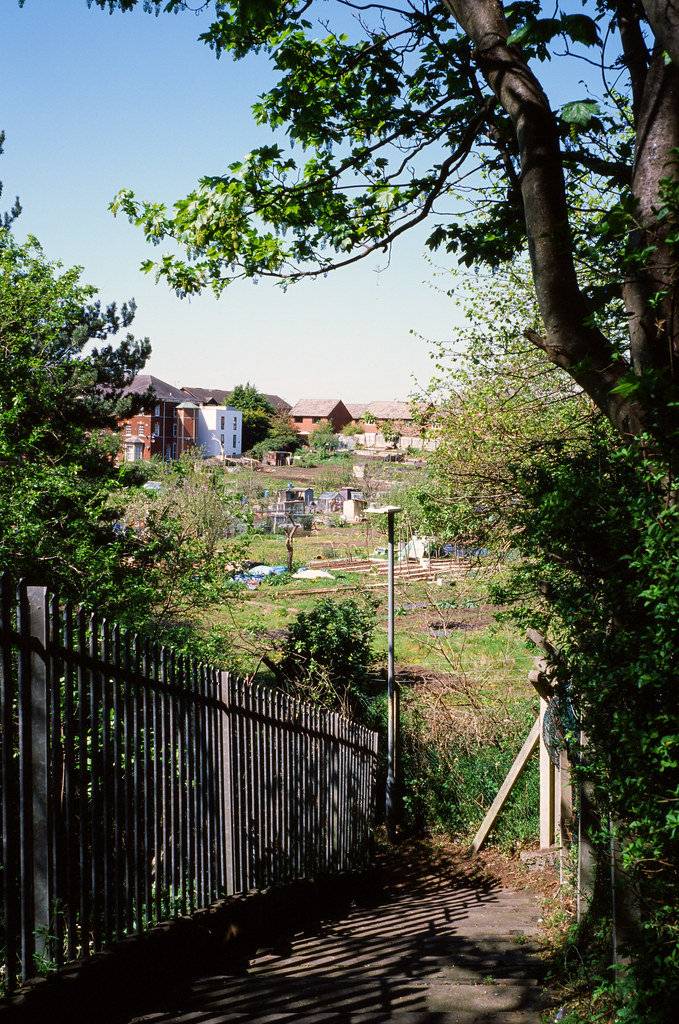
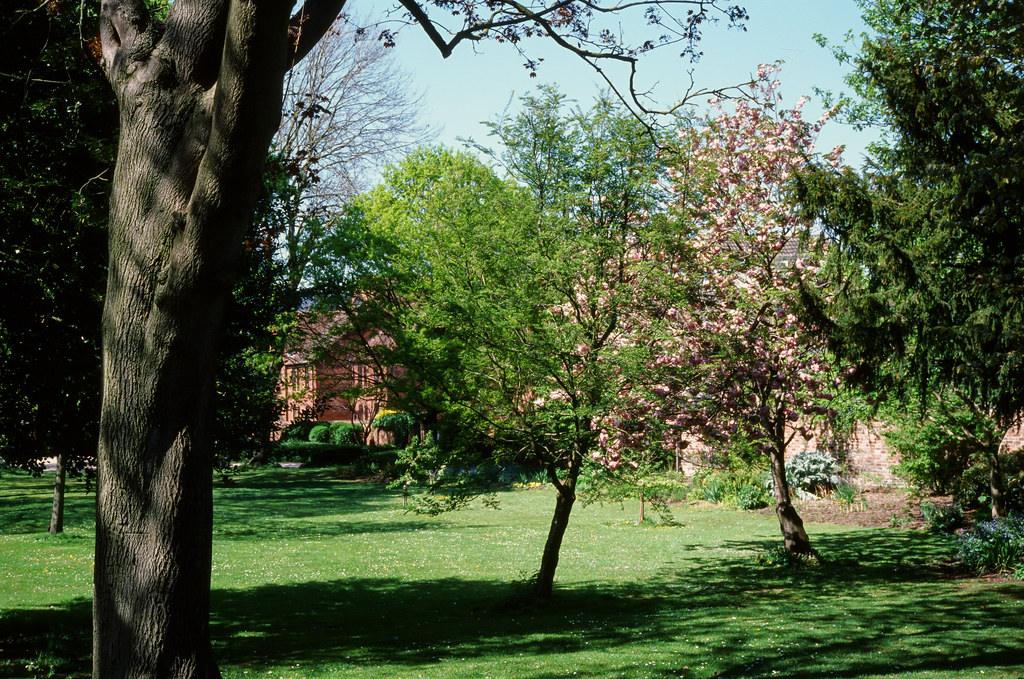
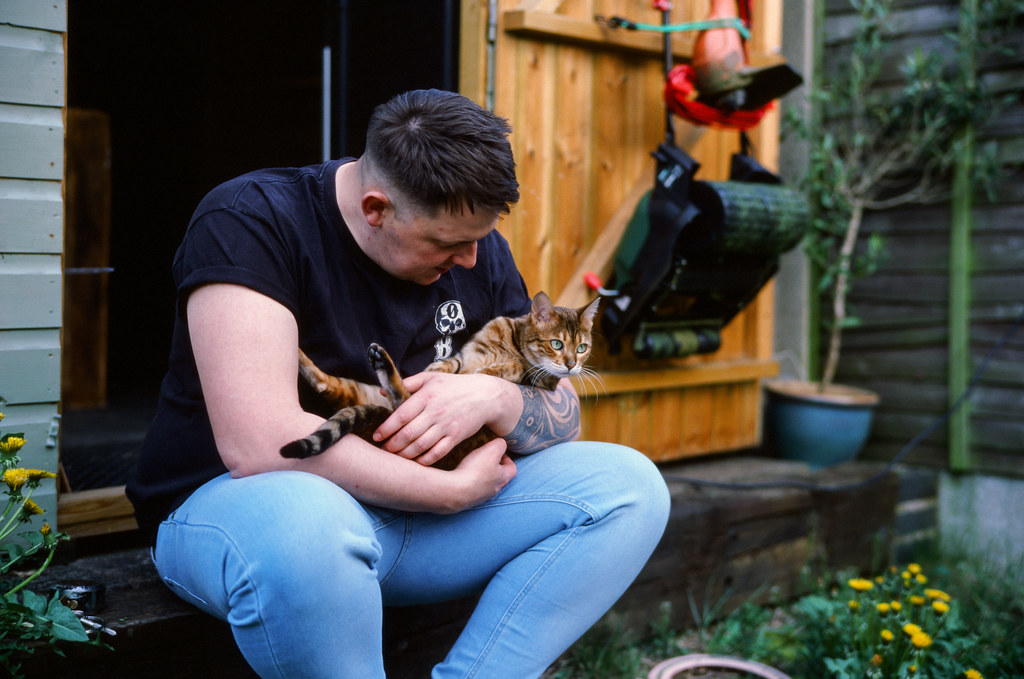
Pretty much every frame I shot in normal light came out well exposed, with just a couple of shots taken in shade ending up a little underexposed.
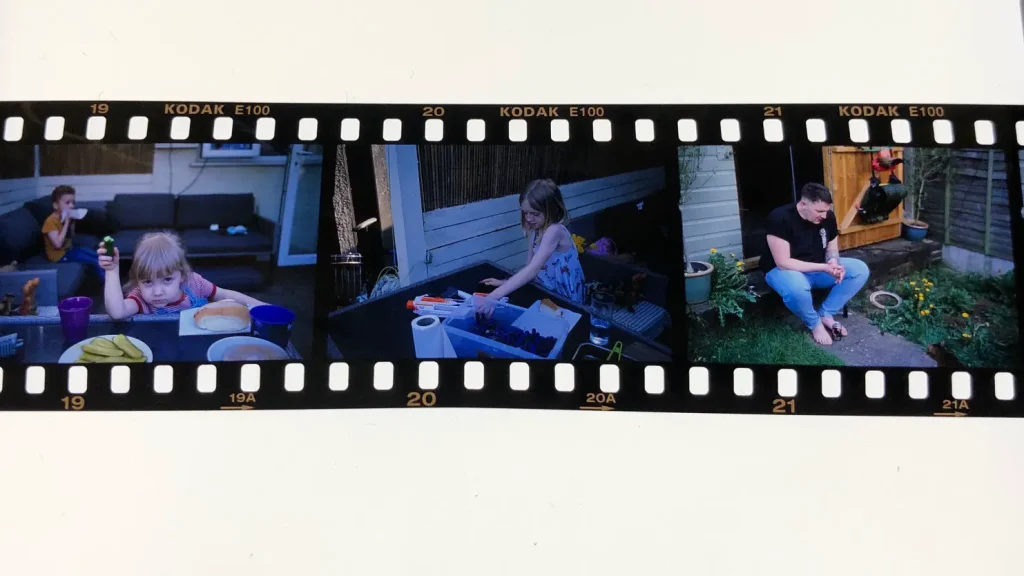

As you can see, they’ve shifted a little blue, which seems to be a result of underexposure perhaps compounded slightly by the colour balance of the shaded daylight.
With my Voigtlander 50mm f/1.2 mounted I also took the opportunity to experiment in some very low light. I was, admittedly, a little merry by this point in the evening, which is the excuse I’m sticking to for the one frame being woefully out of focus.

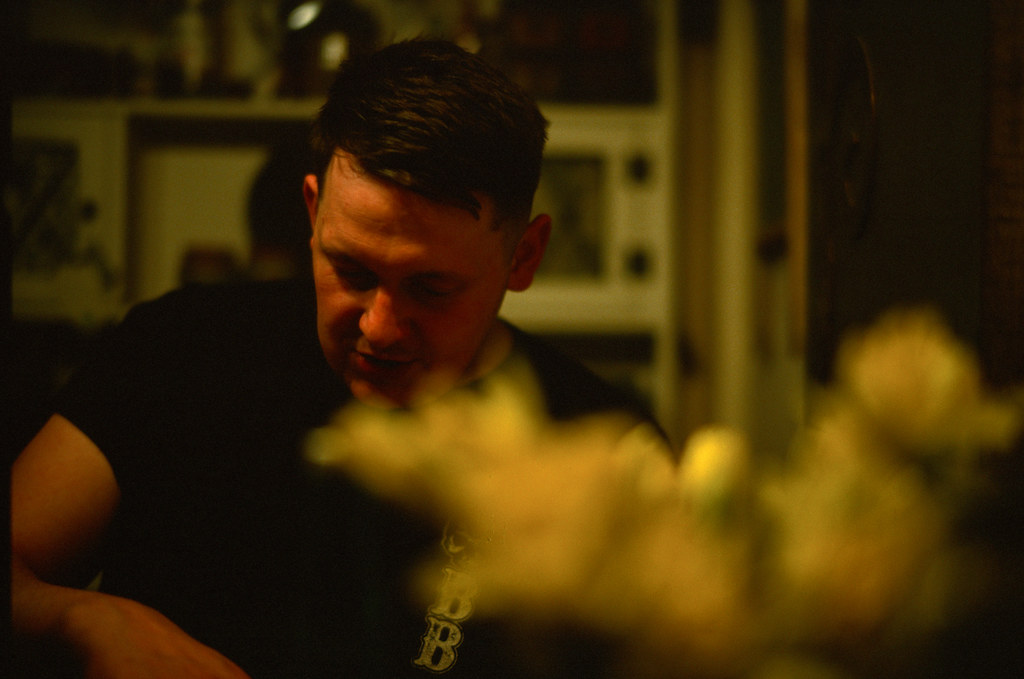
How these shots came out has further spurred me on to experiment in lower light with this film in the future. I had a good feeling that this would be the result of shooting like this, and have – as I mentioned on the Sunny-16 Podcast a few months ago – had a plan to shoot some of this film like this and then post some thoughts around this sort of exposure in lower light. I’ve jumped the gun slightly here, but it’s good to have a proof-of-concept for a later roll.
This final shot was the highlight of the roll for me. Just a simple snap of Connie, but the colour and tonality of it is absolutely spot on. So far, this sort of light and conditions have definitely reaped my favourite results using this film.

You might be thinking that this isn’t very many shots for one roll. You’re right, it’s not! Unfortunately most of the roll was exhausted by the Hexar resetting the frame counter to zero then winding on a couple of frames. This is an apparently fairly common fault with these cameras caused by the switch in the film door latch. It developed this fault just in time for me to load this roll. Very annoying, though fortunately it was repairable and my precious Hexar RF is back with me and filling functioning once again!
I’m also really happy to find out that shooting with a camera with a meter and metering method that I’m comfortable and familiar with reaps good results. I am of course going to experiment with other metering methods to try and improve my hit-rate with my non-metered cameras, but knowing I can revert to the Hexar if I just want good results feels pretty good!
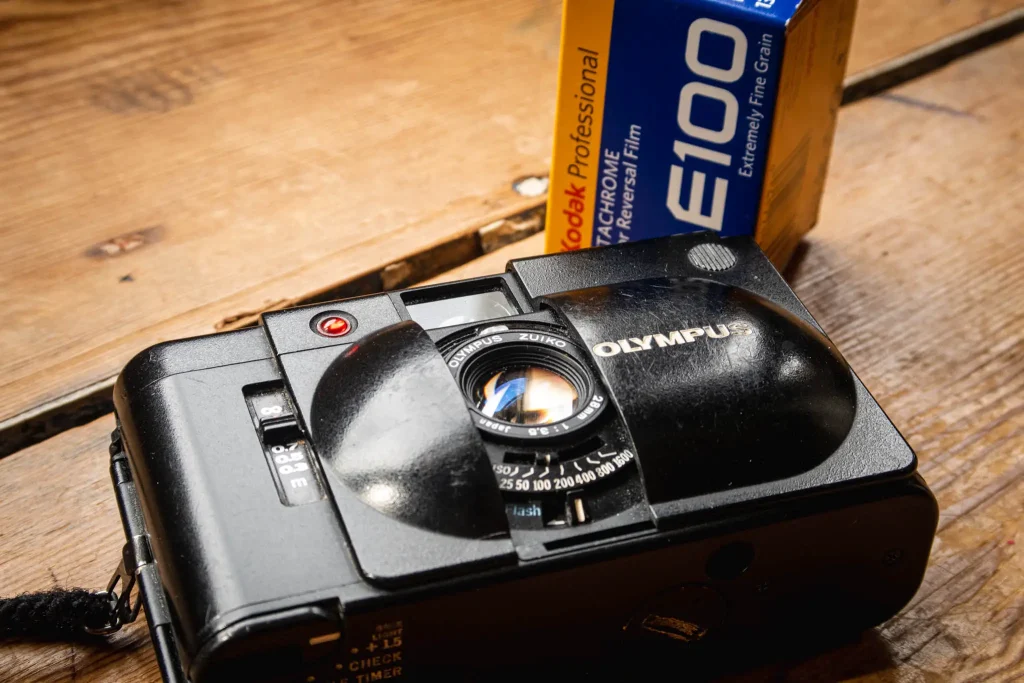
Roll 3 – The Olympus XA4 experience
Along the same sort of thought process as shooting the Hexar, I thought I’d shoot a roll in a camera with a more rudimentary meter. I was interested to see how the Ektachrome E100 would treat me if I went out with a point & poke mentality.

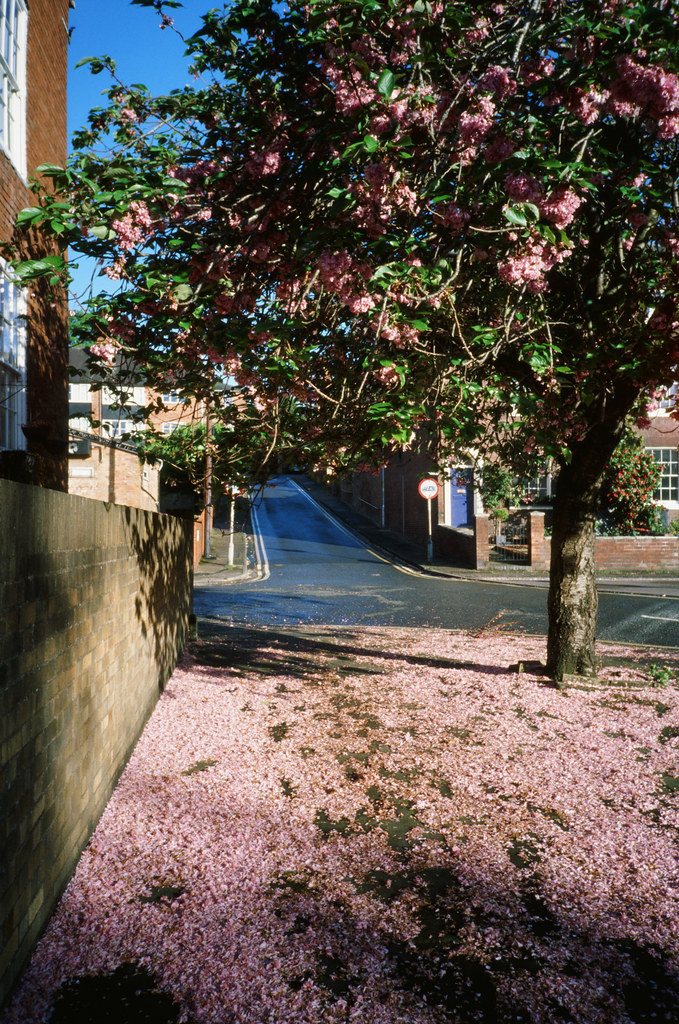
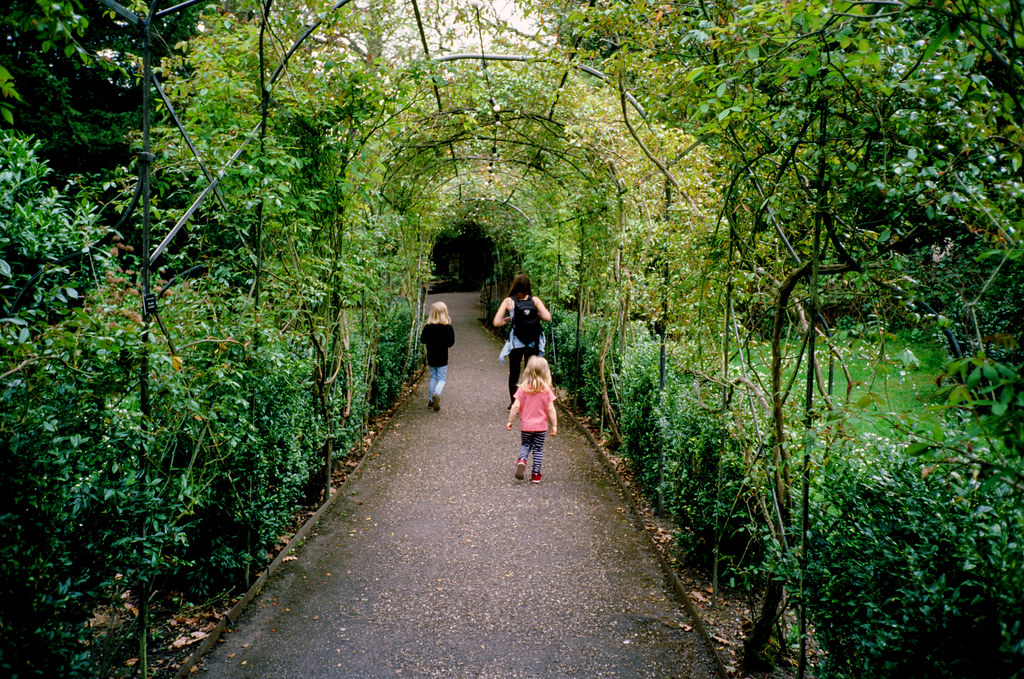
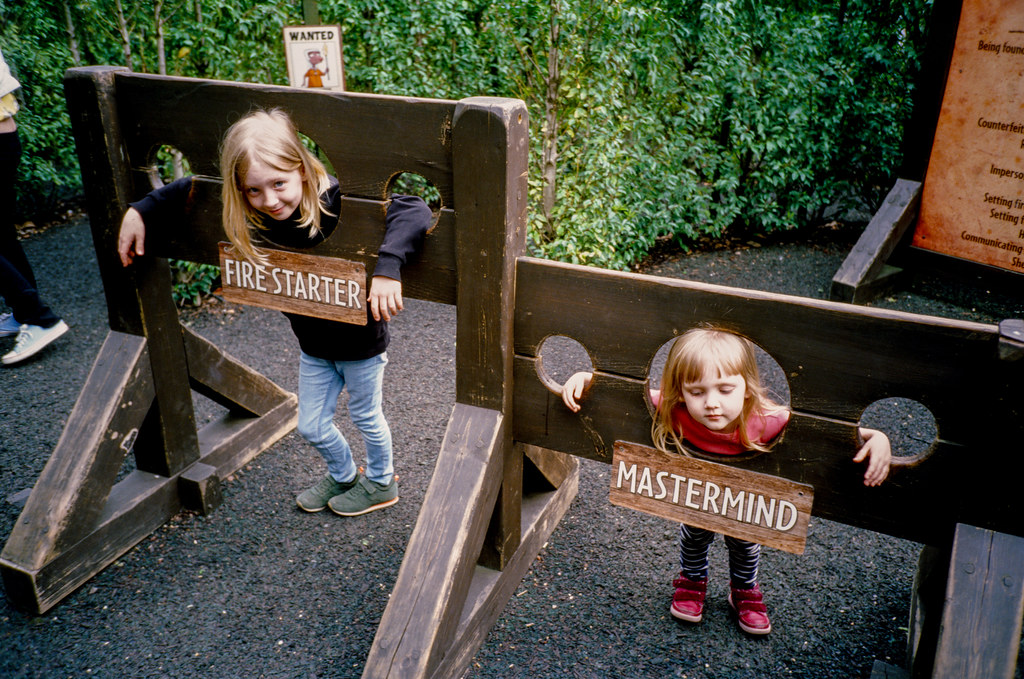
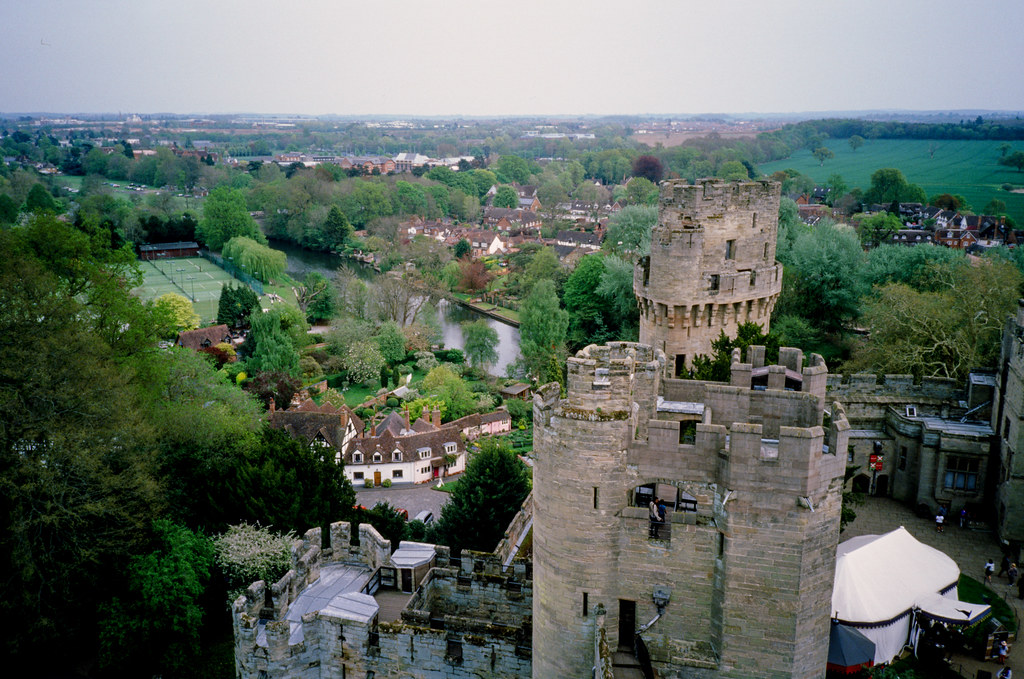
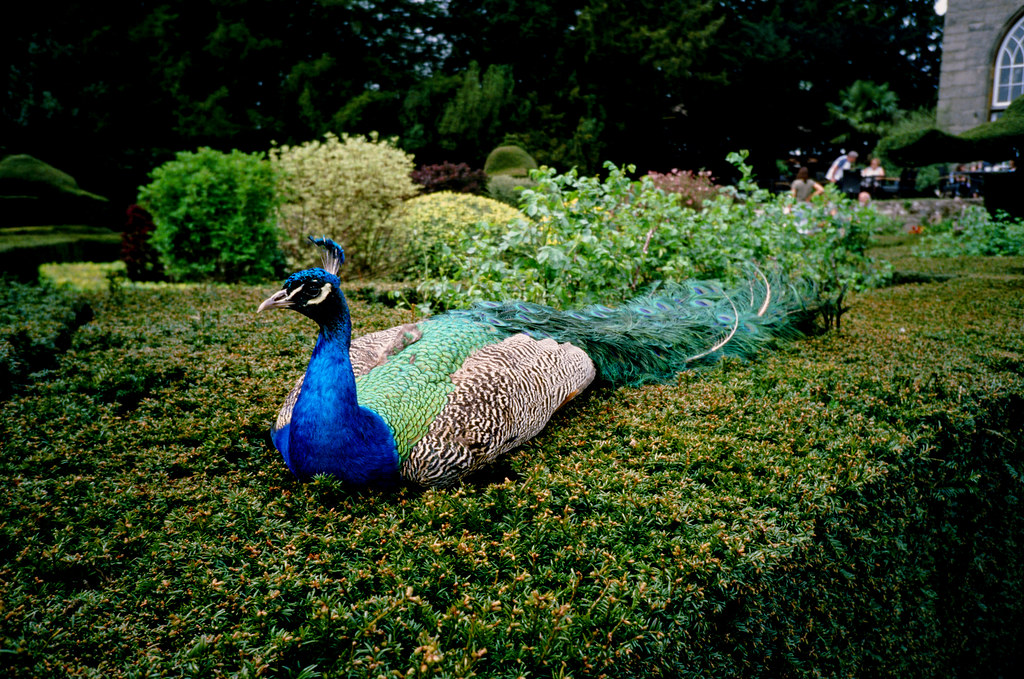
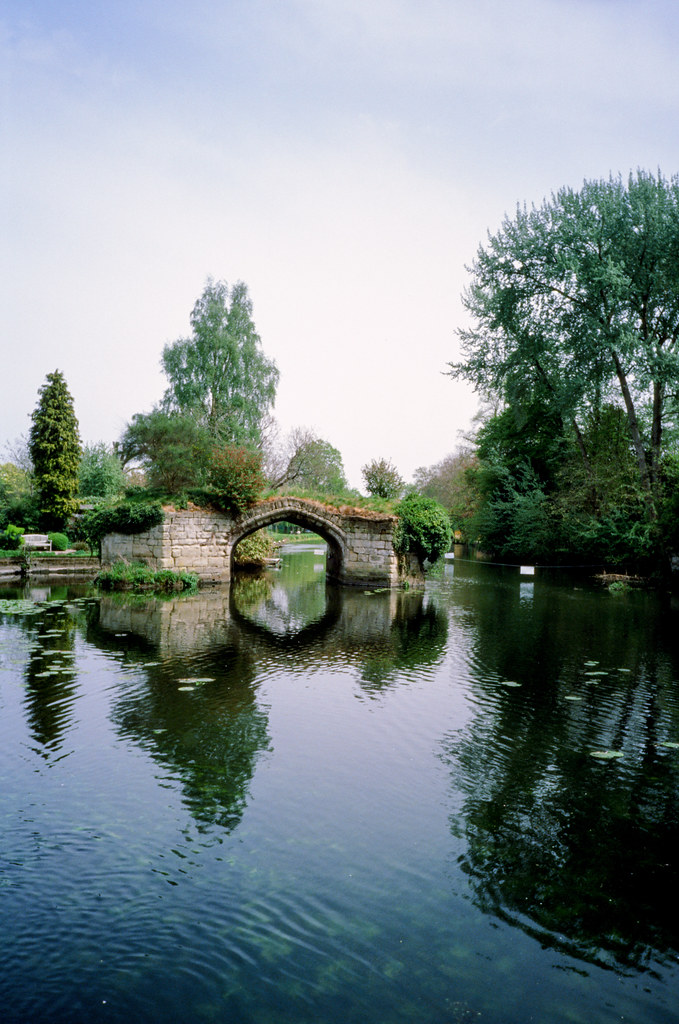
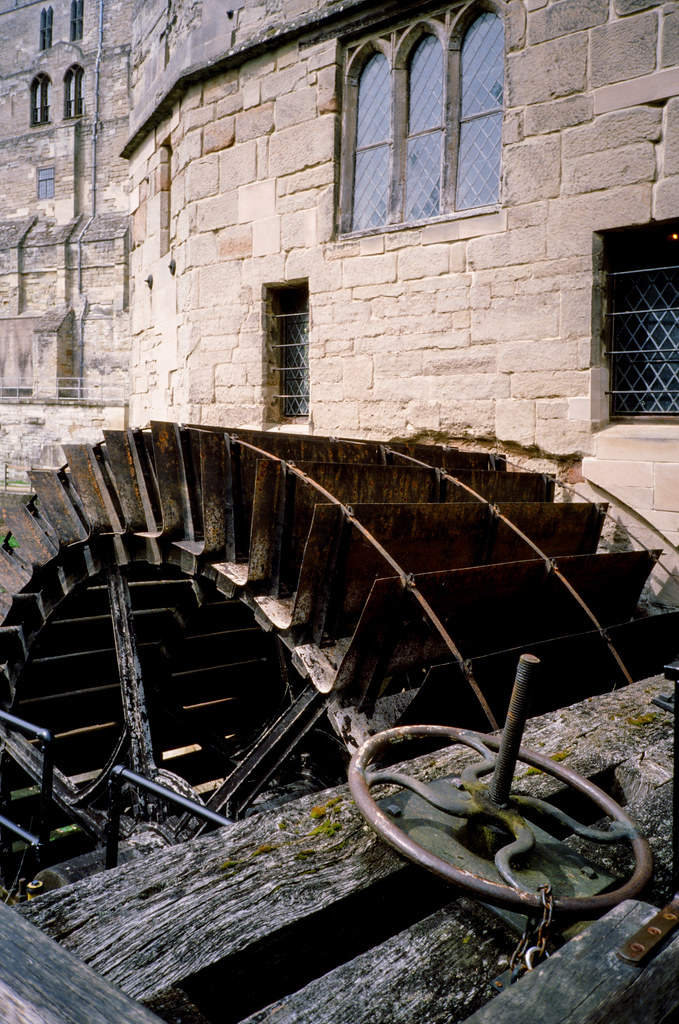
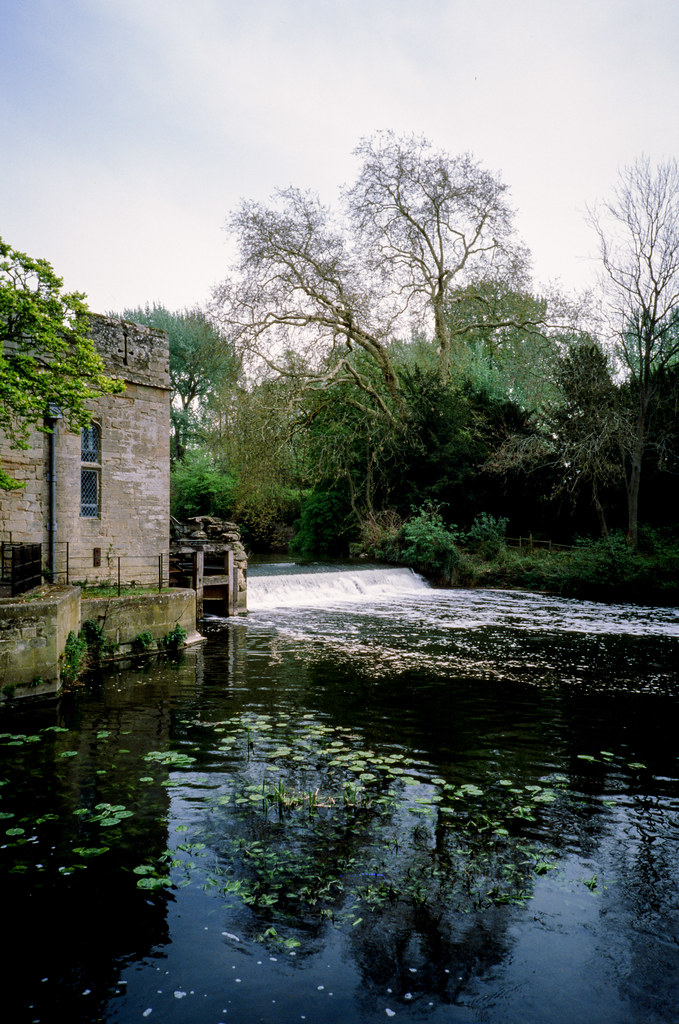
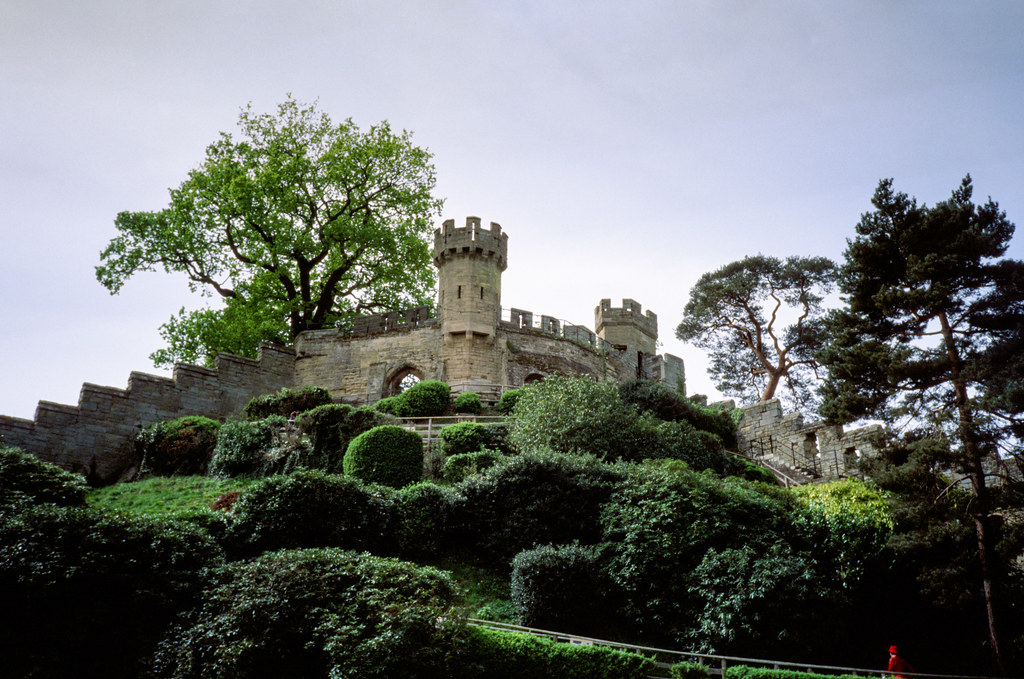
I was actually pleasantly surprised with the results in terms of exposure, with any variation being fairly easy to correct in Lightroom.
It’s fair to say though, the quality of the optics is quite obviously lower than the Voigtlander and Zeiss lenses I’ve been shooting on my rangefinders. No surprises, I suppose, but the takeaway here for me is that I definitely prefer the look of the Ektachrome E100 with more modern, higher contrast sharper glass. This doesn’t rule out shooting it in point & shoot cameras, of course, but it does at least help set my expectations for future rolls with such cameras.
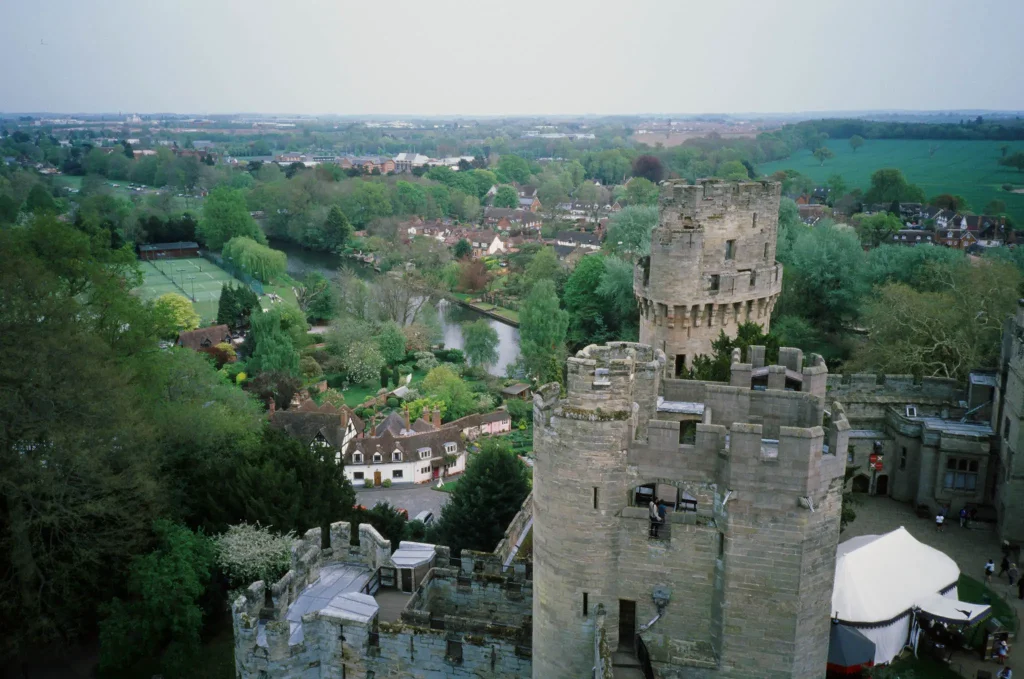
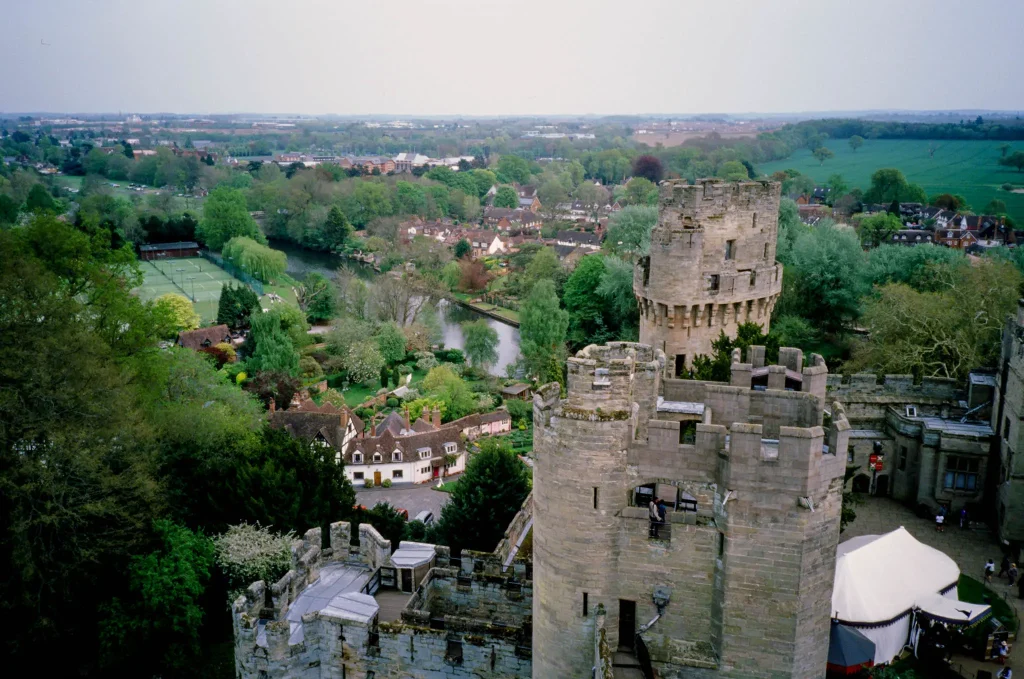
The above is a before and after that should give an idea of what I did in post. It’s not that I had to correct for exposure, as much as I did for the impact the lower contrast older glass had on the images. As you can see, I’m also slightly tweaking the colour balance.
Facepalm Factor 10
Typically, this roll didn’t go entirely smoothly either – though this time I only have my butterfingers to blame. Toward the end of the roll I dropped the camera on the floor which knocked the back open. Fortunately, I was in a relatively low-lit room, so I only lost a couple of frames.
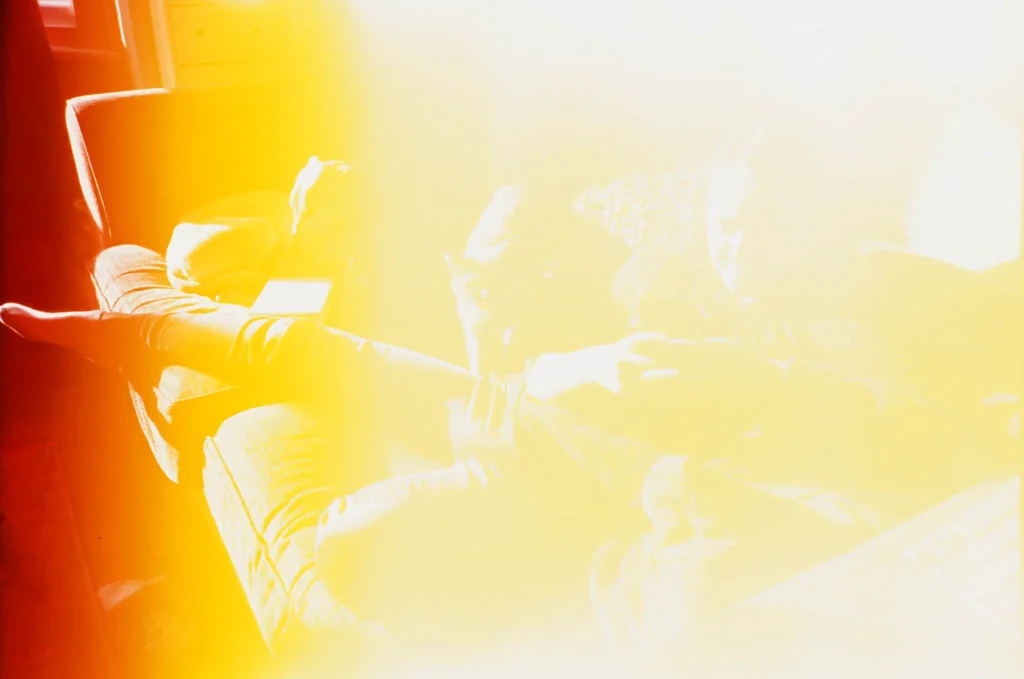
With inexplicable underexposure and incorrect metering on the 1st roll, the 2nd roll being fraught with issues with the camera, and the 3rd roll being thrown on the floor, it does make me wonder if this entire process is just part of some conspiracy I’m somehow subconsciously-complicit in to demonstrate to the world just how shit I am at film photography… of course, the reality is, this is just how all this goes sometimes. And actually, thanks to all the comments of support I had around it being so refreshing to read about all my mistakes, I feel like I’ve found a newfound confidence for talking about my balls-ups.
Thanks everyone, I genuinely don’t usually get so bothered about troll comments, but that last one really pissed me off. The words of support were genuinely very helpful! I too find the constant stream of success that’s so often peddled online quite tiresome, so being able to give myself permission to not comply with all that – even to this extent of facepalm moments – has genuinely felt quite freeing!
A final note on my processes
Just before I close this post I want to quickly talk about why I’m scanning and not mounting my Ektachrome E100. Another common theme in the previous set of comments was that I should mount and project my photos to get the true joy out of this film. It was also suggested that there’s much less point in shooting reversal film if it’s not going to be mounted and projected.
Firstly, going back to my comments about sticking to my current processes, I think it’s important for me to find my feet with this film within my current workflow before I commit to such things as buying a slide projector. For me, going from one process and end goal to a completely different one just doesn’t work. I need to take baby-steps, work out what I’m doing within certain parameters of my personal comfort zone before stepping beyond it. As I said, doing anything else can lead to too many variables and unknowns that make the learning a lot harder for me, but also, I just don’t find it as enjoyable.
As to whether or not shooting and scanning reversal film is worthwhile… Well, to me, the answer is a definitive yes. All films offer a different user experience and give a different look to the results. In the first instance, I’m interested in improving my metering skills, which this film will forces me to do. But also, the look of scanned reversal film is very different to negative film, and provides a very different, and indeed tighter, set of parameters to work within in the digital domain.
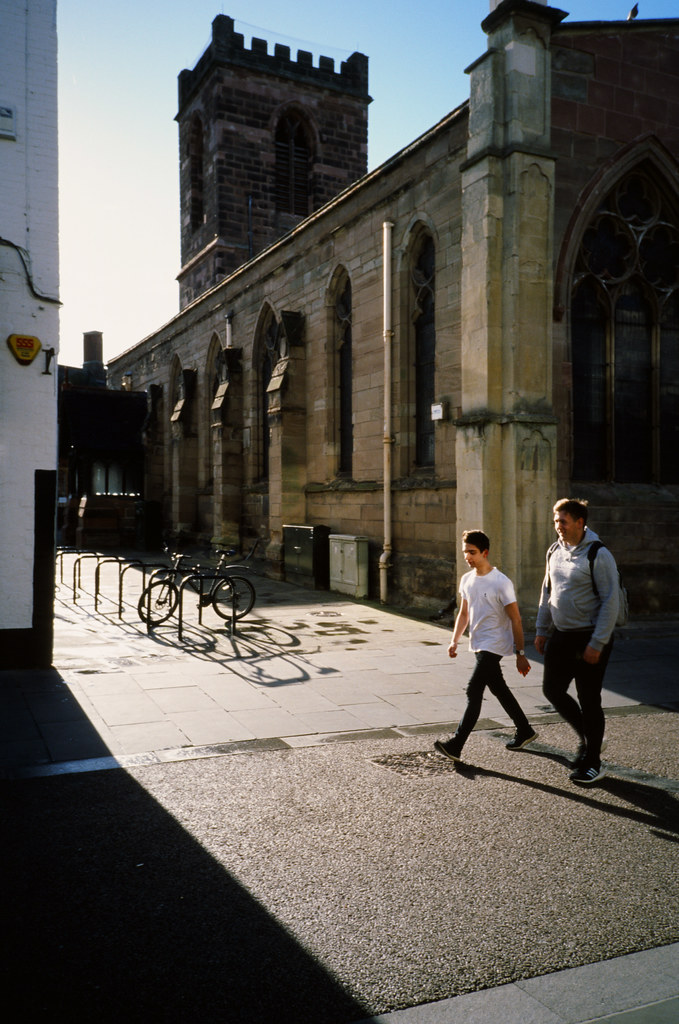
Of course, I am tweaking it in the scan and in Lightroom, and I’m sure people will be thinking that if I’m doing this I might as well tweak an easier to shoot film, or maybe just shoot digital. Either of these suggestions might make sense for someone else, but for me, it’s about learning how the film responds to how I shoot and work, and harnessing that to produce results I am happy with. How any film is exposed, scanned and processed will always result in different images. For me, it’s about producing images I like in a way I enjoy.
As I hope you will discover as this series continues, I will be experimenting with everything from different types of cameras, lenses, metering methods, processing methods, digitisation methods, and post processes to achieve what I do and don’t want out of this film. The ultimate goal is for me to work out how and when it works for me as a film, but hopefully also shed some light on it all for other people too.
That all said, I don’t want this to sound like I’m trying to discourage anyone from offering their two penn’orths. The comments so far – even the shitty one – have given me food for thought and added something very valuable to the process, so if you feel you have something to add, please do comment below!
Words of thanks and recommendation
Finally, I just want to say a continued thanks to both Kodak Alaris and Duncan from Silverpan Labs. Kodak are suppling the film for this series, and Duncan is doing an excellent job at developing the films and giving me consistent results as well as useful and insightful feedback – this being a service he offers to all of his customers.
If you want to buy this film, I also recommend Analogue Wonderland as a my chosen film supplier. They stock E100 here, but also supply something like 200 other films making the website interesting to explore as well as purchase from.
Finally, you can find all my photos taken with this film here, and see this whole series of posts here
Share this post:


Comments
Tony Vidler on Kodak Ektachrome E100 – First Rolls Review – Pt2
Comment posted: 27/05/2019
All the very best, and please keep up the good work (ignoring nasty posts included!)
Comment posted: 27/05/2019
John Squillace on Kodak Ektachrome E100 – First Rolls Review – Pt2
Comment posted: 27/05/2019
Comment posted: 27/05/2019
Terry B on Kodak Ektachrome E100 – First Rolls Review – Pt2
Comment posted: 27/05/2019
We're so used to the accuracy of modern TTL matrix metering with quality film slr's that we may too easily dismiss the fairly simple metering capabilities of cameras with lesser metering capabilities. Where it was practical, I always favoured incident metering with my meter-less cameras, but I've also used cameras with built-in non-TTL meters to good effect, although the ability to always achieve perfect, as opposed to acceptable, exposure, wasn't as clear cut, it just required a clearer understanding and assessment of the subject being metered.
Clearly, films 2 & 3 show you advancing with using slide film, so I'm looking forward to the next instalment.
Comment posted: 27/05/2019
David Senoff on Kodak Ektachrome E100 – First Rolls Review – Pt2
Comment posted: 27/05/2019
As far as mounting or printing, I agree that all reversal film has some allure when projected. It feels far more 3 dimensional than a mere print. However, some people might recall that Ilford made a home darkroom process known as Cibachrome. Which allowed reversal film to essentially be printed on "reversal paper." When done properly, these prints were stunning, gallery quality stuff (of course each print cost a fortune to make and we were doing "post" by hand with an enlarger).
Remember too that big time glossy magazines of the day required reversal film (mostly Kodachrome (RIP) and some Ektachrome) be used in both ad campaigns and editorial photo shoots. The color saturation on paper was far better with reversal film reproduced on magazine pages that. C41, which somehow seemed drab.
Keep experimenting. That is the true joy of shooting any film of any size, negative or reversal. Keep up the blog it is also a fun joy to read.
Comment posted: 27/05/2019
Comment posted: 27/05/2019
Ricardo on Kodak Ektachrome E100 – First Rolls Review – Pt2
Comment posted: 27/05/2019
I love your reviews and opinions, Greetings!
Comment posted: 27/05/2019
Peter on Kodak Ektachrome E100 – First Rolls Review – Pt2
Comment posted: 27/05/2019
I generally shoot b&w films if my camera lacks a meter and since I'm an analog 'purist' (snob? no batteries) I generally haven't a meter. Since I like to be free to get in a zone when I shoot I rarely carry an off camera meter with me. B7w seem to be more forgiving exposure wise. Yet your adventures, and those of your contributors, led me to try E100 and some other color (or colour) films with my Olympus Trip 35. It's been a very regular heartbeat with peaks and valleys but fun.
Thanks for having me think outside of the box of b&w and try something new.
Comment posted: 27/05/2019
Sam Tanner on Kodak Ektachrome E100 – First Rolls Review – Pt2
Comment posted: 27/05/2019
I ballsed up my first two rolls of slide film, yet to redeem myself. So much to learn, but that’s what makes it fun!
Comment posted: 27/05/2019
Eirik Holmøyvik on Kodak Ektachrome E100 – First Rolls Review – Pt2
Comment posted: 27/05/2019
Comment posted: 27/05/2019
Martin Smith on Kodak Ektachrome E100 – First Rolls Review – Pt2
Comment posted: 27/05/2019
As being more a black and white shooter, don't think I will ever use this film, maybe I will give it a try some family event, who knows. To me it reminds me Kodachrome that I used back in the 80-90's, some would argue otherwise I have no doubt, but think we should be thankful that Kodak reintroduced this film back to the marketplace and that hopefully continues to be there.
All in all, a thoroughly good review by yourself, as with all your reviews and interesting read and I will thank you for taking the time to compile it.
Comment posted: 27/05/2019
JP O'Connor on Kodak Ektachrome E100 – First Rolls Review – Pt2
Comment posted: 27/05/2019
It is refreshing to read about your journey with this new film. Your willingness to share, mess ups and all, is actually encouraging since even experienced photographers can have times of challenge. Ignore the naysayers, haters, and betrayers. I know it's hard to ignore, but don't put any stock in the opinions of people you would never go to for advice! Even the troll you highlighted was hilarious in his own pitiful way... he couldn't find anything positive to contribute. OK, on to happier topics...
I keep reading online about how hard it is to properly expose film, especially reversal film. Maybe because on film we need to expose enough to get shadow detail while on digital we must not blow the highlights. Maybe because (most) negative film emulsions have wider latitude and we get away with inaccurate exposure. I don't recall having any such difficulty decades ago using my Olympus 35RC and Nikon F2 Photomic with Kodachrome II (ASA 25), then Kodachrome 25, Ektachrome X (ASA 64), and High Speed Ektachrome (ASA 160). Yes, 160 was really high speed for color! And... to anticipate my own trolls... I do mean ASA, not ISO... that's what it was called back then and what was printed on the box. Luckily, ASA and ISO film speeds are the same on a practical basis. (I said practical , not theoretical.)
Maybe I was so used to exposing for film reversal that I didn't ever perceive any of the emulsions as being narrow latitude or especially difficult. Or maybe I didn't know a thing back then! Of course, I used the same cameras, lenses, and working methods so the feedback loop of seeing each roll helped. To that point...
Your comments about not changing everything at once are spot on. I can assure you, projecting vivid reversal images on a good screen in a dark room is stunning! However, right now you are getting used to a type of film with which you do not yet have a lot of experience, so it is good to keep your workflow the same, learn, then adapt and adopt as you wish.
Even your first roll did produce some interesting frames, and these last 2 rolls were much more successful. Several of the shots show very nice rendering of color, tone, and contrast. Even the high contrast shot of buildings and the flag rendered sky and shadow quite well.
We look forward to reading about your fourth and subsequent rolls! Keep up the great work!
Thanks,
JP
Comment posted: 27/05/2019
Murray Kriner on Kodak Ektachrome E100 – First Rolls Review – Pt2
Comment posted: 28/05/2019
Comment posted: 28/05/2019
Steve Ember on Kodak Ektachrome E100 – First Rolls Review – Pt2
Comment posted: 28/05/2019
Your sampling - I particularly liked the last one of Connie with the Hexar RF/Zeiss combination as well as your shot of the man holding a cat and some of the village scenes - speaks well to the character one can get with properly shot reversal films.
I also like the fact you devoted a roll to shooting with the Olympus point-and-shoot.
Relatively speaking, shooting reversal film is always a "challenge," even with more high-end cameras, due to its narrower latitude compared to negative stocks, so always just a little more satisfaction when one nails it with slide film...just a slightly broader smile in seeing results back from the lab. But an even more "demanding" test is to do as you've done with the XA4 - or any point and shoot, as one doesn't expect quite the same metering accuracy from such cameras. Thus (speaking personally) I get an even broader smile when I see a really nicely exposed 'chrome coming from one of my more basic cameras. ;-)
And I'd also say your post-processing of the XA4 shots, as shown in the slider-comparison of the high perspective on the castle, were entirely tasteful, just giving the more basic lens' results a wee bit of assistance.
Looking forward to your continuing learning curve adventures with E-100.
Oh, yes, that handsome Hexar RF in your top photo reminds me to renew my search for a nice mint copy (although I'll probably settle for a nice Minolta or Konica lens!)
Cheers!
Comment posted: 28/05/2019
Sam on Kodak Ektachrome E100 – First Rolls Review – Pt2
Comment posted: 28/05/2019
Comment posted: 28/05/2019
Graham Line on Kodak Ektachrome E100 – First Rolls Review – Pt2
Comment posted: 28/05/2019
Comment posted: 28/05/2019
eric on Kodak Ektachrome E100 – First Rolls Review – Pt2
Comment posted: 28/05/2019
Comment posted: 28/05/2019
Leo Tam on Kodak Ektachrome E100 – First Rolls Review – Pt2
Comment posted: 28/05/2019
A simple solution to the colour film crisis? - Kosmo Foto on Kodak Ektachrome E100 – First Rolls Review – Pt2
Comment posted: 16/10/2022