3d printing has opened up a whole realm of possibilities for analog cameras. Replacement parts can be printed in a variety of materials. And, more importantly, cameras can be adapted to use obsolete film formats such as 116, 616, 126 etc. And to design one-off cameras and prototype new ones. And to make and sell accessories like light meters.
But, more importantly, several websites offer files for 3d printing STL files for photography. Some are free, while others charge. For eg, In a 35mmc post on restoring a Ricoh auto half (half frame) camera, Stuart Jenkins 3d printed several parts including a lens hood and a new front housing to accommodate changes,
Naturally plastic printed pieces won’t be as durable as metal ones but can be reprinted. Since 3d printers lay down layers, the parts have striations, which can be minimised. Some printers (Prusa) even offer open source files for printing parts for the printer.
Falling into the groove
I fell into 3d printing quite by chance after acquiring a 116 camera (Kodak Pocket 1a, writeup here on 35mmc). I discovered 120 film cannot fit into 116 cameras directly – the 116 spindle is taller and has a different geometry. I found three solutions:
- Buy an adapter. camerahack.it offers an adapter kit. With two adapters for supply and take-up 120 spools for 116/616 cameras.
- Jerry rig a solution: cannibalise a 120 spool and attach it to a 120 roll with a flathead screw. Denny Atkinson’s describes a solution of this type. .
- 3D print an adapter, either using a service bureau or buying a 3d printer.
I ruled out option 1, since the camera came with a metal 116 spool. Option 2 was tailor-made, quick and inexpensive. I ruled out using a service bureau for 3 since the one I had previously used had a minimum order of $500. As for buying a printer. Too soon to commit, just to test. And the there’s the time to research 3d printers and to learn how to use one,
Although most of the 3d printed adapters centre 120 film on the film gate, Atkinson’s solution aligns the film with the top of the film gate, effectively cutting off part of the top of the image. Most appealing. But for later.
Satisfied with the Kodak, I decided to buy a Voigtländer Inos ii, which also had a 116 spool.
Disadvantage: If not centering the film, theres a need to respool exposed film onto a 120 spool or ask the lab to return the spool or unwind film placing in a developing reel and then in the tank tank/light tight container or in a light tight container.
Printing at the Los Angeles Public Library
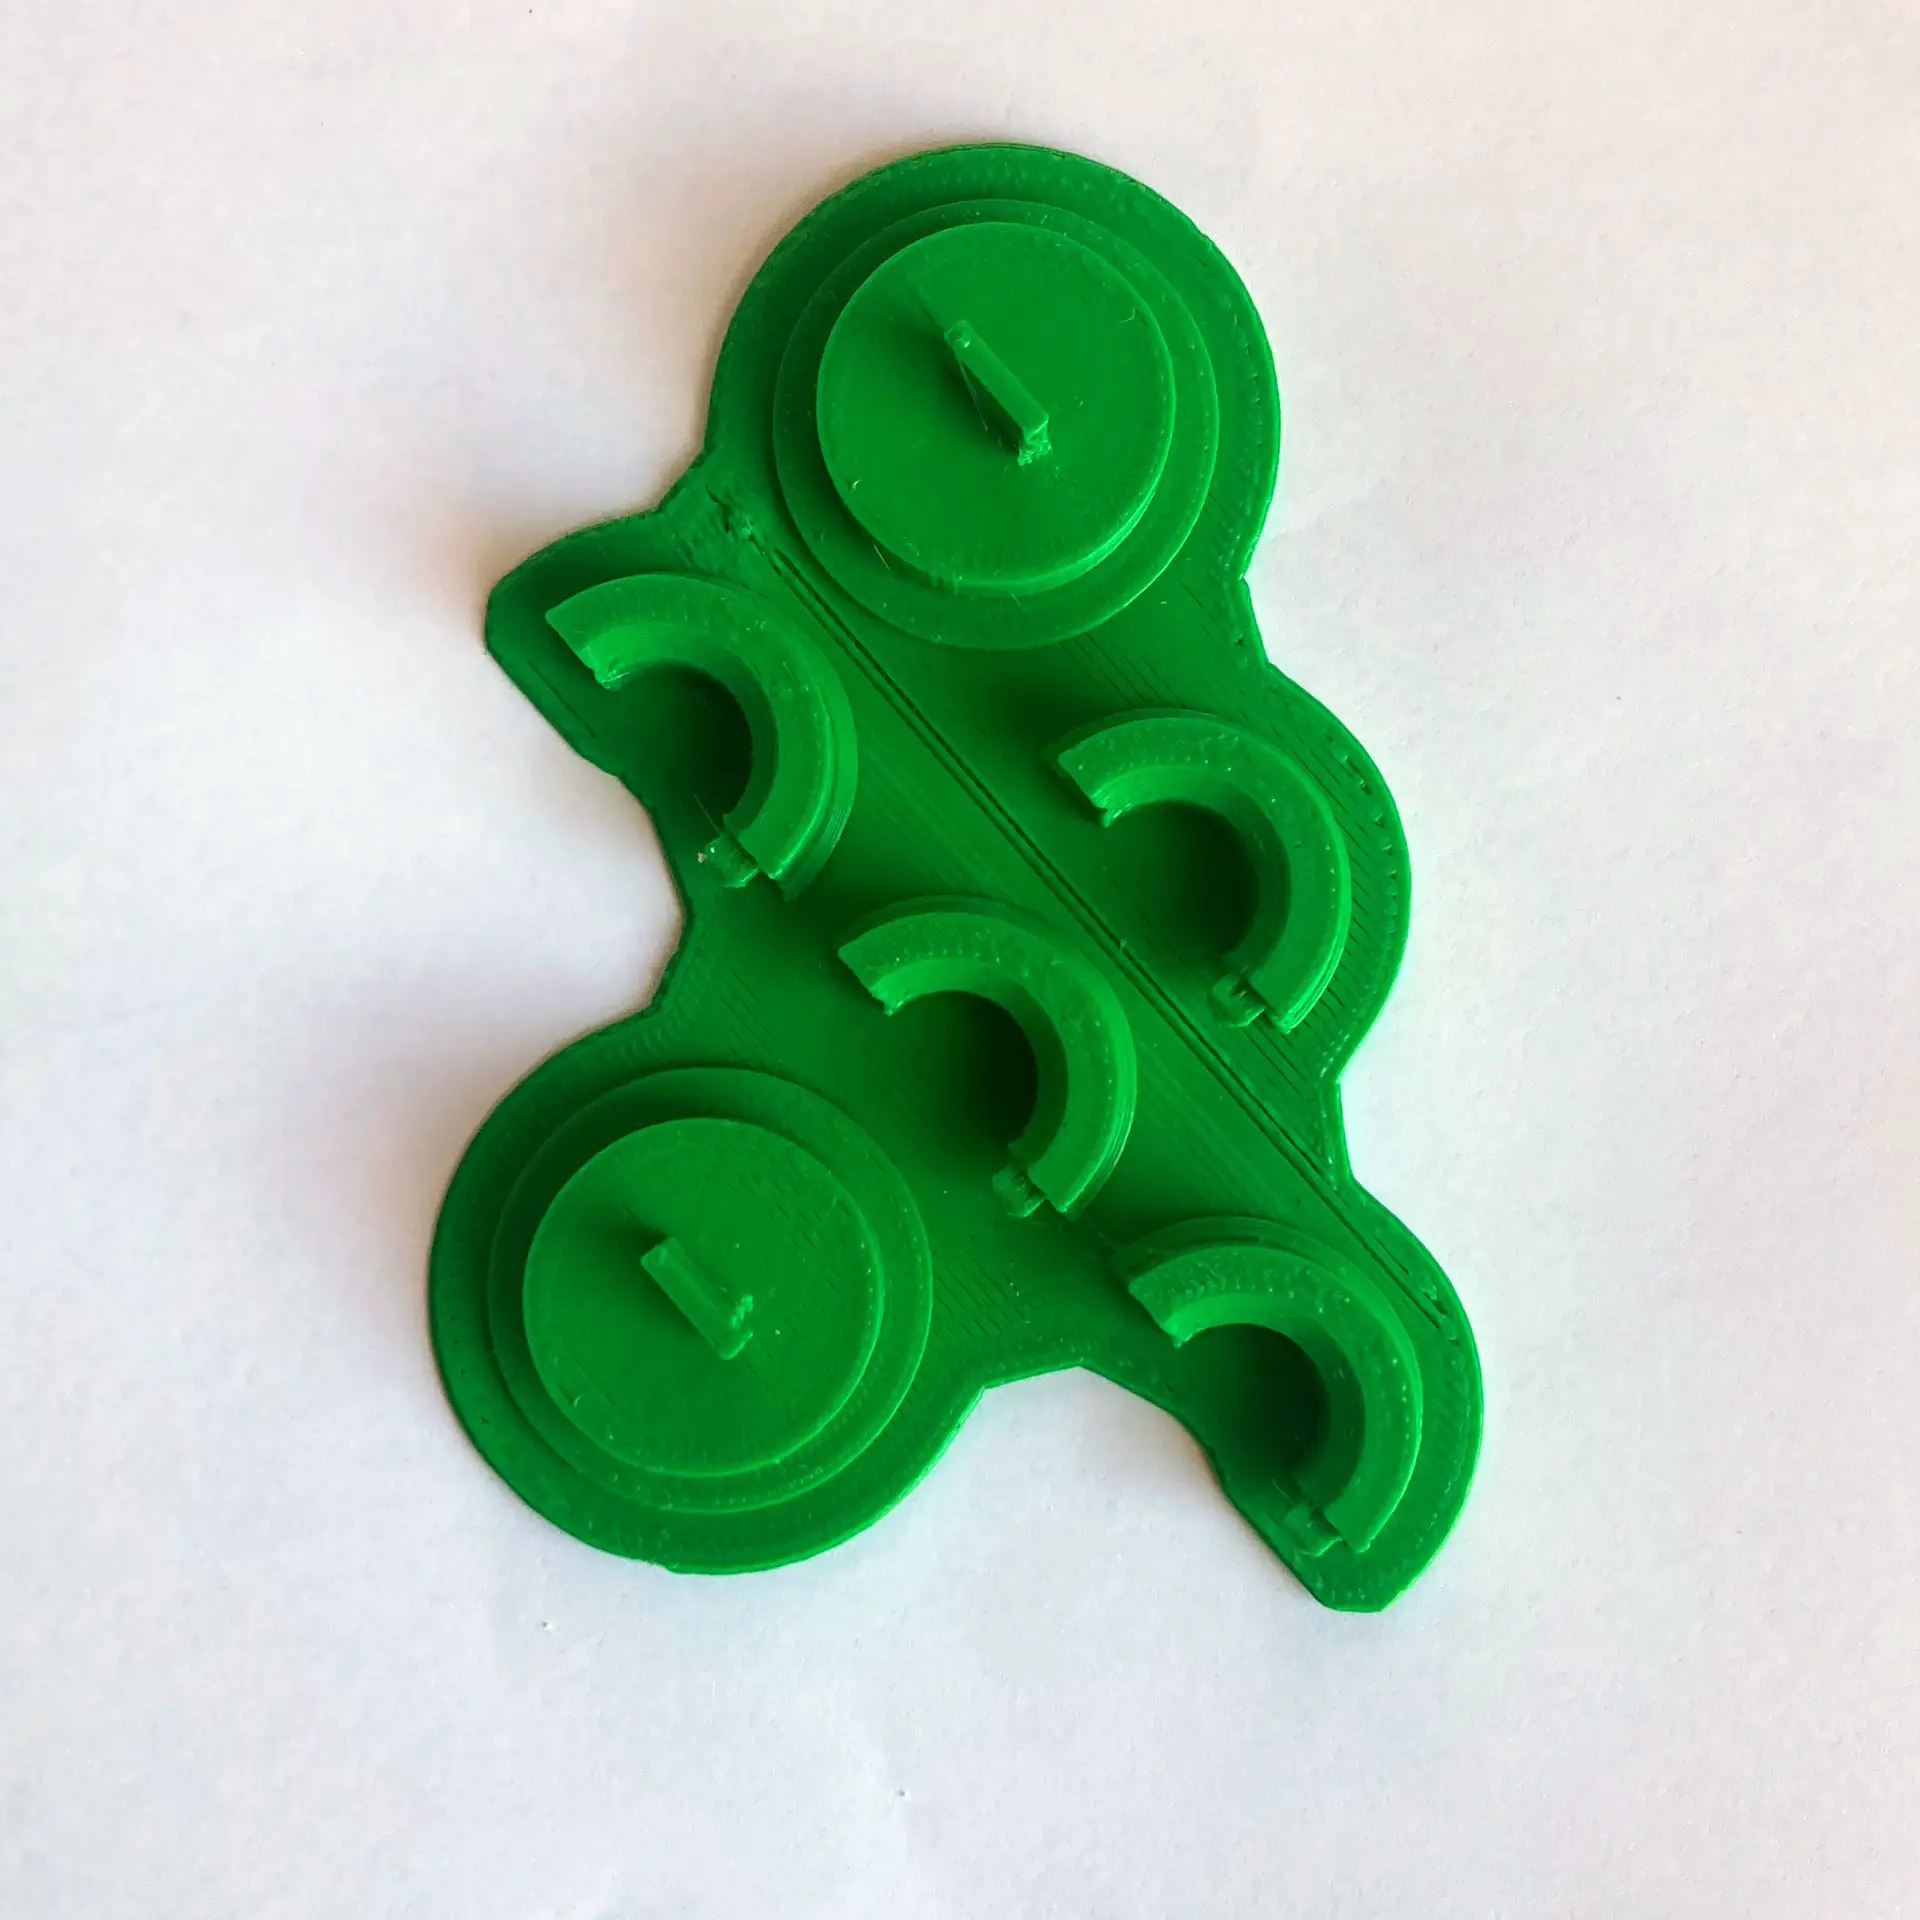
I discovered that the Los Angeles Public Library offers 3d printing at the Octavia Lab. I registered, booked an appointment, handed over STL files and received, at no charge, two sets of adapters for 120 film 116 cameras.
To use them, just had to remove the raft with an all-around putty/prying knife and lightly sand the rough surfaces. Put the finished adapters on the 120 supply and 116 takeup. I taped the two halves together and to the shaft to prevent them from falling off the spindle. I also used tape to fit the slot into place.
Down the rabbit-hole: remixing
Printing an existing design is just the first step. There’s more.
Sometimes an existing 3d design needs to be adapted for a slightly different use. At other times, two designs need to be combined to make a new one. A remix is the result of adapting/merging 3d designs.
Remixing a frame mask
I discovered in the manual for the Inos ii that Voigtländer made a frame mask insert to make a square roughly the size of a 6×6.
Good luck finding one.
Fortunately the viewfinder on the Voigtländer has a popup mask that reduces the frame to that size.
thingiverse has a version of a mask for a different Voigtländer camera (the Inos i – 6 x 9 folder) for a 645 image. However, because the Voigtländer film gate is wider and deeper, it wouldn’t fit.
Now there was a challenge – adapt it to make a 6×6 mask for the Inos ii.
The Octavia Lab was really helpful, suggesting web-based tinkercad to design STL files. Instructional videos on YouTube helped. It took a month to become reasonably proficient.
Carving out a frame mask
Remixed the mask for the 6×9 Inos i – a 6×9 folder to make a 6×6 [55mm x 55mm] for 116 camera.
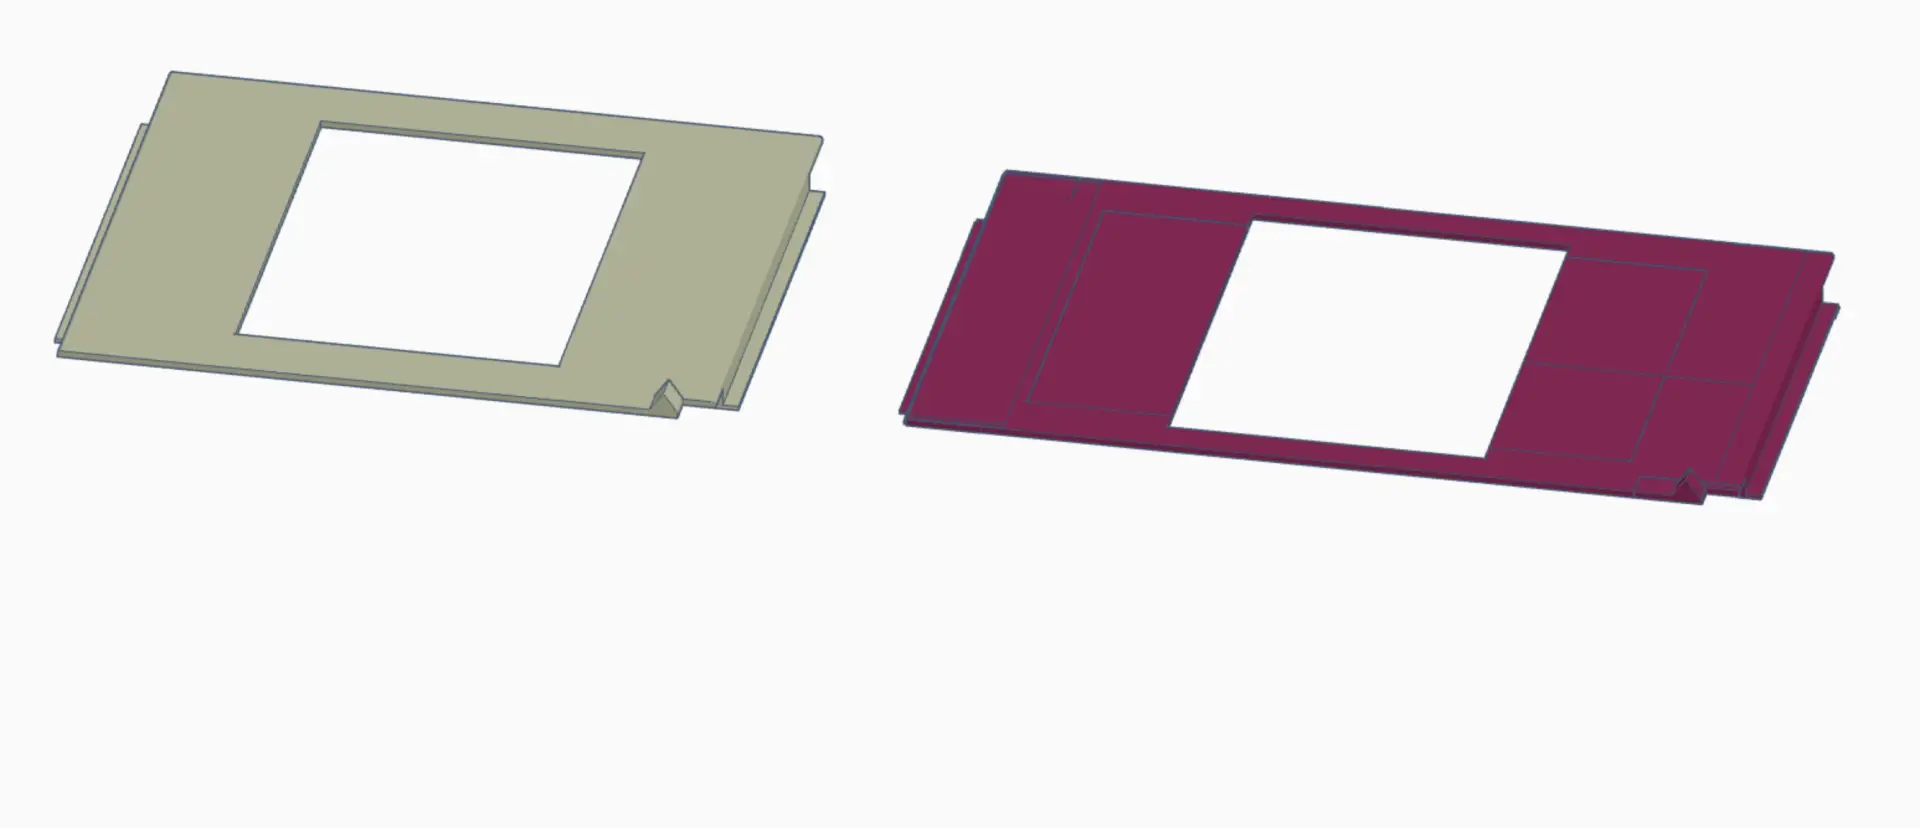
Left: frame for the Voigtlander Inos i
Right: remix to a 6×6 frame for the Voightlander Inos ii
The remix can in turn be remixed to fill to carve out a larger frame – for example a 6×9.
Remixing spool adapters to use 120 takeup/supply spools in 116 cameras
Most 3d printed adapters for using 120 film in 116 cameras centre the film on the film gate, by attaching 2 adapters to takeup/supply spools. One version even has a pierced metal piece over the holes to ensure a longer life.
Denny Atkinson, devised an adapter for a 116 takeup spool and a 120 supply spool. The problem is that when the roll is finished, the exposed roll is on the metal 116 takeup spool. Sending the spool out for processing is not a good idea. Will it be returned? Instead, rewind the film in the dark from the takeup spool onto the now empty 120 spool.
Seemed better to develop an adapter for a 120 spool to replace the 116 takeup spool.
It only took a few days to remix. Then it became second nature to duplicate an object:
- Using holes (negative solids), extract parts to make a new solid object.
- Convert the solid into a hole
- Use the hole to make another object by carving out the hole from a solid object.
- Combines objects to form new ones
It might sound complex, but it is fun.
The next step would be to post the make on a public site (printables is another). It seems only fair. But that requires documentation. Now on the to-do list.
Takeaways
it’s challenging. Like playing a video game but with tangible objects in the end.
- Tinkercad is fun/useful but a real parametric 3d modeling program would be more useful. It makes it easier to remix and refine just by tweaking one number to have the whole thing updated.
- Setting the height of an object above the plane is difficult.
- The align tool really helps.
- Bootstrapping is really useful
- Use holes to extract solid pieces from a shape,
- Combine solid pieces to make a new one,
- Transform the combined solid into a hole and use it to carve out another shape…
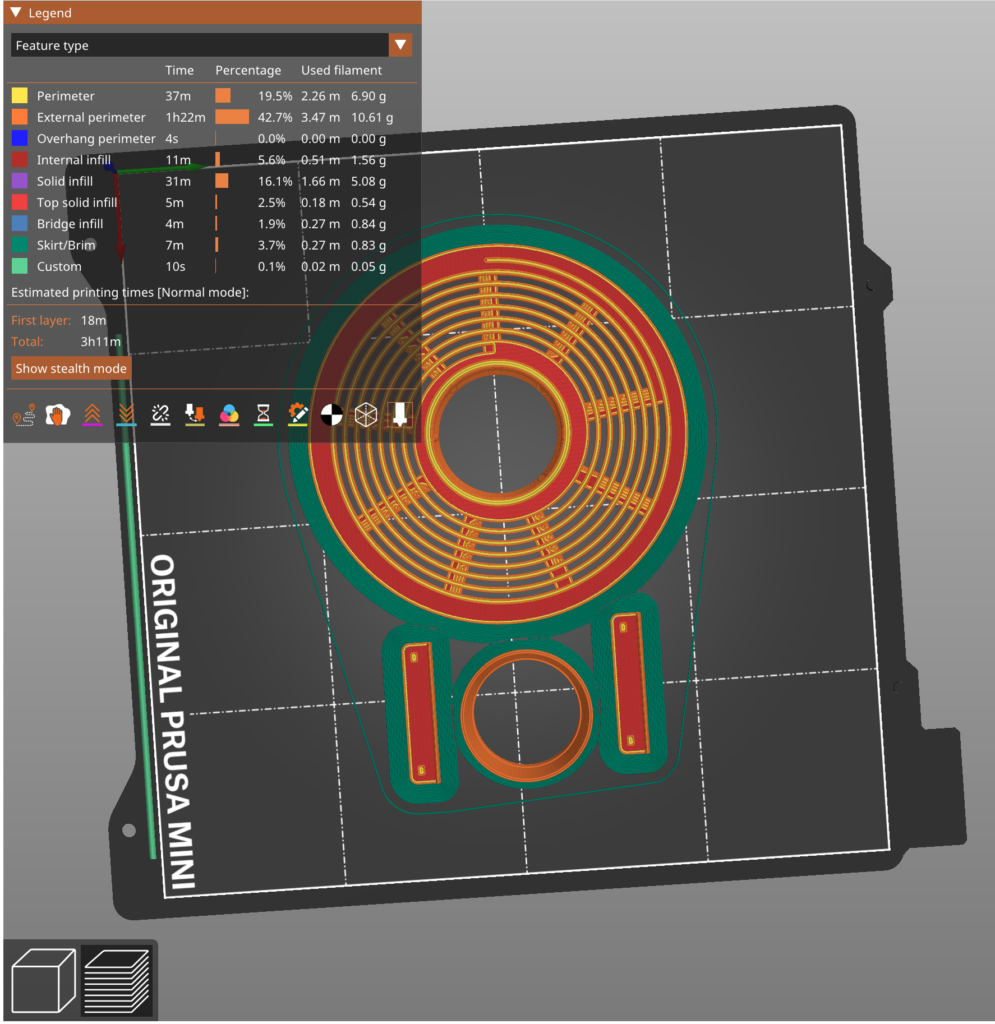
Perhaps that’s enough 3d printing at the Octavia Lab. While the printing is fre for now, it’s a trek, downtown Los Angeles is sketchy and frequently the printing takes too long. The bottom half of a 110 reel for a Paterson tank took 2 hours to print. And this will take 3.5 hours:
But as Andrea Bevacqua writes in a 35mmc post about 3d printing – the possibilities are endless and I have got a lot of projects in mind.
Share this post:


Comments
Gary Smith on My Early Experiences 3d Printing – New Life for Old Cameras
Comment posted: 27/05/2024
Comment posted: 27/05/2024
Stuart Jenkins on My Early Experiences 3d Printing – New Life for Old Cameras
Comment posted: 27/05/2024
It's also an invaluable tool for metal fabrication. You can design a metal part with CAD software, and then 3D print a template with the correct outline. The template is then used for marking out the metal sheet before cutting. It can include tiny pilot holes to precisely mark the positions of all the required holes that will be drilled to a larger size.
Incidentally, that's twice in a few days that I've been name-checked in a 35mmc article. Perhaps I should keep a low profile for a while!