I’ve been making photographs for most of my life. The first three decades on film, but it was always the traditional usage – family trips, memories with friends, special occasions. I bought a digital SLR when they came out, but it wasn’t until 2010 that I began to try and learn the basics of photography and to take pictures as an activity in and of itself. Coincidentally at that time I had several friends who were in bands. Those bands would play in local clubs on the weekends, and I would go to support them and bring along my camera. I thought it would be a great way to learn some of the basic skills as it relates to all the elements of the exposure triangle. And it was. As a result, those are times I’ve looked back on. Not just for the fun of seeing my friends performing on stage for a crowd. But for how those moments helped my own growth.
Like many people I suppose, I also grew up looking through the pages of magazines like Rolling Stone. At least a few hours of my youth were spent daydreaming about that rock and roll lifestyle based on the images in those pages. Travelling from city to city and striking those rock star poses on the edge of the stage playing to thousands of adoring friends. Of course, those images that fueled my imagination were all captured on film.
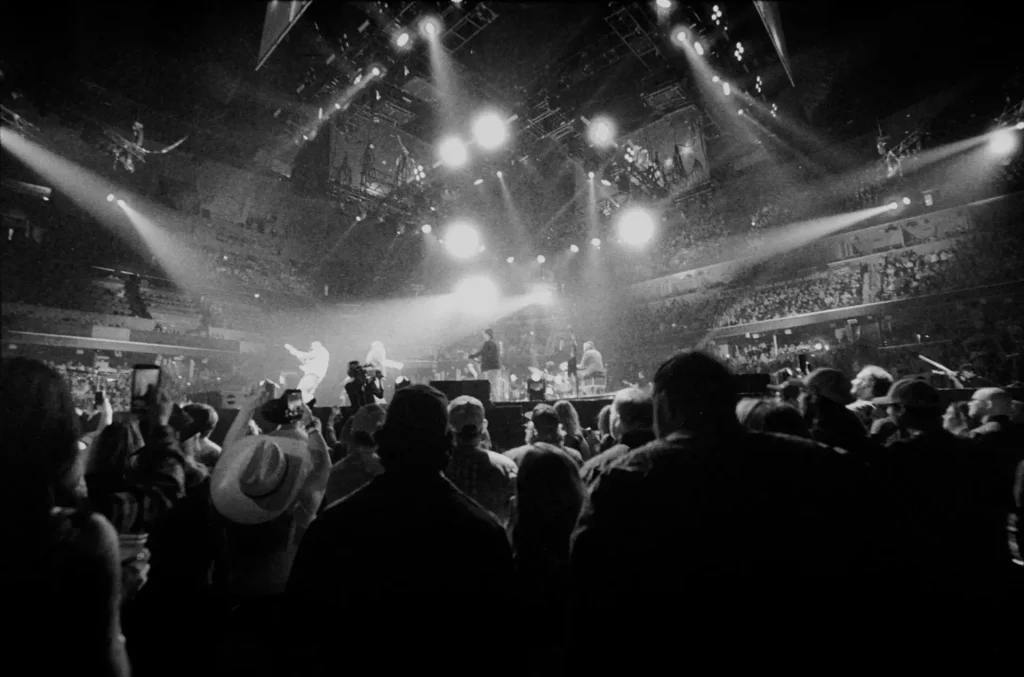
Those early club show outings helped me grow and learn the basics of photography. And my return to film as the pandemic hit prompted additional growth. Riding the shutter button assuming you’ll get at least one good image is a costly strategy with film. Bumping the ISO into the five-digit range is certainly possible, but it is not advisable in many cases. Photographers captured concerts on film for decades in some challenging conditions. So, when I had the chance to make photographs at a show recently, I decided to mix in some film work.
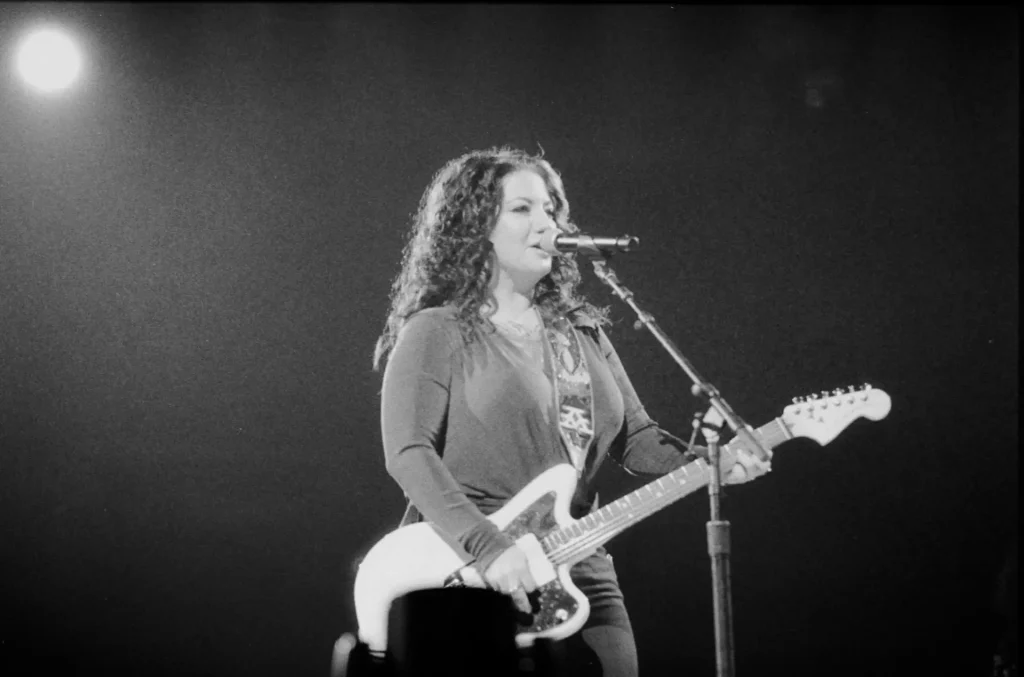
The opportunity to photograph this concert came via participation in the Shoot from the Pit workshop which is hosted by David Bergman. David is the tour photographer for American country music artist Luke Combs and runs the workshop during the tour. David is an excellent teacher and for anyone wanting to learn more about concert photography I highly recommend looking into his workshop. I should say that the workshop is exclusively centered around digital photography. The decision to include some film was entirely mine.
Concert photography is a niche genre. Concert photography on film is a niche within a niche. As a result, not a lot of people practice it. Still, I thought some people might be interested in the possibilities and decided to share my experience in case it might be helpful for anyone else out there as a starting point for their own experimentation.
To that point, when I began research for my own strategy, there wasn’t a single recipe for success. I was going to use my Canon EOS-3 which was still being sold as recently as 2007, so is very capable as far as film cameras are concerned. This meant I would be able to use excellent lenses also. The much more difficult decision was the film choice.
I was tempted to try Kodak P3200 because I had not shot it before, but all my normal channels were sold out. There were some people who recounted shooting concerts on Tri-X at 400 or 800. I briefly considered Cinestill 800T for multiple reasons. Ultimately I decided on Ilford Delta 3200. It came up quite often, but in the different posts I read the photographers rated and developed their film differently. In one post it was shot and developed at 3200. Someone else who does a fair amount of this said they rated it at 2000 and then pushed it two stops in development. Per Ilford’s own technical data sheet, “Delta 3200 Professional has an ISO speed rating of 1000/31° (1000ASA, 31DIN) to daylight.”
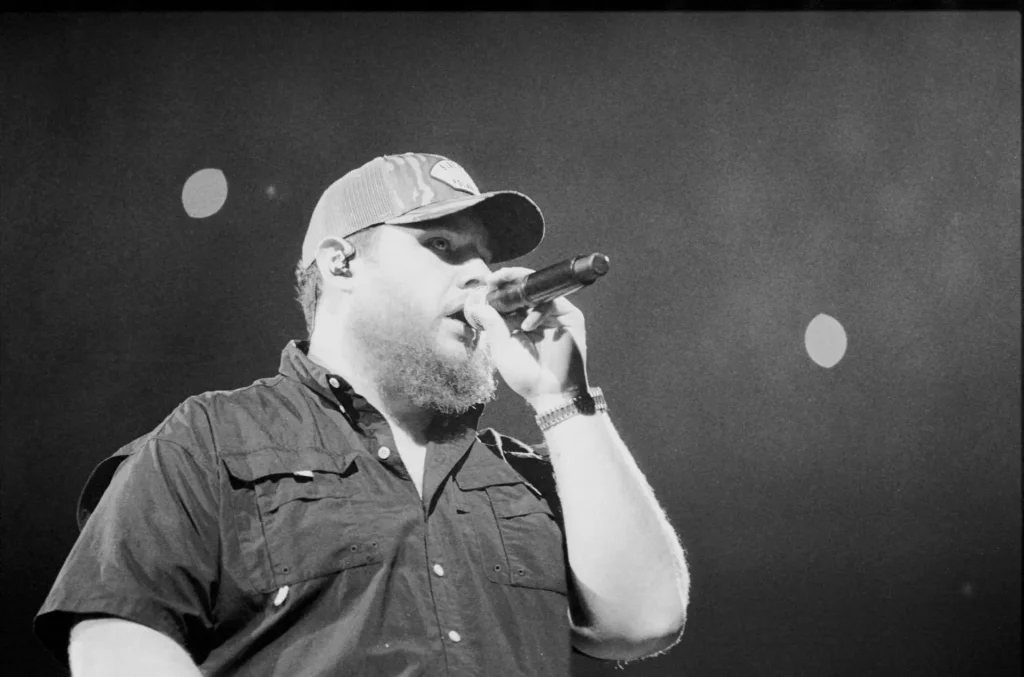
I have used Delta 3200 before, but only in medium format and always rated at 1600. Those were mostly portraits and I’ve enjoyed the film rated at that speed. I have only tried shooting film at 3200 once and that was with HP5. But I did not give it the best chance for success. I shot it at the widest aperture I had on me, but it was not wide enough for that lighting. And because I was anxious to see the results, I used the lowest dilution I could find for HC110 which really did not allow enough developing time to bring out the best in the film. That one bad experience with film at 3200 complicated my strategy a little. I assumed I would need the highest ISO possible. I expected grain, but I also wanted to make the best images I could.
I was taking 6 rolls, so I had considered rating the individual rolls differently. But as you might image, a concert is a hectic environment. It is also dark. I was not confident that I would be able to keep track of which speed each roll had been shot at. While I was curious about what different development times might accomplish, in the end that was one additional variable I chose not to introduce. In that sense, the speed of exposure would not have mattered for development, but I was also hoping to know the speed afterwards for my own knowledge and for being able to share that information.
One of the modern, advanced features of the Canon EOS-3 is Auto Exposure Bracketing (AEB) with a range of +/- 3 stops. You can manually set the ISO and when shooting in continuous mode, you press and hold the shutter button and the camera will make one exposure with the ISO value, and one each at the values for the AEB range you’ve set. I decided to set the ISO at 1600 and the AEB range at 1 stop. In the end I had 3 exposures for each image – one at 1600, a second at 800 and a third at 3200. This was a trade off where I ended up with three exposures for any one “scene” and only 12 scenes per roll instead of 36, but with the advantage that hopefully at least one would be a decent exposure.
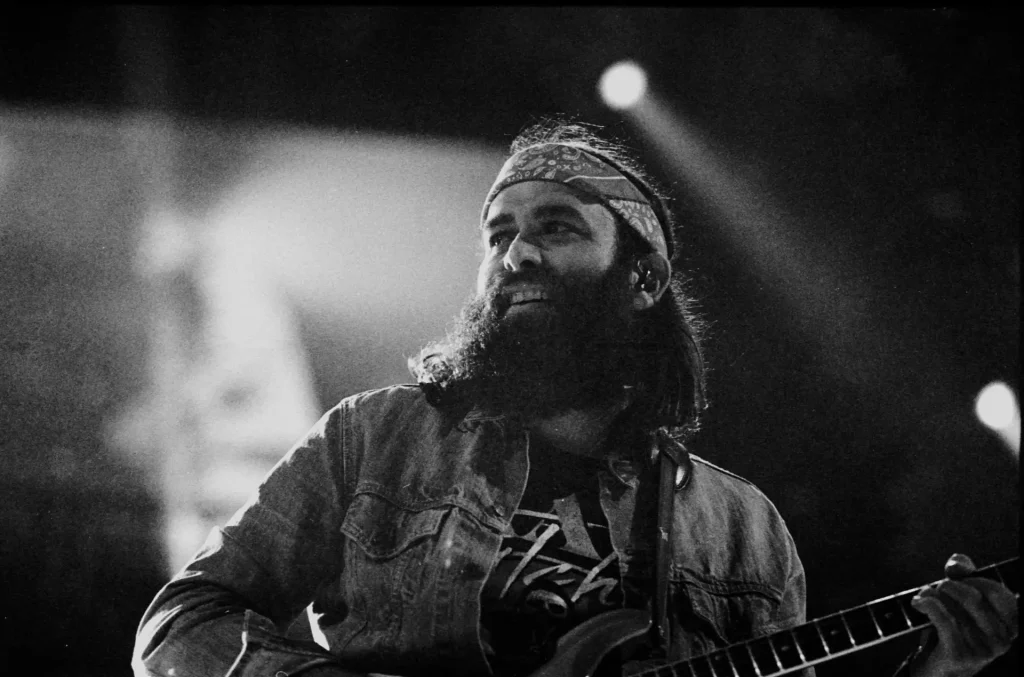
With my ISO decision made, I thought about aperture. The images of the musicians were made with Canon’s EF 70-200 mm which has a maximum aperture of f2.8. It is also claimed that the image stabilization in that lens can give you 3-4 additional stops. If true, one might expect to get some acceptably sharp images handheld with a shutter speed as low as 1/25 (if it is true that you can expect reasonably sharp images at 1/focal length – 200mm in this case, minus three stops). Although many performers are static, in a perfect world I would love to get that up to at least 1/500. But we often have to make some sort of compromise and this was where I landed. Three ratings per scene (800, 1600, 3200), with the aperture at f2.8, and then adjust the shutter speed as fast as I could get it as the variable that I would adjust from scene to scene.
My most frequent developer is D76 and I have used it with Delta 3200 at 1600 before. But I have also used DD-X in the past and it is the recommended (liquid) developer for Delta 3200. Of course, unless you are willing to cut a roll and develop sections independently, you have to decide on a single time for developing a roll. Since I was trying to give myself the best chance of success, I decided to use DD-X and to develop all of the rolls for 9:30 which is the published time for a 3200 rating. I did notice some bromide drag on some of the negatives. Luckily the tops and bottom of most of the frames were darker areas, so it is not as noticeable. Still, that was a little disappointing. I suppose I was being less aggressive in my agitation than normal. I used distilled water at the recommended temperature and haven’t experienced that before.
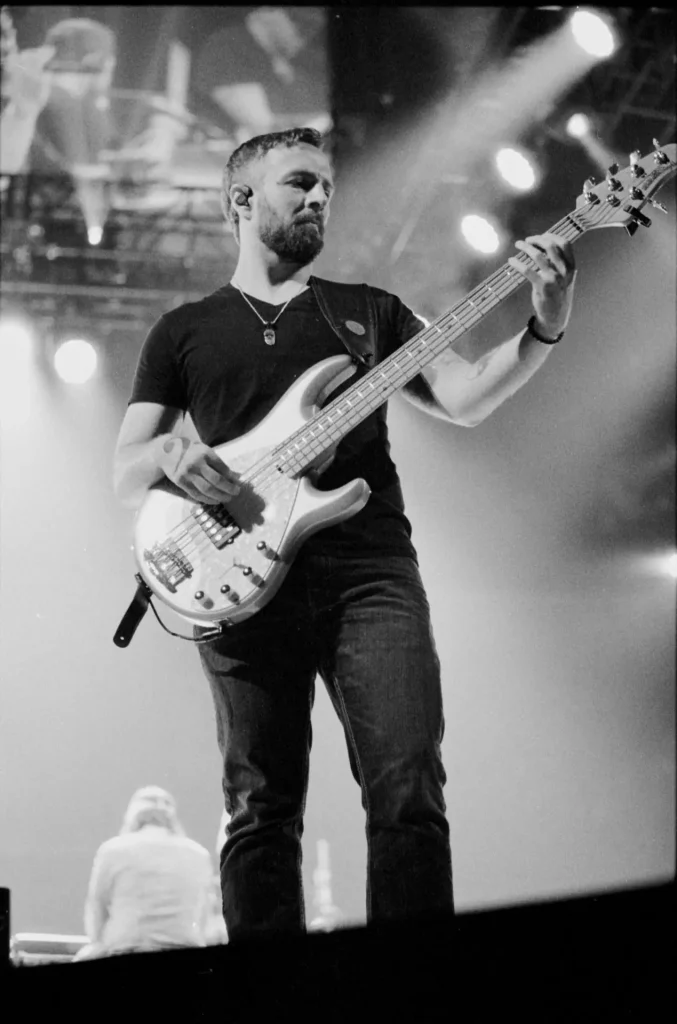
Finally, I scanned all of the images with my Epson V600 and VueScan. I then did some editing with Capture One which is my preferred software, mostly tweaking exposure and contrast to my personal taste.
The images I personally liked were all rated at either 1600 or 3200 and there was no consistent reason. It just came down to the subject matter and lighting in the shot. Not only were none of the shots rated at 800 my favorite for that scene, I did not like the look of any of the images rated at 800. I mentioned the bromide drag earlier. Perhaps some combination of the agitation and development time were not conducive for exposing the film at 800 in that situation. Going back to the Ilford data sheet, it says good image quality can be “obtained at meter settings from EI 400/27 to EI 6400/39” but goes on to say that it is “particularly recommended for exposing in the range EI 1600/33 to EI 6400/39”. So with that, and my experience, I don’t think I would try it at 800 if I had a similar opportunity in the future.
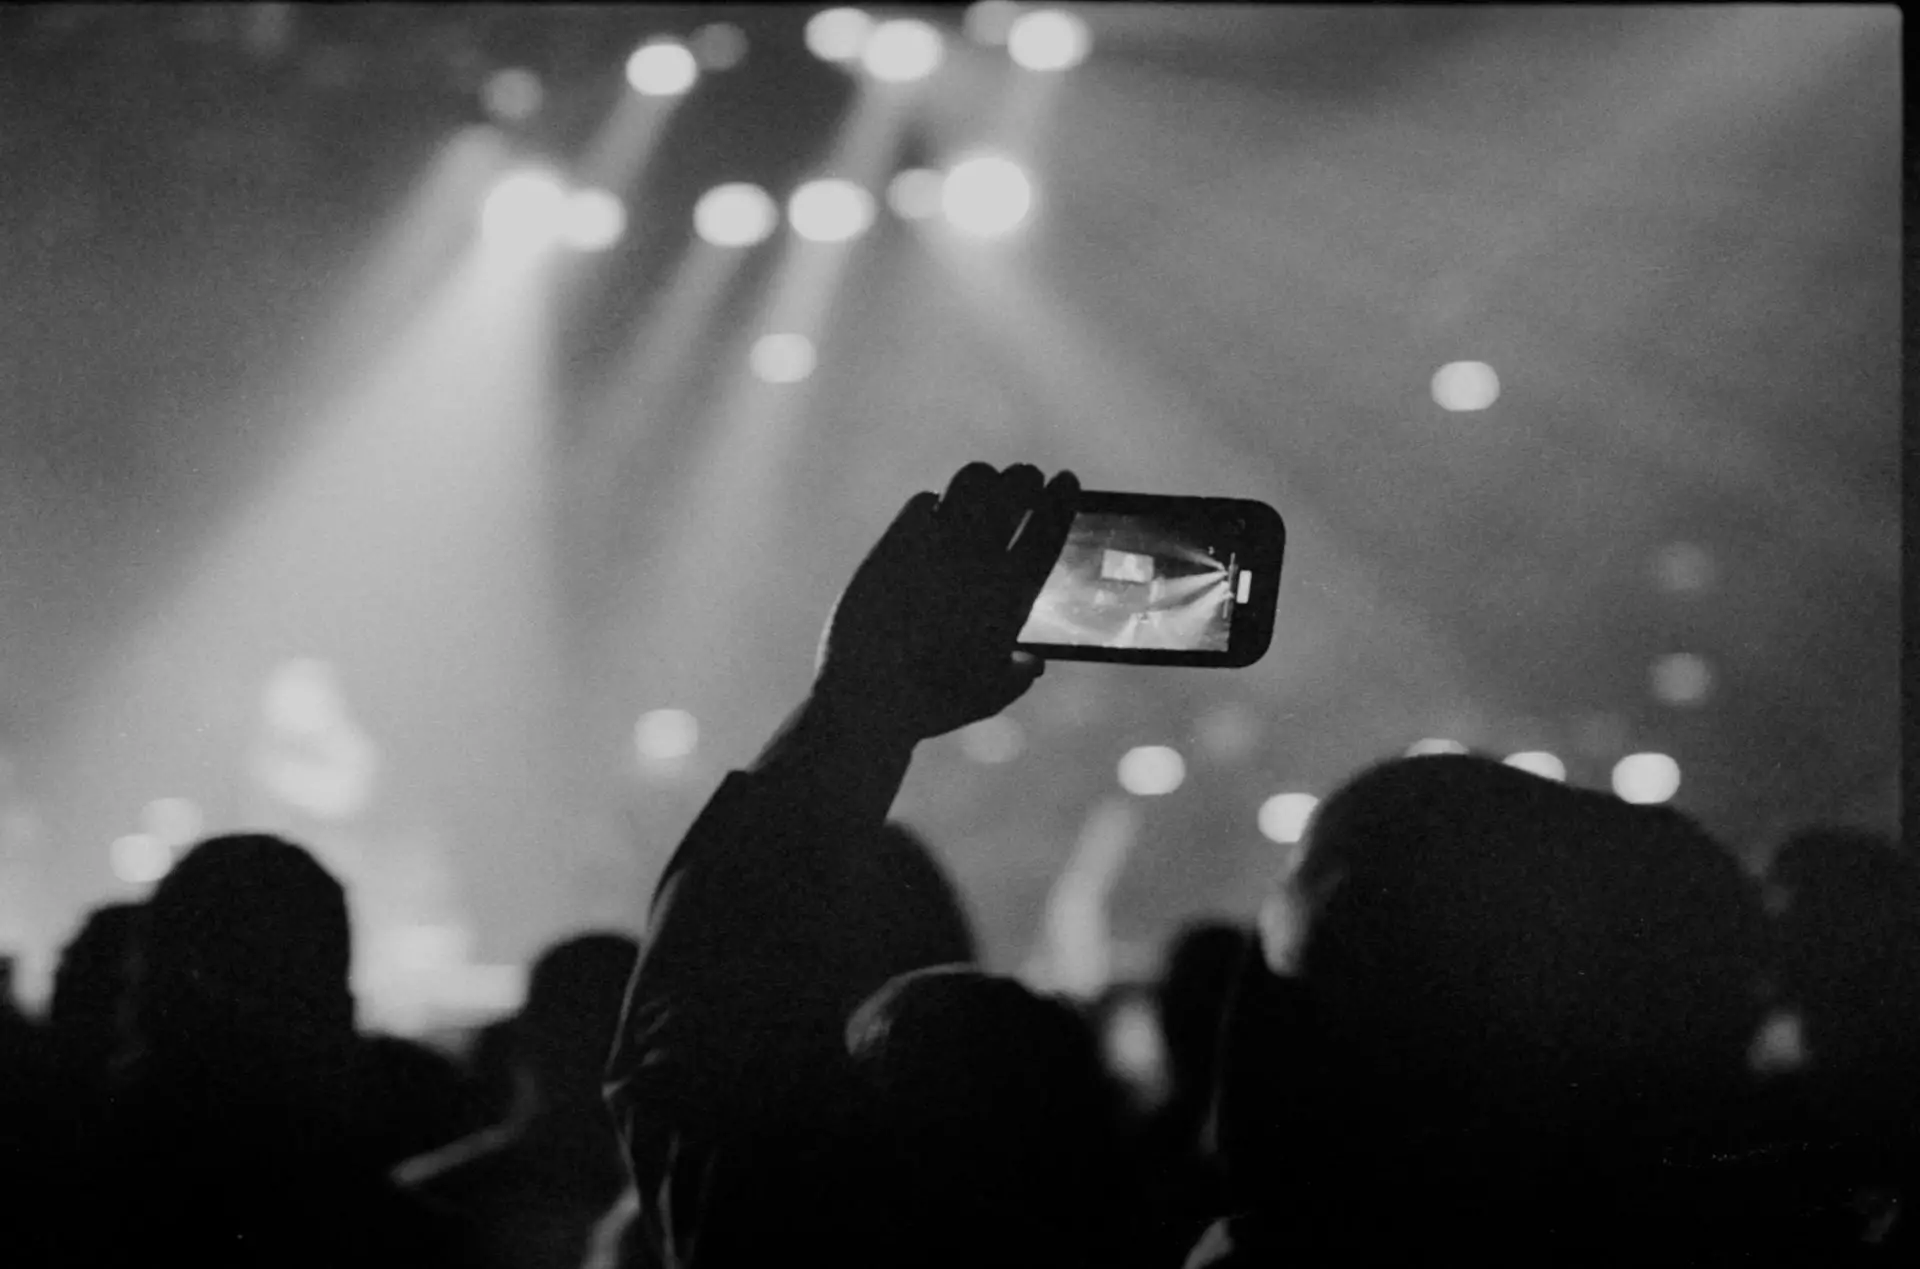
But for those images I did like at 1600 and 3200, I am considering this test successful. The aesthetic is different than the digital images I took at the show. That was the intent. For what they are (images captured on film), I enjoy those images as much if not more than the digital images. I learned what was possible and gained knowledge that I can perhaps use in the future.
Thank you as always for taking the time to read this article. This is not intended to tell anyone exactly how they should photograph a concert with film or as a deeper dive into all the intricacies of concert photography (access, composition, legalities, etc.). Again, for anyone wanting to learn more about all of the finer points, I really do recommend checking with Mr. Bergman at the link above. I primarily wanted to share my own experience in case it might be useful to anyone who wanted to try it for themselves. To that end, I hope it has been helpful.
You can find me on Twitter, Instagram or Flickr as bsanfordjr.
Share this post:




Comments
Lee on Trying Concert Photography on Film – By Billy Sanford
Comment posted: 28/12/2021
Billy Sanford on Trying Concert Photography on Film – By Billy Sanford
Comment posted: 28/12/2021
Shannon on Trying Concert Photography on Film – By Billy Sanford
Comment posted: 28/12/2021
Billy Sanford on Trying Concert Photography on Film – By Billy Sanford
Comment posted: 28/12/2021
Charlie B. on Trying Concert Photography on Film – By Billy Sanford
Comment posted: 28/12/2021
When you signed up for the event, how did the creative licensing work? Did you have to give your photos back to the band? Or did you have to sign an agreement that you wouldn't sell them on make a profit on them?
Billy Sanford on Trying Concert Photography on Film – By Billy Sanford
Comment posted: 28/12/2021
Chris on Trying Concert Photography on Film – By Billy Sanford
Comment posted: 28/12/2021
My go to solution was Lomo 800 my FD 50mm / f1.8 lens, mostly with shots being taken at about 1/60s. It works well for decently lit venues, i have uploaded some results here:
http://meetup.bronies.de/index.php/BronyCon-2019---Baltimore/chrodo---analog---BronyPalooza?page=1
However, smaller venues with less light are nearly "impossible" with just ISO800, not to forget the increased prices for Lomo 800 and film in general.
Thus, Delta 3200 is my go-to option too.
I always use Rodinal for convenience and contrary to what many people suggest, it is not the worst developer for the film. That being said, it is extremely grainy with ISO3200 and it felt like the grain destroyed the details. Shot at ISO1600 (the highest my Canon AV-1 can handle), the details and grain are not that bad:
https://abload.de/img/img_00141yskxf.jpeg
Back then, i used a flatbed scanner, not a dedicated film scanner; Maybe it could look even better if i rescan it. A bit.
With P3200, it felt like it was slightly less grainy @ISO3200 compared to Delta. Maybe someone else with more experience can elaborate in that matter.
I assume, that i can not get the same results as shown in this article when i would stick to Rodinal, but i get close at @ISO1600. What i want to say is: Don't fear to use a different developer.
Billy Sanford on Trying Concert Photography on Film – By Billy Sanford
Comment posted: 28/12/2021
Dan Castelli on Trying Concert Photography on Film – By Billy Sanford
Comment posted: 29/12/2021
Your article & pics were a nice read.
I did some concert photography in the early 1970’s for our college yearbook. I got a shot of Edgar Winter sitting in the wings waiting to go on stage. Lesson? Never disturb a performer in their ‘zone’ before a performance. It didn’t end well. So, it was a treat to see such good shots! Keep it up!
Did you happen to catch the PBS special on rock & roll photography? So good.
Stay healthy & good shooting in 2022!
Billy Sanford on Trying Concert Photography on Film – By Billy Sanford
Comment posted: 29/12/2021
Pedro Gonçalves on Trying Concert Photography on Film – By Billy Sanford
Comment posted: 03/01/2022
So it was really cool to read your article and see your results.
I use a wide variety of cameras: Pentax Spotmatic, Nikon F90X, Bronica etrsi, Nikkormat, Polaroids and Instax 300 (etc).
I never used any 3200 ISO film. My main limitation is the film prices so I usually use 100-400 ISO films and mostly B&W.
2021 was the year I tried to shoot slide during concerts with fair results.
2020 I tried to shoot instant film during concerts but with poor results.
I think that there's little room for an analog guy in this digital world.
Bands, venues and general public expect pictures the day after the show, which is hard to do when we have a process that takes more than the digital way.
I tried in 2019 to shoot, develop and scan right after the concerts but I ended too exhausted after some time (I work shifts in a non related photography job). I didn't think It payed off - no one recognised the effort.
I think that in my country, most venues don't have a pro photographer so the amateur and the enthusiast photographer step up.
Since film photography is more expensive (in a long term) and the risk of not having any picture at all is higher than digital, I believe that there are really few people willing to shoot film pictures in concerts.
So after 4 years I completely agree with you: "Concert photography on film is a niche within a niche".
Thank you for writing this article, hope to read more about the subject.
And forgive my poor English writing.
Billy Sanford on Trying Concert Photography on Film – By Billy Sanford
Comment posted: 03/01/2022