After some time, I am back into the world of photography. I’ve always been intrigued by analogue photography and especially by the dark room, but I have never attempted it. So, after a few years of digital, I thought it’s time to give it a go.
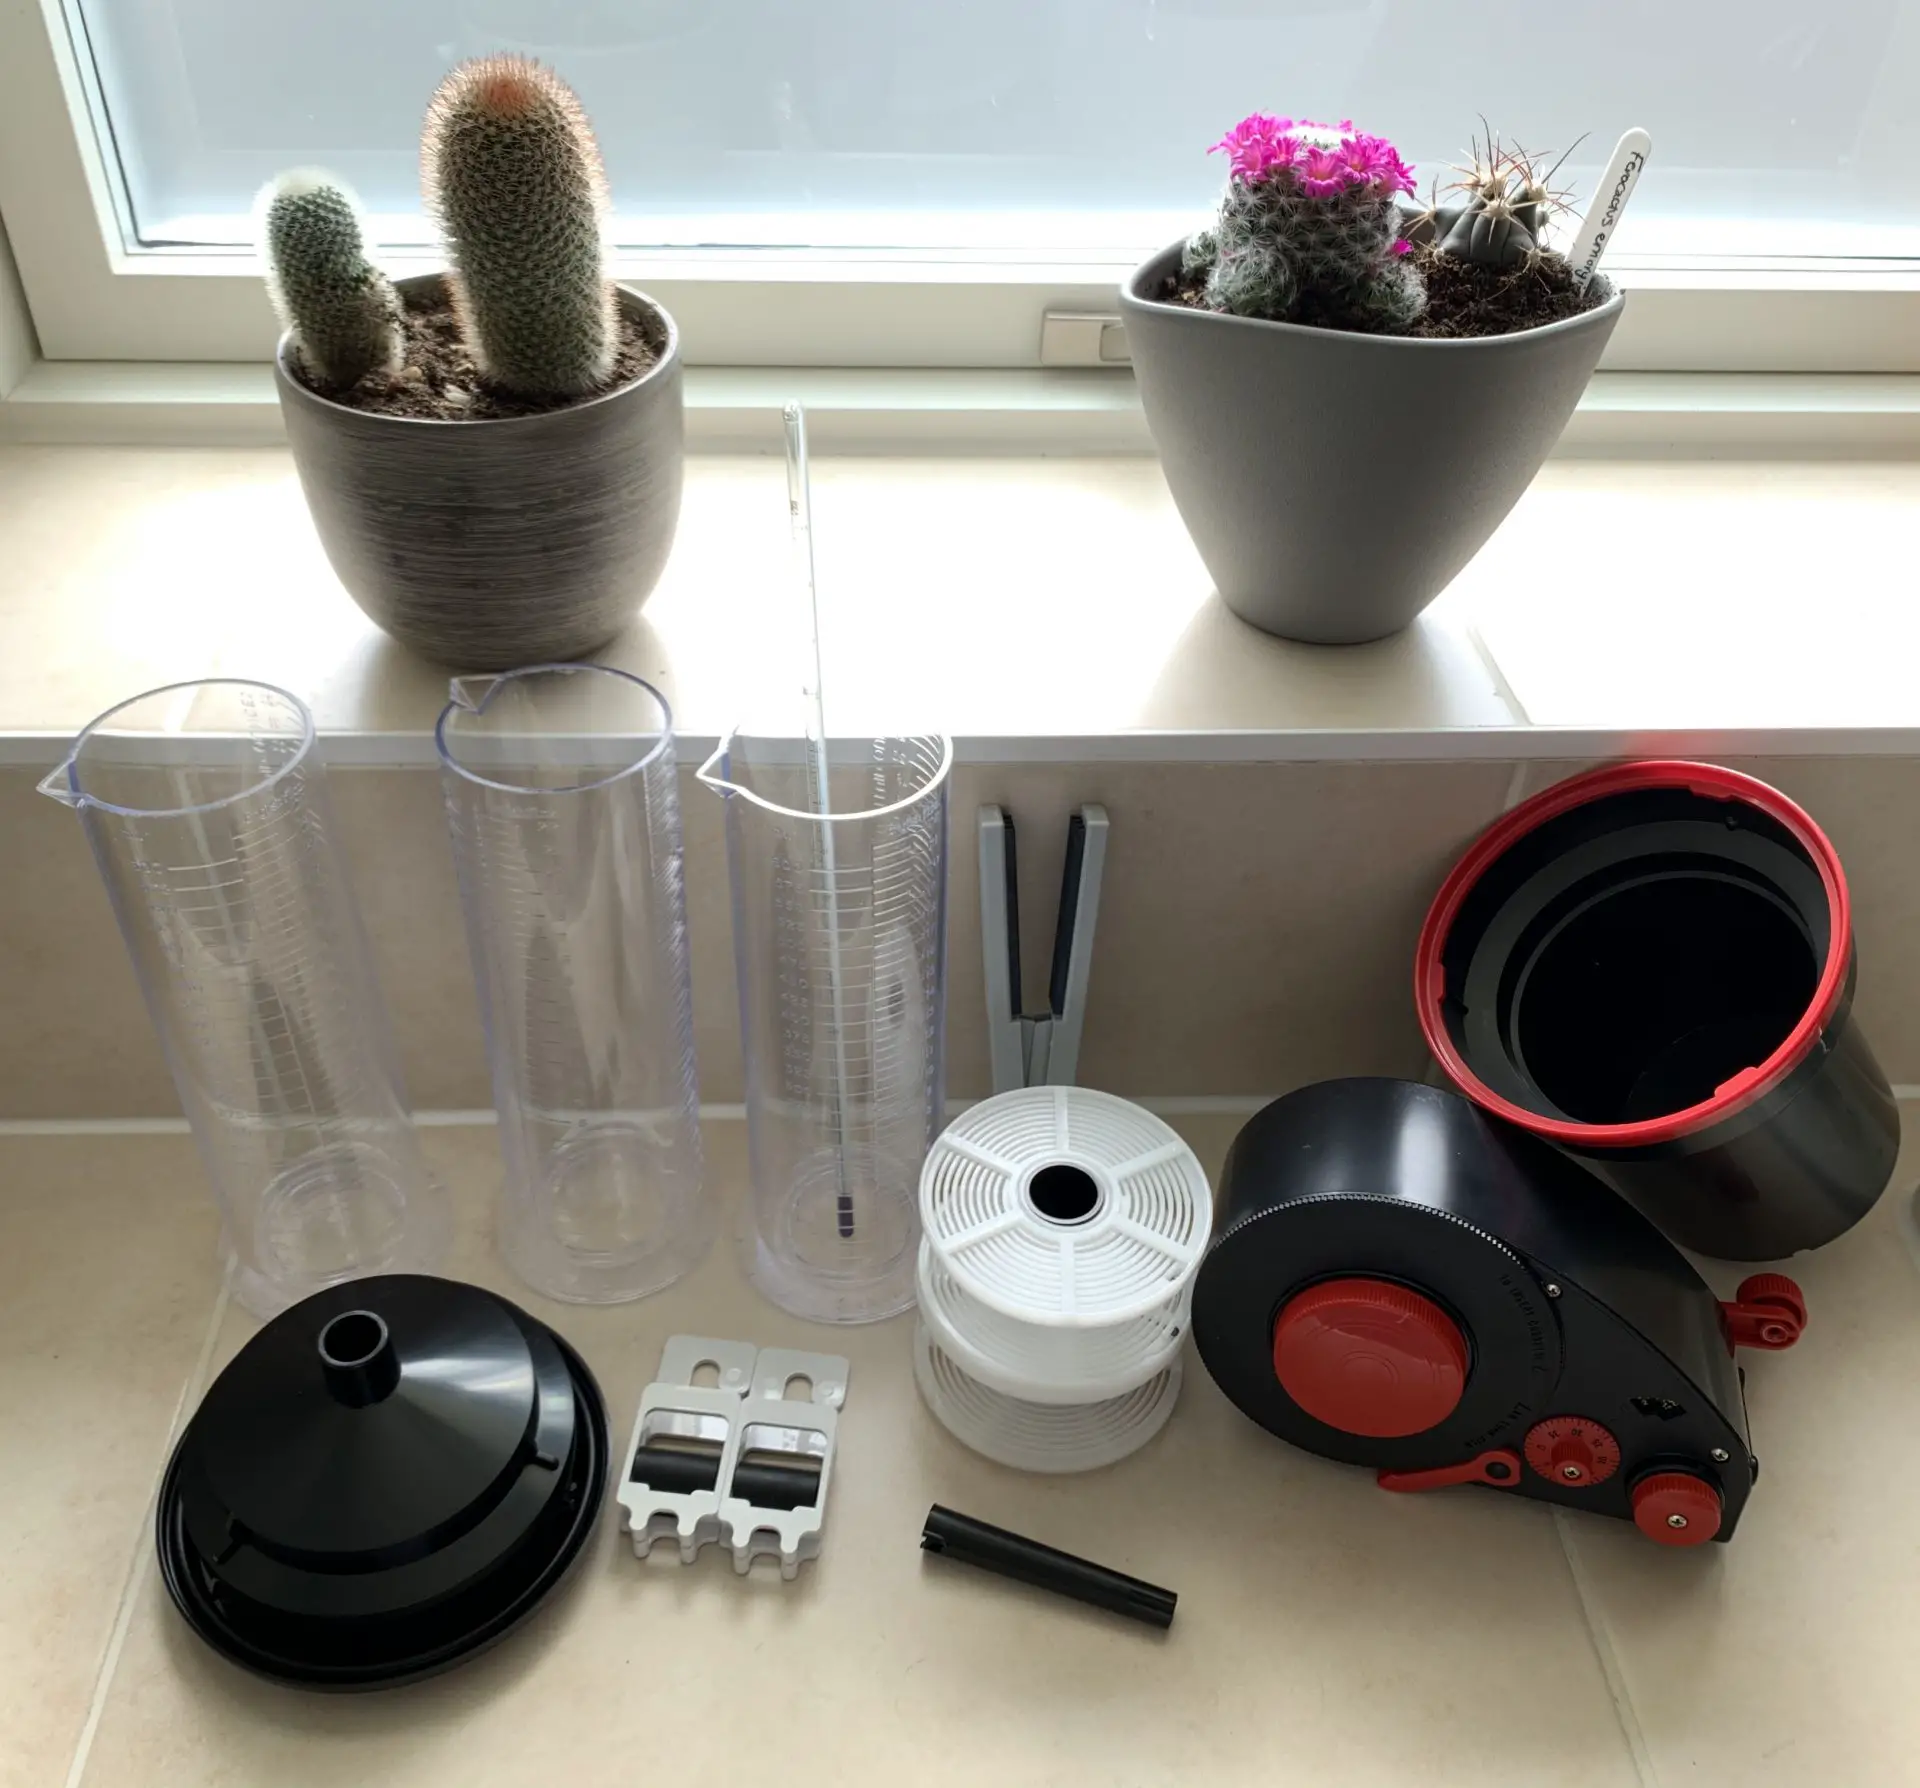
I am lucky enough to have a few vintage cameras in house, so all I needed was a starter kit for developing. I want to experiment with colour eventually, but for now, I am starting with B&W.
As I wanted to learn as much as possible, the starter kit I choose included also the bulk film loader, so I could make my rolls as well. My new equipment includes an Epson flatbed scanner as I also want to import the negatives on the computer.
My future step will be to approach the dark room for prints with an enlarger and complete the full analog process, but hey, one step at time!
After a bit of research, and thanks to Hamish who helped me to understand how the Leica M2 works, I loaded it with a roll of Ilford HP5+ and headed out in the estate where I live in order to do some trial shots and start developing.
In less than an hour I got my first roll completely exposed so I decided to continue and load the Ilford P3 400Iso Surveillance (bulk) I bought to do more shots, this time with a Diana+… yes, the toy camera!
It was then time to develop. To keep things easier, I decided to try the Monobath Cinestill Df96 which seems a decent compromise for home developing. I was very excited but, due to my lack of confidence, I thought I messed it up and I was pretty sure I was about to get a couple of black stripes of film. Thankfully, I actually obtained two rolls of negatives with some decent images!… I mean, decent, considering it was the very first attempt.
I was very surprised – I did not think it would be so easy.
Much more confident with the digital side of things, I thought it would be now really easy to scan the negatives and save them into my hard drive for saving online.
And here I got another surprise: the main difficulty was to understand all the settings of the software and then all the adjustments in order to scan a decent image. I did not think about the fact that you have so many different settings, all of which can result loads of different image outcomes, which in turn can tell different stories…
This thought brought me to the idea of making the minimum edits possible to the negatives. It is very easy to get lost between all the changes that a software can produce!
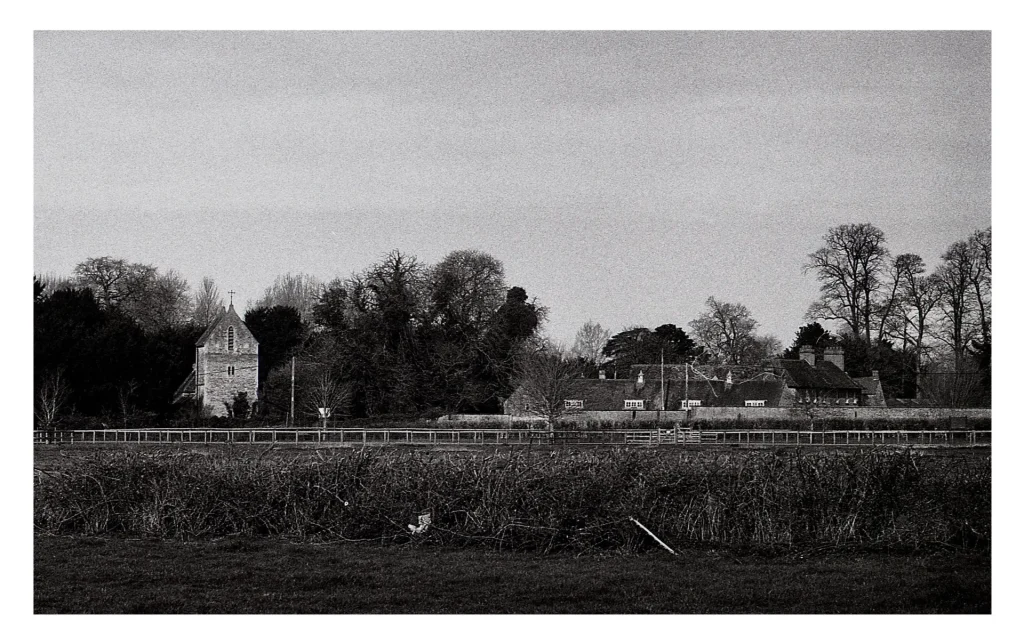
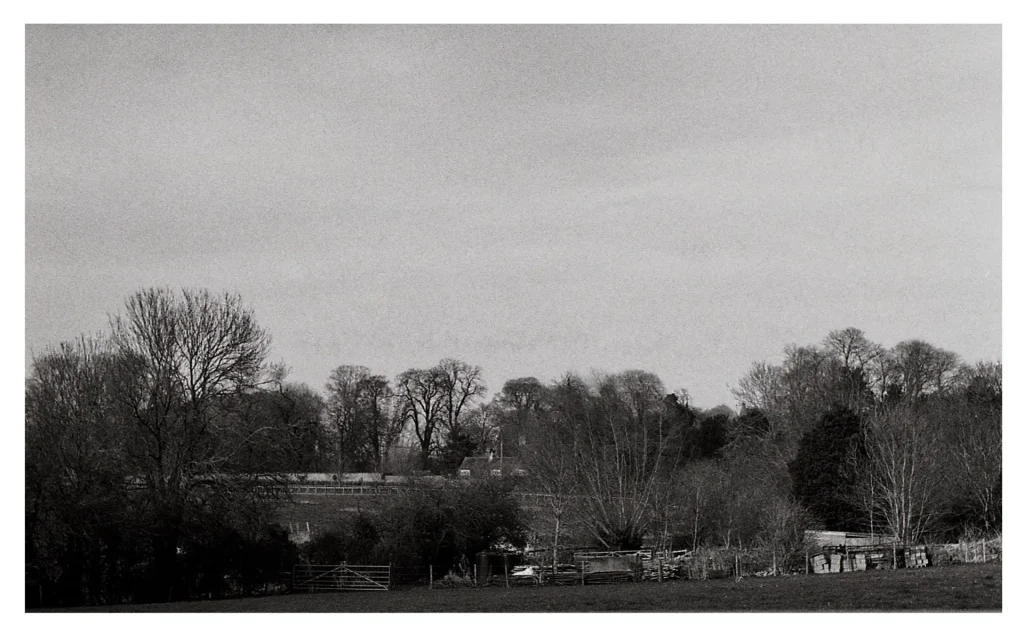
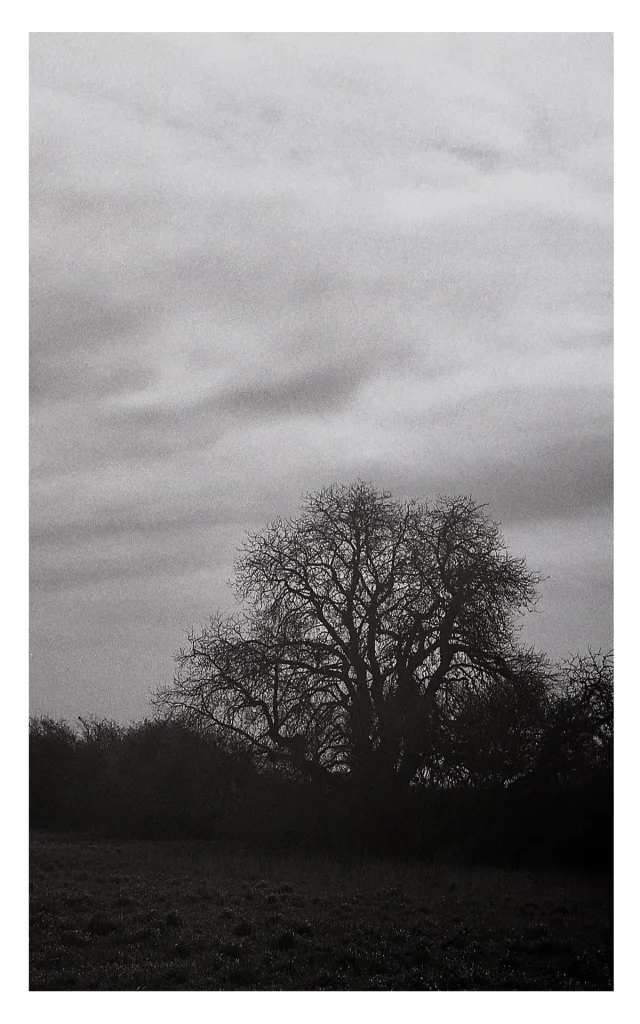
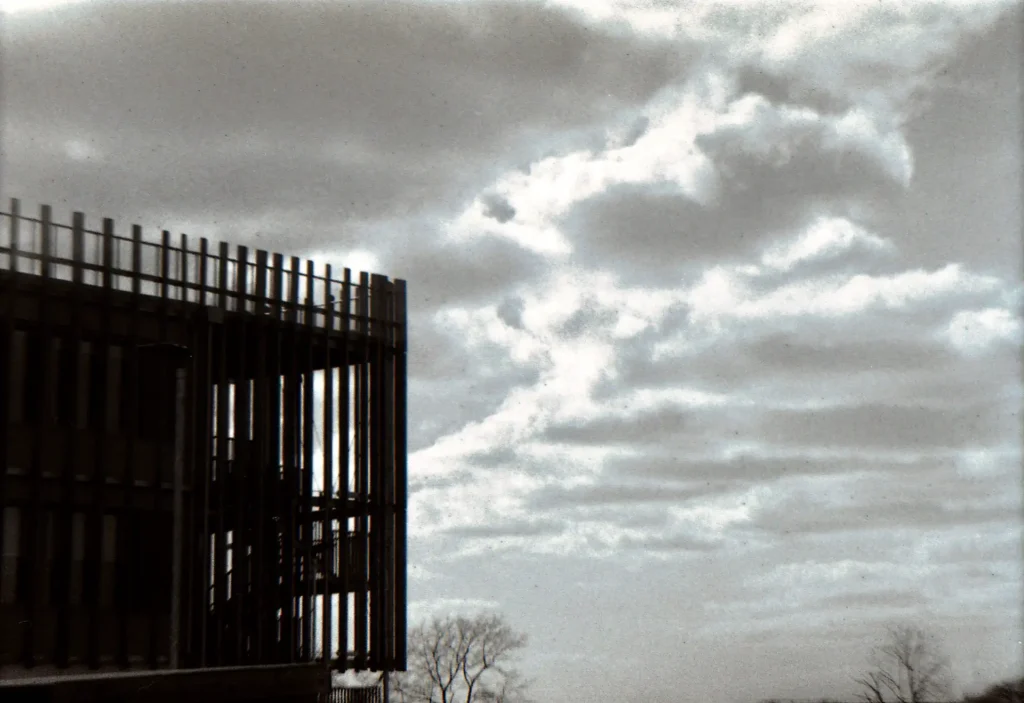
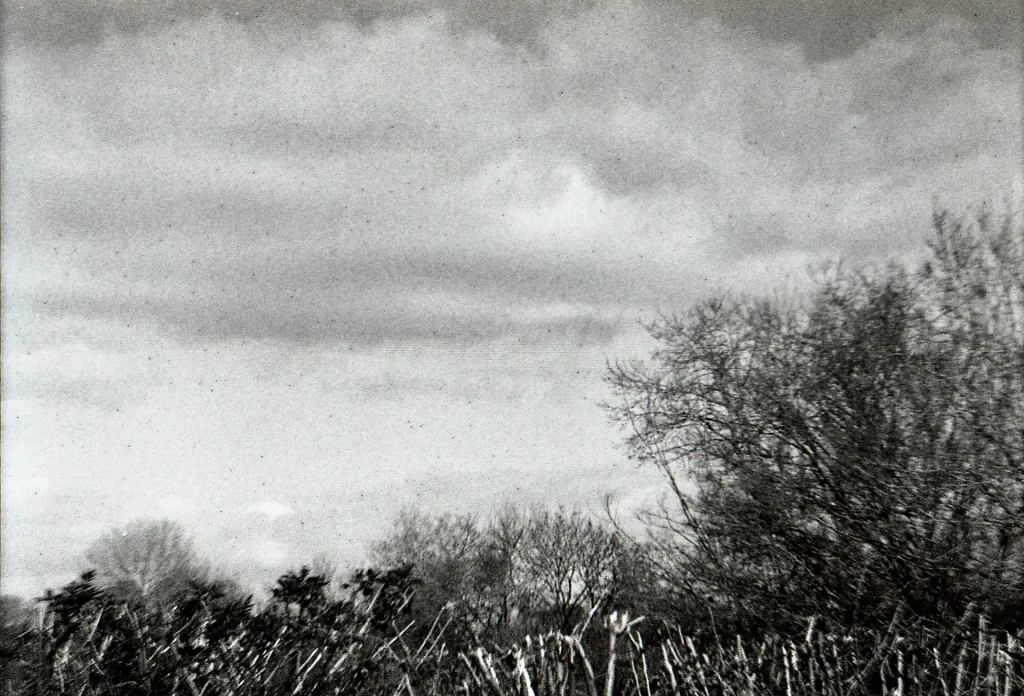
So my perceptions were exactly the opposite in the actual experience, developing was easier than expected, while scanning was much more difficult! I am not saying it is easy to have a good result. There are many of variables to consider, so it does require planning and some study but it was easy to obtain a result from film and home developing than I thought it might be.
However easy or hard any of it was, it all worked well enough for me. I was looking for a learning experience to keep building up on my pre-existing passion for photography – and that’s exactly what I got!
My journey into analogue has just begun, and I can’t wait for better days to go out and shoot without the limitations of the social distancing and the fear of contracting this awful virus.
I hope to be able to contribute with more quality images very soon and to learn as much as possible via your comments and tips.
Thanks,
Andrea
Share this post:


Comments
Huss on Finding the digital bit more difficult – My first steps into Analogue – Part 1 – By Andrea Bevacqua
Comment posted: 30/04/2020
I too have been very happy with Cinestill Monobath DF96.
If you have a digital camera you should try to use that to scan your film. It is very easy now to convert those images using NegativeLabPro.com
I have been doing that for several years now and have been very happy with the process.
Plenty of places online to find out Information how to scan film with a digital camera.
Best regards
Huss
Comment posted: 30/04/2020
Comment posted: 30/04/2020
Comment posted: 30/04/2020
Neal A Wellons on Finding the digital bit more difficult – My first steps into Analogue – Part 1 – By Andrea Bevacqua
Comment posted: 30/04/2020
You are in for a lot of fun.
Neal
I have also found using the C-41 color development chemicals are as easy as B&W, as long as you get your temperature stable (using a mop bucket for me as a water bath.)
Good luck.
Comment posted: 30/04/2020
Charlie Bierwirth on Finding the digital bit more difficult – My first steps into Analogue – Part 1 – By Andrea Bevacqua
Comment posted: 30/04/2020
Comment posted: 30/04/2020
Rock on Finding the digital bit more difficult – My first steps into Analogue – Part 1 – By Andrea Bevacqua
Comment posted: 01/05/2020
Comment posted: 01/05/2020
Aaron Gold on Finding the digital bit more difficult – My first steps into Analogue – Part 1 – By Andrea Bevacqua
Comment posted: 01/05/2020
For scanning, there shouldn't be too many settings to fiddle with -- I have an Epson V550 and I just set it for B&W negative and let 'er rip. It always seems to get a nice balanced exposure. I load the picture into GIMP, crop if needed, maybe adjust the contrast a bit, and use the clone tool to clean up dust (all stuff we did in Ye Old Dayes in the darkroom) and that's that.
Welcome to the wonderful world of film!
Aaron
PS, I try to avoid the term "analog" for film/chemical photography.... it's a pet peeve of mine. Not everything that isn't digital is analog, and I'm not convinced that film is -- I think it's actually more of a digital medium, as there's no real continuous tone, but rather the "bits" of metallic silver are either there and blocking light or absent and not blocking light. They just aren't laid out in a predictable pattern as with a digital camera.
Comment posted: 01/05/2020
Honing in on areas for improvement - My First Steps into Analogue - Part 2 - By Andrea Bevacqua - 35mmc on Finding the digital bit more difficult – My first steps into Analogue – Part 1 – By Andrea Bevacqua
Comment posted: 07/05/2020