For the past few years, I’ve enjoyed shooting with older folding medium format cameras. These cameras are generally smaller and something I can fit into my pocket for easy transportation. Also, use larger film than 35mm, so the ability to enlarge or crop the image gives more flexibility. Their lenses are somewhat flat in contrast, but I can change that after processing and digitizing the images.
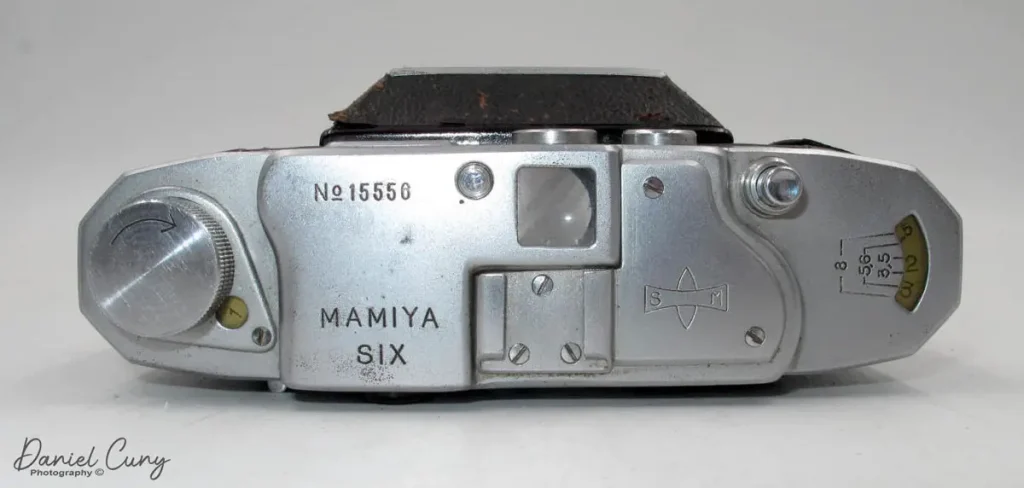
The Mamiya Six camera I have is one of the cameras I like to use often. There are some exciting features built into this camera that make the camera fun to use. The Mamiya Six was the first camera manufactured by Mamiya, and the camera I have, I believe, is the second version.
Cleaning the Lenses.
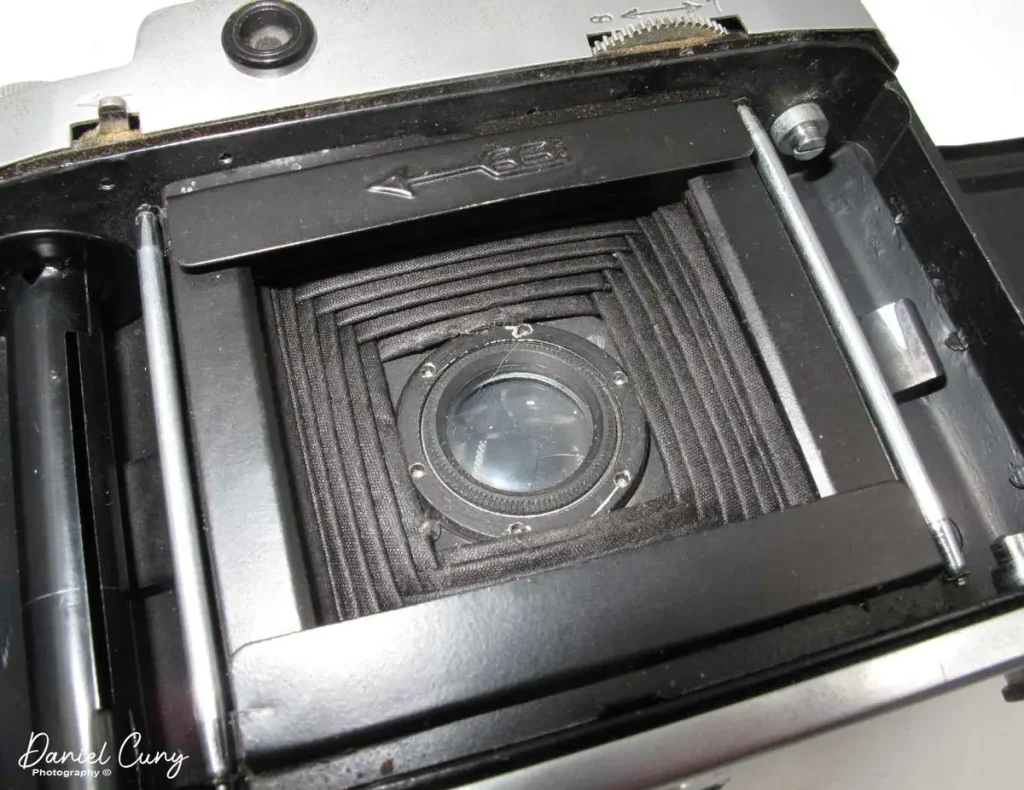
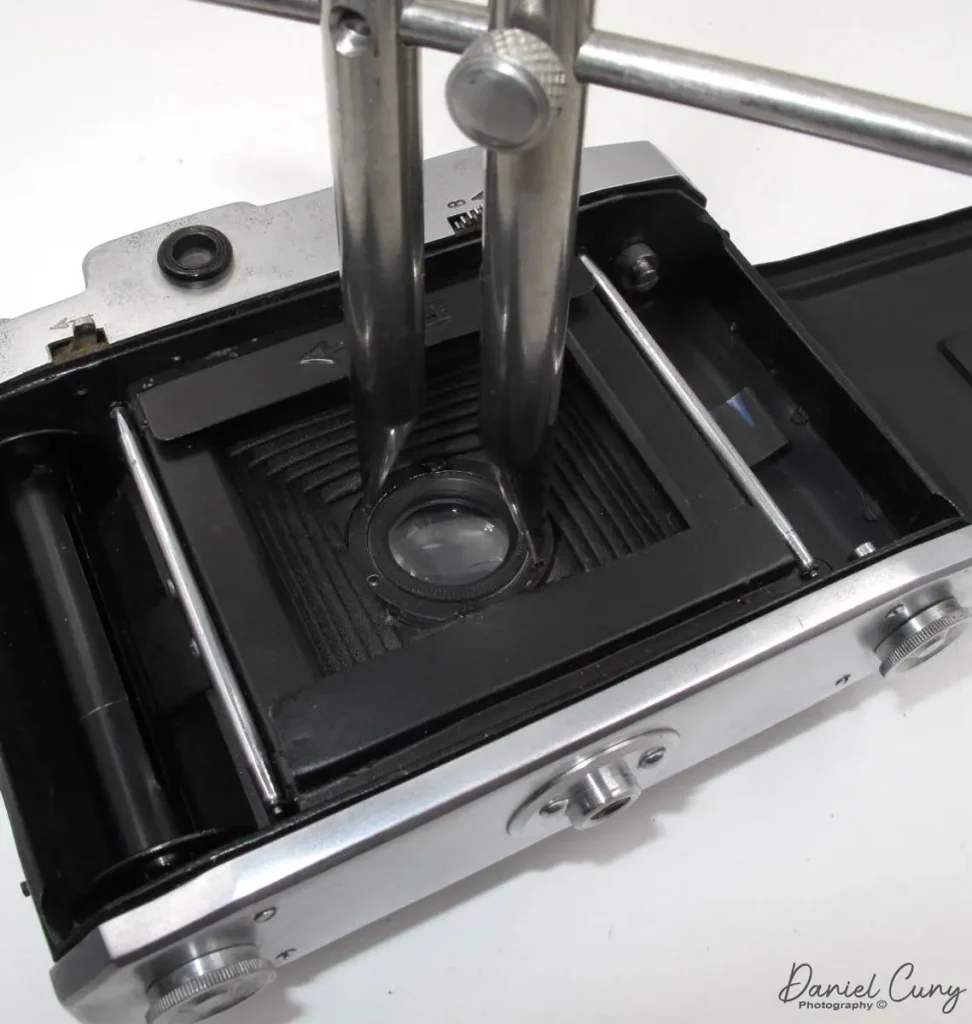
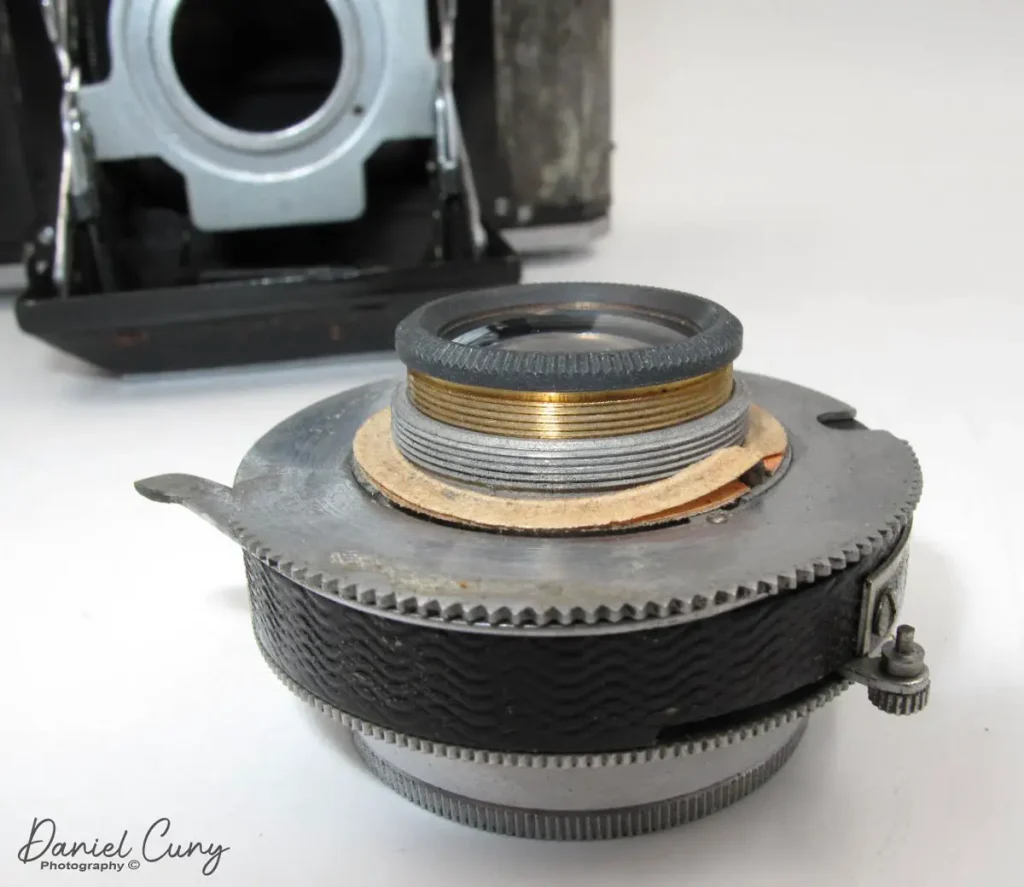
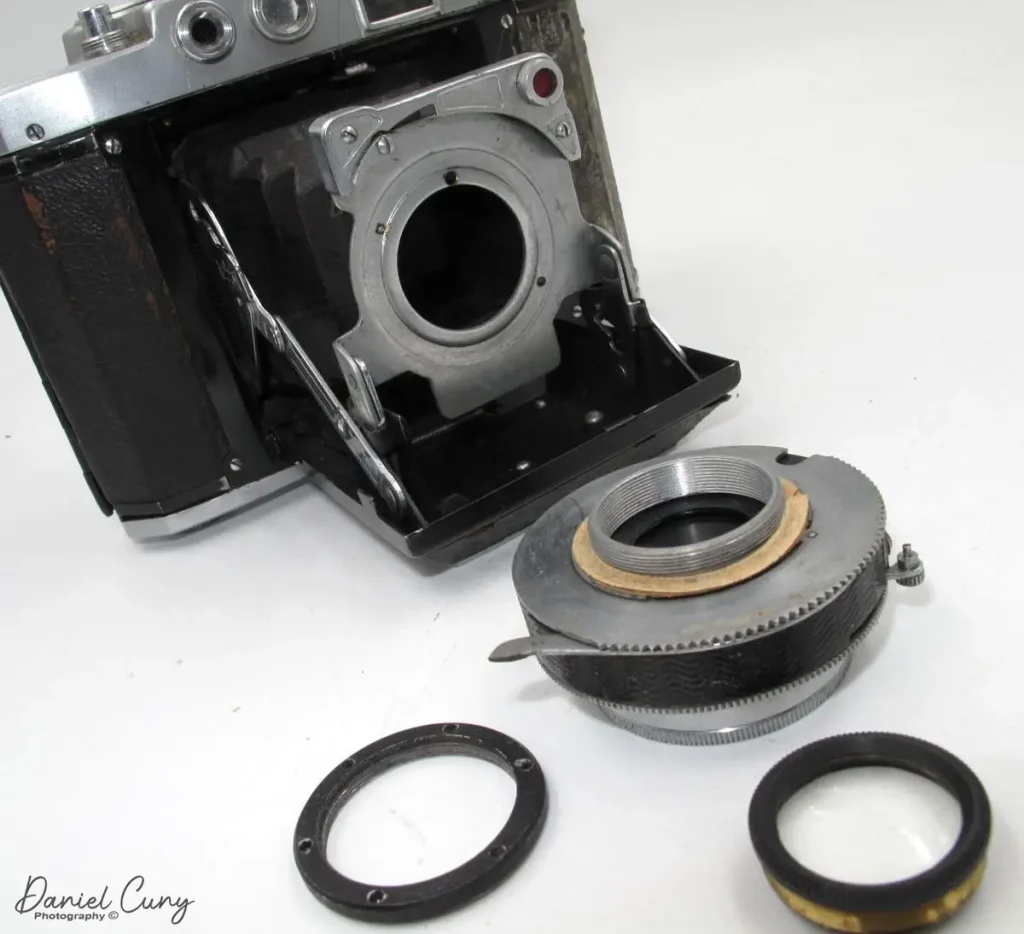
When I received the camera and looked at the lens, it looked a bit smokey, especially on the inside of the rear element. I noticed that the rear lens element could unthread from the lens, but the retaining ring on the back of the lensboard made it challenging to remove. I pulled out a spanner wrench I have with points on the tips to remove the retaining ring. The lens pops out with a little wiggle of the bellows. I unscrew the rear element and give it a good cleaning. While I tinkered with the aperture blades, which weren’t moving well, and bingo, it’s now in great shape. I put the lens back on with the retaining ring and try it out.
The Camera
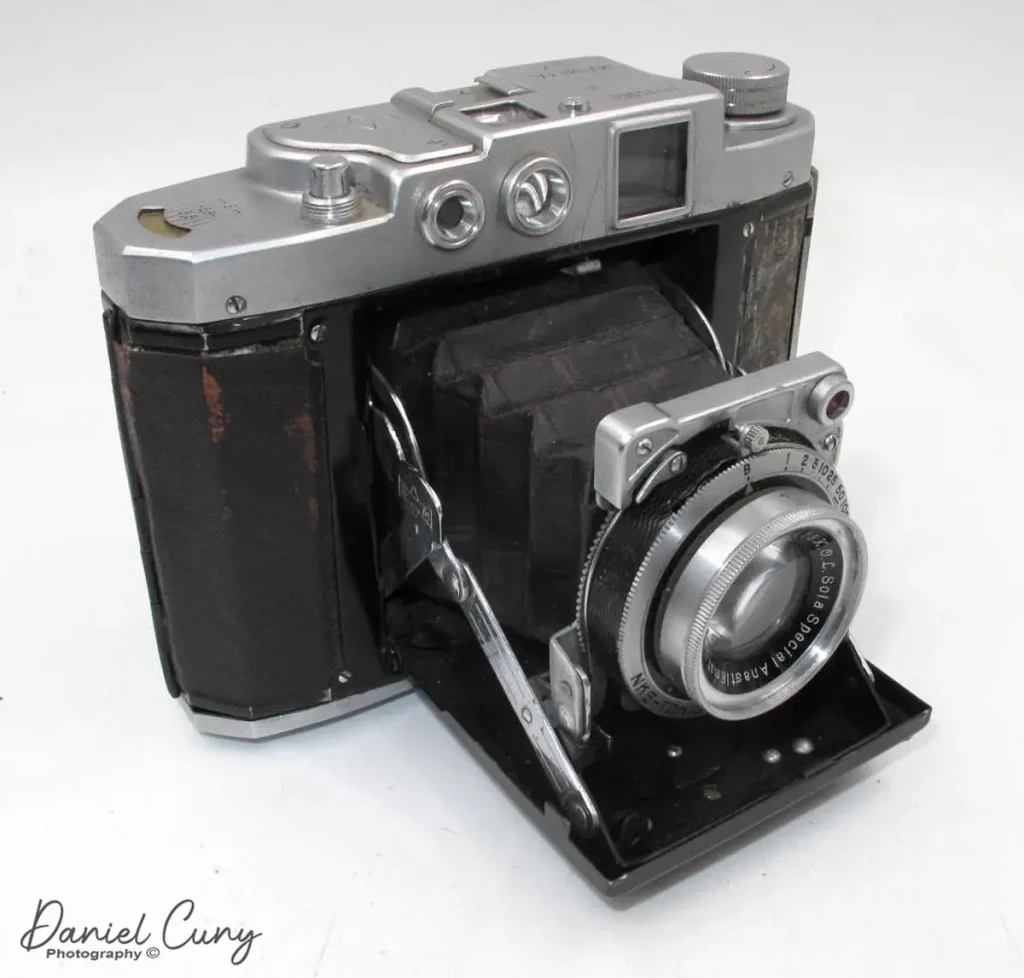
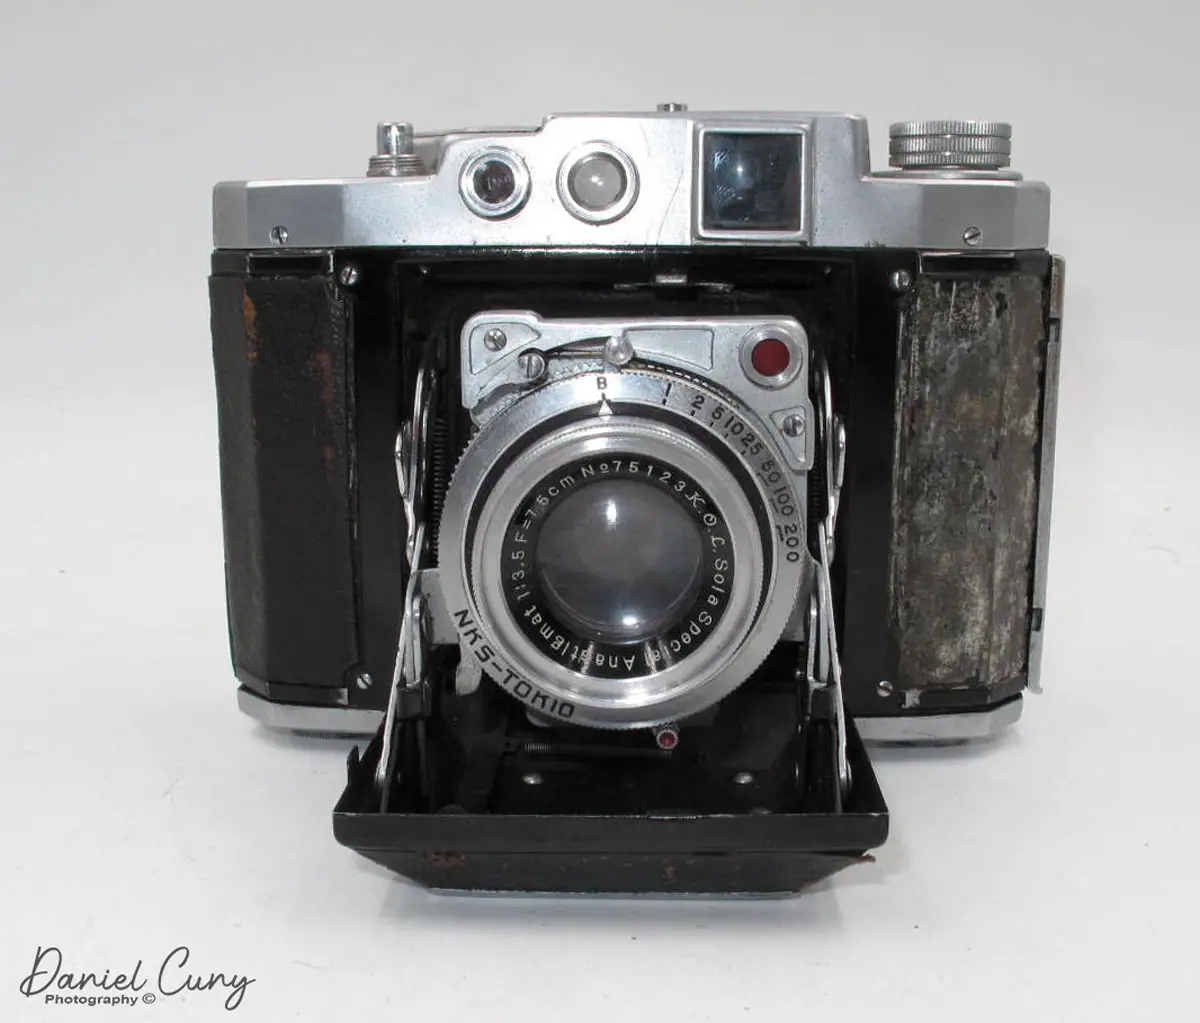
Over the years, the Mamiya Six had many changes and modifications. To see some of the changes, you can look here. Please don’t confuse this model with the Mamiya 6 that they introduced in 1989. I believe the version I have is the Mamiya Six II because the strap eyelets are no longer on the camera as they were on the original models. Looking at the camera, the first thing I noticed when I bought it was the camera has both a waist-level finder and an incorporated rangefinder, which you can see from the window on top of the camera. Just to the left of the waist level finder window is a small button to open the camera. Depress the button, and the lens extends downward. To me, it resembles the Zeiss Ikon Super Ikonta 530/16 in size and weight. The Mamiya Six I have is 4″ tall by 5.5″ wide and 2″ deep unopened or 4.5″ deep opened, and weighs 1lb 12.5 oz without the case or film.
Lens & Shutter
The Mamiya Six I have has a 7.5cm (75mm) f3.5 K.O.L. Sola Special Anastigmat lens in an NKS-TOKIO shutter with speed from 1-200 & “B.” The aperture setting range from f3.5-32.
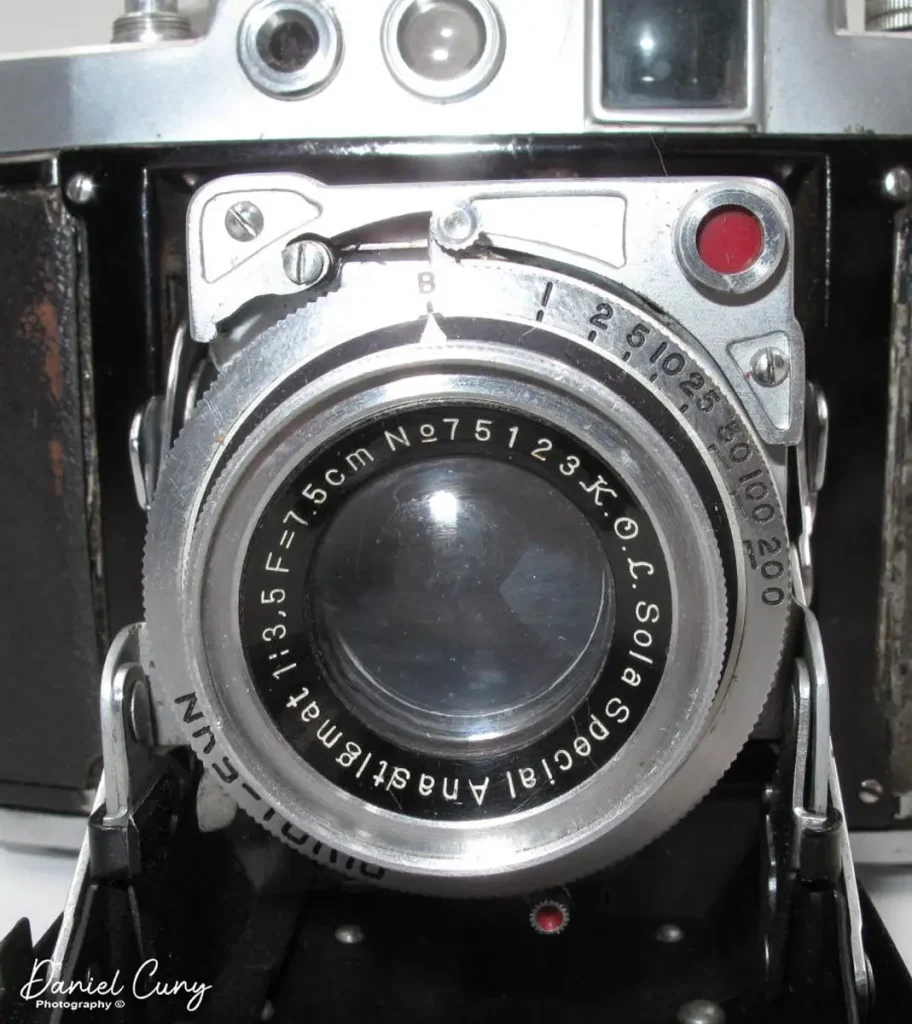
To change shutter speeds, you move the knurled ring on the outside of the lens to the desired shutter speed. There is also a knurled ring on the back of the lens are on the right side that allows you to change aperture settings. It’s somewhat hidden and took me a minute to find it, but it’s easy to change once found. The pin on the top of the shutter cocks the shutter. There is a self-timer on the bottom of the shutter, which has a red dot. On the top of the camera at the far right are the focus distance and a depth of field scale. My scale only goes to F8, which is standard on the early cameras.
Viewfinder.
On the back of the Mamiya Six is the viewfinder window. To the right of that is a thumbwheel that focuses the camera. Looking through the viewfinder is the typical rangefinder for focusing the camera. Once the shutter is cocked and you depress the shutter button on top of the camera, a red window appears in the viewfinder letting the photographer they have taken a photo.
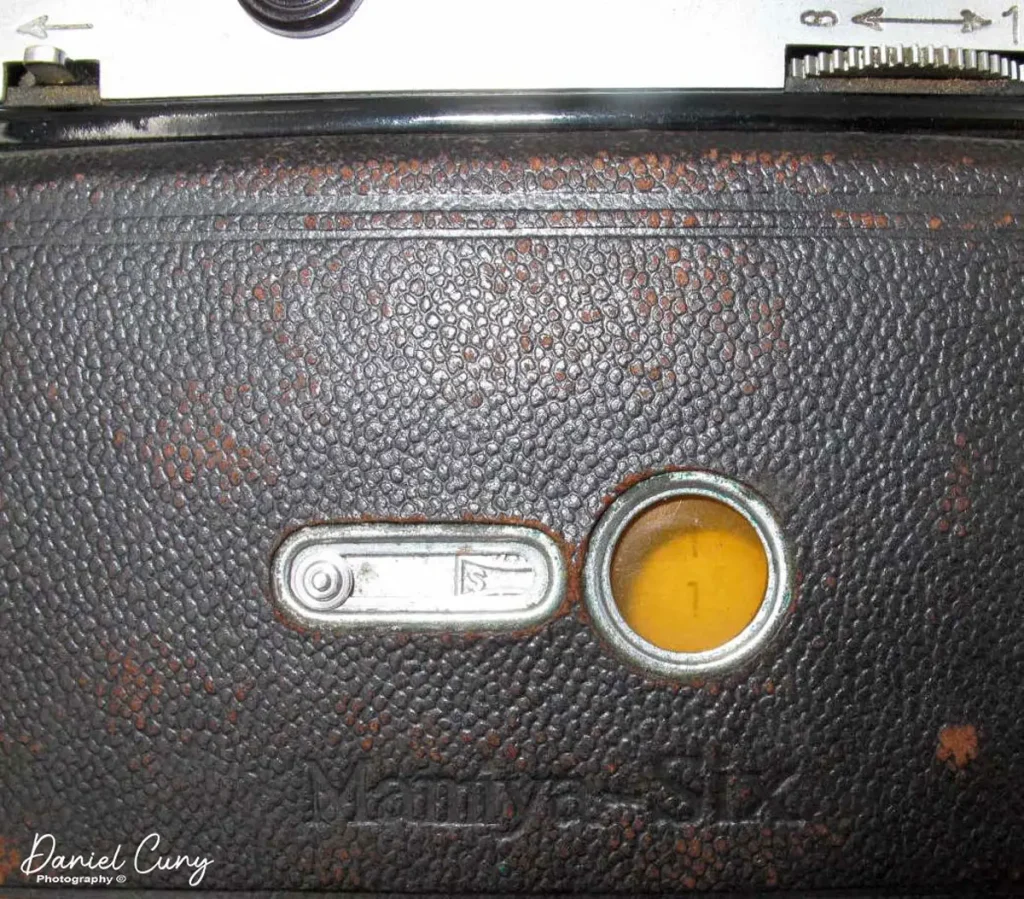
Under the viewfinder and to the left is a switch with an arrow pointing to the left. Moving that switch to the left allows you to wind the film to the next frame and also takes the red warning out of the viewfinder. The frame counter is at the top of the camera. It’s a small round window next to the film advance knob. On the back of the Mamiya Six is also a red window and cover, which you can see the film advance and stop at the next frame, which is automatic.
Film Loading
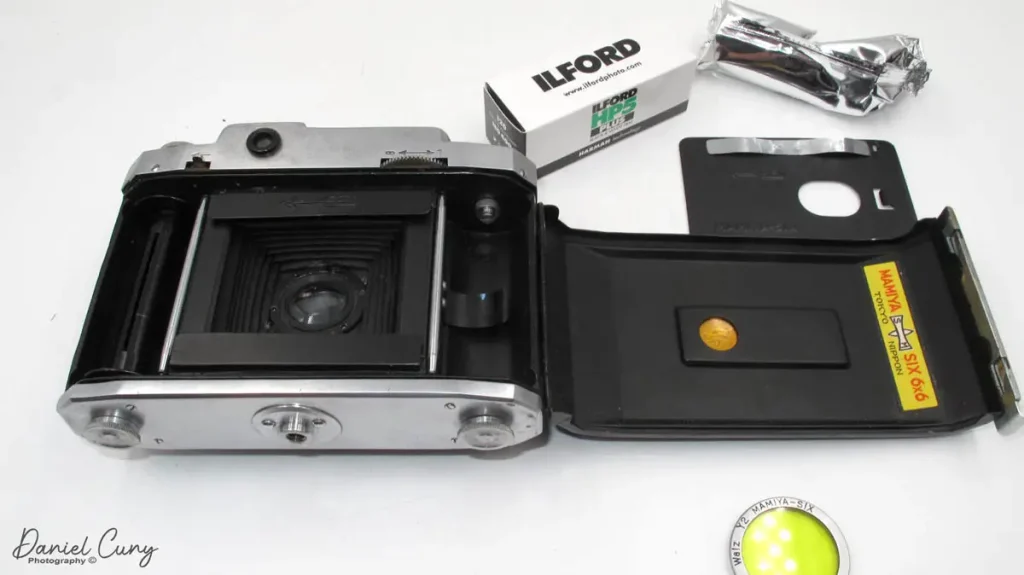
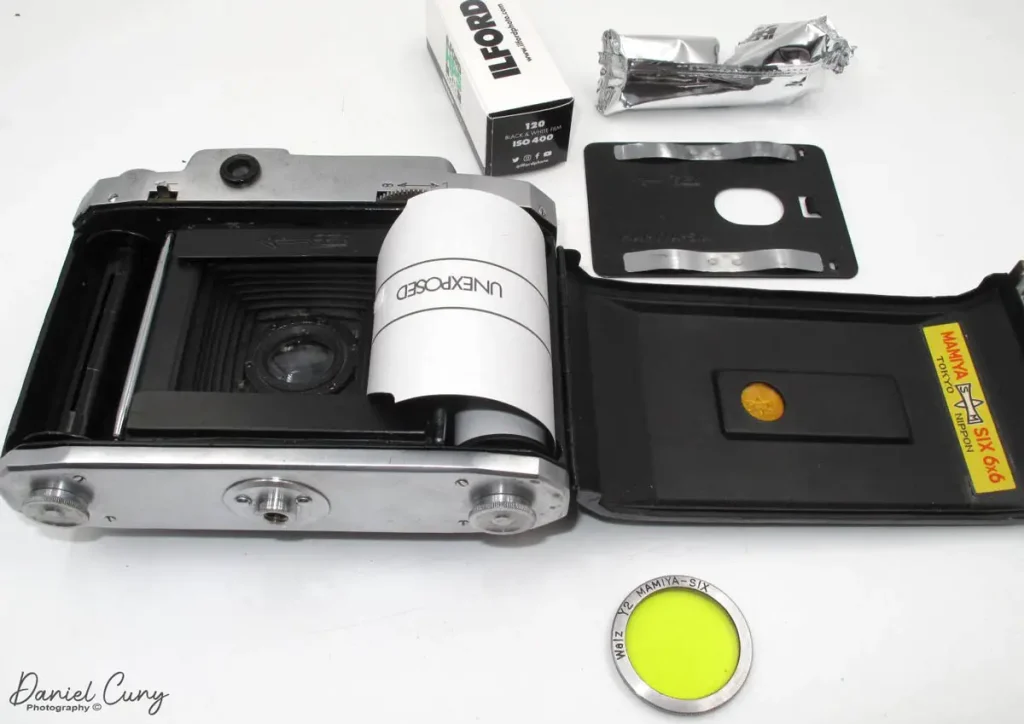
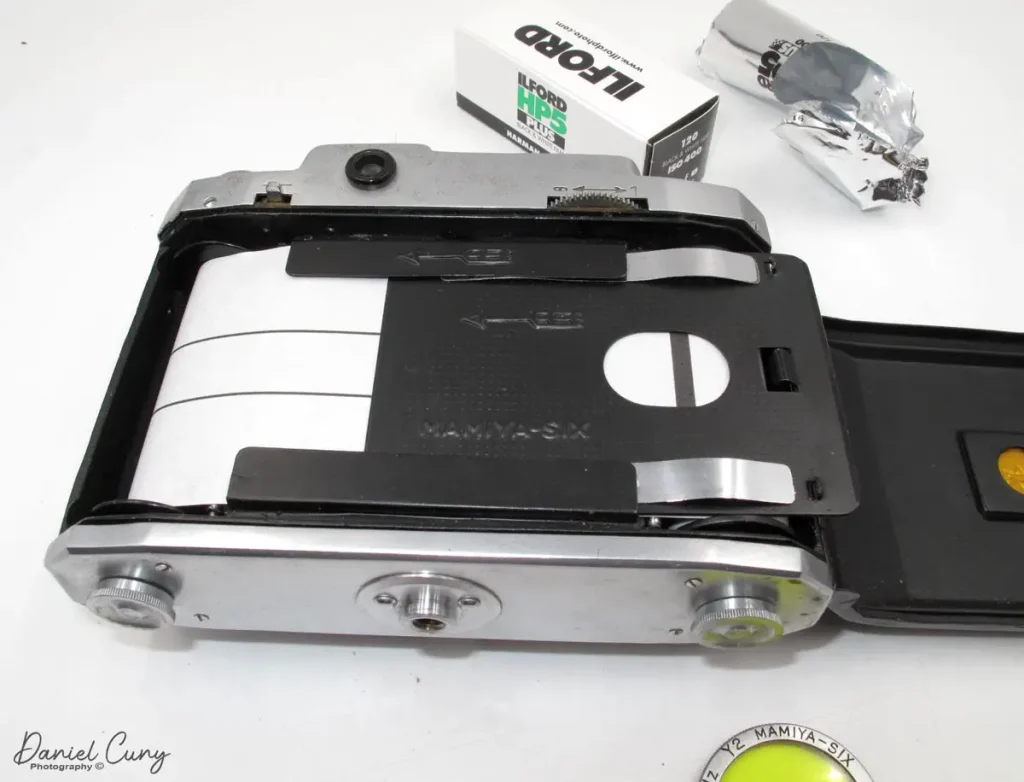
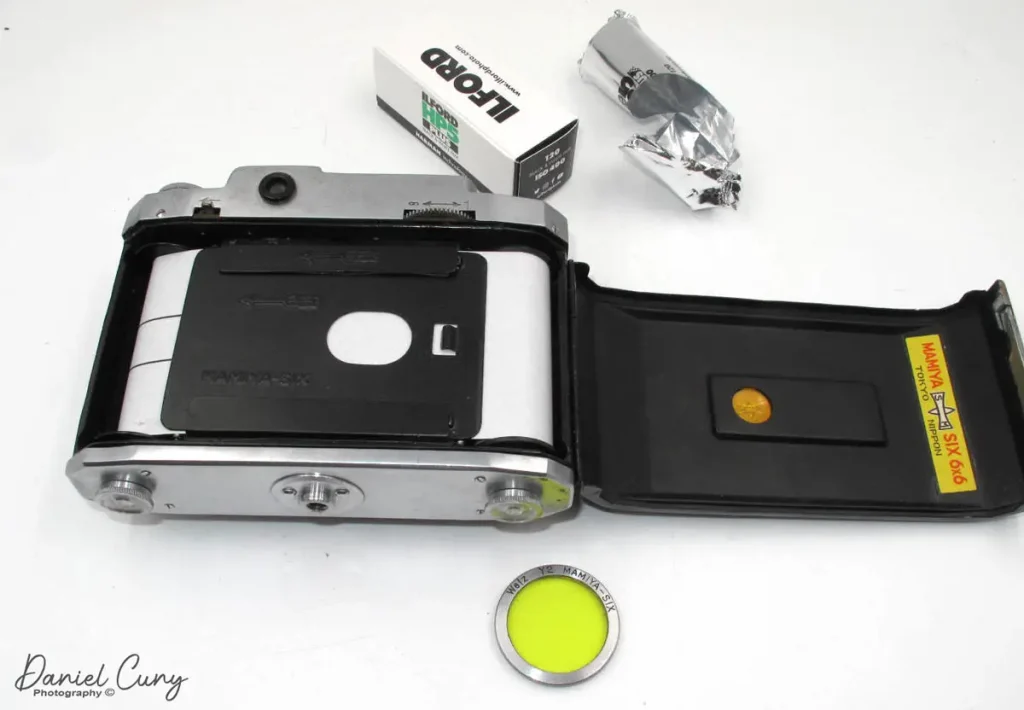
Loading the film is a bit tricky. I always make sure my film counter is at number 1 before loading. Since the film plane moves for focusing, the pressure plate is a removable plate that slides into the film plane. You slide out the pressure plate. Load the film on the right side of the camera. Drag the leader through the slots where the pressure plate goes and wind onto the take-up spool. Slide back the pressure plate into place, and turn the advance knob until you see the starting arrow on the film leader. Close the back and with the rear window open, advance the film to number 1. Now the frame counter and the film frame number coincided with each other. Once you take a photo, slide the switch to remove the red warning label, unlocks the film advance, and wind to the next frame.
Photos
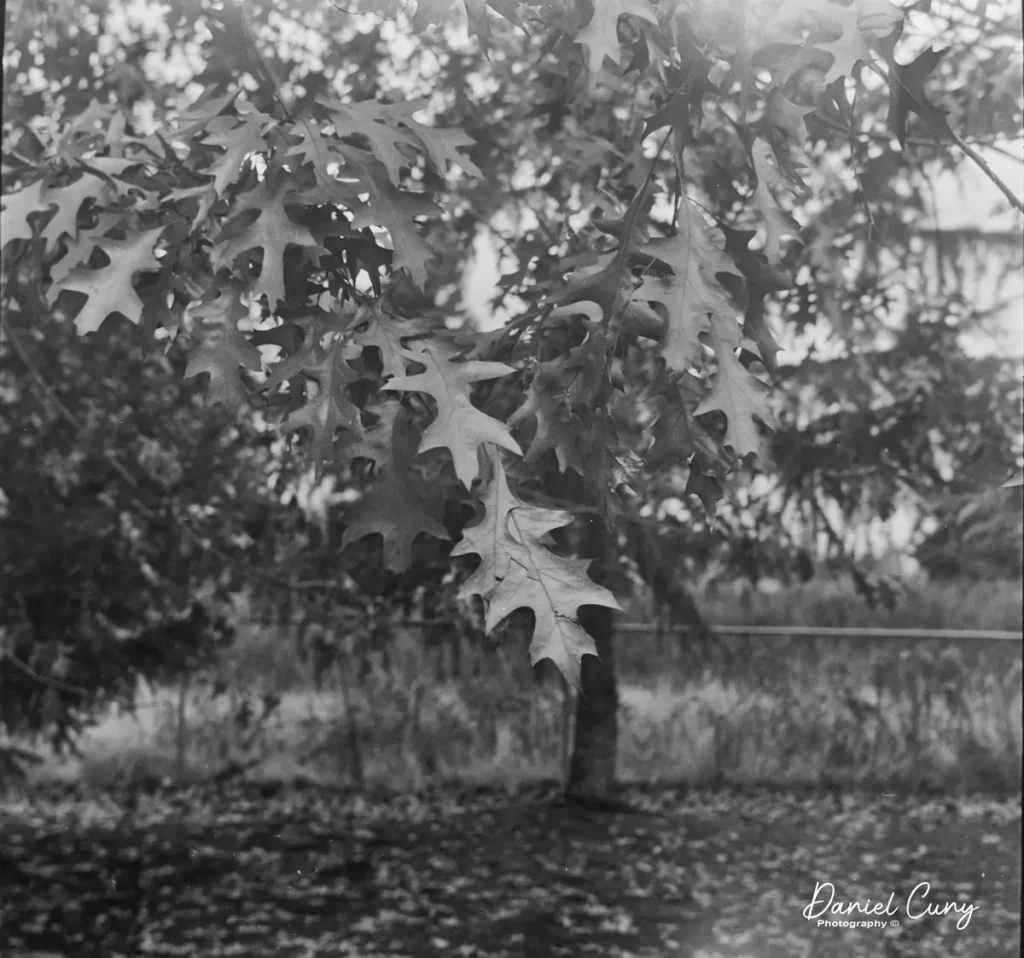
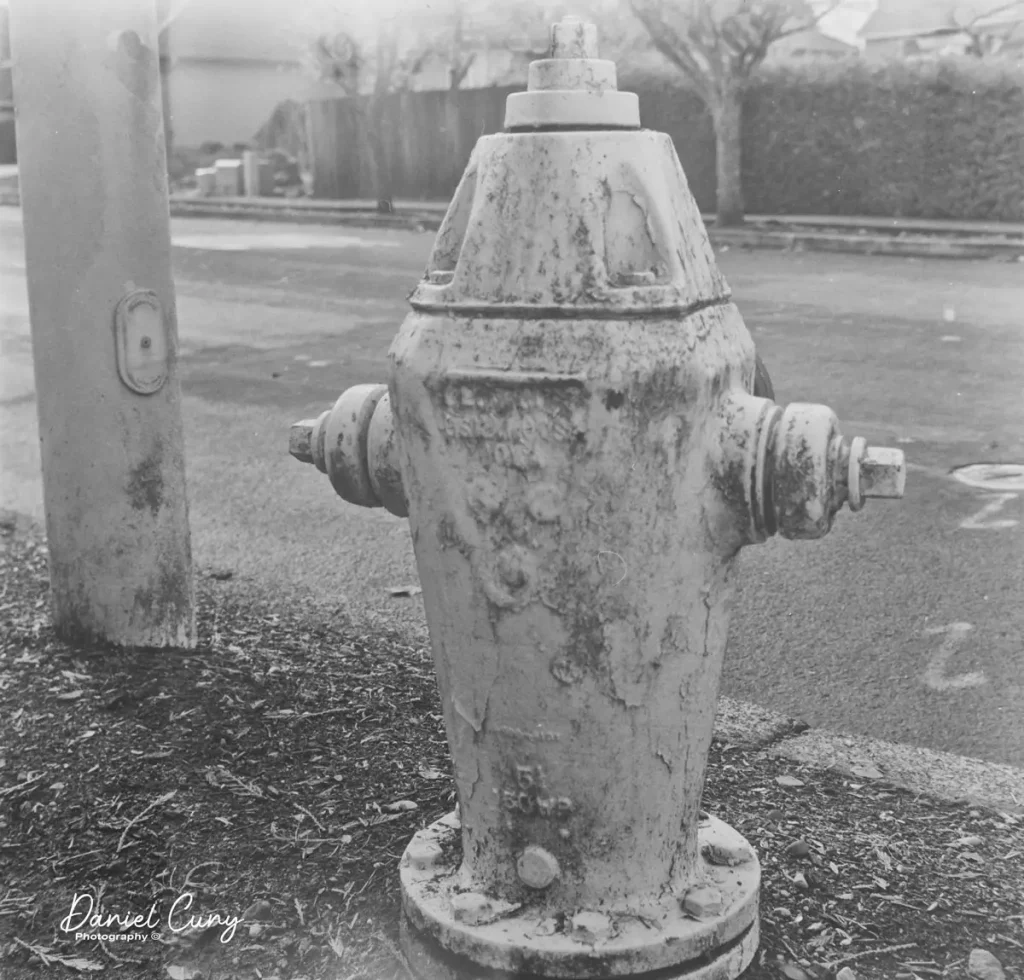
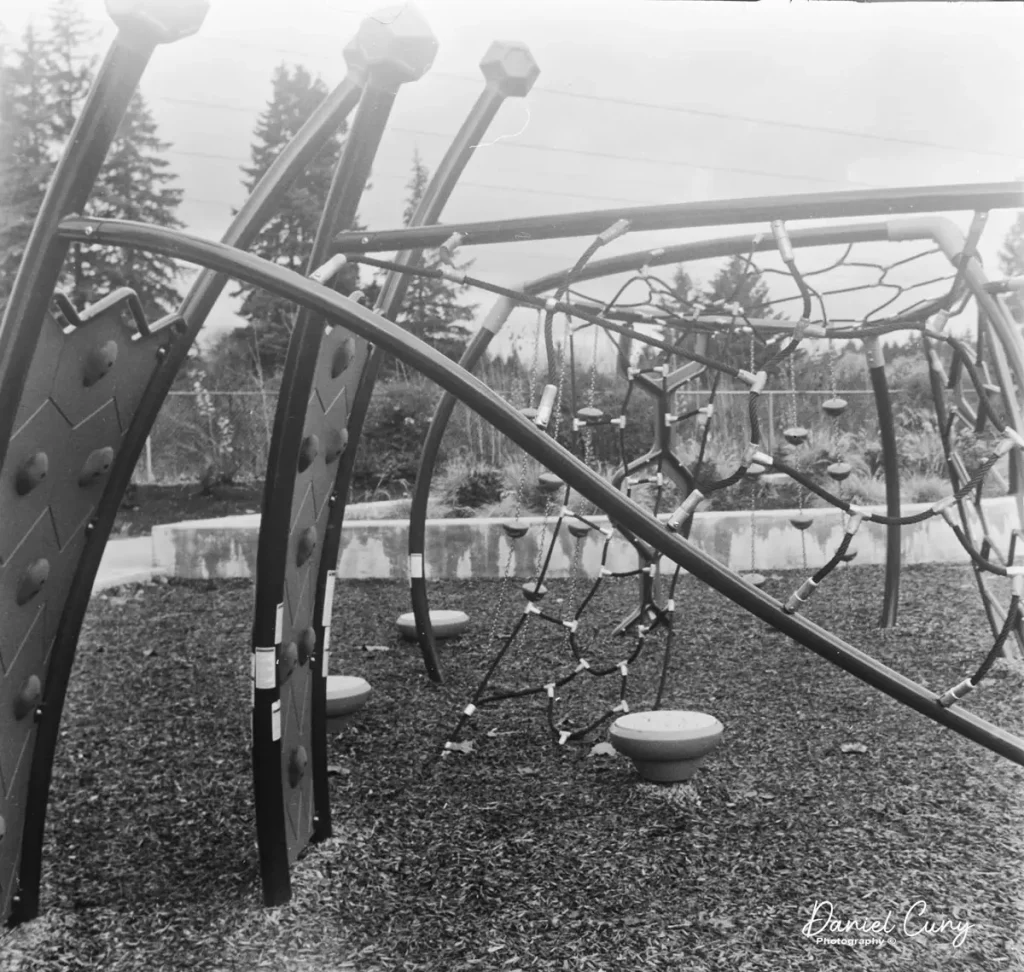
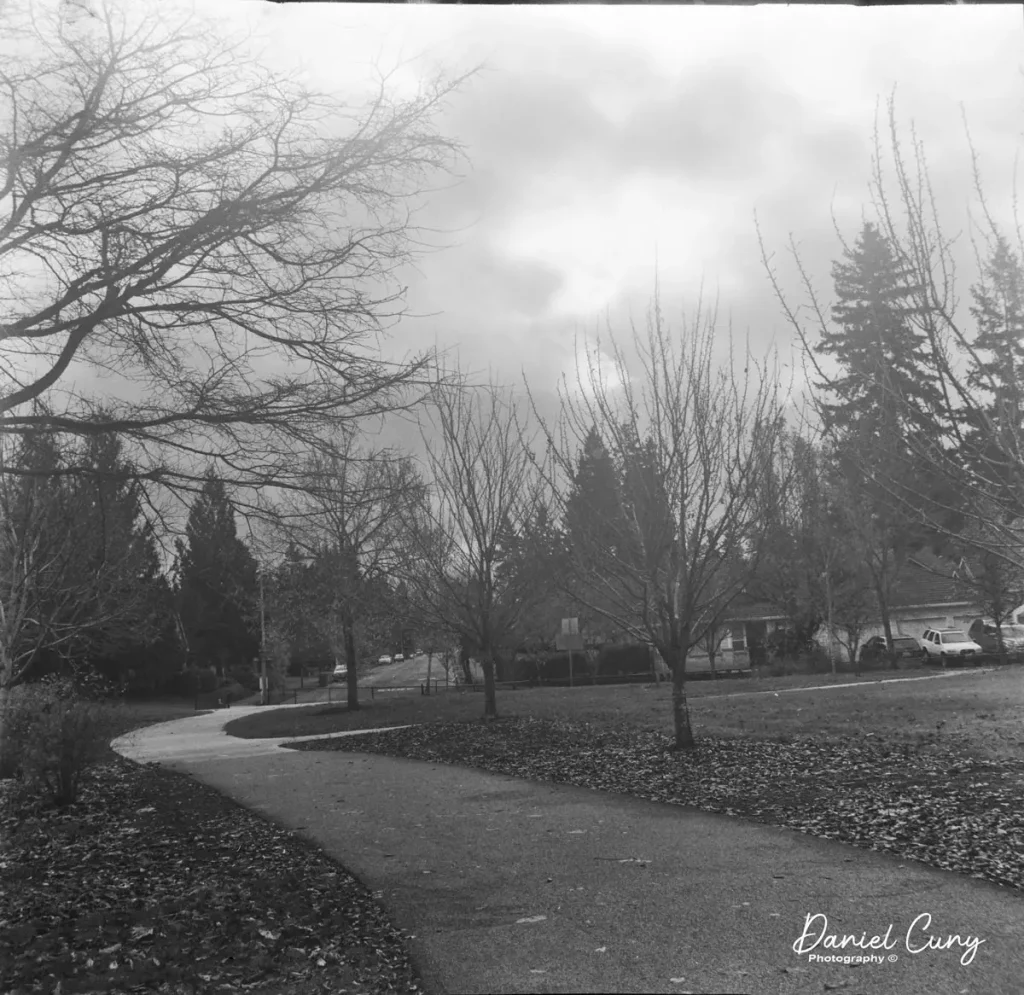
I had the opportunity to walk around my neighborhood to take the camera out for a spin. It was an overcast and chilly fall day and the photos show it.
Conclusion
I enjoy using the Mamiya Six I have. I like the waist level finder, especially when I want to get the camera low to the ground. It’s small for a medium format camera, the optics are good, and the aperture goes to f/32, which I utilize when in the day time. The Mamiya Six is, in my opinion, a real keeper, especially when I want to put something in my pocket and shoot medium format.
I appreciate you taking a few minutes to read this week’s blog post. I enjoy hearing from you about your experiences with this or any other camera you have in your collection. Feel free to comment if you have a question or concerns regarding this or any other posts I’ve done. You can visit my website here and read about other articles I have written for 35mmc here. There is also a review of the later Mamiya 6 IV here
Share this post:


Comments
Lance Rowley on Mamiya Six II – Early Version Review & Images – By Dan Cuny
Comment posted: 30/12/2020
Kurt Ingham on Mamiya Six II – Early Version Review & Images – By Dan Cuny
Comment posted: 23/12/2022
Comment posted: 23/12/2022