As someone who grew up in the era of the digital camera, I never thought of film photography as anything other than old and inferior. At twenty one years old, the only experience I had with film photography was from using disposable Fuji cameras on family trips to the Oregon Coast and Portland. It wasn’t until I bought my first DSLR in October, a Nikon D3200, that I was slowly exposed to the reality of film through the internet. I began to notice that the photos I was aesthetically drawn to were not, in fact, shot digitally. They were almost all shot on analog cameras.
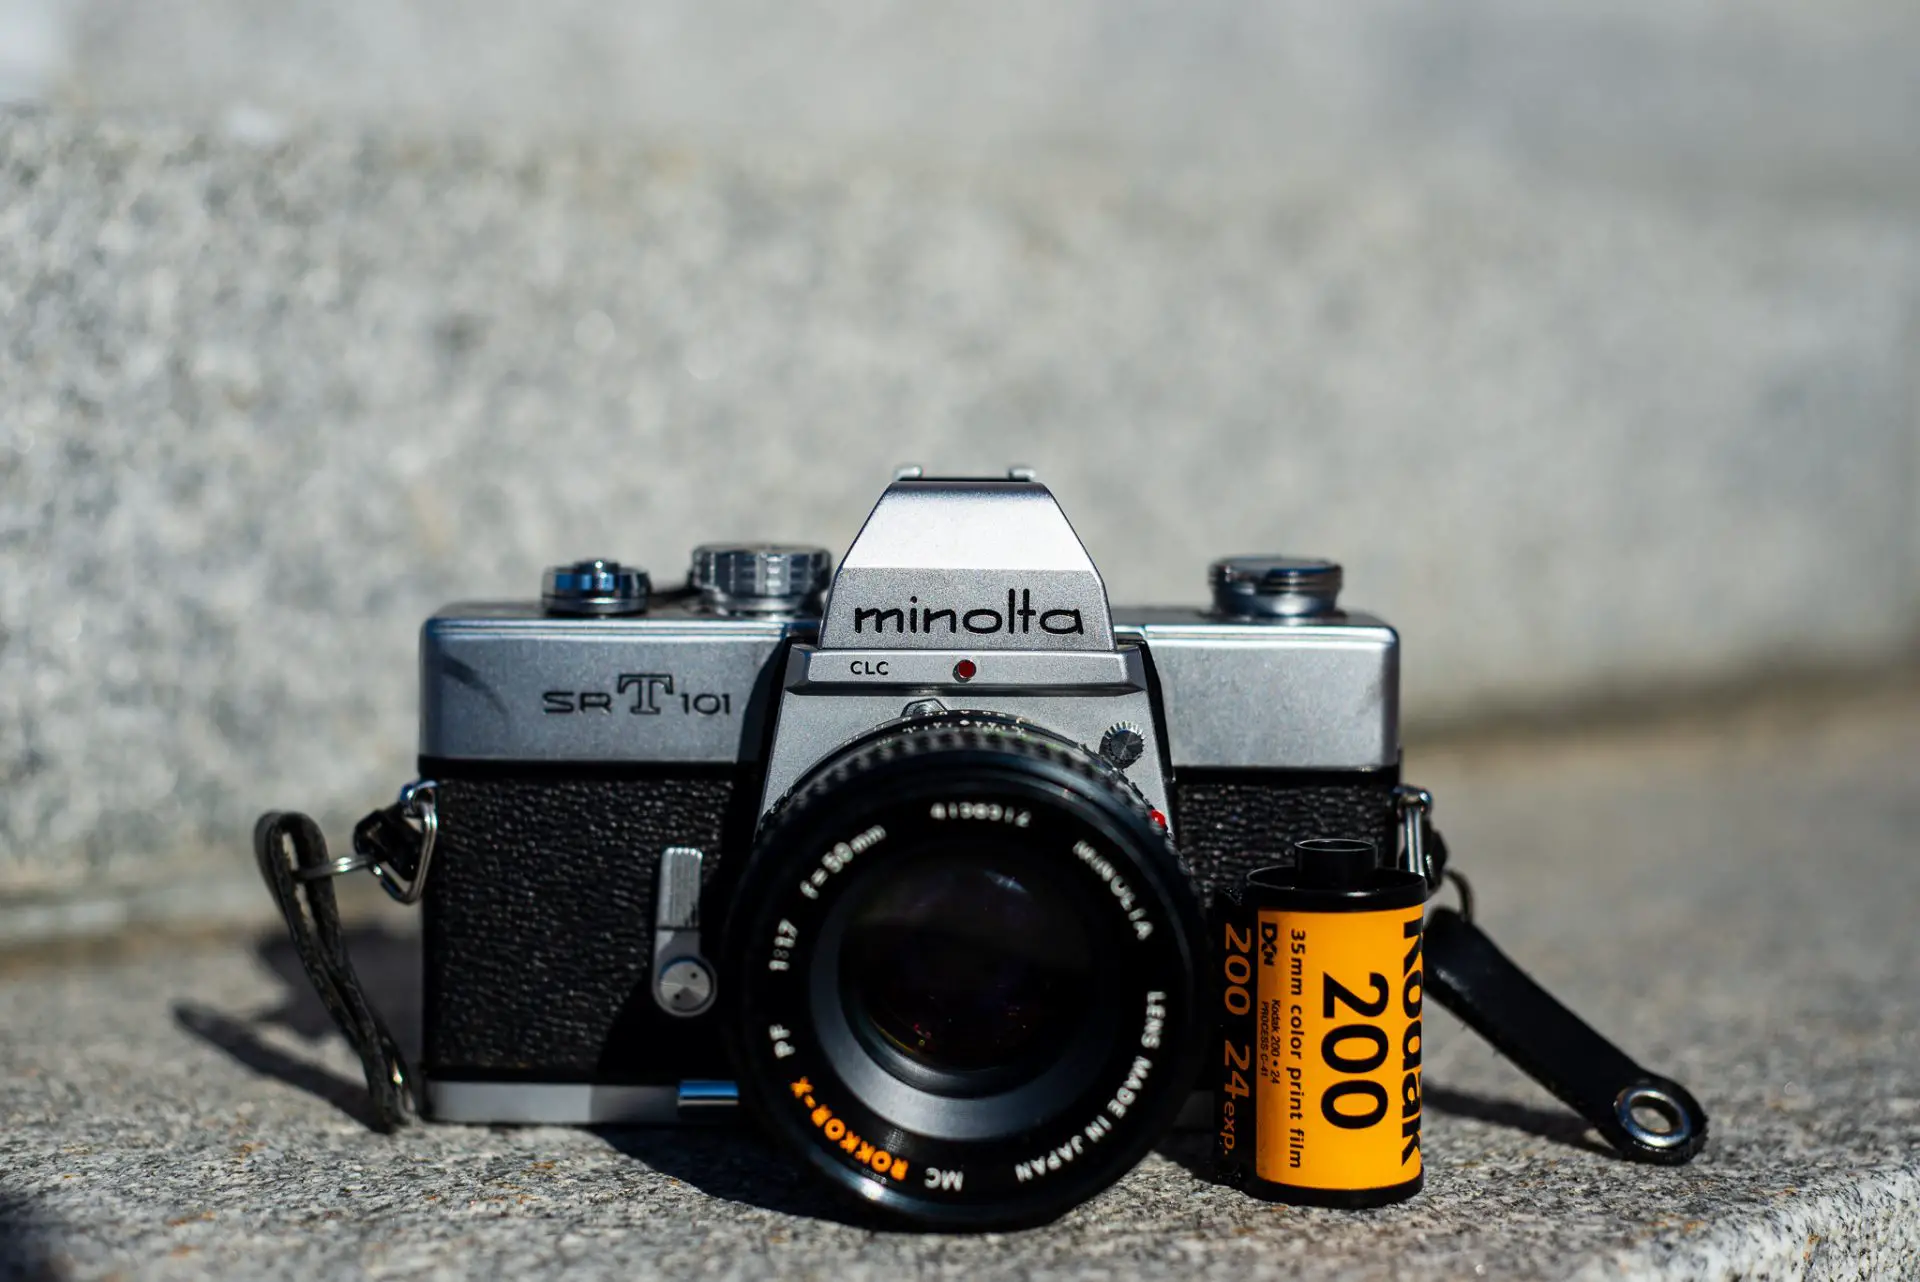
So, after learning the basics of photography, the exposure triangle, composition, etc., I began to look for a cheap film camera. After some google research and talking to a few friends that shot film, I had a pretty good sense of what I was looking for. I found a man on Facebook Marketplace selling a Minolta SRT-101 with a Rokkor-X 50mm f/1.7 for twenty five dollars. I’d heard of the SRT-101, and I reached out. A day later, I came home with a mint condition Minolta with good light seals and a working, accurate, light meter. From that moment forward, I knew that film was for me. The vintage look of the camera alone felt like reason enough for me to wear it around town.
As a matter of principle, I do not edit my film photographs. In the age of Photoshop and Lightroom I found it too easy to prioritize the editing process over the process of capturing a moment on a camera in the first place. If a photo doesn’t come out quite right, oh well, I’d just edit it until I found something I liked. In my opinion, this process defeats the purpose of shooting film. Film draws me into the moment and helps me appreciate my photographs as they are, regardless of motion blur or accidental overexposure. The results are a part of the process and a part of what makes film unique.
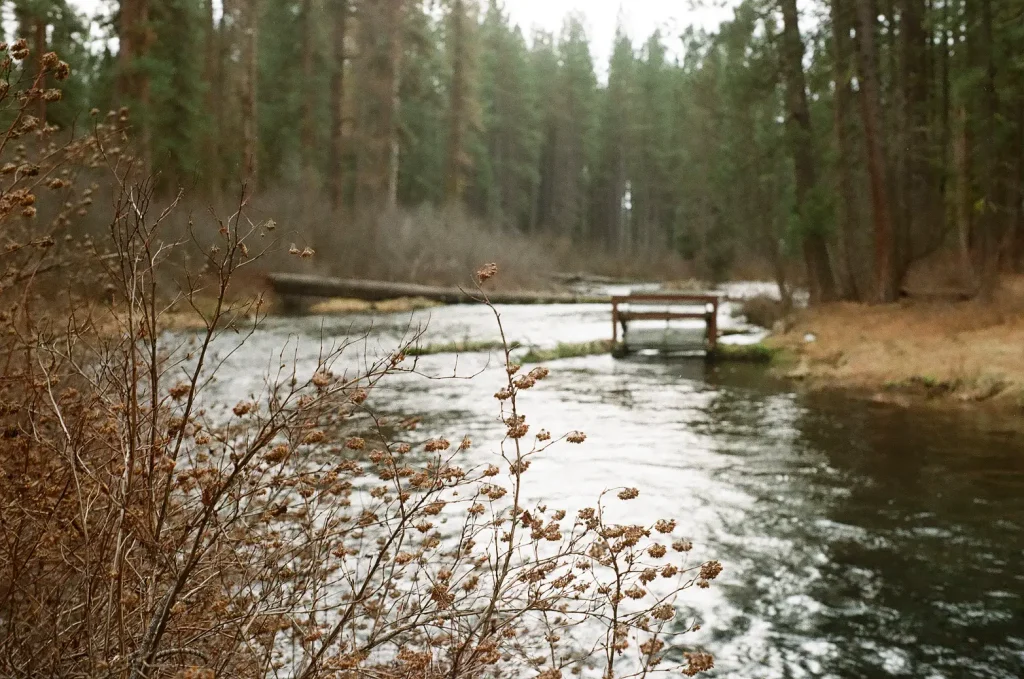
This is not to say that my opinion is the only valid one on this subject. As Hamish points out in his article, “My Colour Film Photography Workflow, Or: A Rant About How Software Isn’t The Enemy!”, the digital editing of film photographs can provide improved image quality, color, and contrast, to name only a few aspects. There is nothing wrong with his viewpoint or workflow, and there’s nothing wrong with editing film photos for improved results. I actually quite like the argument he makes.
If I was writing an article on my digital photography process and using my Nikon d600, my opinion of editing photographs would be quite different compared to my film process. I suppose, I am simply saying that I value different aspects of photography in film and digital, and for film, I like to leave the photos as they are once I receive them from The Darkroom.
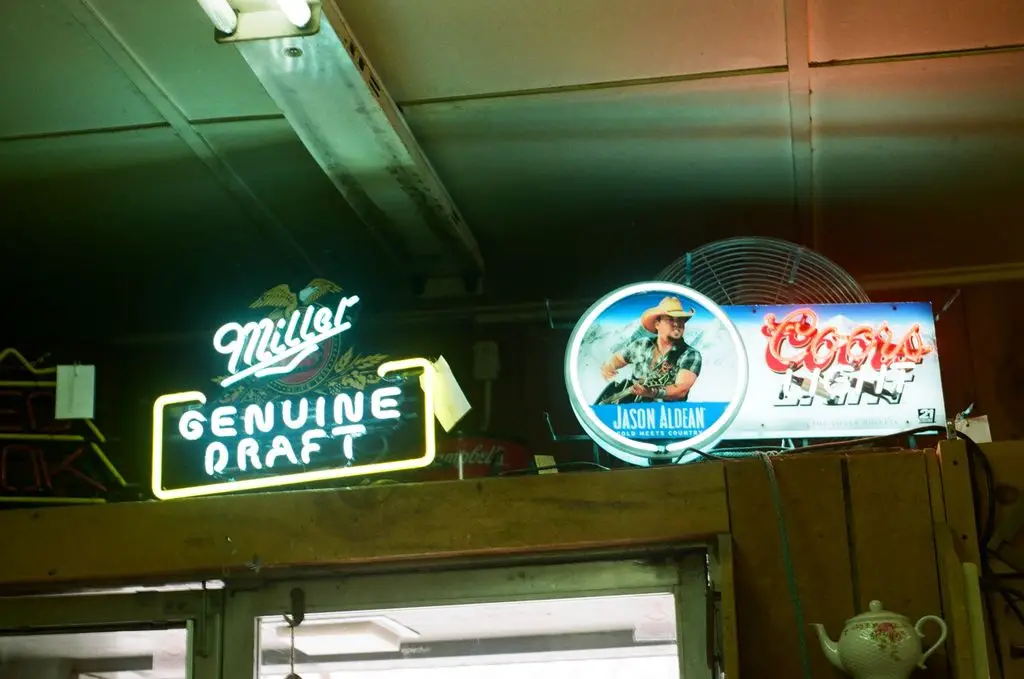
The photos I am drawn to are stylistically oriented towards street photography. The contrast of immersing oneself in a chaotic, quick-paced environment, like a city street, yet being able to capture candid, intimate moments seemed like the ultimate challenge for a photographer. Especially a photographer who doesn’t have the ability to review their photos on the spot and decide if they’re happy with what they’ve captured. Film photography requires confidence and an appreciation for more than just sharp images, it requires you to observe your surroundings and appreciate what is going on around you.

In the interest of sticking with the theme of entry-level film photography, I chose to share 5 frames of Kodak Gold 200 from my first few rolls of film. While I am aware that more expensive, sharper films exist, I did not want to spend money on Portra or Cinestill at a point in my life where, as a college student, I was short on money and trying to get the most bang for my buck.
After consulting the internet once again, I found three rolls of Kodak Gold for the same price as one roll of Cinestill 800T. The decision was easy. Plus, I really do like the warm tones of Gold 200. I like the way the film saturates colors and how images have a rich depth of color. They bring out the ‘happy’ aesthetic in photos, and I now understand where the film’s name originated.
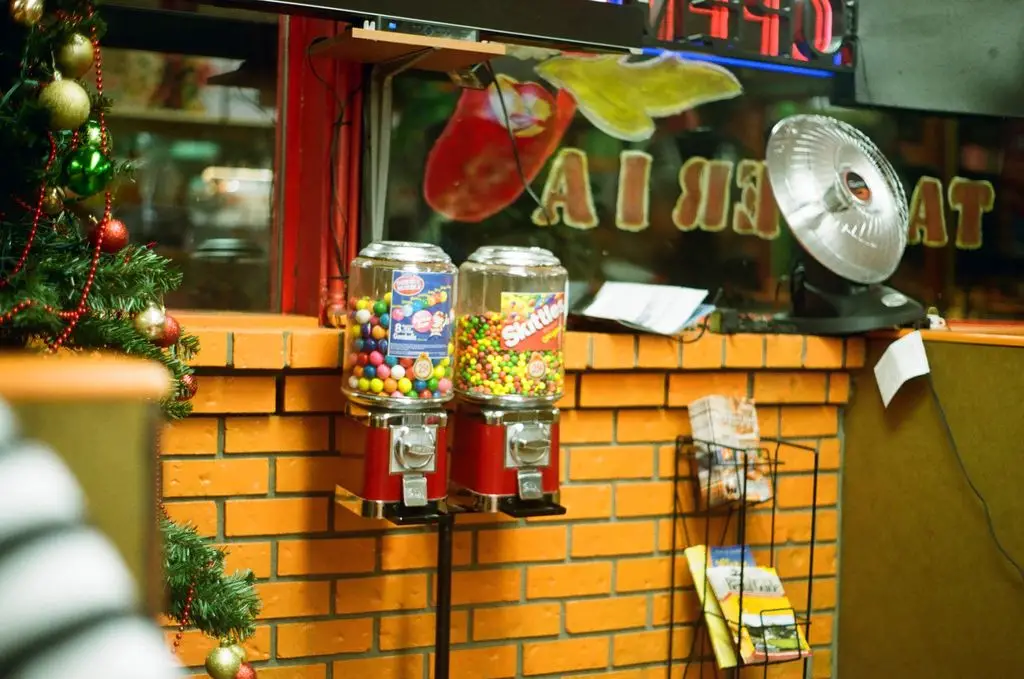
Although I do not live in a big city and the streets where I shoot are far from the hustle and bustle of New York or Hong Kong, I try to bring the aspects of intimacy and composition that I saw in street photography into my own photography. Whether I’m shooting film while walking along the Metolius River, eating al-pastor tacos at my local late night hangout, Taco Salsa, or digging through used clothes and records at my local vintage shop, Iron Horse, there’s something about Kodak Gold 200 which brings out the fun in every photo, regardless of its consumer-grade status.
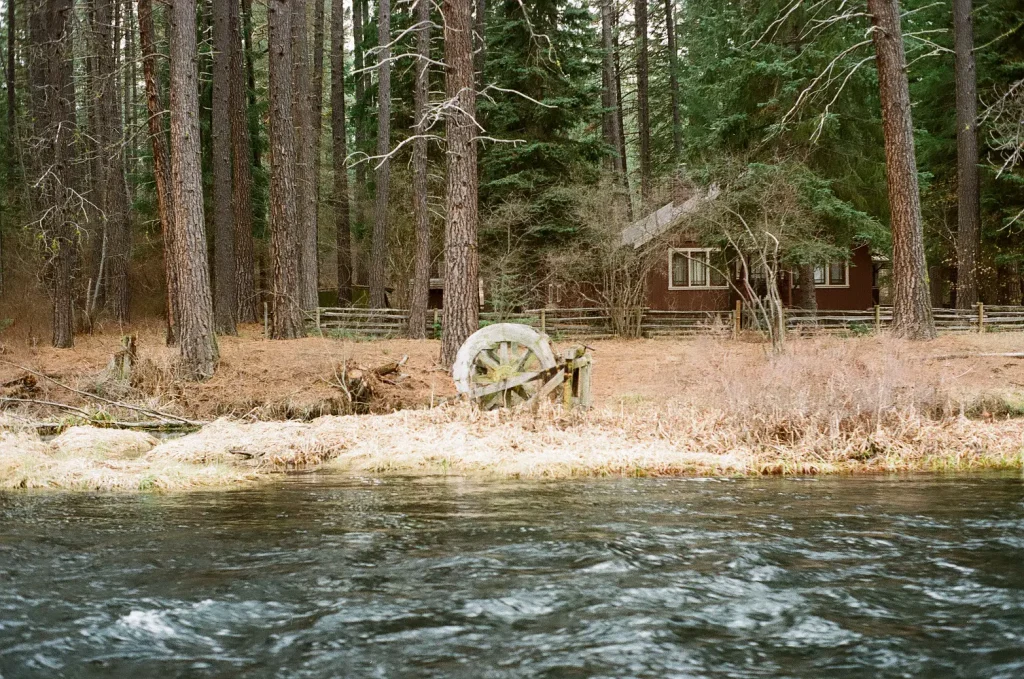
All of these photos were taken in Central Oregon, processed and scanned by TheDarkroom.com.
Share this post:


Comments
Nathalie Porter on 5 Frames With Kodak Gold 200 / My Analog Photography Process – By Leo Lukens
Comment posted: 31/03/2020
Rock on 5 Frames With Kodak Gold 200 / My Analog Photography Process – By Leo Lukens
Comment posted: 31/03/2020
Ilya on 5 Frames With Kodak Gold 200 / My Analog Photography Process – By Leo Lukens
Comment posted: 31/03/2020
In my own experience of experimenting with film photography over the past several years I too find that film photos can be beautiful and have a unique attraction to them. And the difference between the consumer grade and the more expensive films is usually fairly subtle. When you’ve mentioned that you prefer not to edit the film photos much, it made me think of that often forgotten step of color correction that happens after scanning the negatives.
What can really make a difference between beautiful film photos and the everyday ones, is the scanning, not so much the film type. Many of the photos I find I really like, I had taken using basic Fuji Superia film, which is probably in the same group as Kodak Gold. But sometimes the scans come out great and sometimes they don’t. Even with a good scanner like the Nikon Coolscan.
Most of the inspiration-type photos I find online usually come from people who either send their film to a professional scanning lab; or from people who have spent a great deal of time and effort on learning how to scan and color correct their negatives at home.
Getting the correct white balance in a scanned negative is not a trivial matter. Usually the white balance needs to be tweaked individually for the highlights, mids and shadows. And that’s what professionals working in labs do really well. That’s an absolutely essential step of image processing that needs to happen to convert an orange-mess of a negative to a beautiful photo. I’ve found through my own experience that trying to do this myself is fairly hard.
Matthias on 5 Frames With Kodak Gold 200 / My Analog Photography Process – By Leo Lukens
Comment posted: 31/03/2020
thank you for sharing your ideas of shooting film and your photos. I really like your first picture.
I also had good results with consumer grade Kodak (and Fuji) film, even with expired one.
And congrats for your choice of camera, the SRT-101 is just fun to use. I also have one but it needs some fixing (mirror hangs at slow speeds, self timer and cable release broken), so I mostly shoot Minolta XD-7 or X-700. Which batteries do you use for the light meter of the SRT-101 ?
Try some more Minolta lenses, they are really nice and still affordable, p.e. 3.5/28mm (usually super cheap but good), 2.8/28mm (decent), 2.8/35mm (very sharp beast), all 50mm, 1.7/55mm (bokeh machine), 1.7/85mm and 2/85mm (o.k. these are expensive, but spectacular), 2.8/135mm (cheap and great), 4/200mm (super sharp) and I really like my MD Zoom 3.5-4.5/35-105mm, which is very versatile, really decent and dirt cheap.
Comment posted: 31/03/2020
Stephanie Batcos on 5 Frames With Kodak Gold 200 / My Analog Photography Process – By Leo Lukens
Comment posted: 31/03/2020
Kate Johnson on 5 Frames With Kodak Gold 200 / My Analog Photography Process – By Leo Lukens
Comment posted: 31/03/2020
Alex Wittwer on 5 Frames With Kodak Gold 200 / My Analog Photography Process – By Leo Lukens
Comment posted: 01/04/2020
Just wanted to point out that unless you shoot slide film, your photographs were edited and corrected by either the lab or prebuilt software. Color negatives, by their nature, must be inverted to create an image and remove the orange mask, which means editing. Your choice of lab, if they do the scanning for you, can yield way different results. Blue Moon will give me back way different results than Walgreens or TheDarkroom.com, and all of those will be different from my home scans in terms of contrastz color, and sharpness. Saying that you don't edit your film photos is a continuation of a myth that doesn't seem to want to die.
I'm any case, I'm glad you're enjoying film photography. Kodak Gold is one of my favorite films, especially the expired stuff.
Take care
Comment posted: 01/04/2020
Zubida on 5 Frames With Kodak Gold 200 / My Analog Photography Process – By Leo Lukens
Comment posted: 17/04/2020
Karen on 5 Frames With Kodak Gold 200 / My Analog Photography Process – By Leo Lukens
Comment posted: 13/09/2020
Alisa lira on 5 Frames With Kodak Gold 200 / My Analog Photography Process – By Leo Lukens
Comment posted: 08/12/2021
great blog
John S on 5 Frames With Kodak Gold 200 / My Analog Photography Process – By Leo Lukens
Comment posted: 12/01/2022
Yusuf on 5 Frames With Kodak Gold 200 / My Analog Photography Process – By Leo Lukens
Comment posted: 22/03/2022
Sophie wesson on 5 Frames With Kodak Gold 200 / My Analog Photography Process – By Leo Lukens
Comment posted: 20/04/2022
Meghla on 5 Frames With Kodak Gold 200 / My Analog Photography Process – By Leo Lukens
Comment posted: 09/05/2023
Much obliged for the great picture.